In the bathroom, we not only carry out hygiene procedures, but also restore physical strength and strengthen tone after a hard day's work. What can I say, if every day we start and end in the bathroom. That is why the interior of this room must necessarily bring us no less pleasure than the procedures taken there. Therefore, the design of the bathroom must be thought out to the smallest detail, so as not to redo it many times. One of the most important details of the interior of this room is the layout of the tiles in the bathroom, and it is on it that we will now dwell in more detail.
Bathroom tiling
How to plan your bathroom tile layout
Most owners of houses and apartments opt for tiles. There is nothing surprising in this, because this material has been very popular for many centuries, and it deserved it due to its outstanding properties.
For the bathroom, tile is an ideal option, as it is able to maintain its magnificent appearance for many years in conditions of high humidity and constant contact with steam and water.
In addition, there are currently a wide variety of modifications and brands of tile on the market. Its choice is so great that even the most picky owners will definitely find a suitable option for themselves.
As for the configuration of the tiles, it is extremely simple: they are mainly squares and rectangles. But with the color palette, texture, pattern (moreover, it can be colored and embossed), as well as the caliber of the elements, things are much more complicated, since there can be an incredible number of them. Therefore, we can advise beginner tilers not to get carried away with small tiles, clever schemes and laying methods that require multiple cutting of tiles, it is better to start with something simpler.
We draw your attention to the fact that tiles must be purchased 15% more than the calculated surface area. Even if a few tiles remain, it is better to save them just in case.
Great bathroom design ideas
An incredible variety of varieties and brands of tiles has given rise to countless ideas for decorating a bathroom. After all, the material itself pushes us to combine and invent new combinations, its individual elements, like a designer in the hands of a skilled craftsman, add up to magnificent pictures. Moreover, now manufacturers supply entire series of products to stores, in which the main elements of different colors and shaped parts are ideally combined with each other, so stackers only have to combine them correctly.
Based on this, if your design involves the use of tiles of different colors and calibers, it is best to stick with tiles from the same manufacturer. In this way, you will save yourself the pain of choosing colors and sizing.
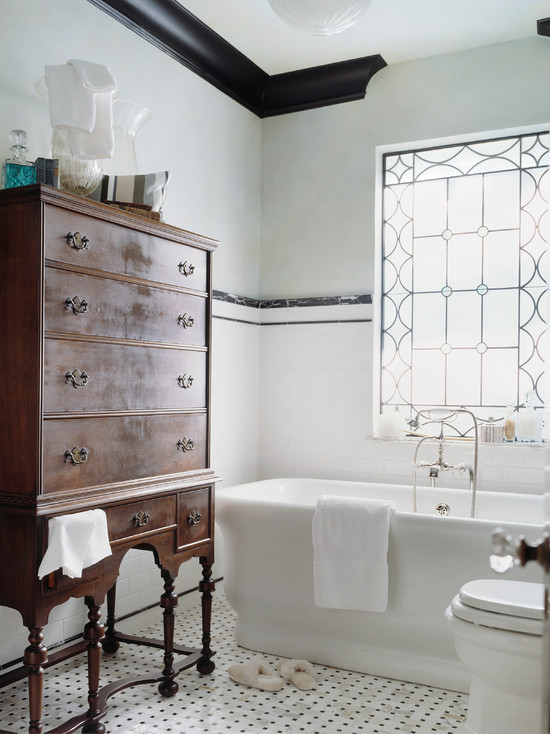
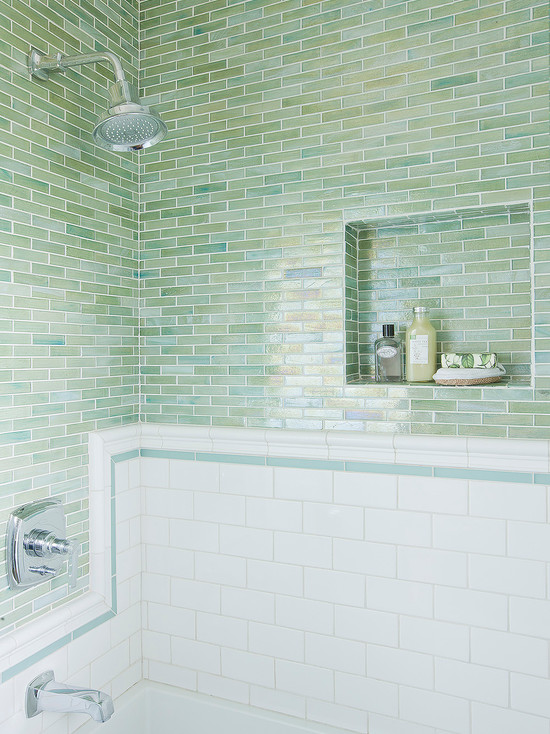
Classic option bathroom tile layouts the room is considered a light top and a dark bottom, separated by a border line in the middle. But it is not necessary to strictly follow the order of the boring scheme.Moreover, most designers simply do not recommend arranging small baths in this style, because in this way an already small space is visually reduced, even if the tiles are placed horizontally. In general, it is better not to oversaturate a small bathroom with decorative elements, especially considering that there are already too many different items: shelves, special furniture, plumbing, household appliances, and so on.
When choosing a color palette, the best solution would be to focus on your favorite color, the contemplation of which will be a pleasure. The main criterion here is your own feelings, but you should not neglect the sense of proportion, because the “screaming” design will put pressure on the psyche and will not allow you to relax.

The layout of the tiles in the bathroom is better to start from the wall, which is completely within the field of view. At the same time, centering for laying the floor is used very rarely, and then if there is a colorful “spot” in the middle.
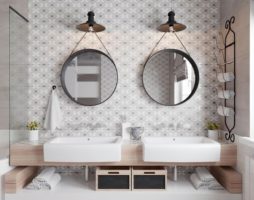
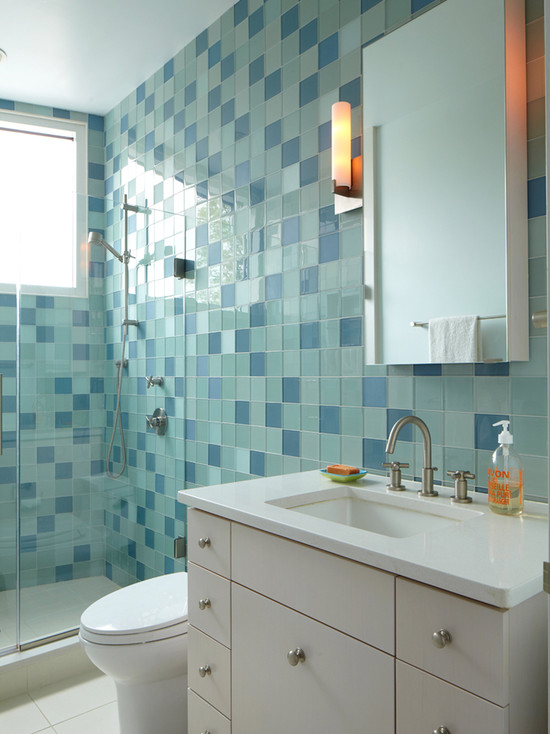
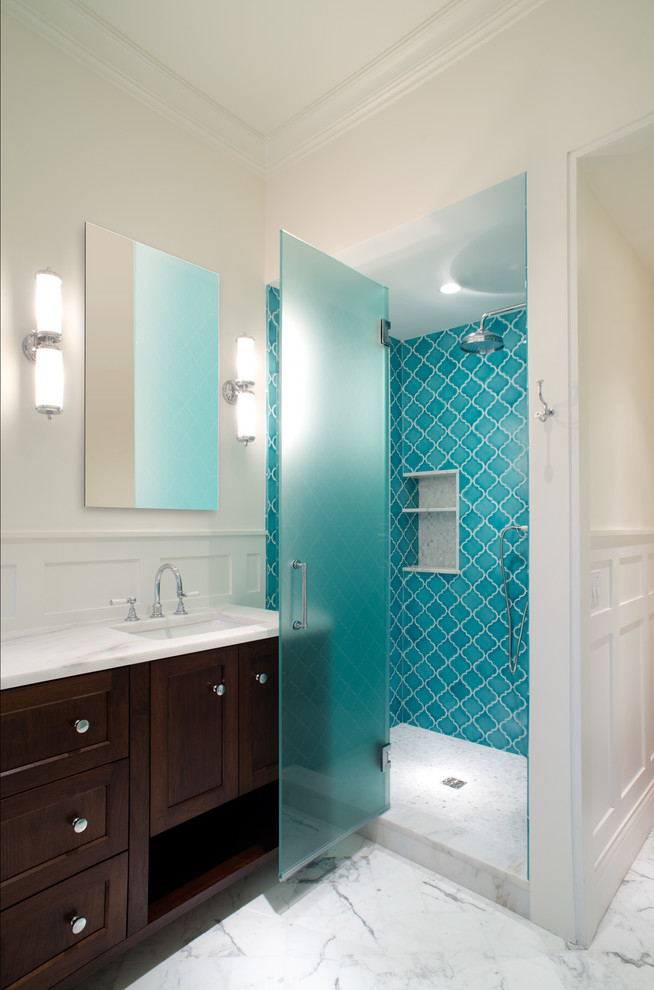
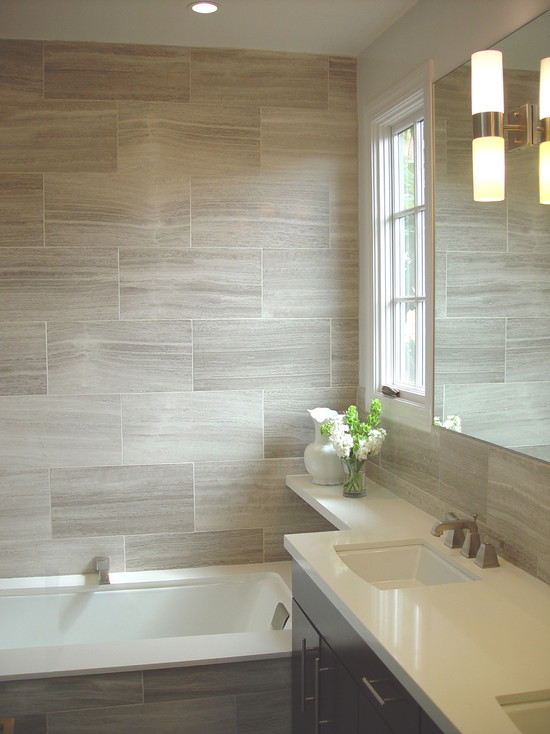
When developing a design, do not forget that by correctly placing the accents, you can visually adjust the geometry of the room. So, to visually enlarge the bathroom, it is better to use a small tile of cold blue, gray-turquoise and silver tones. In this case, it is better to lay the tiles horizontally, and on the floor surface, the rows should be arranged diagonally. It is better to dwell on a verified transverse ornament or abstract stripes. Also, friezes will help visually make the bathroom larger, which should be laid at the junction of the wall with the upper and lower ceilings, or make borders from tiles of a contrasting color.
If you want to visually increase the height of the ceilings, then you need to use the following tips:
- Laying is best done in a vertical direction.
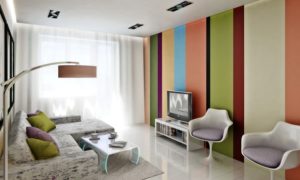
- Decorate the bathroom with vertical bright stripes and friezes, and highlight the corners with color throughout the height.
- Decorative details should be installed not lower than eye level.
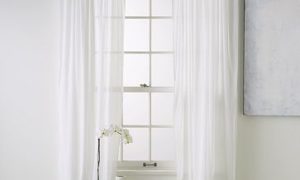
- Professionals advise to install a mirror to visually increase the space or glaze the door with frosted glass.
In addition, at present, designers and large construction hypermarkets offer, using 3D modeling, to see in advance your future bathroom on a computer monitor, do not neglect this opportunity. You can also try to draw the interior of the room yourself, and it is not necessary to use a computer, you can do it by hand. At the same time, before everything is measured, drawn and painted, you must first create a plan for the bathroom.
Basic rules for drawing a bathroom plan
First things first, you need to pick up a tape measure, ruler, pencil and paper. It is these tools that will be the first step in creating a perfectly laid tile. Having correctly worked out the plan, you will surely avoid many problems and shortcomings in the further layout of the tiles in the bathroom, you will be able to correctly place accents, arrange decor elements and make sure that nothing obscures the tiles. In addition, after thinking everything over in detail, you can hide the cut elements under the furniture or in the far corners, which will certainly make your bath only more beautiful. Think about whether the surface of the walls will be completely covered with tiles or whether the tiles will be laid only fragmentarily around the plumbing or up to a certain level around the perimeter.
Dimensions should be taken with maximum accuracy, so you will not only correctly calculate the amount of material needed, but you will also be able to accurately determine the place for decor elements, calculate the places for trimming and avoid various misunderstandings. First of all, we draw the perimeter of the floor on the floor plan, then draw the walls, door, niches and ledges.
Be sure to indicate where the plumbing is located. Next, you need to consider whether you will install new or transfer old lighting equipment, sockets, taps, pipes, etc.
Be sure to make several copies of the resulting plan, so you can try out many different options for decorating the bathroom on paper. And if the plans are already ready, then you can safely proceed to the selection of the scheme for future installation.
The most popular ways to lay out tiles in the bathroom
Method number 1. "Seam to seam"
Perhaps the easiest installation method, in which the rows of tiles are parallel to the walls of the bath. In this case, the vertical direction accuracy is measured by a plumb line, and horizontally by a triangle. In a similar way, you can lay both square and rectangular tiles. Separately, it should be noted that this method allows you to save material, and the process of laying tiles becomes as simple as possible. In addition, the “seam to seam” method allows you to harmoniously decorate the room with various ornamental borders.
When laying, you should not rely on the accuracy of your eye, be sure to use special plastic crosses.
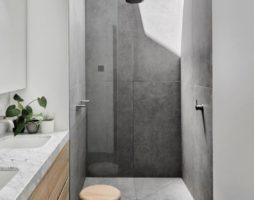
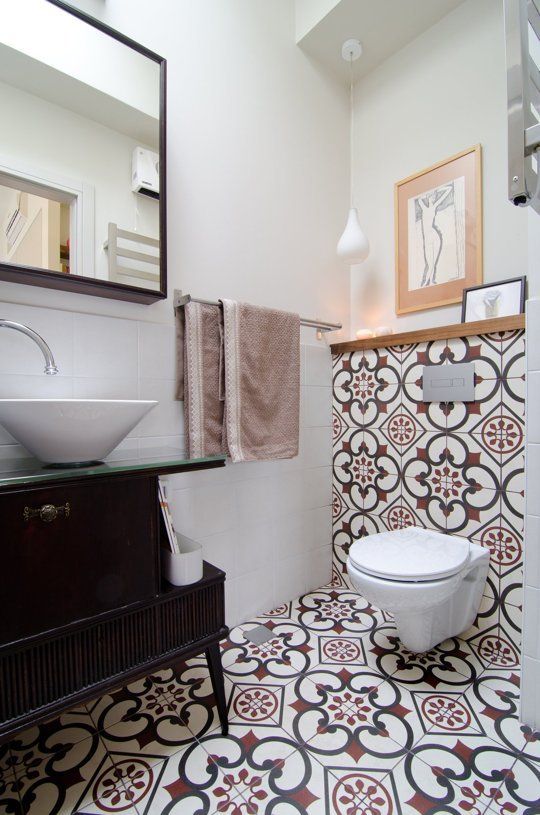
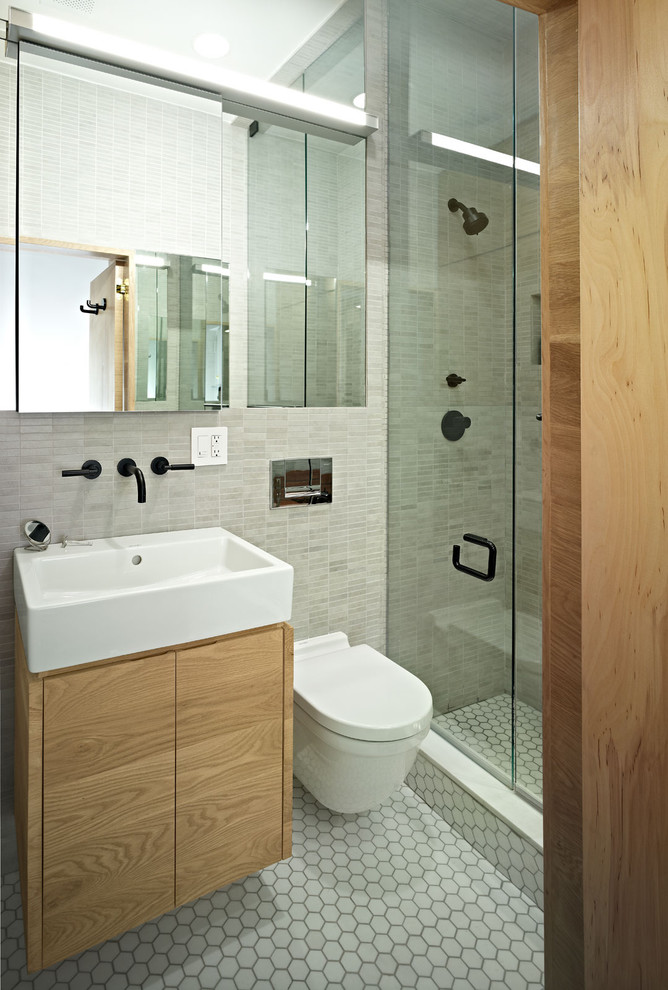
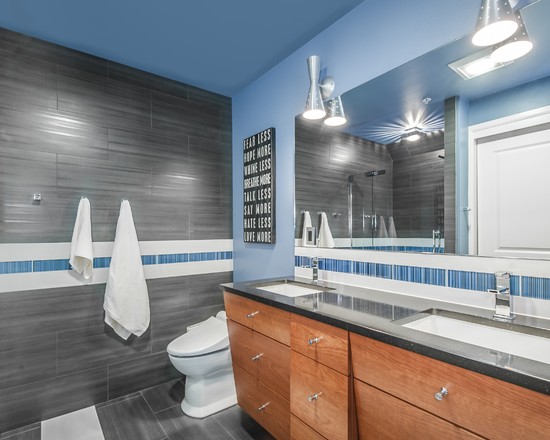
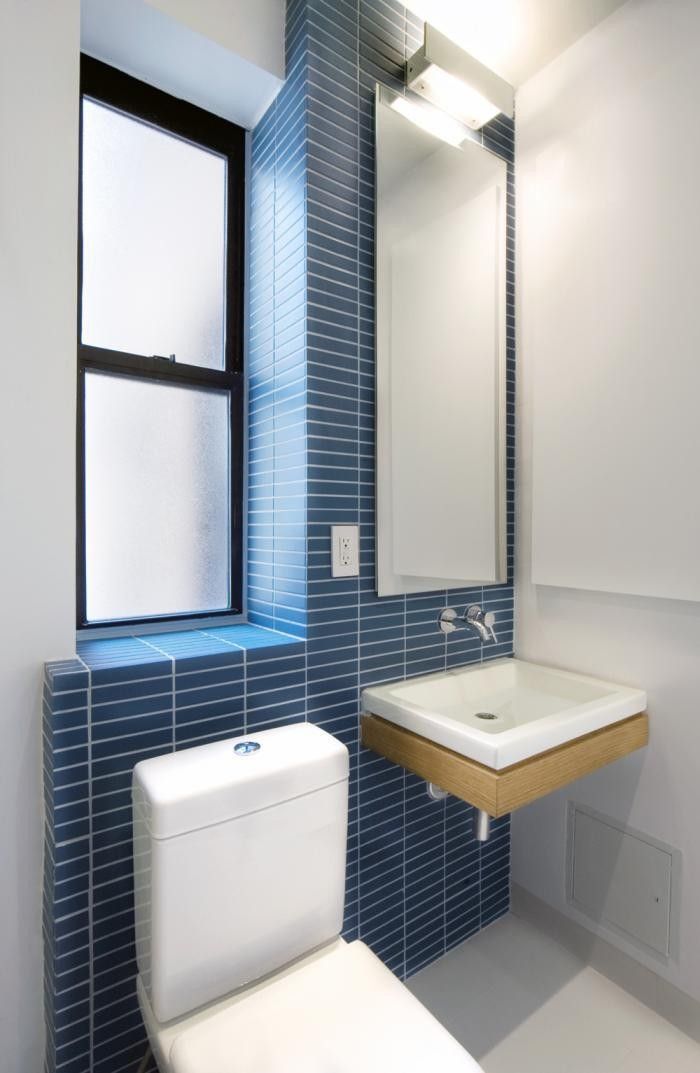
Toilet in the style of minimalism
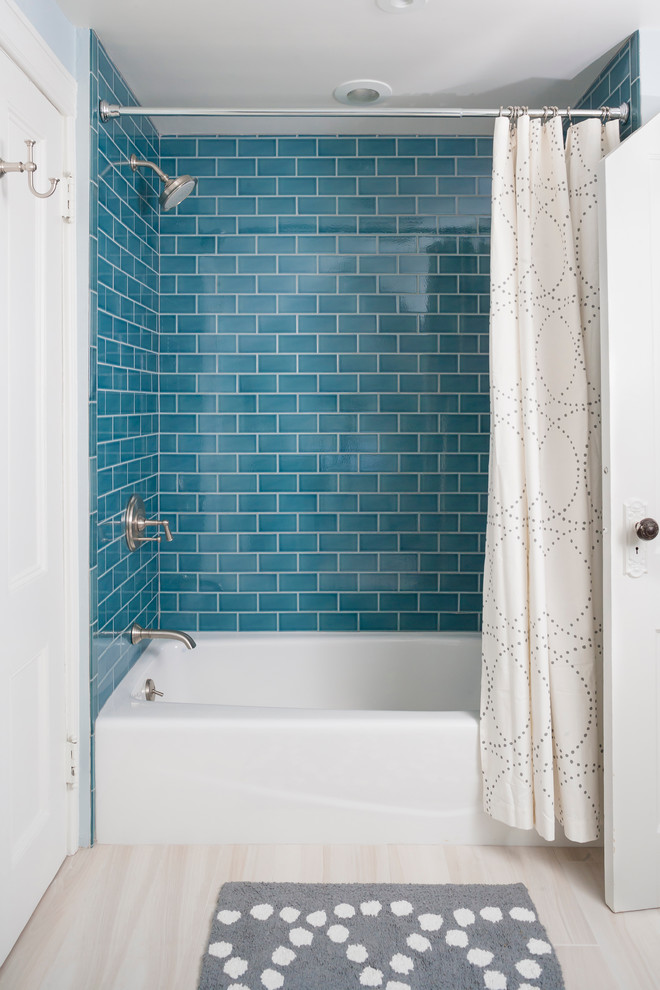
Method number 2. Laying tiles "in dressing"
This method outwardly looks nothing more than ordinary brickwork, so it is best to use a rectangular tile for it. This is also a fairly simple technique, but it has its own nuances: it is better to refuse to use two contrasting colors, since this can visually make the floor uneven. In addition, laying is best done horizontally, because the vertical arrangement will look ridiculous. One of the advantages of laying “in the dressing” is the ability to use tiles with a slight deviation in size. This defect will thus be invisible.
Method number 3. Diagonal styling
A very difficult and costly method in terms of the material used, so it is better for inexperienced performers to refuse it. As in the base masonry, the butt joints here resemble crossed lines, and their correct location should be controlled by a triangle and a level that are applied to the axes. The advantage of diagonal laying is that it can be used to visually correct non-parallel walls, as well as “push” the frames of a small room.
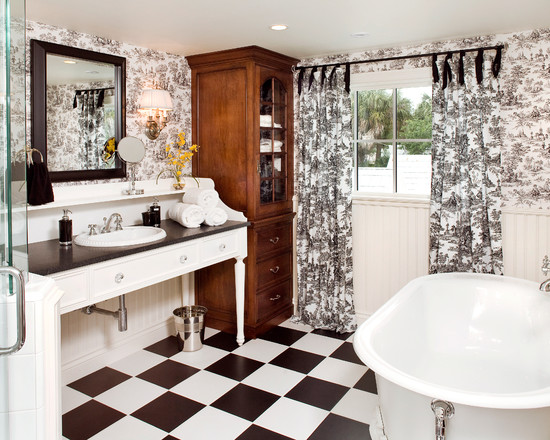
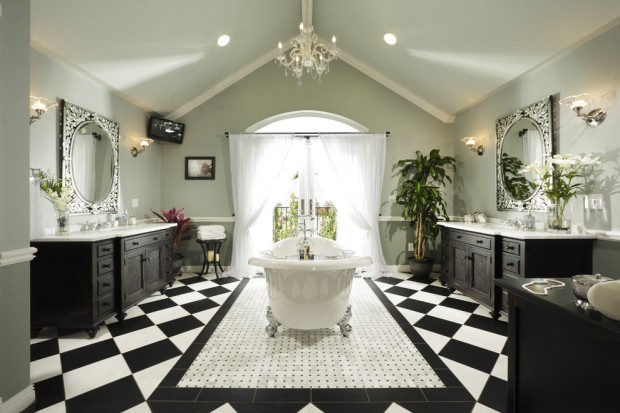
Method number 4. Chess
This is one of the variations of the “seam to seam” method, only when laying tiles of two different colors are used.
Method number 5. modular way
To lay out the tiles in the bathroom in this way, it is necessary to use three or more tile sizes, which allows you to create a dynamic original pattern. Moreover, it can be not only a clearly sustained ornament, but also a chaotic arrangement or bright inclusions in a plain surface.
To lay tiles in this way, it is necessary to select tiles with multiple sizes, and it is better that it be from one manufacturer. In this case, it is imperative to lay out all the elements on the floor without gluing, so you can see the future pattern and, if necessary, adjust it.
Method number 6. "Ornament"
This way of laying outwardly resembles a carpet with a magnificent geometric pattern. However, there are several different variations on this theme, for example, a bright pattern located in the center of a monochromatic “canvas” or a carpet bordered with a colored border.
Method number 7. Floor with "border"
This method implies that the tile, laid out on the floor, goes to the wall. Simply put, one or two strips are laid out at the bottom of the wall, identical in color to the floor tiles. A fairly simple scheme, with which you can visually expand the room a little, but at the same time visually the bathroom will become lower.
Built-in toilet
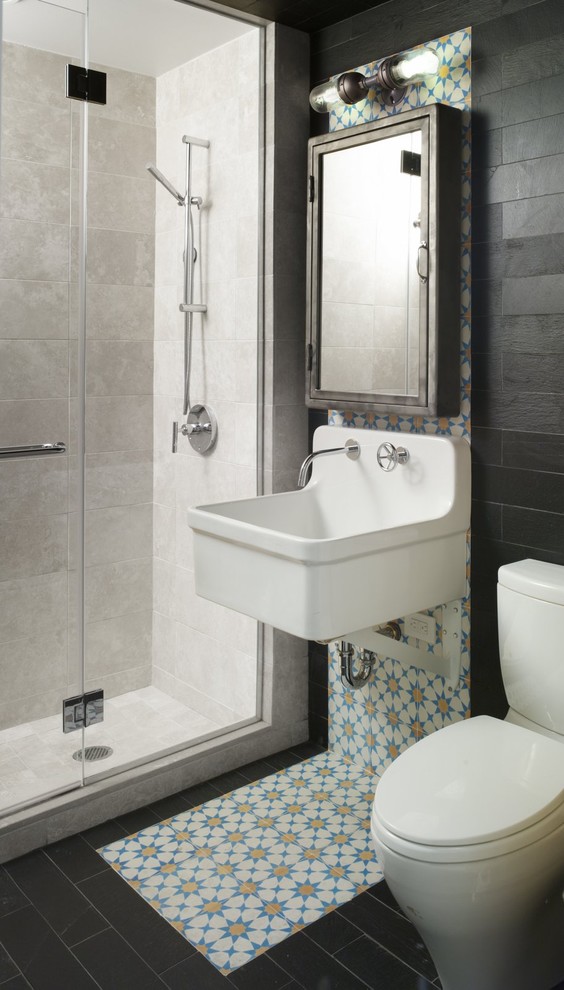
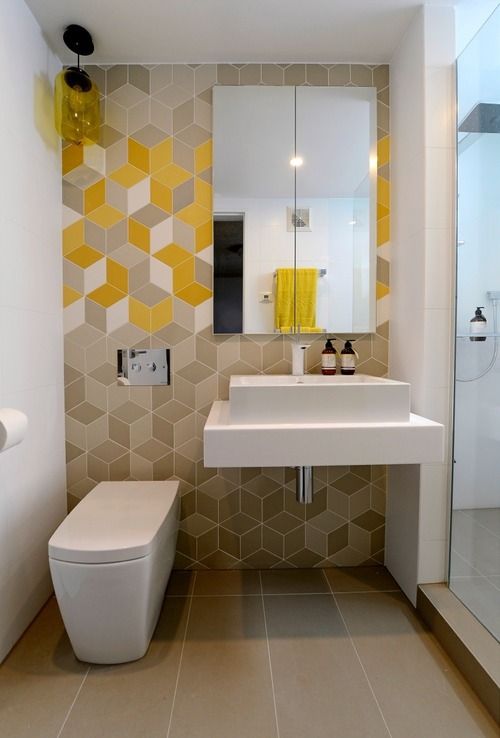
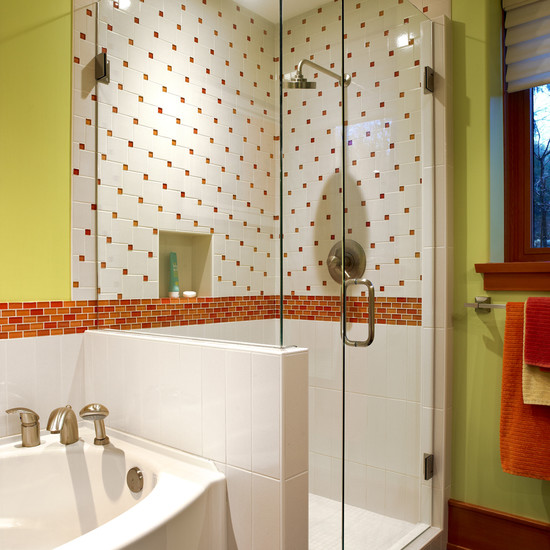
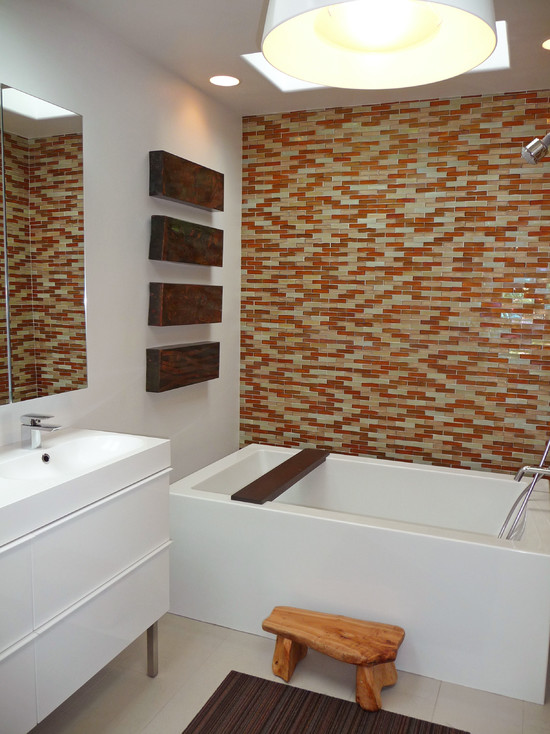
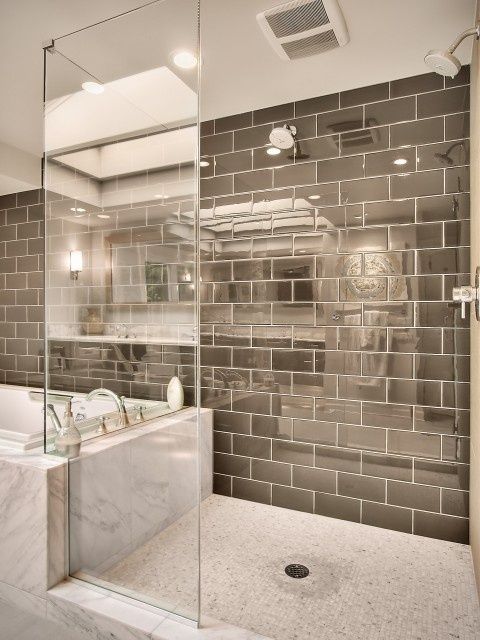
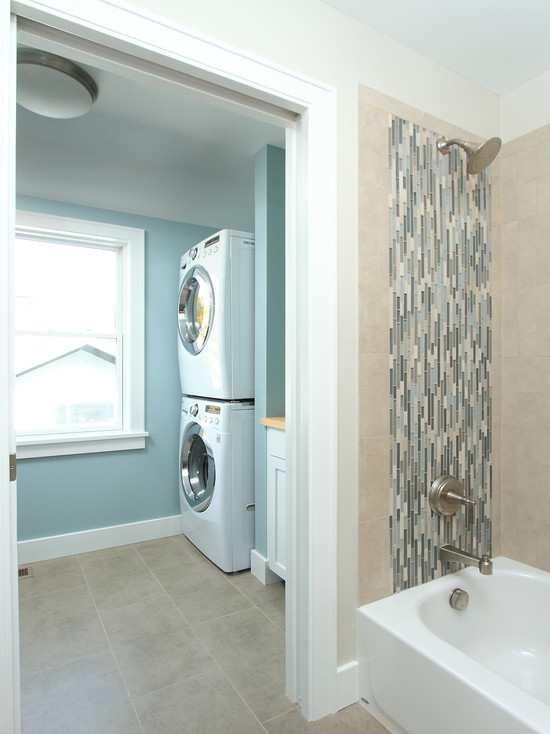
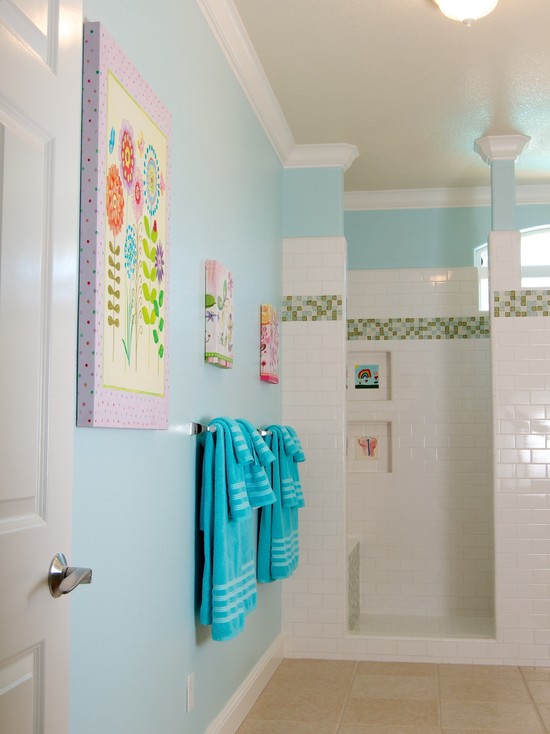
Method number 8. Accent fragments
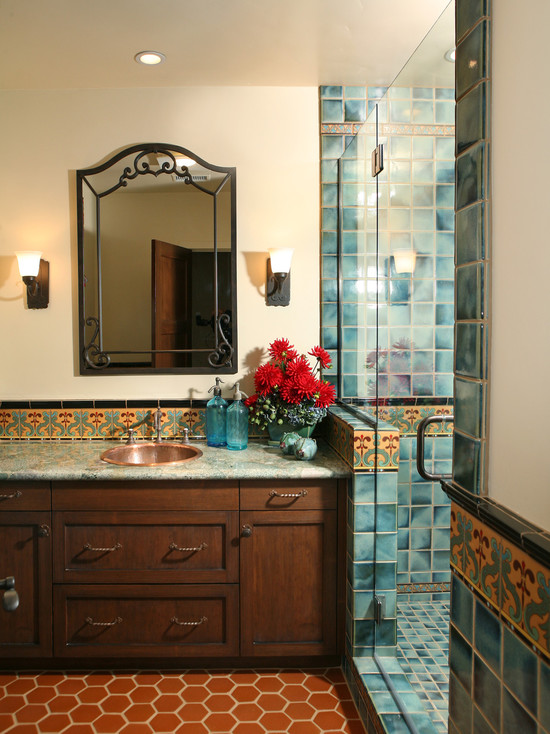
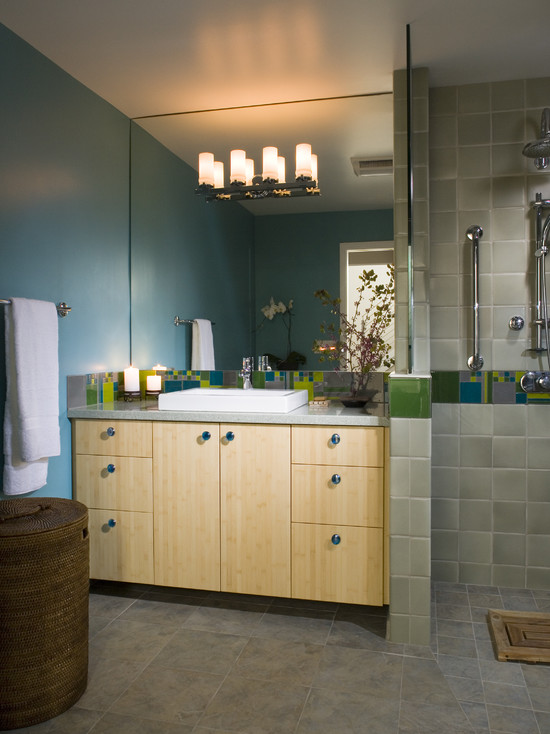
A very popular scheme, but it is not suitable for all bathrooms. The background tile is used here for facing the main part of the surface, however, certain areas (most often functional) are distinguished by decorative or contrasting tiles. Thanks to this, you can zone and organize the space. But in small rooms, these accents can look very out of place and can create disproportion.For example, in a small bathroom, confusion can arise if several zones are selected in this way. Even within the framework of a spacious bathroom, you should not allocate more than two or three sections. The accent in the area of \u200b\u200bthe shower stall and washbasin will look great.
If you do not want to visually increase the height of the bathroom, then you should start the vertical accent section of the tile not from the floor itself, but a little higher. Or, on the contrary, do not bring it to the ceiling, while capturing part of the floor.
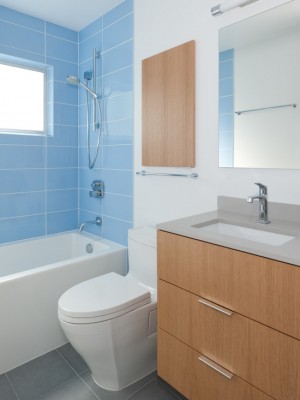
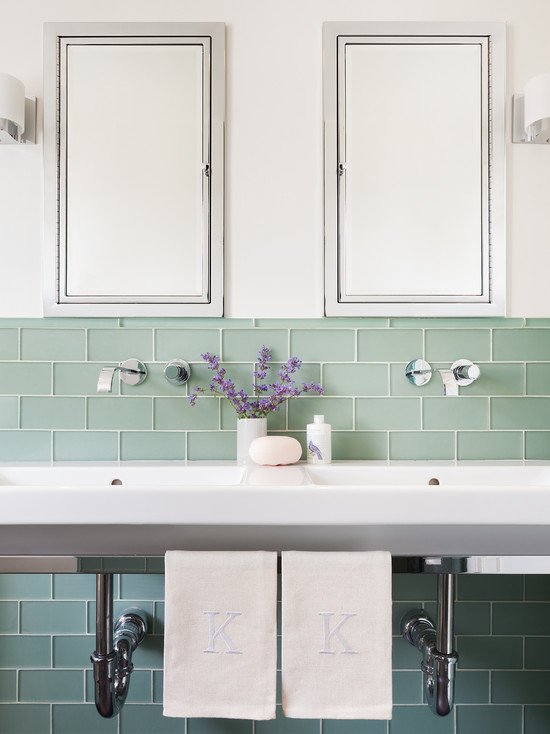
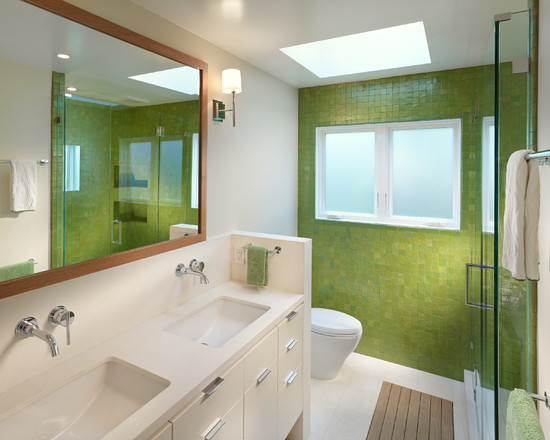
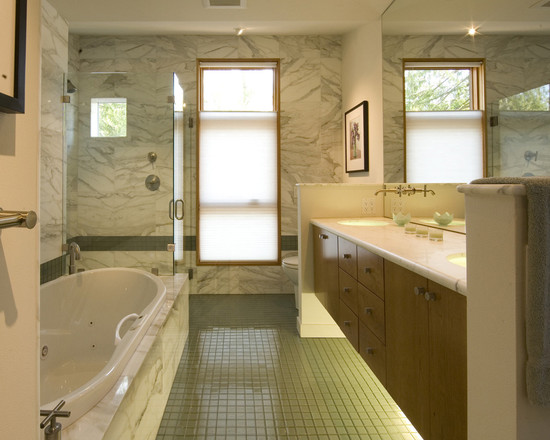
Method number 9. Equality of colors
This scheme involves the use of two or three primary colors, while they are introduced evenly, but not mixed with each other. One tile decorates one half of the bathroom, and the other - the second, and so on. The equality of colors is implemented as follows: the half in which the bath is installed is decorated with one tile, and the wall opposite and the areas that adjoin it are tiled with tiles of a different color.
At the same time, both colors can be used in decorating the floor, joining them in the middle or laying them out in a checkerboard pattern.
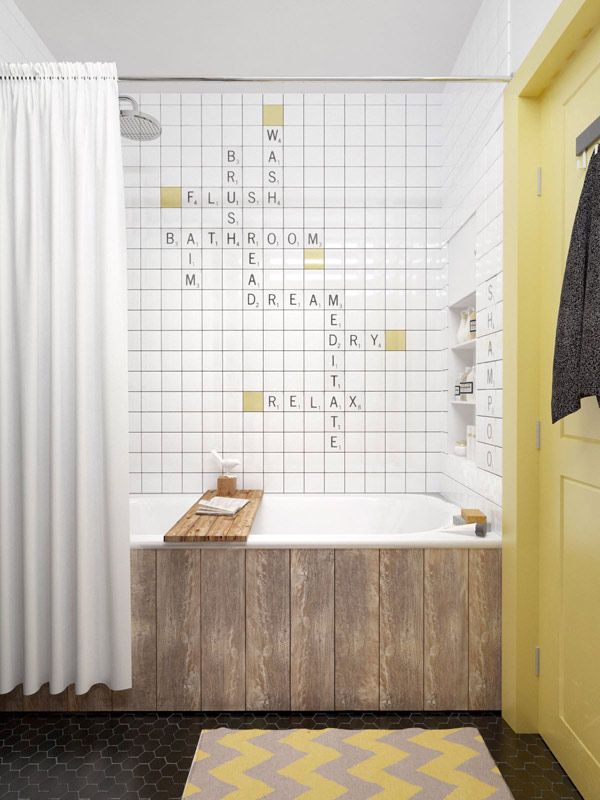
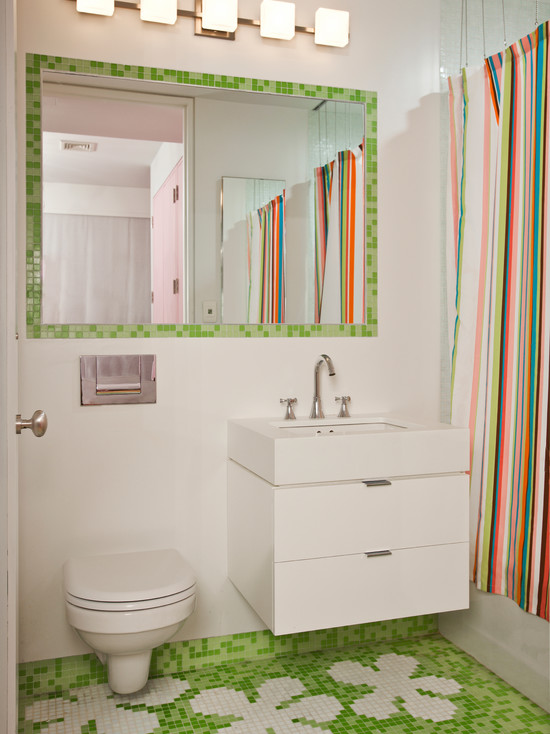
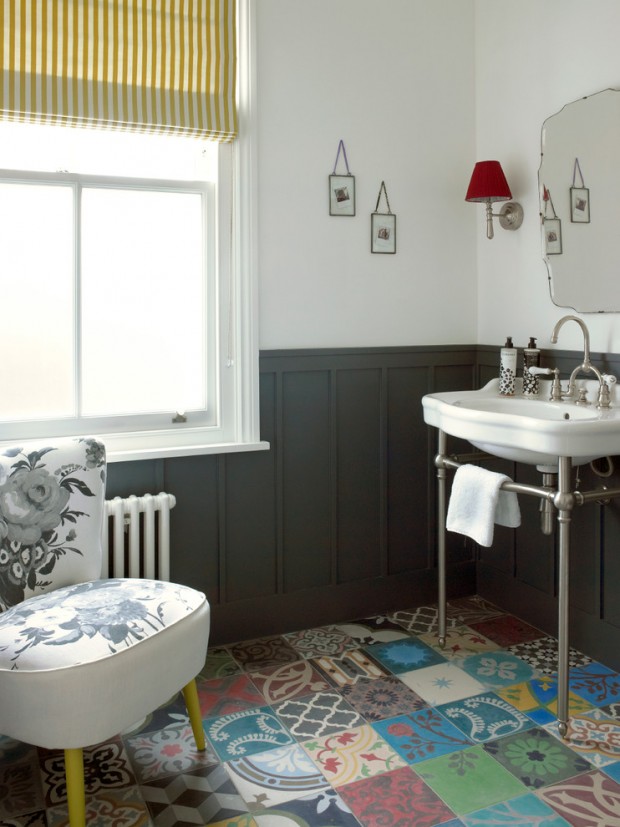
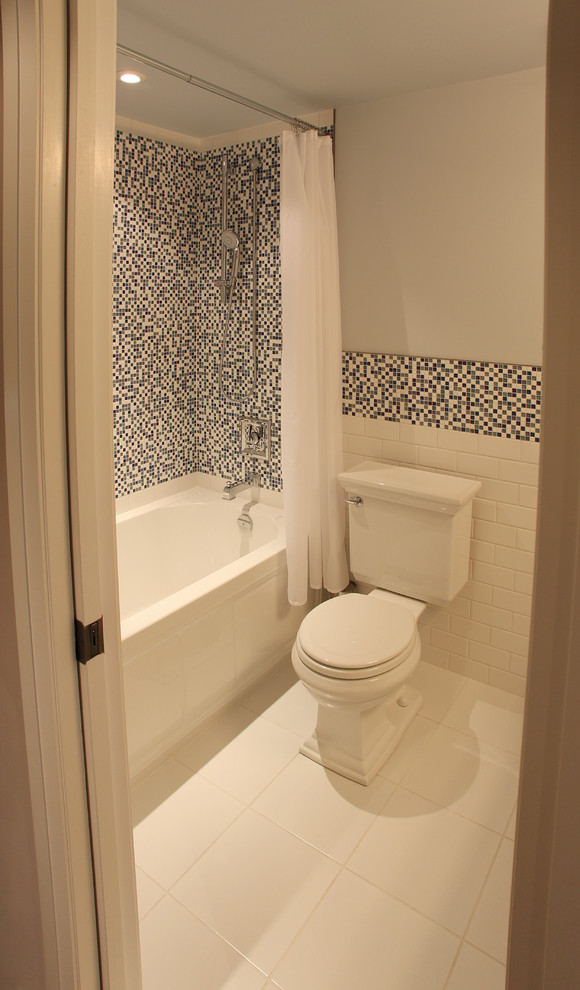
Method number 10. "Kaleidoscope" or "Patchwork"
This method is more suitable for creative and cheerful people, because in this case your bathroom will turn into a colorful kaleidoscope, in which tiles of several colors will be randomly or orderly scattered throughout the room. Such a cheerful atmosphere will surely charge you with a positive mood and cheerfulness for the whole day.
Method number 11. Spray
The layout of the tiles on the main part of the wall is done with plain tiles, but this serene background is decorated with several randomly arranged tiles of a different color, which stand out like drops on the wall. Note that this scheme is relevant only in large bathrooms, since in small rooms it will create a feeling of disorder.

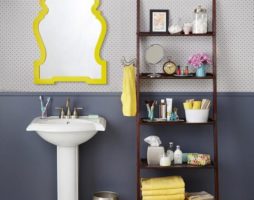
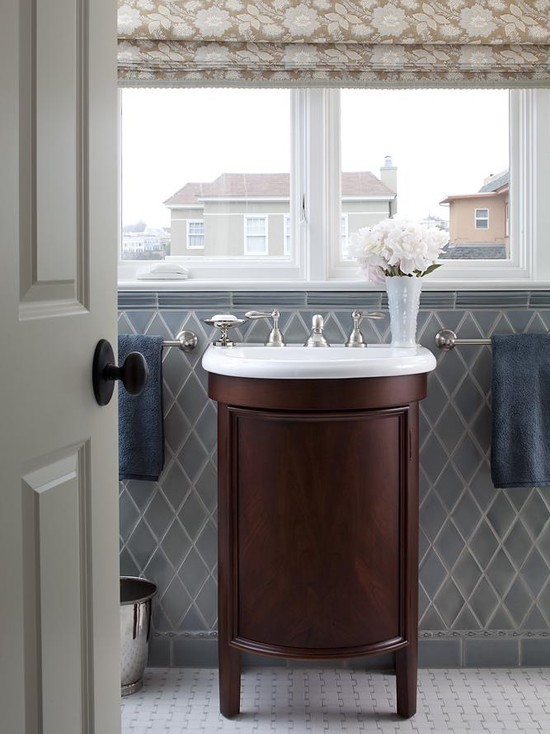
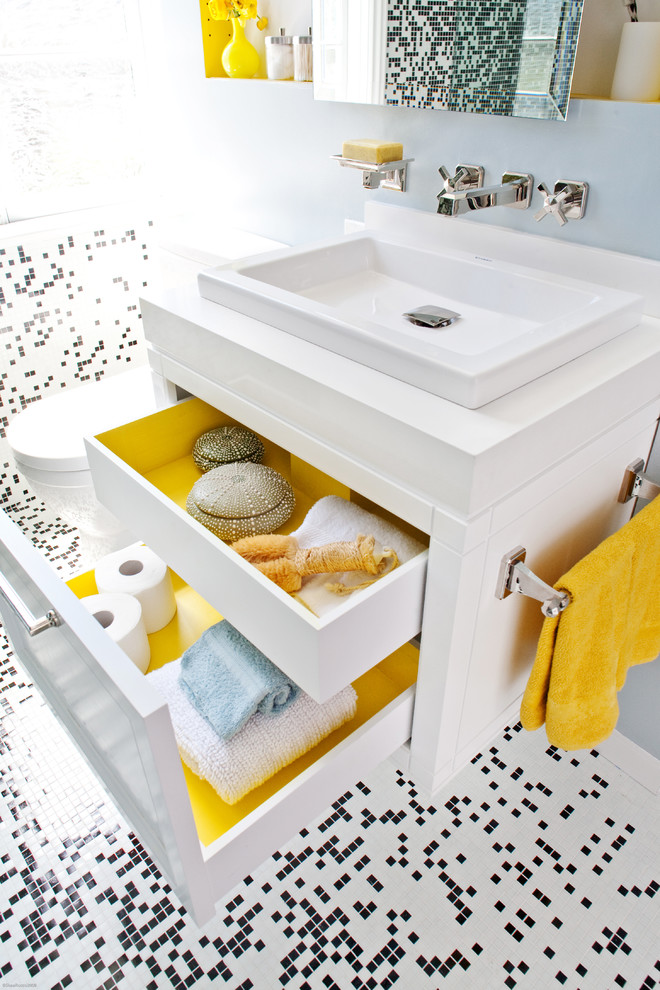
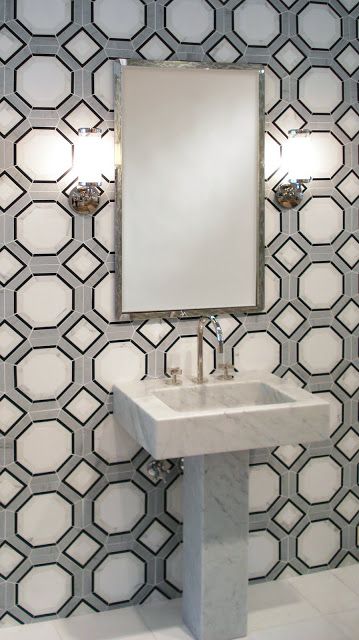
rare rectangular sinks
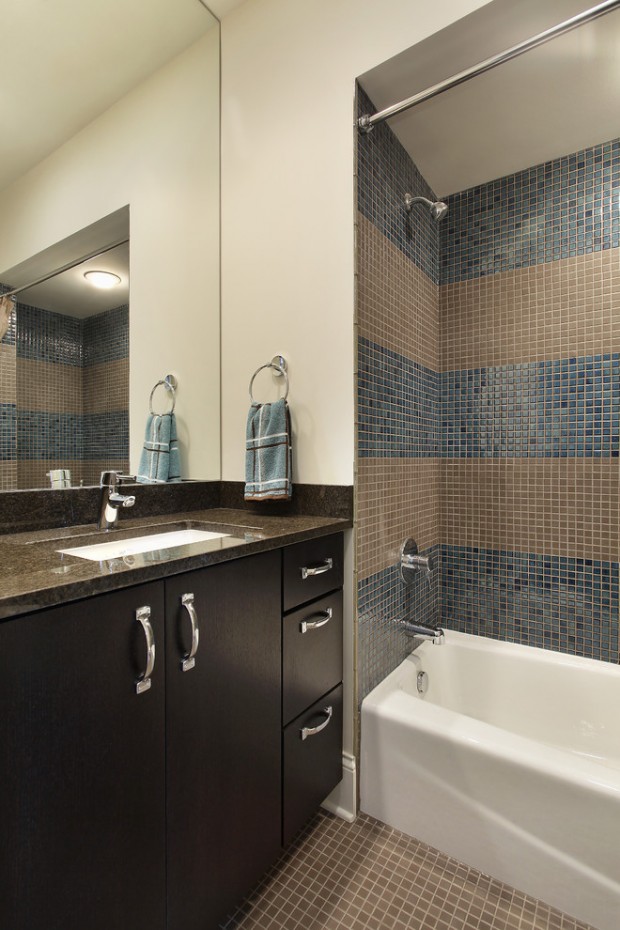
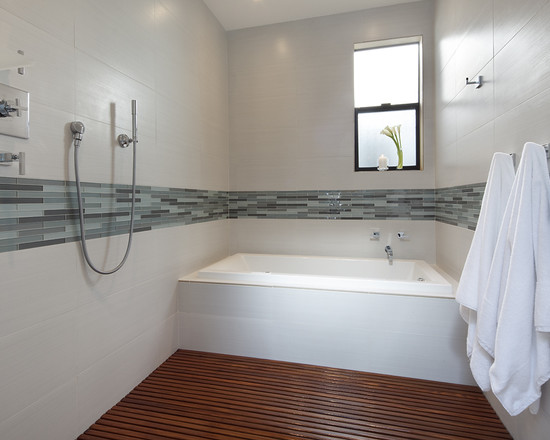
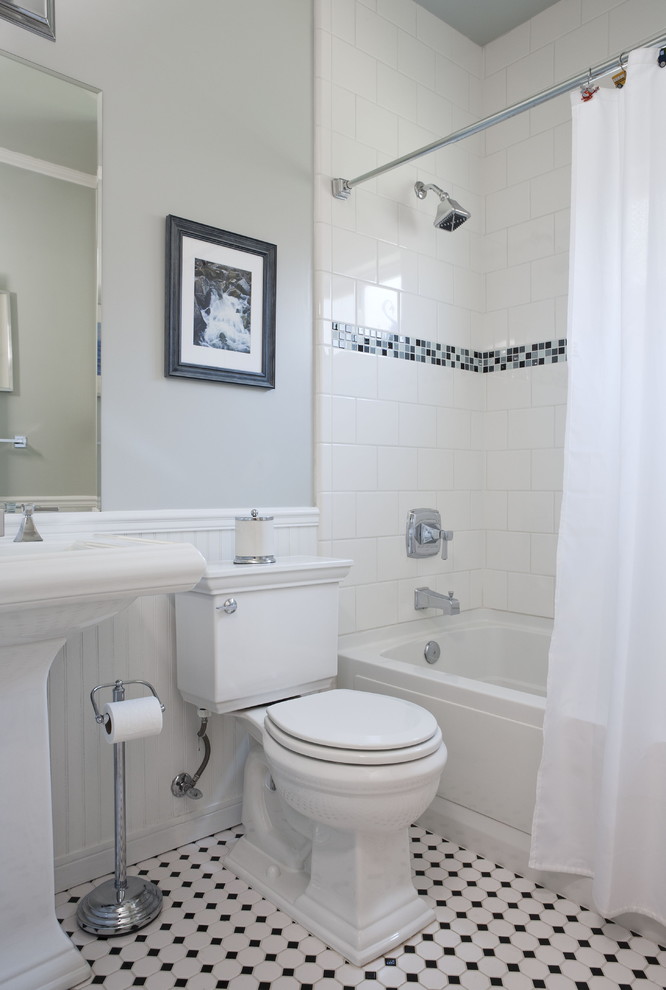
Method number 12. Plaid layout
Such a scheme has been very popular in recent years, because it can be used to achieve a magnificent appearance of the bathroom. In practice, it looks like a transition from a light tile with a narrow dark border to a dark tile of the same tone with a light border. Such a smooth transition allows you to very elegantly divide the functional areas among themselves.
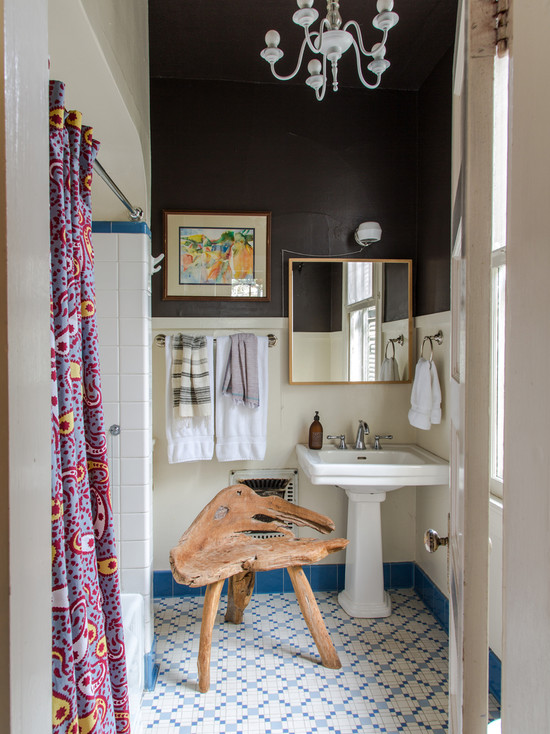
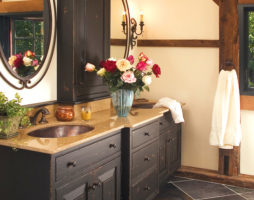
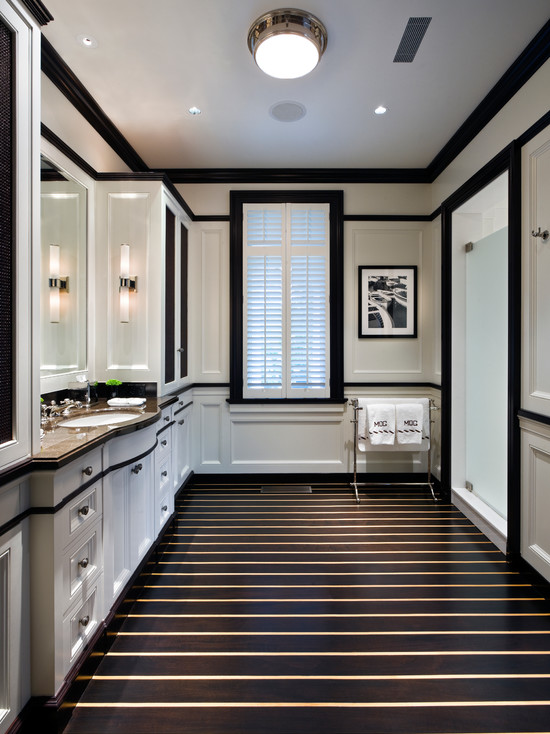
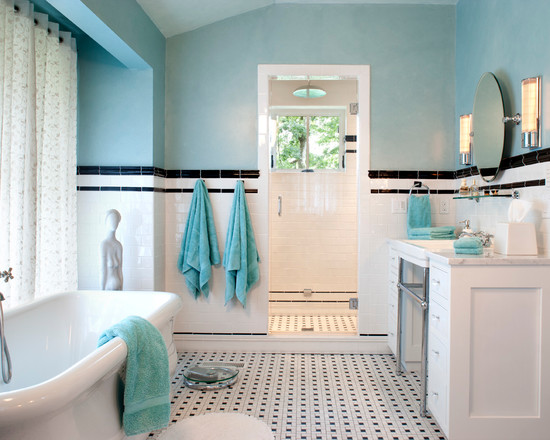
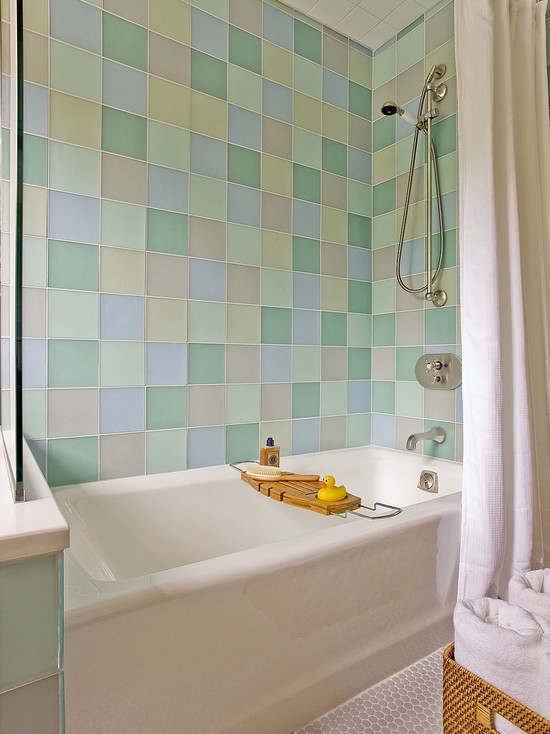
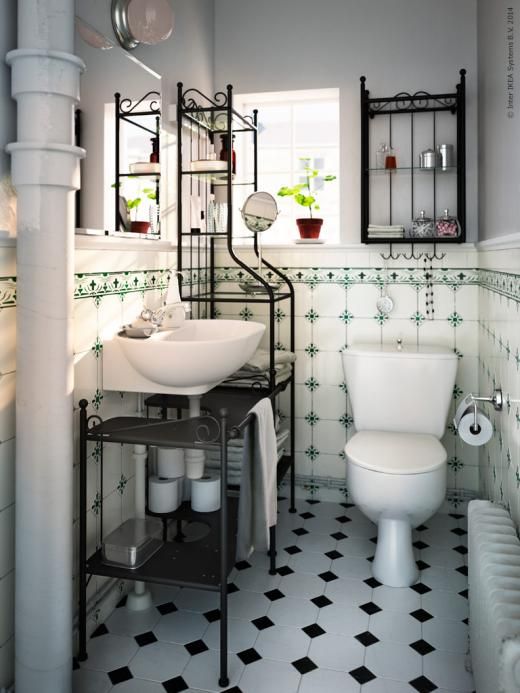
Repair in retro style
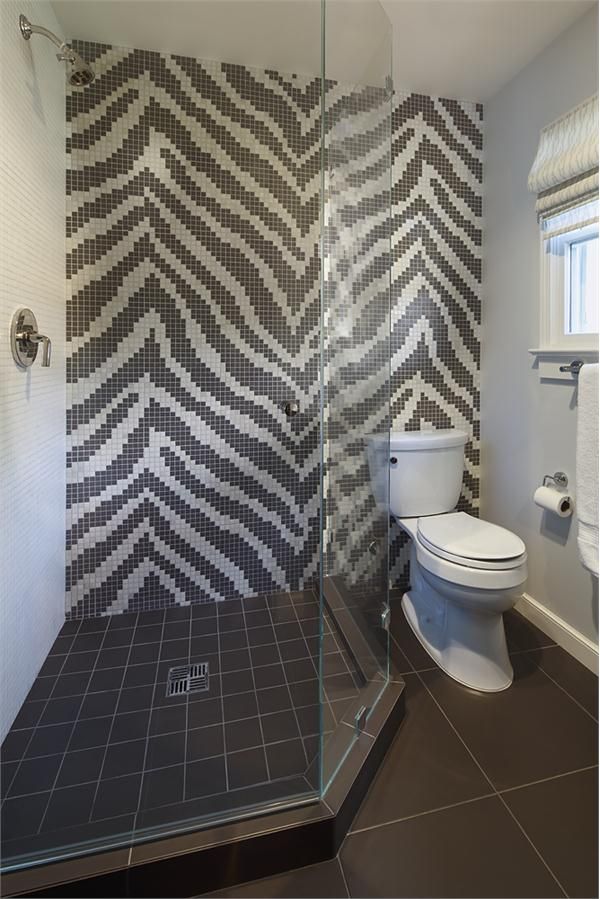
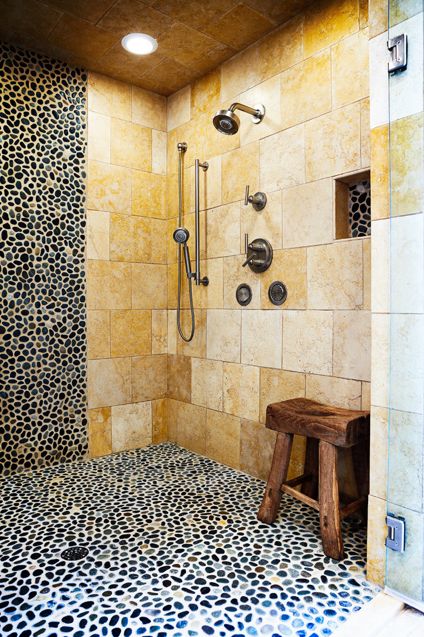
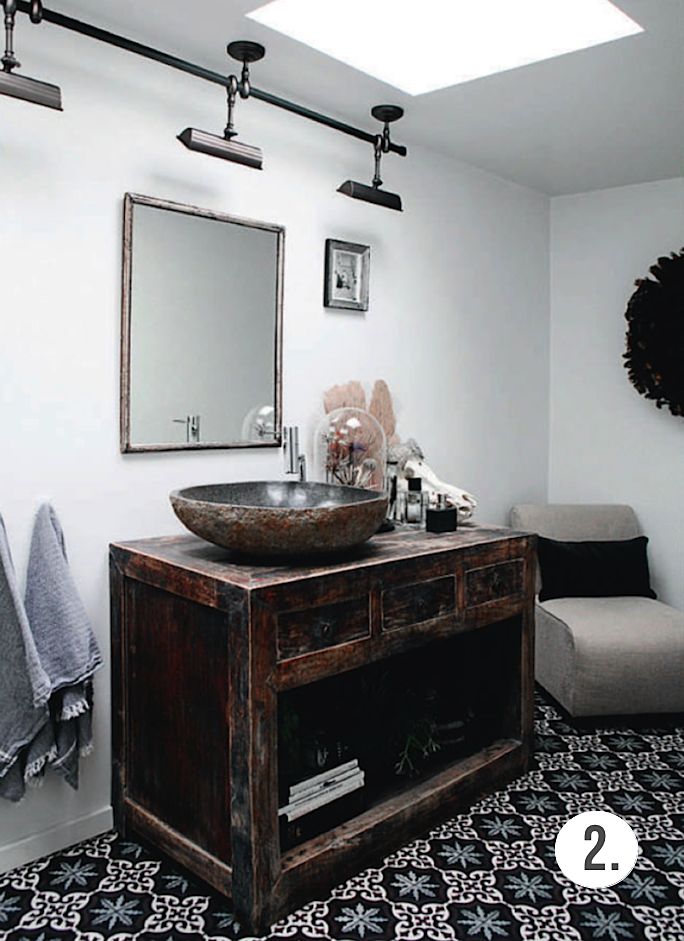
Method number 13. Mosaic layout
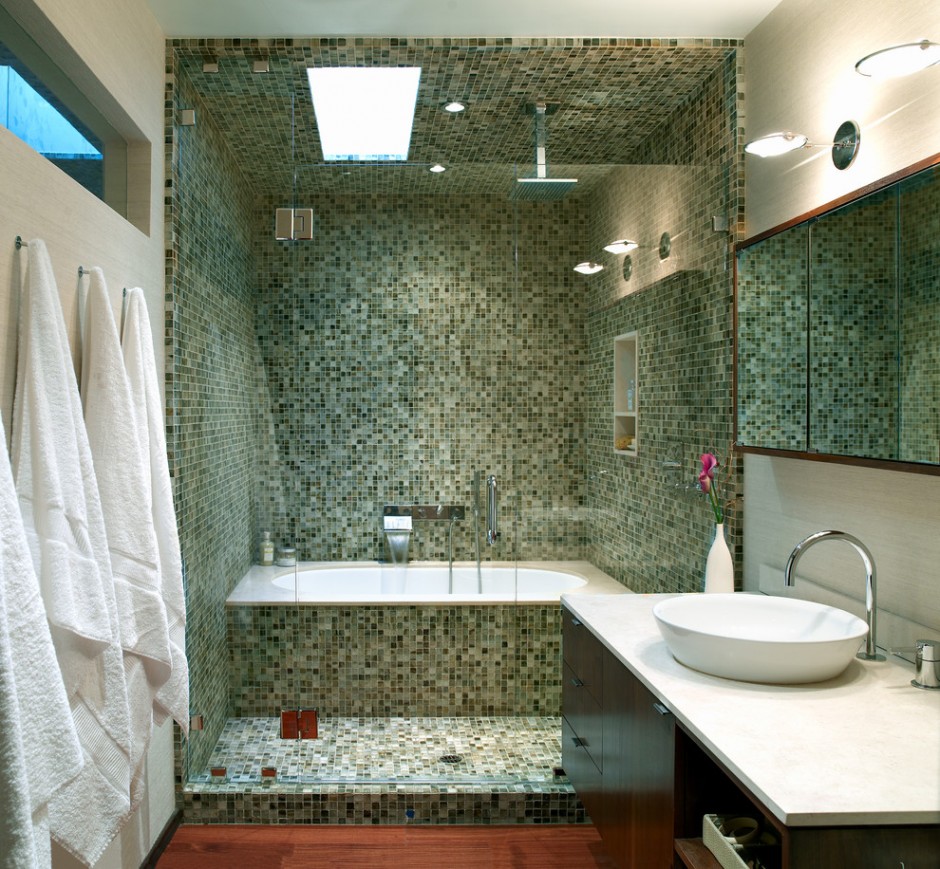
Oval ceramic sink
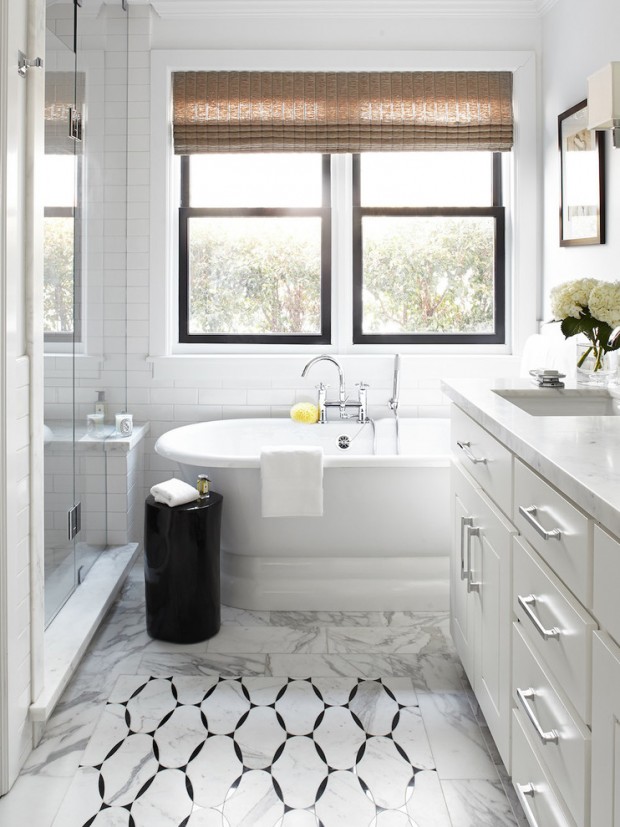
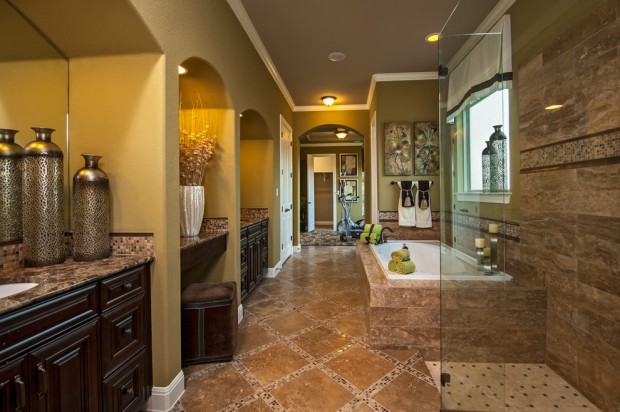
Method number 14. Layout for parquet
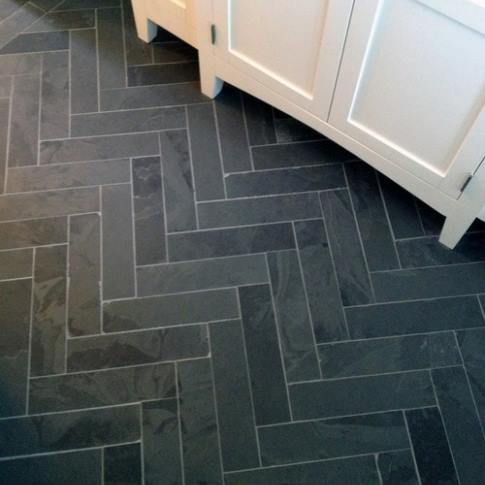
Renovation in the bathroom. Laying tiles for parquet
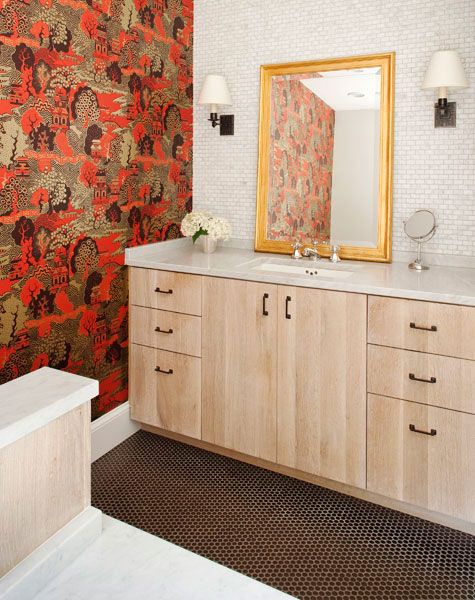
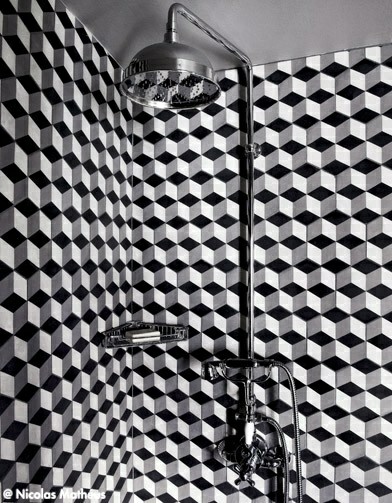
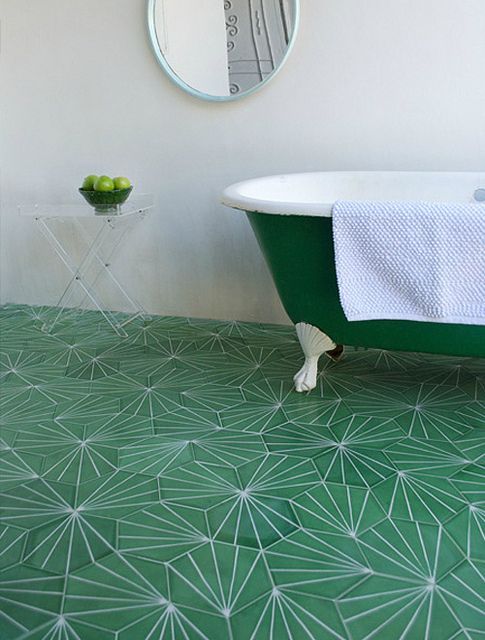
Method number 15. Honeycomb layout
Online calculator will always help you calculate the number of tiles
In addition, you can combine several laying methods at once, and combine them not only within the same room, but also within the same surface.
It is also necessary to say about the tiles with which the “screen” for the bath is lined. Many are wondering how to optimally include this site in the overall scheme? The most acceptable option would be the lining of its frame in accordance with the main layout scheme.
For example, if you decide to lay out a “panel” at the bottom of the wall, then, accordingly, the bathroom frame must be overlaid with exactly the same tiles. If the walls are decorated with vertical stripes, then the “screen” must also be lined with background tiles, decorating it with similar stripes, if possible, passing to the wall and floor. If in your bathroom you use the “equality of colors” template, then the “screen” should be tiled with tiles corresponding to this half of the interior. Also, the frame can be made background, accent, or merging with the font.
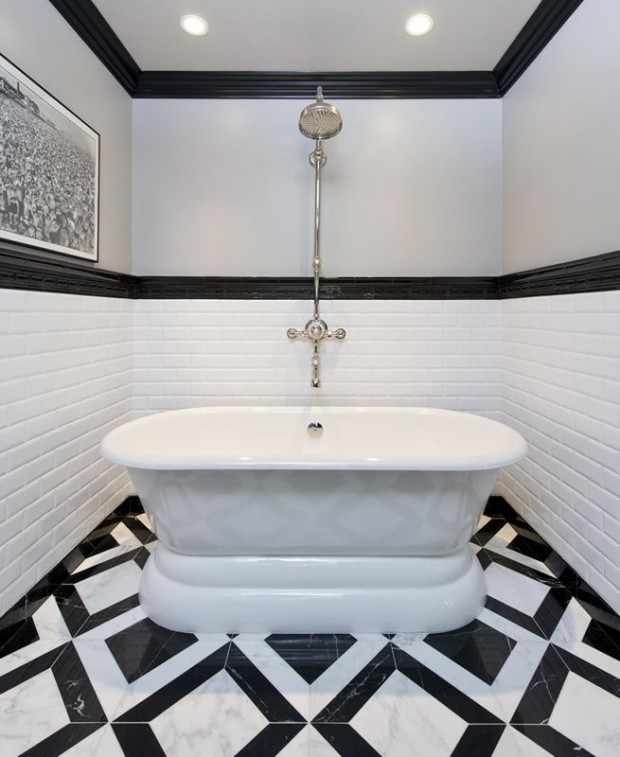
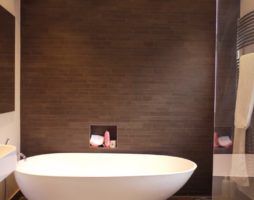
Little popular, but incredibly beautiful ceramic bath
The subtleties of tile layout in the bathroom
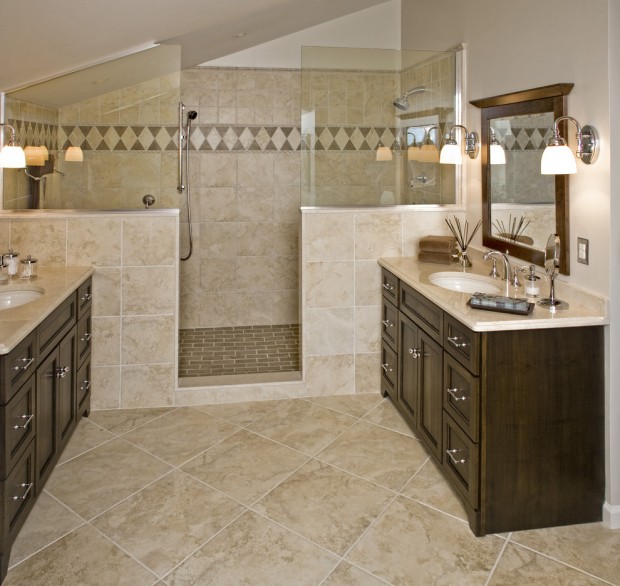
Whichever layout option you choose, the place where you start gluing the tiles to the wall is of decisive importance. The ideal solution would be to use the central wall of the bathroom as a similar platform. This will be the largest and freest wall, on which there is no furniture, shelves and mirrors. Usually it is located directly above the bath.
Having determined the center of the “main” wall, you can start laying, and it can be carried out not only directly on the central axis, but also on both sides of it. First lay the whole tile above the bath (except for the diagonal pattern), and then continue laying up. It is necessary to calculate the number of tiles in all horizontal rows so that the walls have the same size cuts.
Use the calculator when calculating the necessary tiles for finishing the bathroom
When carrying out complex modular laying, it will be better to start with placing the pattern on the floor, so you can avoid mistakes when transferring it to the wall.
Start laying floor tiles from the most exposed wall in the bathroom. In this case, it is first necessary to carry out the lining of the walls and only then the floor.
Free example of tile layout in the bathroom
In this article, we tried to introduce you to the most beautiful and popular cladding schemes, but it is not possible to list all the methods, since there are a great many of them. However, having basic knowledge, you can come up with your own original version, and then the layout of the tiles in the bathroom will not only decorate the bathroom, but also become the “highlight” of your home.
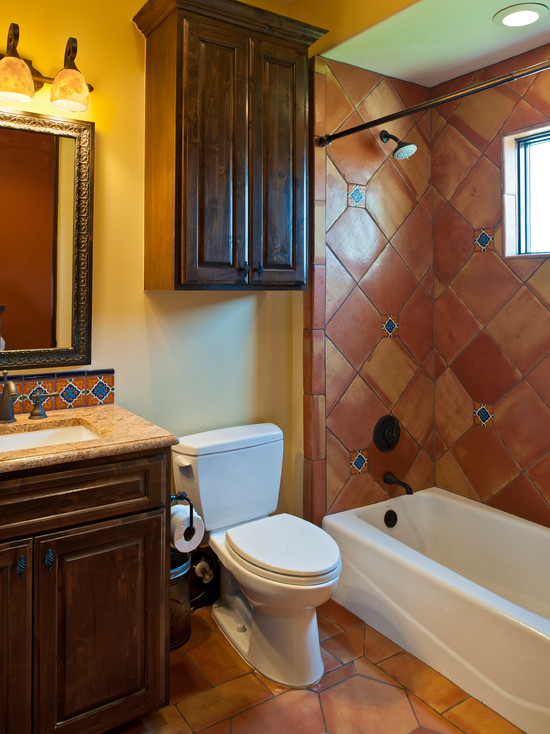
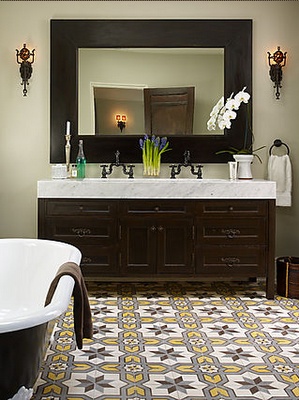
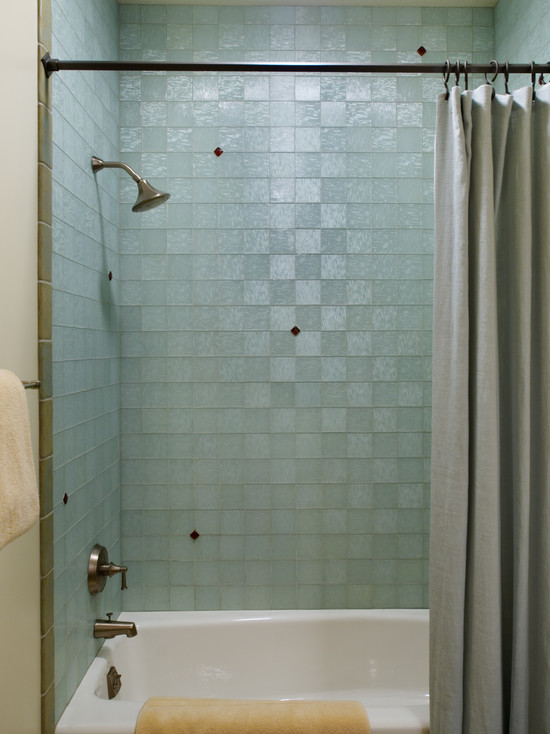
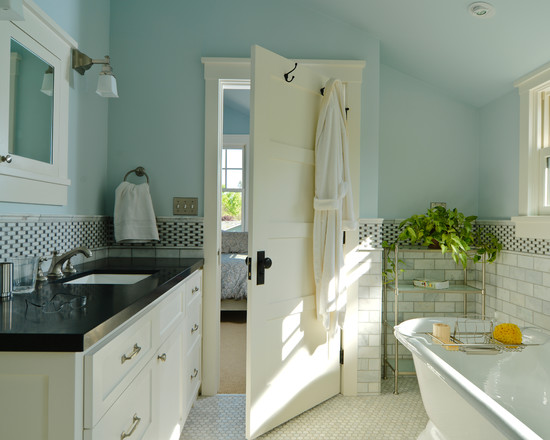
Photo gallery - tile layout in the bathroom:


Video: