If you are the owner of gorgeous old chairs that do not fit into a modern interior, this is a serious problem. And the hand does not rise to throw them away, and it is not possible to find a place for them in a stylish apartment.
This is exactly the situation Sarah Greenman found herself in, and being a creative person - and she is a successful writer, actress, photographer and artist - found a quick and effective way to transform antique dining chairs into a vintage decoration for her dining room.
She needed several cans of spray paint, a piece of fabric with a modern pattern, and a handful of tea bags. This is how she describes the transformation process.
Project Background
Having bought a ranch in Texas with my husband, we became the owners of the dining room, all the furnishings of which remained from the previous owners. It wasn't our style, but the sturdy and comfortable dining set was one of those that fall in love with once and for all. Having lived with a used table and chairs for three years, I was determined to renovate them on a low budget. This is how I made good old chairs boldly bold in one weekend.
It took to work:
- Time: 4 hours plus drying time.
- Difficulty: moderate.
- Cost: $65 (~2000 rubles) if you already have the main tool and a screwdriver.
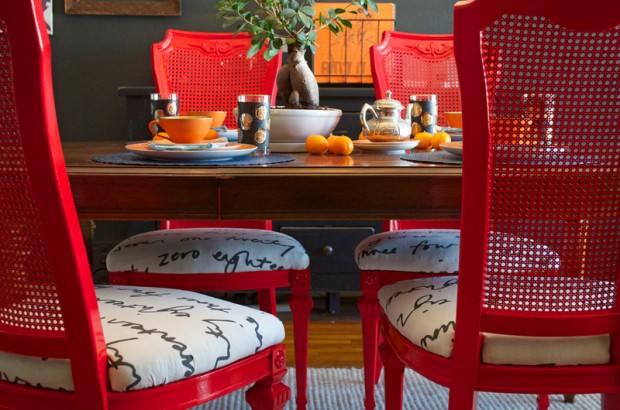
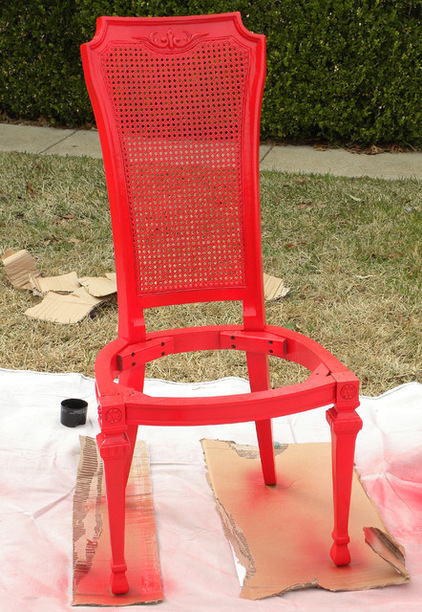
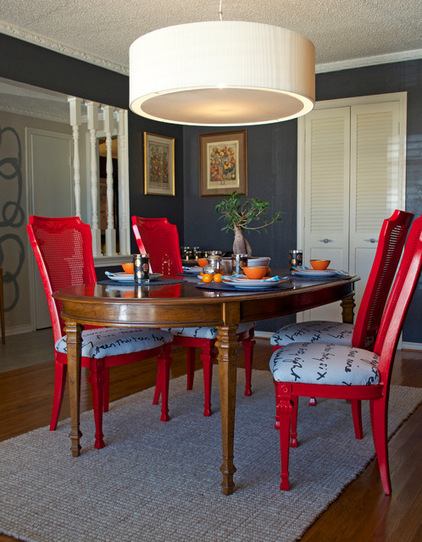
The walls of the dining room are painted in a dark gray called Cracked Pepper and we knew the red chairs would look cool against the dark walls.
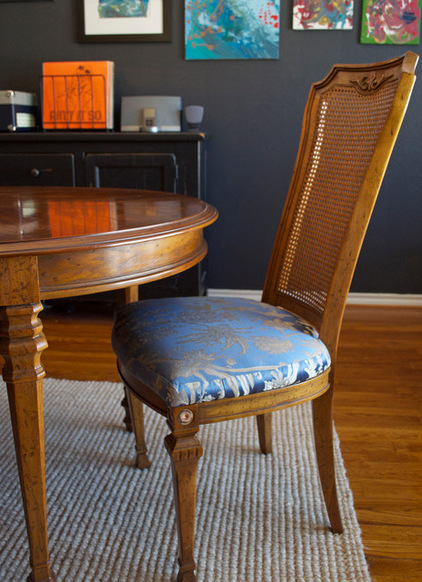
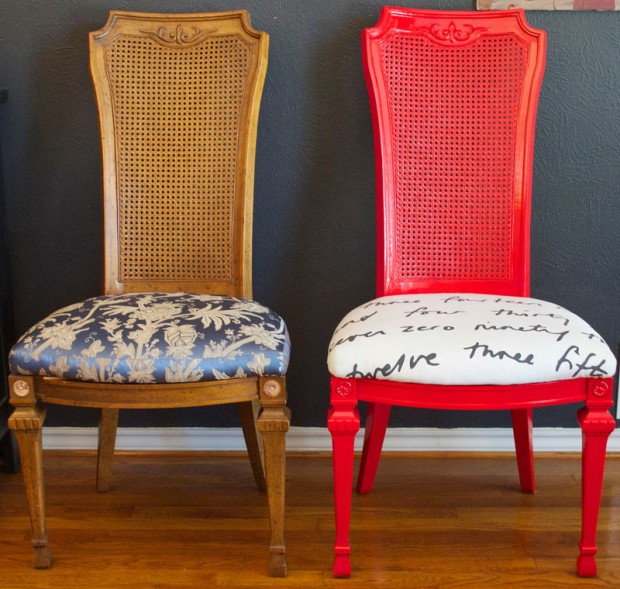
FRONT: Here is an old chair with blue brocade upholstery.
Necessary tools and materials
Tools and materials for wood:
- staple gun;
- Staples 3/8";
- Screwdriver or drill;
- Spray BIN Shellac-Base Primer (I used two cans for four old chairs);
- Spray paint in your chosen color (I used two cans of Rust-Oleum apple red gloss paint);
- Spray can of polyurethane coating.
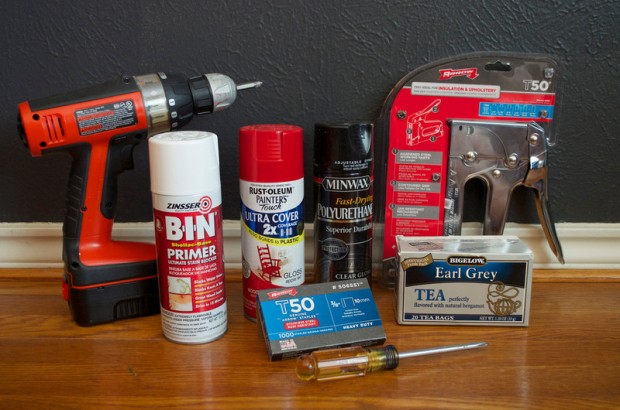
Upholstery materials:
- A box of upholstery tea (I used 10 Earl Grey)
- Fabric 46 x 112 cm per cushion, consumption may vary depending on the seat size of the old chair;
- Plastic bucket, sink or tub for soaking.
Painting the wood frame of an old chair
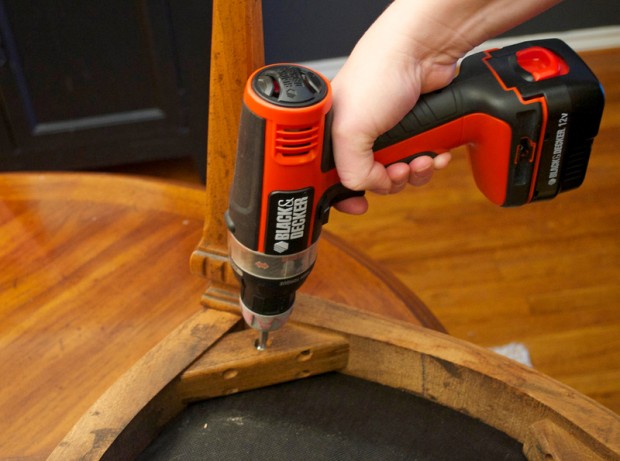
- Using a screwdriver or drill, remove the screws from the seat cushions and set them aside.
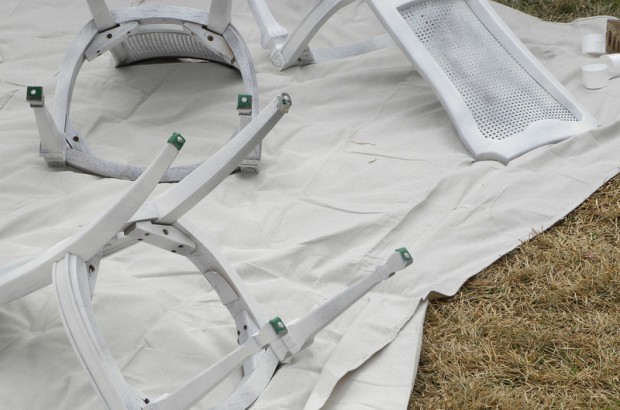
- Take the frame of an old but sturdy chair. Cover the work area with paper, film, or a tarp - I covered part of the yard with a large canvas. Put on safety goggles and gloves. Spray primer on each frame evenly, allow to dry completely. This primer dries quickly; The coating should be ready for the next step within 20 minutes.

- Cover the frame with spray paint. Follow sprayer directions, apply evenly and from the correct distance for best results. Let dry completely (about an hour).
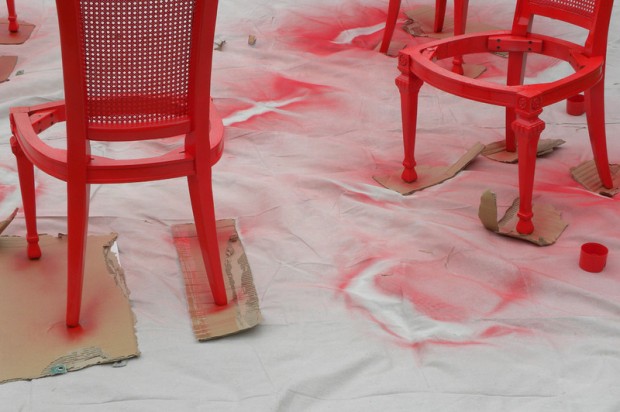
- I put cardboard under my old chairs so as not to crush the grass in the yard.
- I like glossy finishes, so I finished with a polyurethane top coat. It leaves a smooth, long-lasting finish that makes it easy for me to wipe down my furniture after eating.
- Let your bright, now-not-so-old chairs air dry completely before bringing them indoors. I left them to dry overnight, but four to five hours should be enough.
Seat upholstery and upholstery
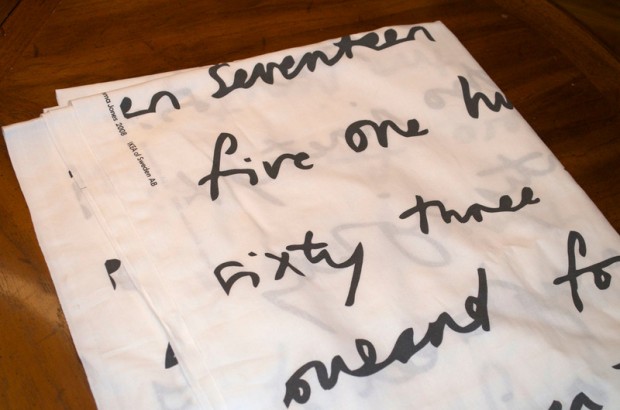
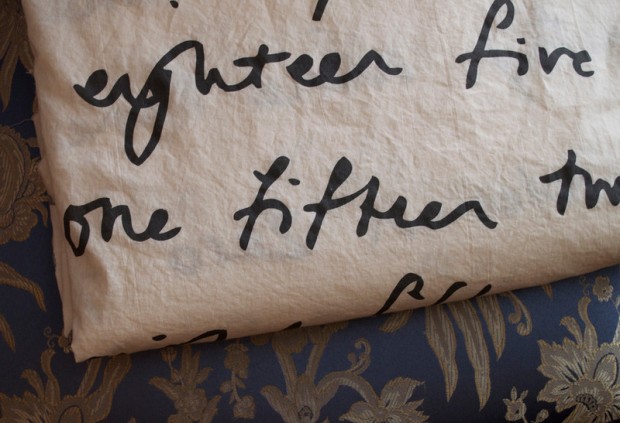
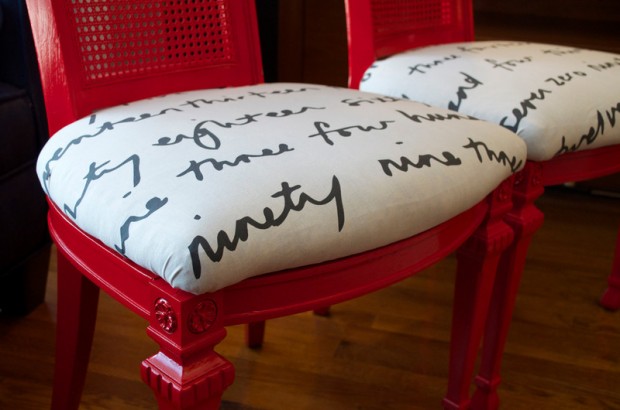
I love typographic prints, so I chose this fabric from Ikea. It took less than 3 meters of fabric to make 5 pillows from my old chairs. The fabric was too white for my dining room, so I "aged" it by dyeing it with tea.
- Tea toning is a great way to give your upholstery an antique look. While the frames are drying, fill a bucket with hot water and steep 10 or more tea bags in it. Dip the cloth in the tea and let it soak for two hours or more. Stir from time to time. The longer you paint and the steeper the tea, the darker the shade will be.
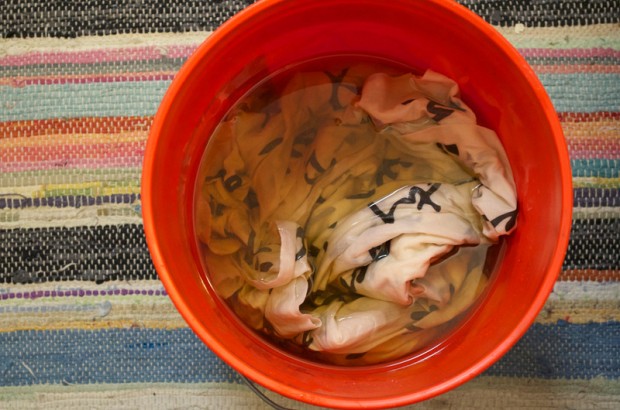
- If the fabric has acquired the desired pigmentation, it's time to wring out the water and hang the fabric to dry. Or toss it in the dryer on medium setting so it's not completely dry.
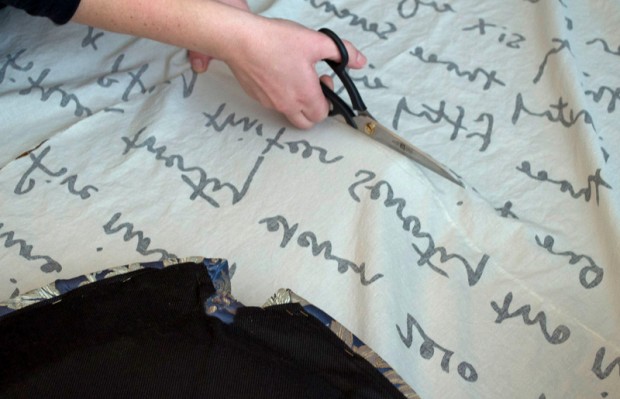
- Lay an old chair cushion on the fabric and cut along the outline with scissors, leaving enough room around the edges to completely cover your cushions, including on the sides and a few inches underneath. I left 10 - 15 cm of extra fabric around the edges of the pillow.
- Tuck the edges of the fabric. This will help keep it from chipping and falling out of the anchoring brackets over time. Tip: If your fabric has a strictly oriented pattern, as I did, make sure it is positioned correctly when cutting. In my case, I cut the fabric so that the text on it is readable when you are facing the seat.
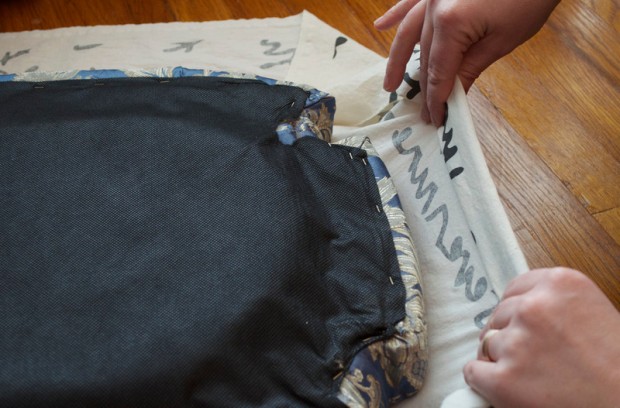
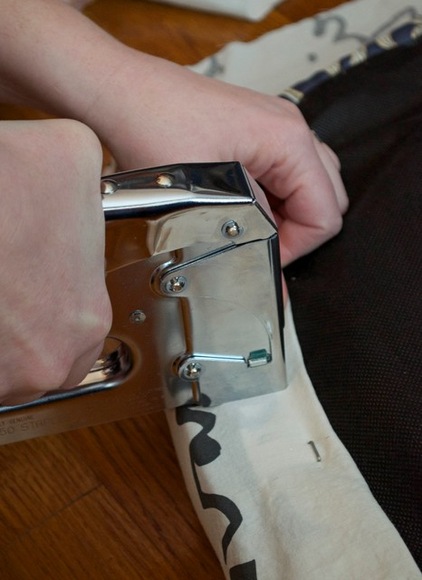
- Use a staple gun to attach the edge of the fabric to the bottom of the seat. I felt more comfortable when I read from the front edge of the seat. When the front is well secured, pull the fabric towards the top of the seat and secure the back edge of the cushion, leaving the sides and corners loose. At the corners, I simply creased and used extra staples to secure the overlapped area. On the sides, fasten the fabric last, making sure that the top of the pillow has no creases or folds.
- After making sure the wood frame of your old chairs is thoroughly dry, attach the re-upholstered cushions to the frame using a screwdriver or drill.
Before and after. Here is a look at my chairs before and after the renovation.
My renovated dining room has been transformed and is almost ready for tea drinking. Gorgeous old chairs complement the eclectic design and look especially stylish thanks to the tea-tinted fabric.
old chairs