Pumpkin is revered and respected in Russia as a tasty and healthy product with healing properties. She was kept under the bed for long evenings in order to maintain health during the winter time, which was small for vitamins. Original do-it-yourself pumpkin crafts were used to create a yard landscape.
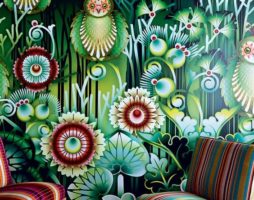
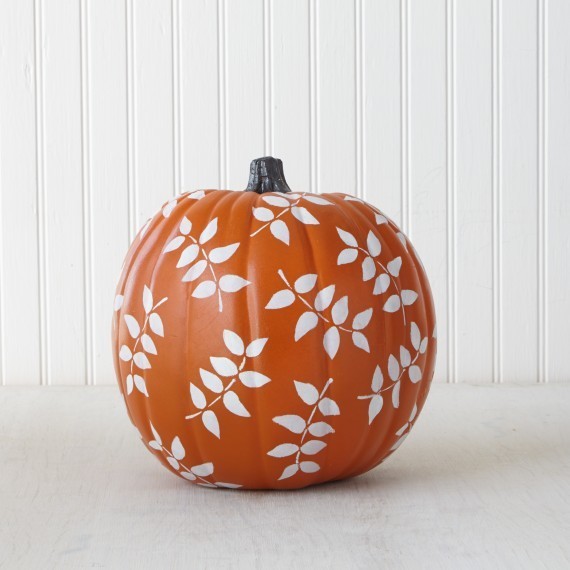
Such a pumpkin as a decorative one deserved respect. It was specially grown to be used as decorative elements.
decorative pumpkin
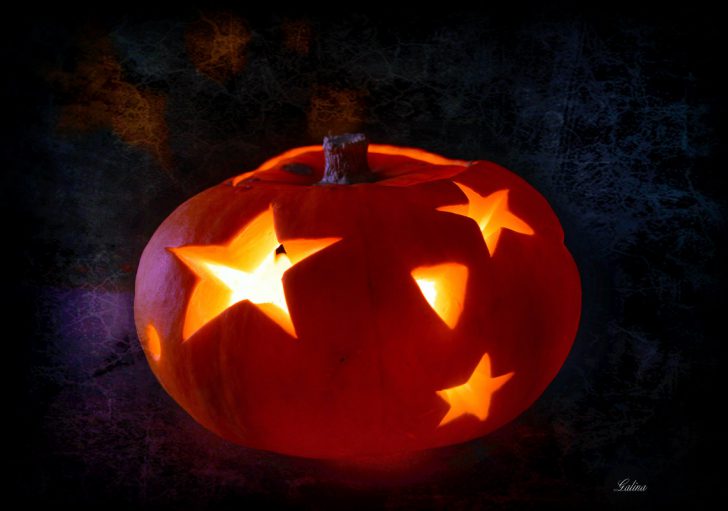
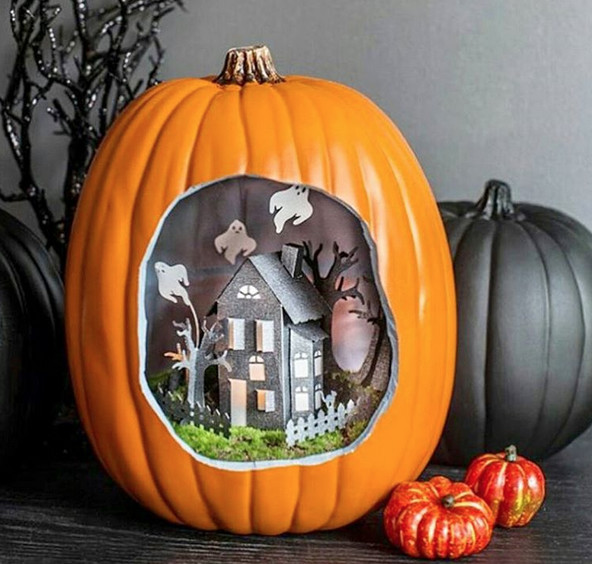
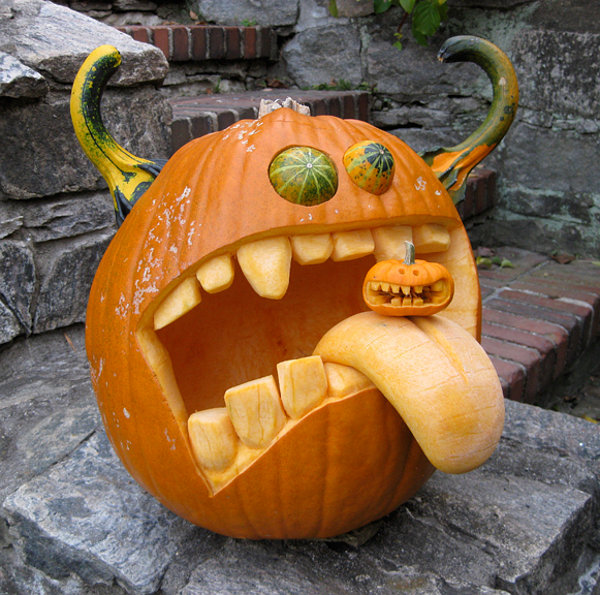
The self-confident bride had not only a dowry, but also a couple of pumpkins under the bed to distribute to negligent grooms during an unwanted matchmaking. But the greatest aesthetes in the pumpkin case were the North Americans. Together with the settlers, the Irish legend of Jack, his lantern and the holiday was brought to the new continent. Real works of art, original do-it-yourself pumpkin crafts are made in North America. To this day, on the night of October 31 to November 1, the whole country turns into a pumpkin gallery. Who doesn't know the famous Halloween lanterns?
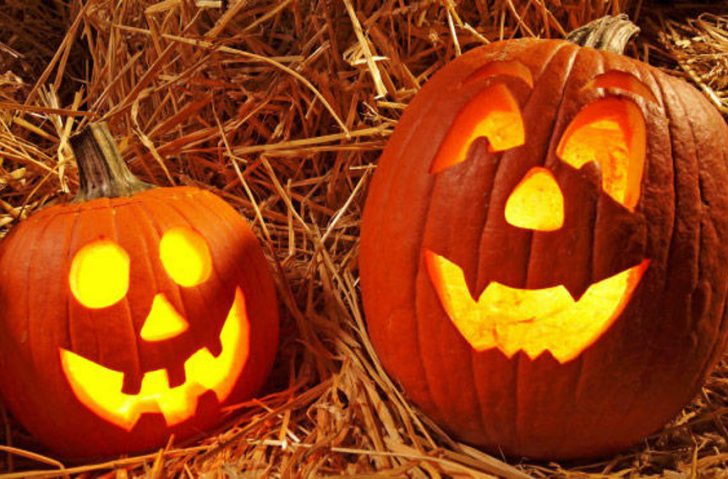
Traditional Halloween lanterns
Halloween and Jack: A Little History
It is impossible to start making Halloween lantern crafts without a little familiarity with the legend itself. According to the Irish or English version, there lived a completely illegal citizen Jack, who was famous only for unrighteous deeds. Having no money to pay for a drink, he sells his soul to the dark forces, which he also managed to deceive.
In exchange, he receives a promise that he will not go to hell. But since paradise is also closed to him, to this day, Jack wanders the world restless. The dark forces took pity on the unfortunate and so that he would not get lost, they threw a couple of embers after him. In order for the fire to burn for a long time, Jack made a lantern out of a pumpkin, which is now repeated in various versions on Halloween.
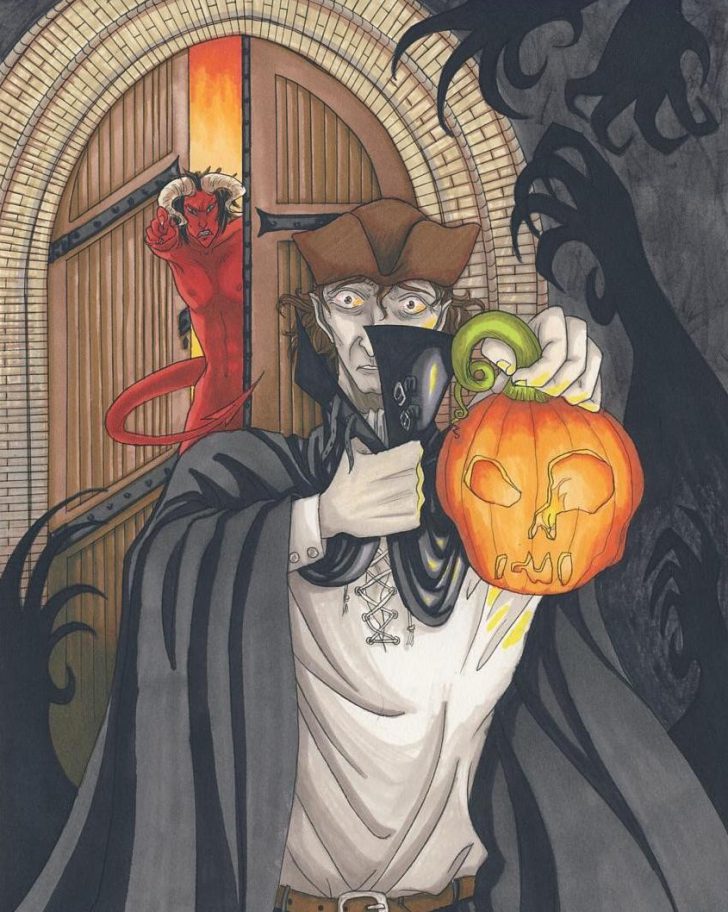
The Legend of Jack with a Pumpkin Lantern
Therefore, the pumpkin is painted in frightening grimaces, has a frightening appearance, and serves as a stand for a candle.
back to index ↑Why pumpkin?
A legitimate question is why it was the pumpkin that became the body of the lantern and why they make original crafts from the pumpkin with their own hands? The material is very handy for crafts for several reasons:
- pumpkin is well preserved for a long time even without special processing,
- pumpkin is a hard fruit, which can be easily applied to the drawing,
- the fetus has a spherical shape, convenient for work and demonstration of skill,
Pumpkin can be stored for a long time
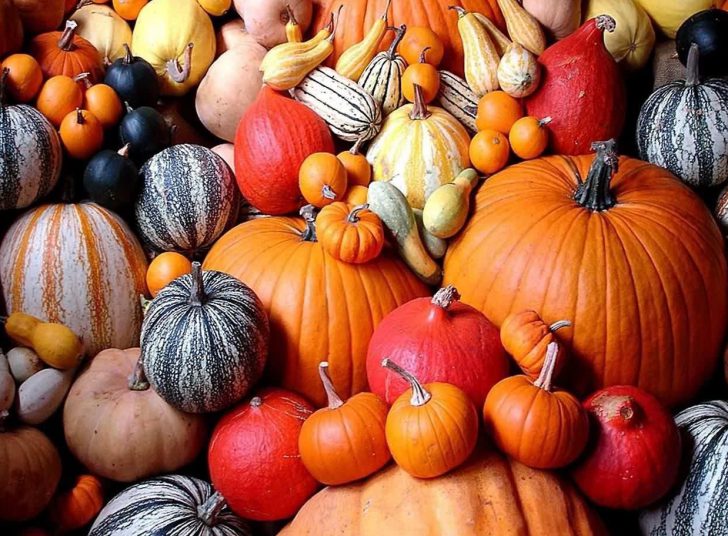
- bright coloring makes the product attractive,
- a variety of sizes from a few sentiments to more than a meter allows the author to show his imagination,
- the fruit has a bright upper skin, which contrasts with the coating underneath, due to which the pattern is bright and interesting.
A variety of sizes will allow you to realize any fantasy
How to choose a pumpkin?
When choosing a fruit in order to make original DIY pumpkin crafts, follow these tips
- For crafts, an absolutely healthy fetus is chosen. There should be no dubious spots, soft spots, visible scratches, integrity violations.
The pumpkin must be whole with no visible damage.
- It is desirable that the pumpkin was with the rest of the stem. A stalk 5-10 cm long is considered normal. In the presence of a stem, drying takes place both through the peel and the stalk itself, and is performed naturally.
Part of the stem should be present for best storage
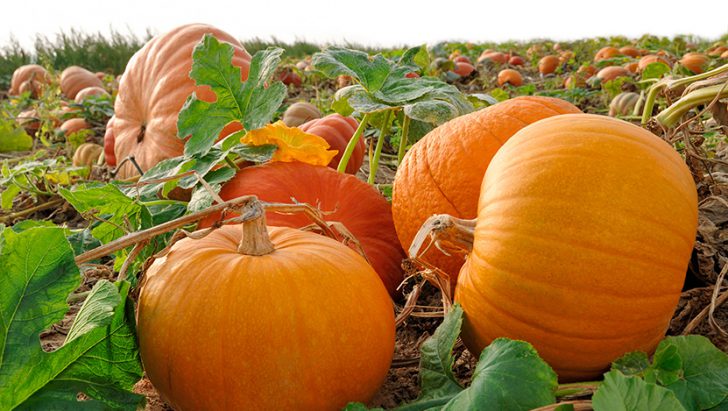
- If the pumpkin has grown in your suburban area, try not to pick it as long as possible.
Being in natural conditions in the garden, the pumpkin does not need special growing conditions, there is no need to cover it from moisture. During growth, no plates are placed under the fruits in order to prevent rotting. The natural environment is the best conducive to the conservation process. Try to keep the pumpkin in the garden as long as possible and transfer it to storage in the room before the onset of frost.
Cut the pumpkin with a sharp knife or scissors. Try not to unscrew, keep the integrity of the root crop.
back to index ↑How to dry pumpkin?
Pumpkin is well preserved and dried naturally. To do this, it is placed in a dry, ventilated room, where there is a lot of air. Gradually, moisture leaves the fruit, and it becomes drier and lighter in weight. The fact that the product is dried can be recognized by the sounds. If you pick up a dried pumpkin and shake it, you can hear the seeds ring inside the fruit.

dried gourd
How to dry pumpkin naturally?
The easiest way to store pumpkins has been used in Russia for a long time. Laid out under the beds for the whole winter, they slowly dried up, and the family periodically took out the fruits and added them to the menu. From the hostess, what was required was sometimes to look at the pumpkins, turn them over and remove the spoiled ones. As a rule, ordinary varieties of pumpkins dried up closer to summer.
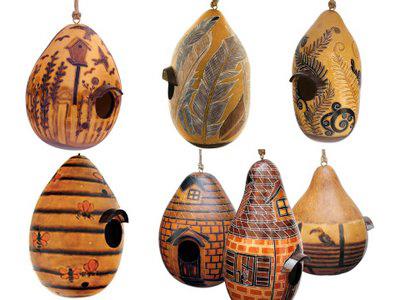
Dried pumpkins can be used to make original decor items
From dried pumpkins, you can make original crafts from pumpkins with your own hands: beautiful decor elements, garden decorations. They will delight their fans for a long time.
How to dry a pumpkin in an accelerated way?
But in order to make a Halloween lantern, you will not spend a whole year drying a pumpkin. You can use the fast way. All work can be divided into several steps:
- Wash pumpkins well with soap. Try not to break the peel.
- Cut off the top of the pumpkin with a sharp knife. If you are later going to make a lantern or a box with a lid, make the incision at an angle so that the surface of the incision is close to the horizon line.
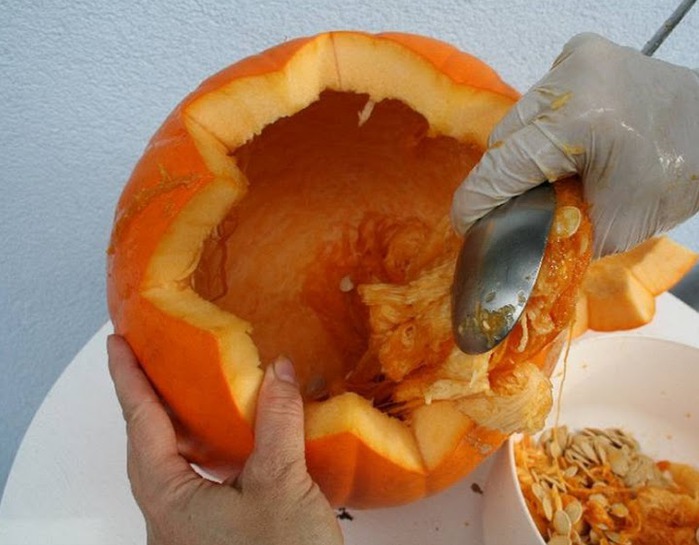
- Scoop out the pumpkin pulp with a spoon. Try to do this carefully so as not to damage the surface. It is considered normal if you leave 1 - 1.5 cm of peel.
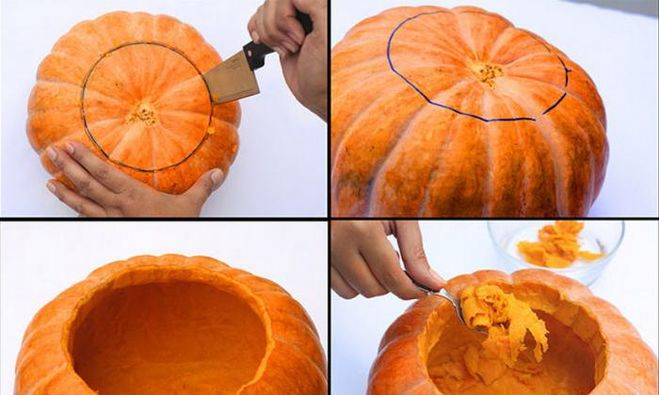
Preparing Pumpkins for Drying
- You can process the inner surface with sandpaper. This will ensure that all the pulp is removed.
- Disinfect the interior. To do this, you can simply wipe the pumpkin with alcohol. Try diluted bleach.
- The pumpkin needs to be given a few hours to dry out a little in the air.
- Lay the fruit on a wooden or cardboard surface. Put a lot of crumpled newspaper inside. As the paper becomes saturated with moisture, change it.

Dried pumpkin retains its shape and volume
Such a drying method will allow the pumpkin, despite the empty cavity, to retain its original volume and gradually get rid of moisture. After this preparation, the product is ready for the manufacture of a lantern.
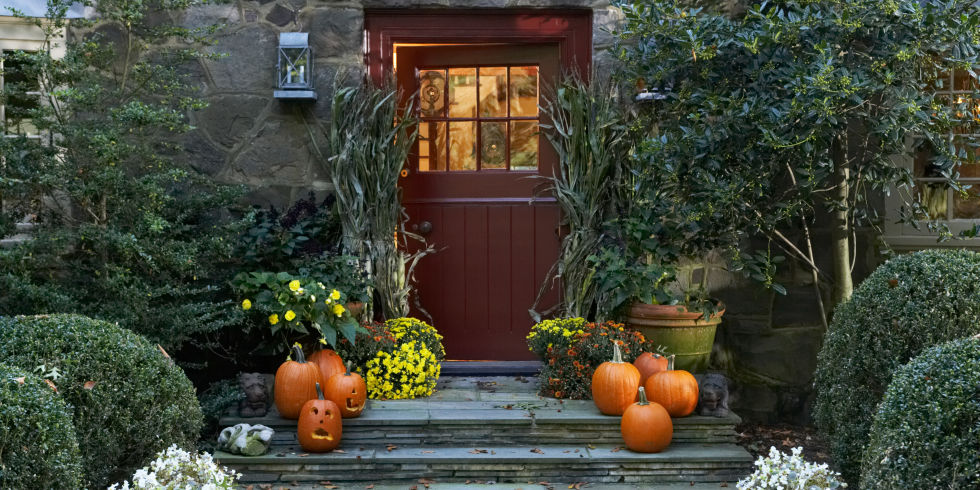
back to index ↑Yard decor
Pumpkin belongs to colorful products and in order for it to become a beautiful decoration of the yard, you need quite a bit of imagination. If you have shelves or stands on the territory, you can simply place a pumpkin there, and it will decorate the landscape.
birdhouses
Well decorate the territory and at the same time serve as a house for birds birdhouses made of pumpkin. They are hung around the site, after a while residents appear in them.
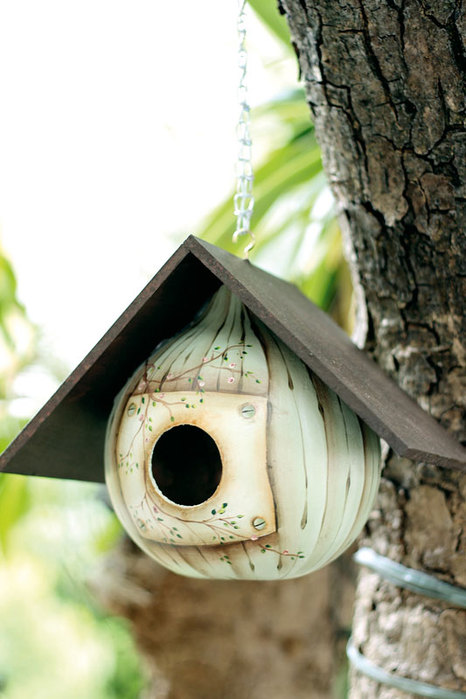
Pumpkin bird house
The order of work on the manufacture of a bird house is given below:
- Take the dried pumpkin. Cut off the upper part at an angle with a hacksaw; you will later cover this hole with a roof. Drill a hole through which the birds will enter the house.
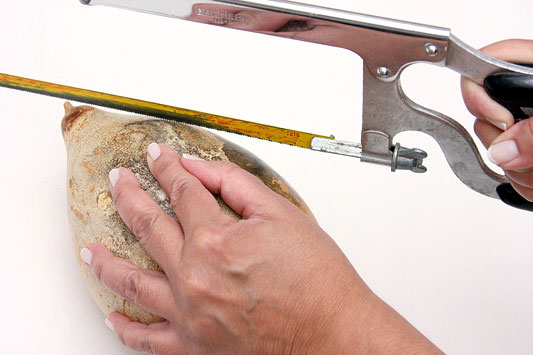
Cut off the top of the pumpkin
- Treat the cuts with sandpaper, remove the burrs.
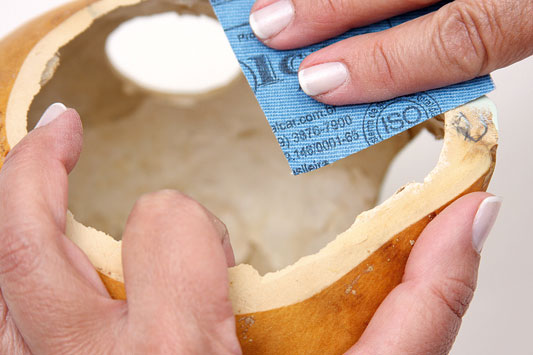
Fine-tune the cut with sandpaper
- Apply a coat of primer to the outside of the pumpkin. Dry.
- Paint the house in the color of your choice. It is beautiful if it is light shades of green or mint.
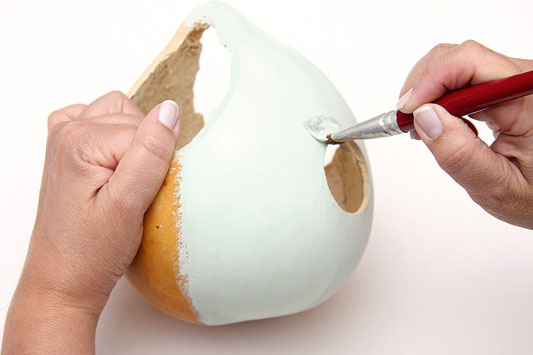
Color the pumpkin the right color
- In this case, the house will harmoniously fit into the surrounding landscape. At the same time look in contrast among the dark and bright foliage.
- Color your building. Nothing limits your imagination. You can paint it with leaves, draw twigs, try to recreate the texture of the tree. It is even permissible to try to draw an ornament on the surface.
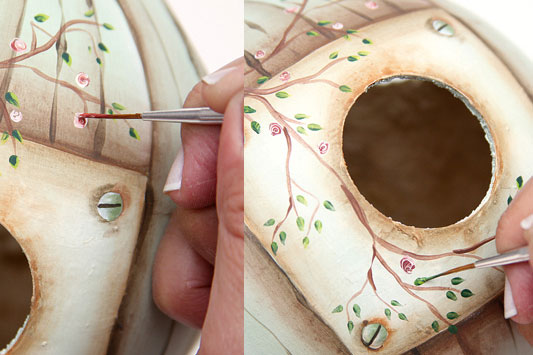
Color the house to your liking
- Prepare two planks for the roof. You cover the cut with one of them, set the second at an angle. Paint the boards in a contrasting color, it is good if it is a few tones darker than the house.
- Glue the roof. Install a hook on top for attaching to a tree.
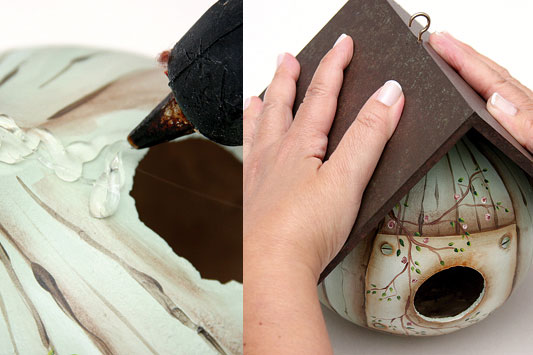
Glue the roof to the pumpkin
- Hang a birdhouse on a tree. Wait for guests.
Pumpkin carriage
Everyone remembers the carriage that the good sorceress made from the fruit. Therefore, it is the carriage that is often used as original do-it-yourself pumpkin crafts in the yard. It's not difficult to make it. There are many manufacturing options, up to the simplest. The main thing is to find a colorful pumpkin, which in its shape will remind you of the famous vehicle.
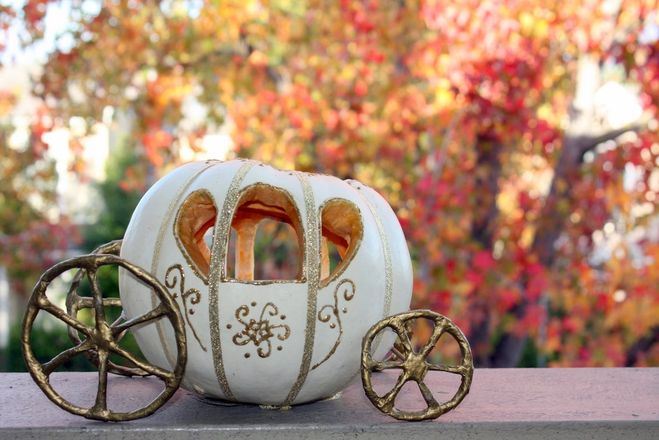
Do-it-yourself pumpkin carriage
The order of work will be as follows:
1. You can cut off the top of the pumpkin. Clean the rest of the pulp. Cut out a carriage. According to the second option, you can absolutely not violate the integrity of the pumpkin. A pattern in the form of doors and windows should be applied to its surface.
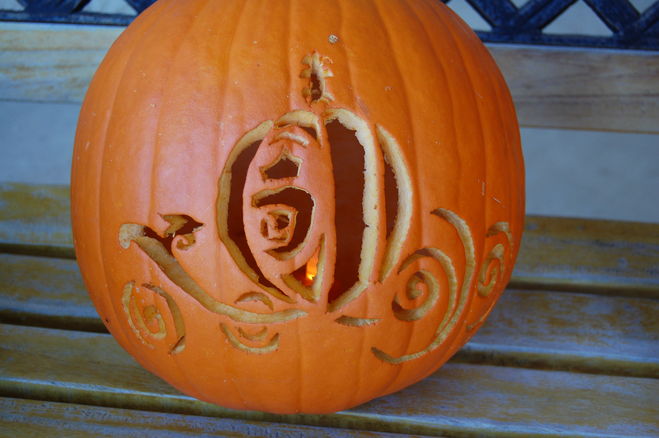
Draw and cut out the carriage
1. There are several options for making wheels. First, you can take four small round pumpkins and attach them as wheels. According to the second option, cut the wheels out of wood, apply a spoke pattern on them, and glue them to the pumpkin. The next solution is to make wire wheels and install them on the carriage.
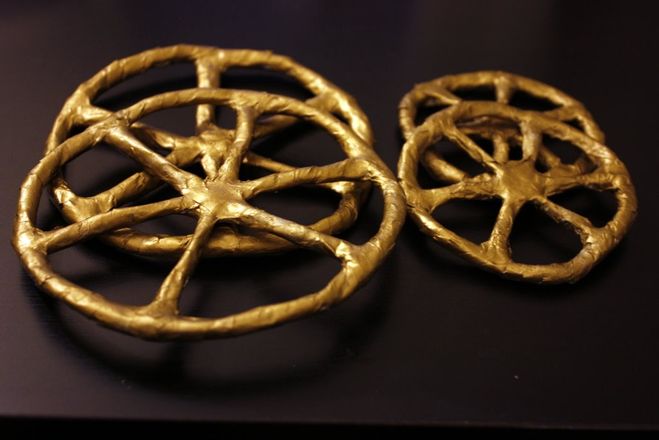
Wire wheels for a carriage
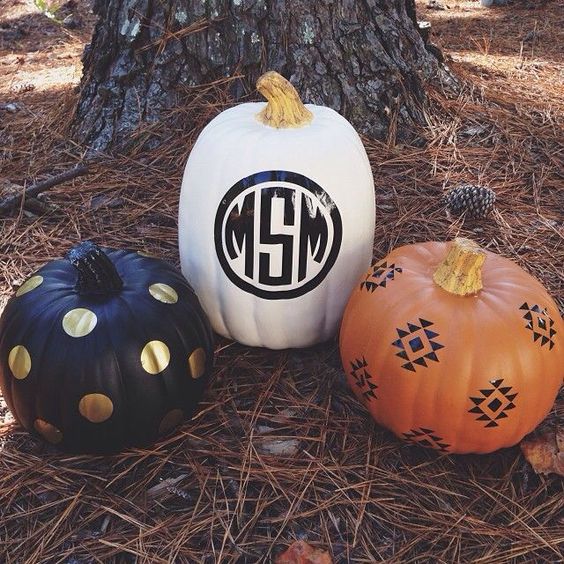
Miscellaneous little things
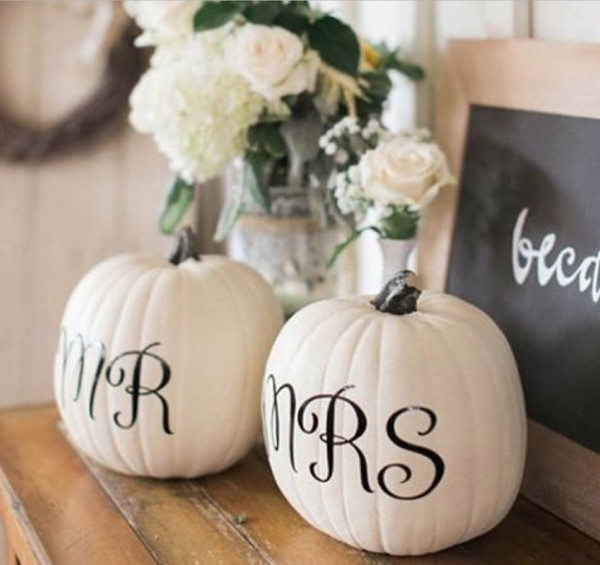
As already noted, the pumpkin itself can be a decoration of the space:
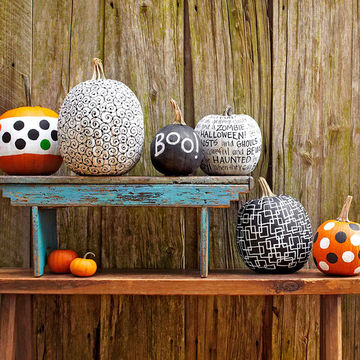
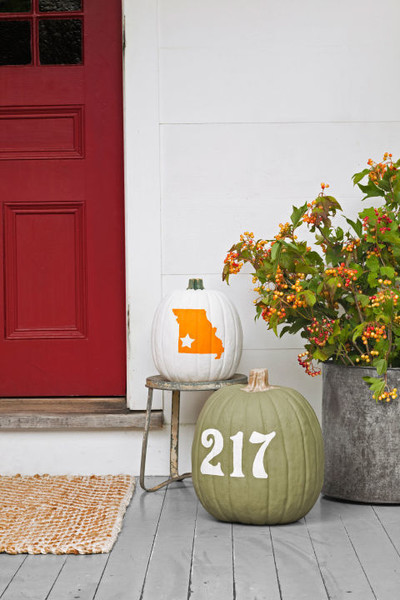
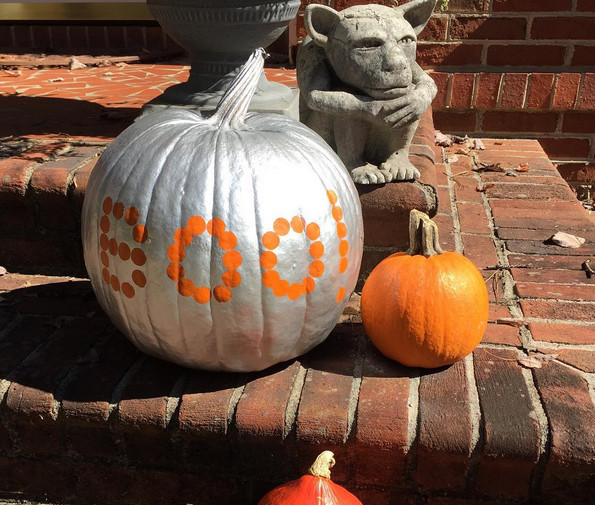
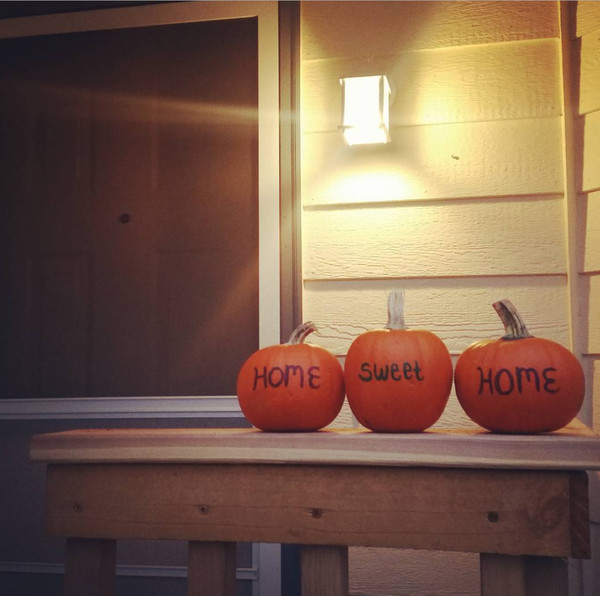
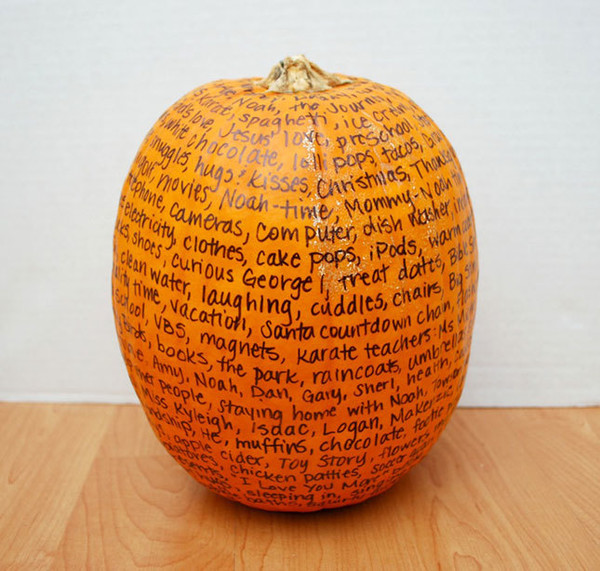
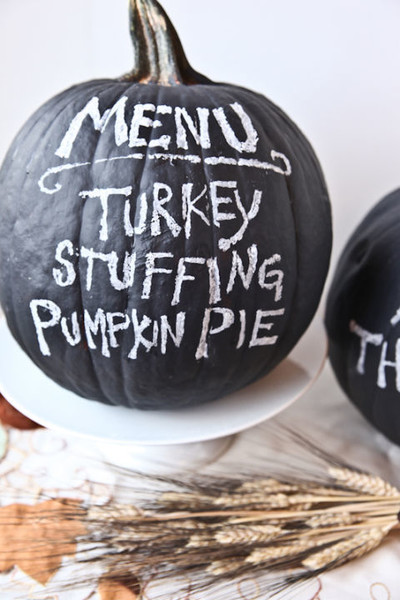
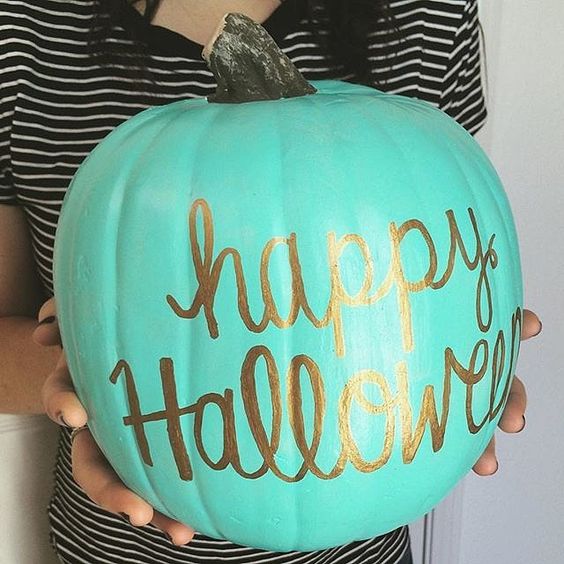
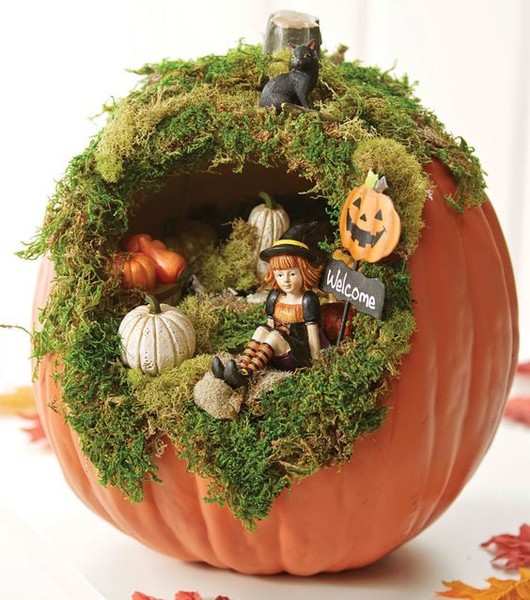
- Write on it: "Welcome." Set on a bench at the entrance. Your guests will be delighted.
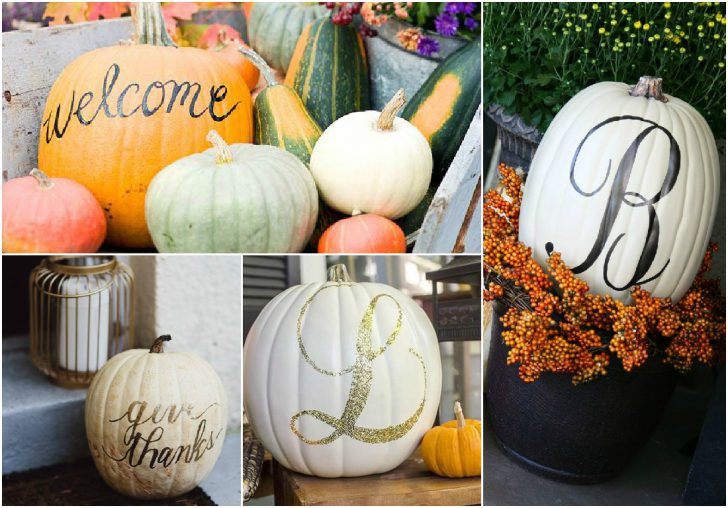
Pumpkins with inscriptions
- Try creating a pumpkin border at the garden path - it's very beautiful.
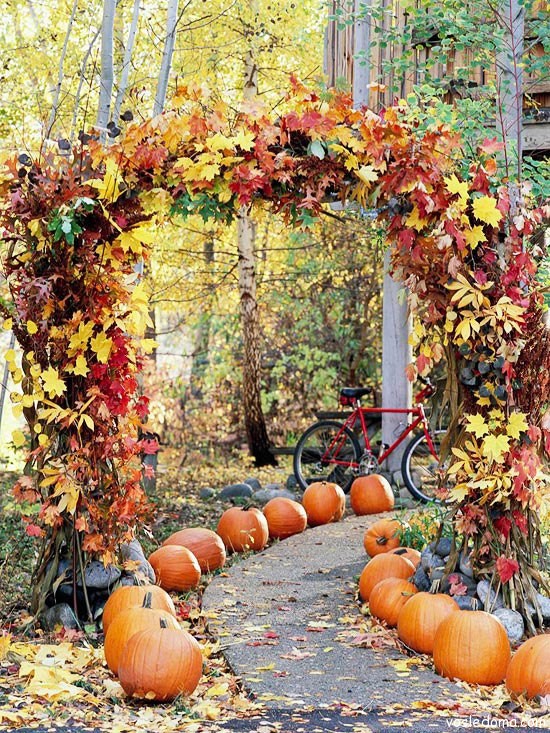
pumpkin garden decor
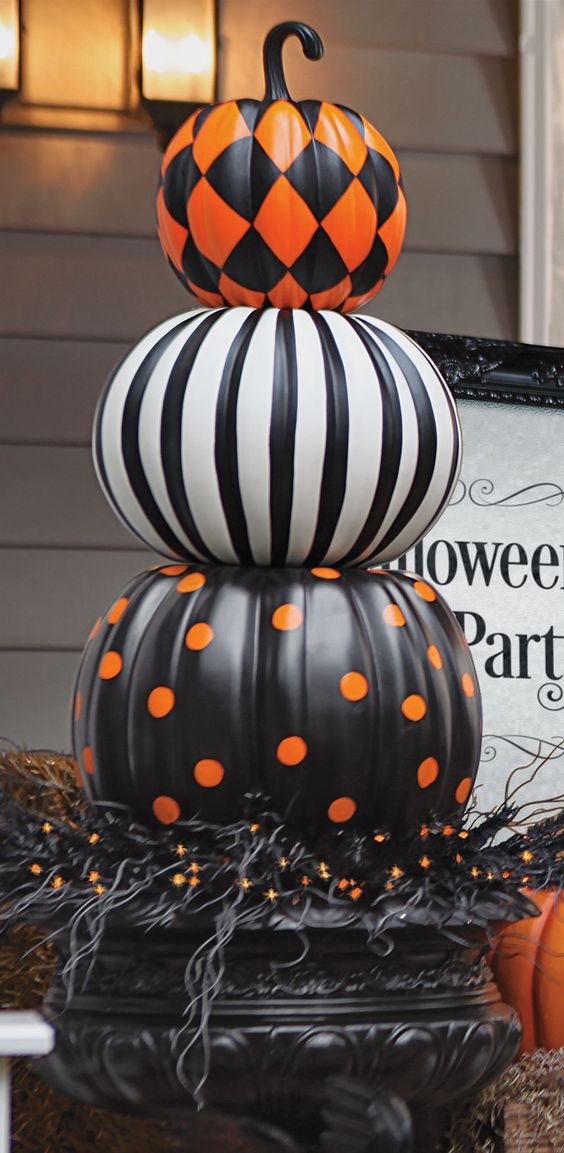
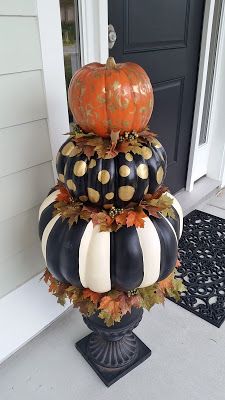
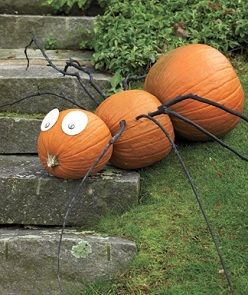
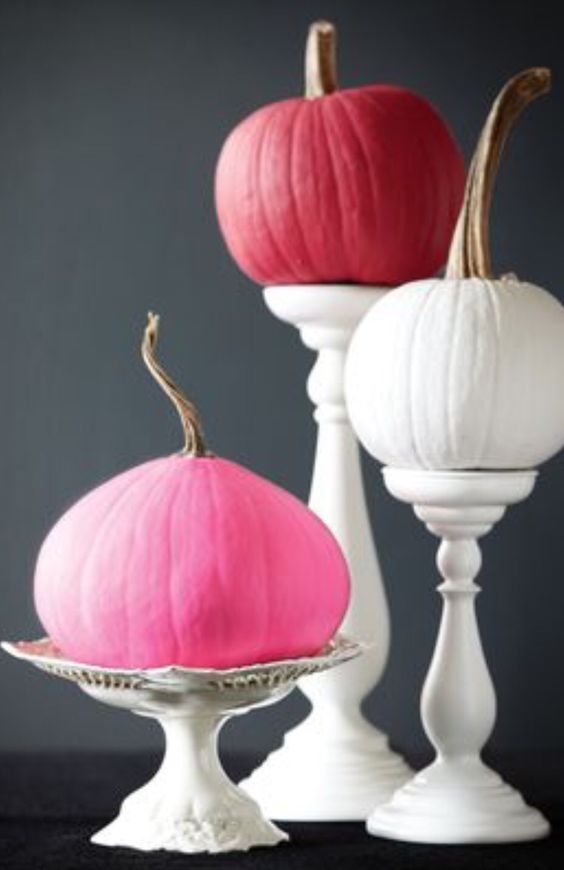
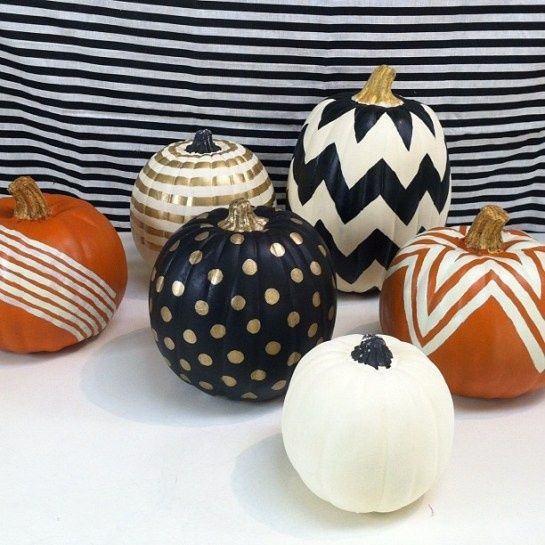
- Paint the pumpkins in different colors and put them in ascending order. Here is a yard caterpillar of pumpkins crawling around the garden.

Bright gourd caterpillar
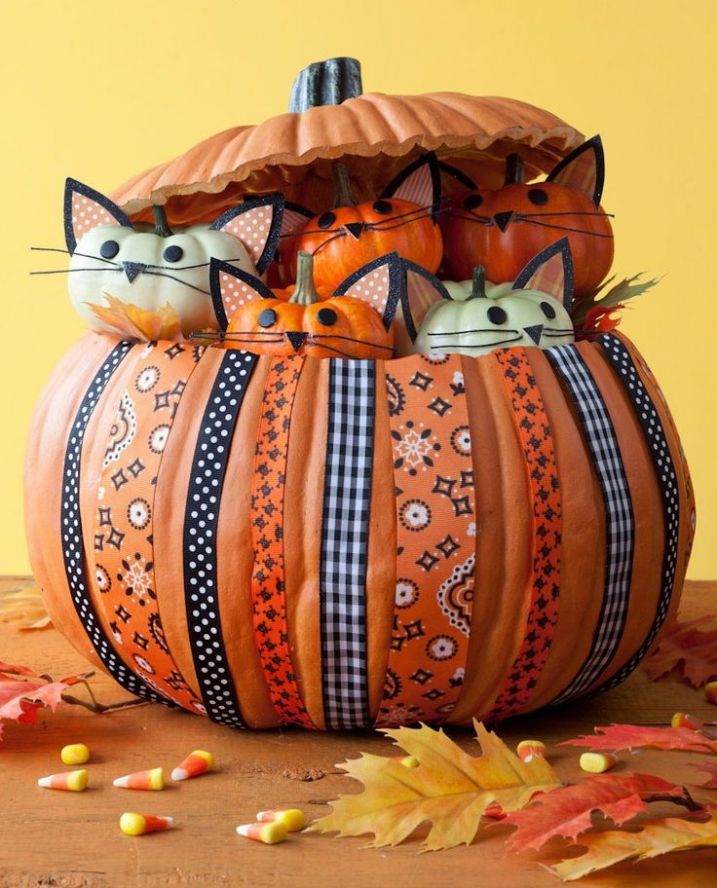
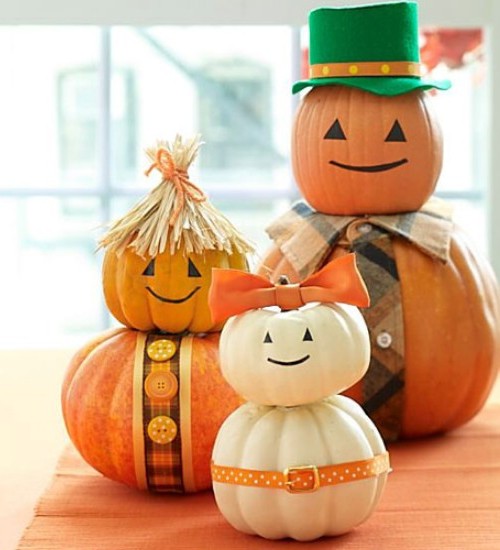
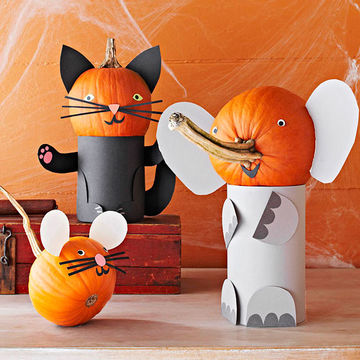
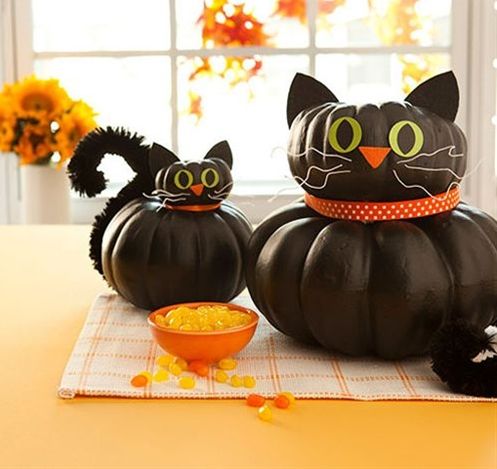
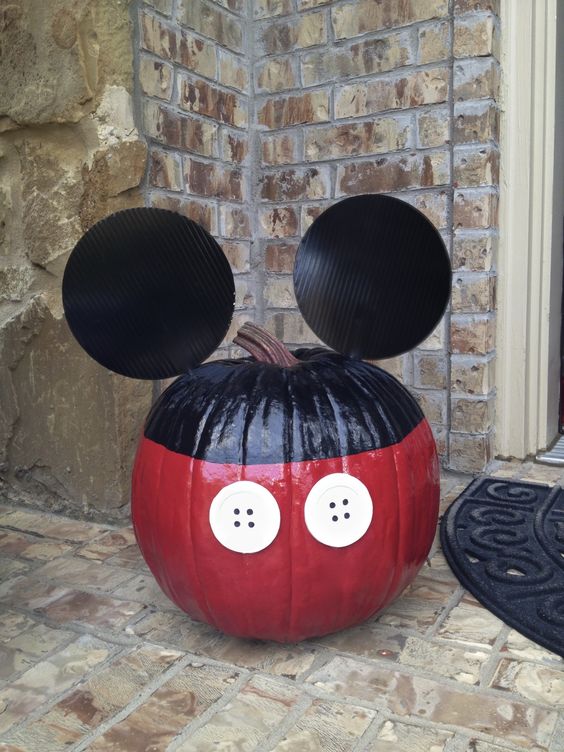
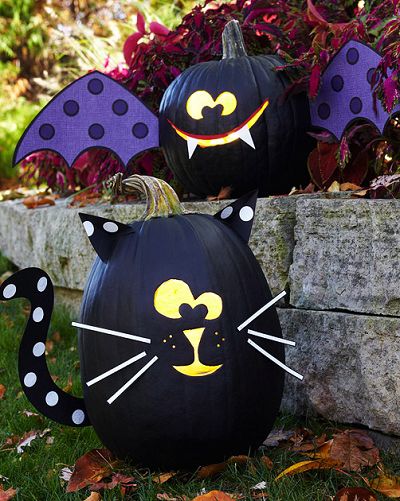
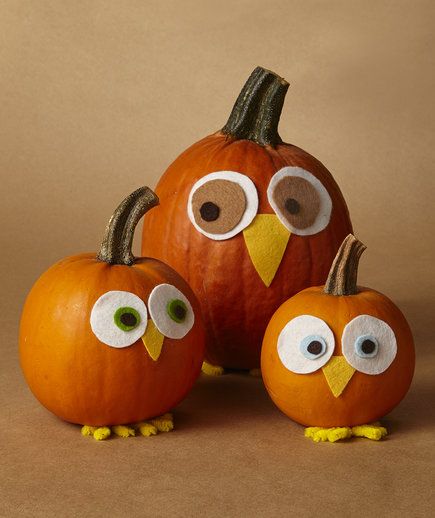
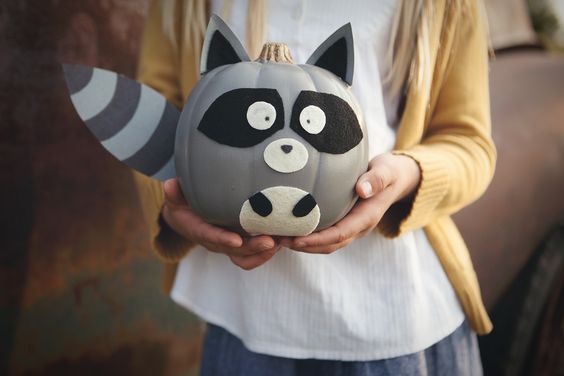
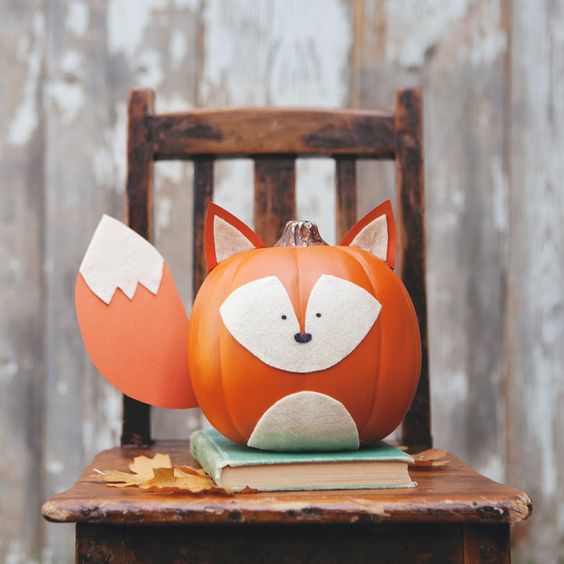
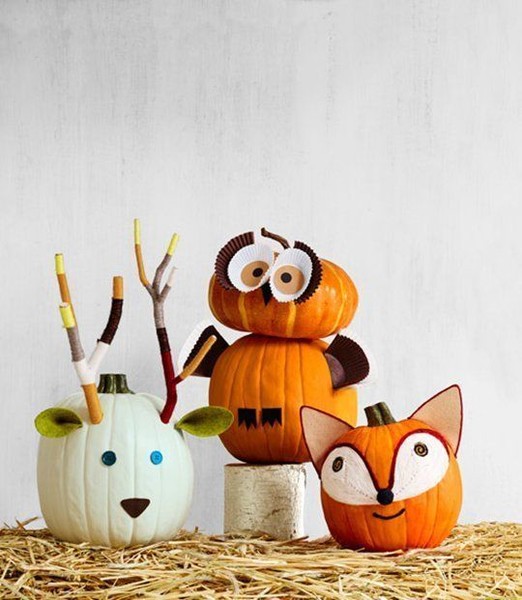
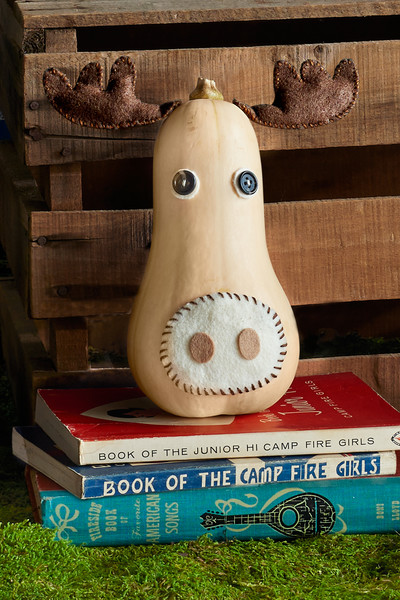
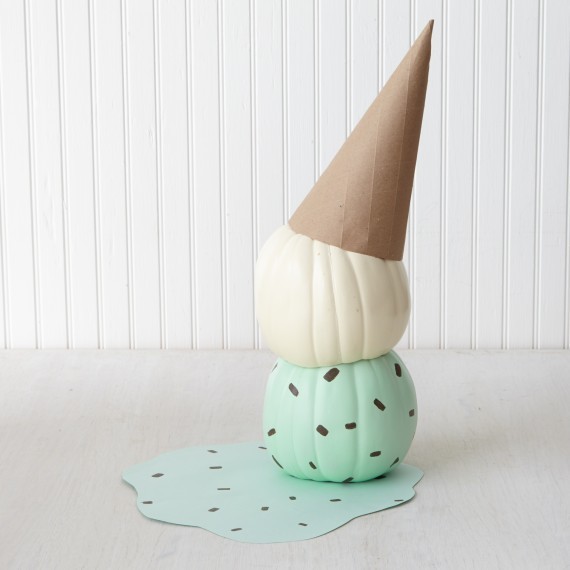
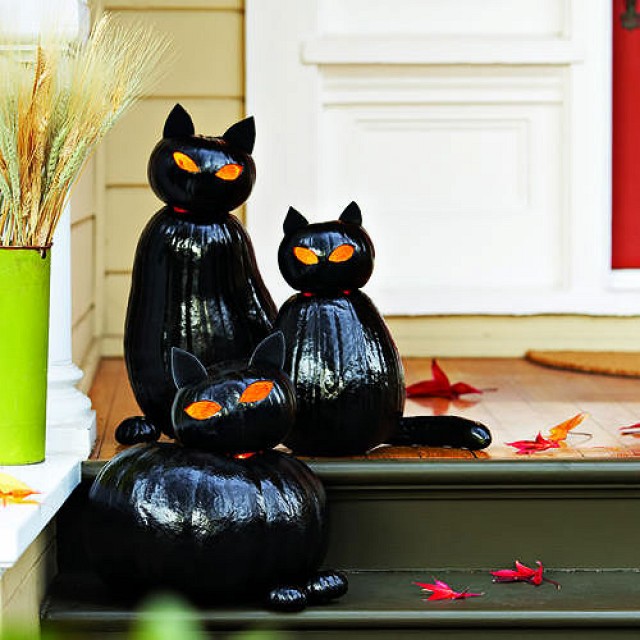
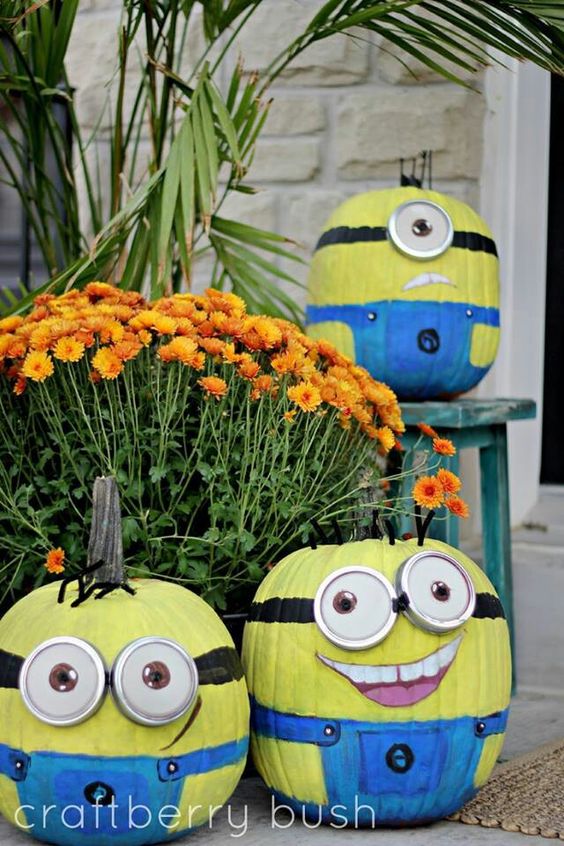
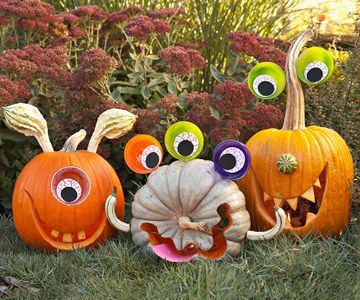
- A little imagination and simple pumpkin animals will decorate your garden. It can be owls, bears, gnomes and housewives. All original do-it-yourself pumpkin crafts are easily obtained from the fruit, if you show a little imagination.
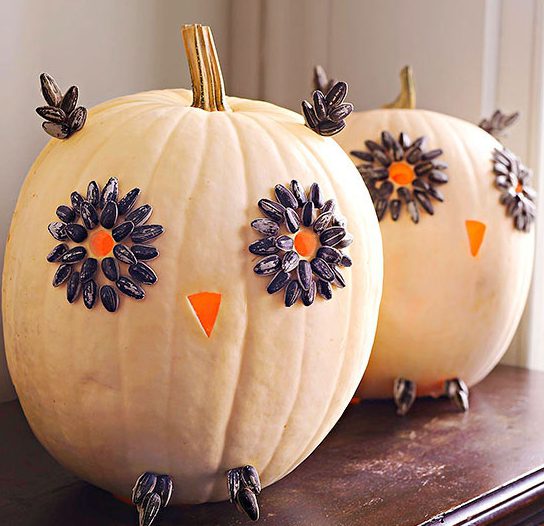
Owls from a pumpkin
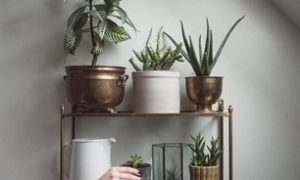
Pumpkin for interior decoration
Pumpkin refers to natural decorations that will fit well into the kitchen interior. By itself, the colorful beauty of the fields, placed on the kitchen shelf, will decorate the room. Vases, caskets, watches are made from pumpkins.
Salt and pepper shaker
In order to make a salt and pepper shaker from natural material, you need to prepare two decorative small pumpkins. Perform work in the following sequence:
1. Prepare two corks beforehand to cover the salt and pepper holes.
one.Under these plugs, make holes in the pumpkin of a smaller diameter. After the pumpkin dries, the holes will become large.
1. Remove the pulp from the pumpkin. Let the fruit dry naturally.
1. On the reverse side of the hole, make small holes with an awl so that loose salt and pepper pour out through them.
1. Sign the received dishes: salt, pepper.
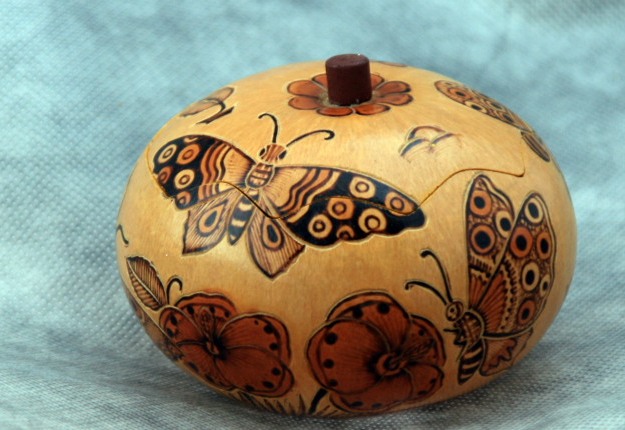
Pumpkin box
In order to make original crafts from a pumpkin with your own hands, such as a box, take a small fruit standing steadily on a flat surface. Choose a pumpkin only with a beautiful, symmetrical shape.

Painted decorative gourd box
Follow the following sequence of actions:
1. Cut off the top of the pumpkin. This will be the lid of the box.
1. Scoop out the pulp with a spoon. How to dry a pumpkin was described above.
1. Take a beautiful twine, ribbon, piece of lace. Make two holes in the lid and pumpkin.
1. Thread the ribbon and connect the top and bottom of the box.
1. The form is ready.
Clean the pumpkin and prepare the mold
Start decorating:
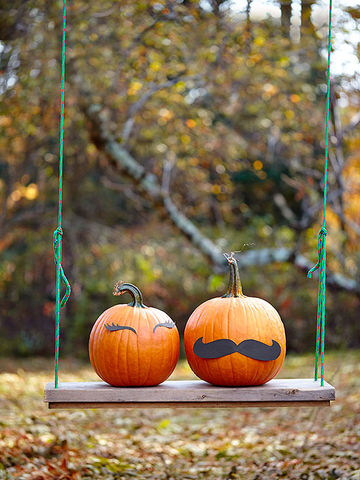
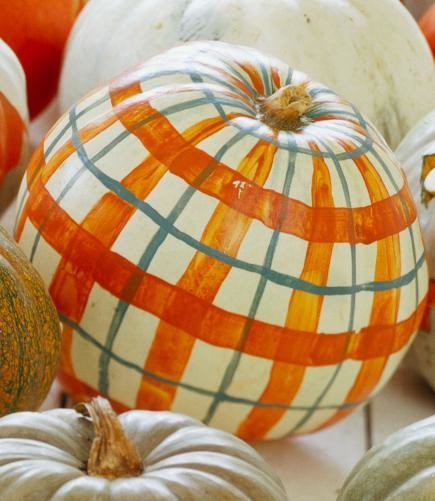
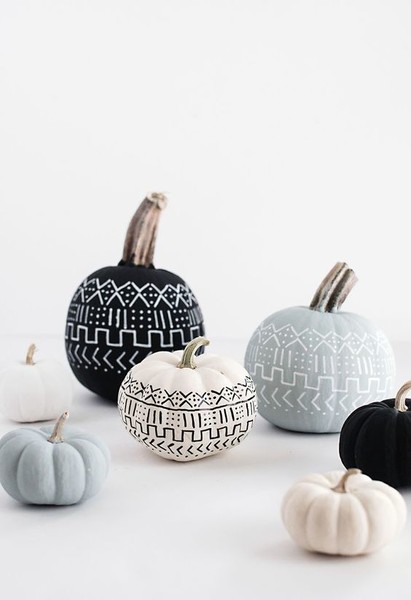
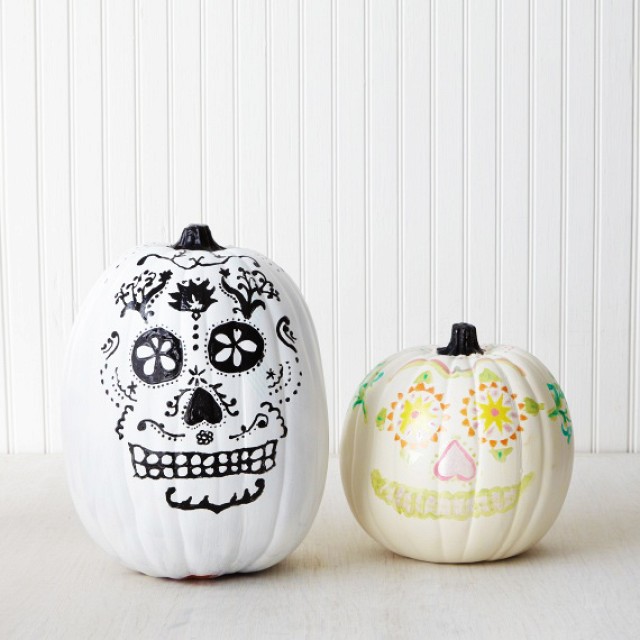
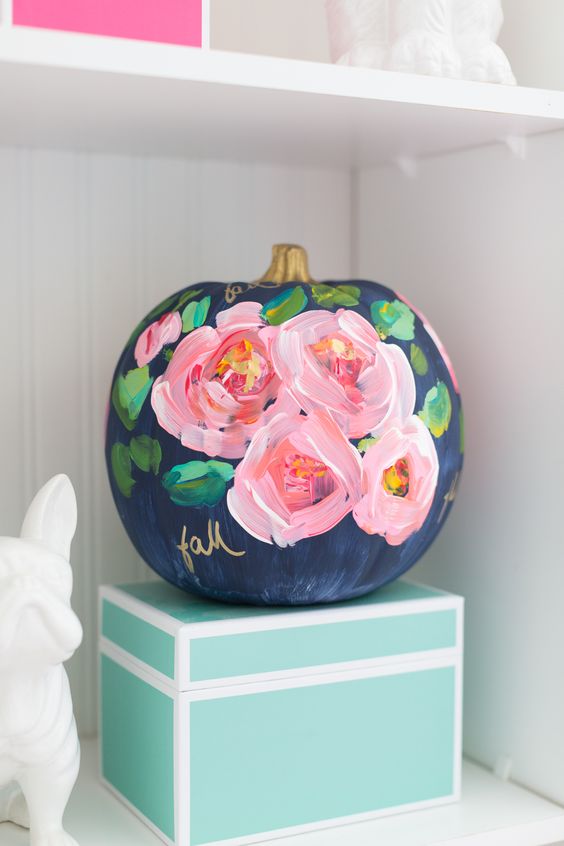
- You can try to draw a picture on a pumpkin using acrylic paints.
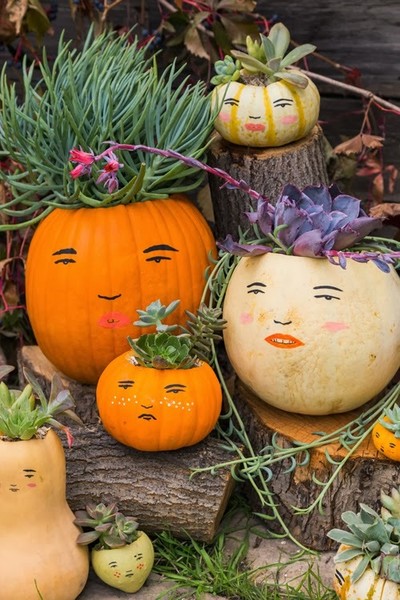
- Just try to stick a mustache and a beard, draw eyes - you will get a wonderful picture.
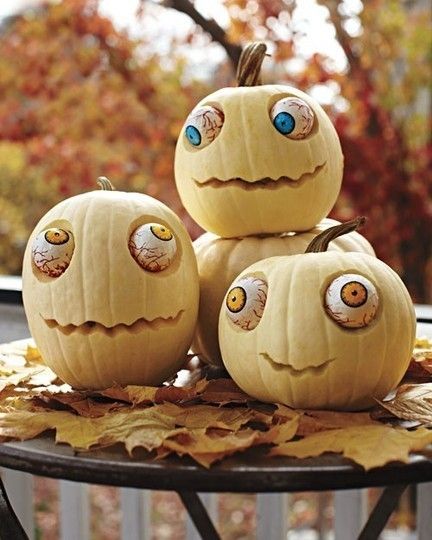
- Glue a beautiful picture - female eyes. Cover them with glasses. Get a pumpkin with a fairy queen inside.
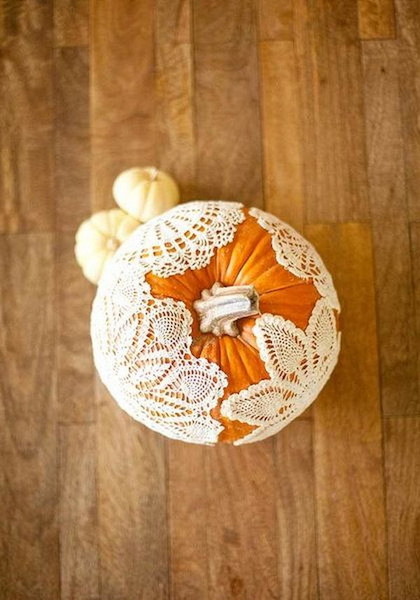
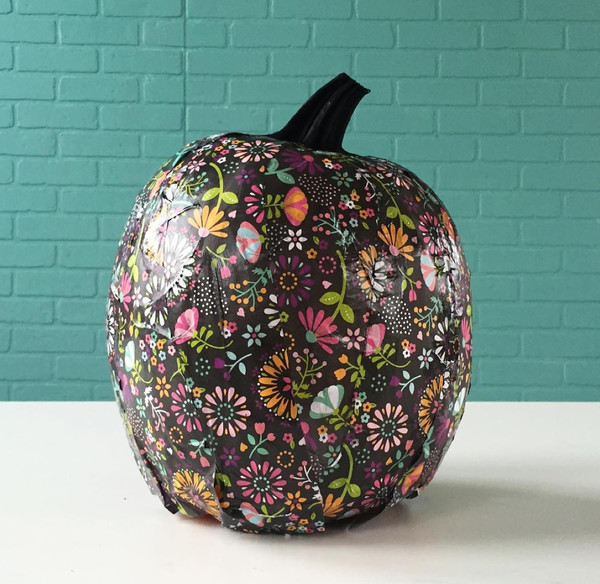
- Take a piece of fabric and glue it like an appliqué.
Decoration option for a pumpkin box
You can just give the pumpkin to the children and ask them to decorate it. They are real masters - decorators, they will cope well with this assignment.
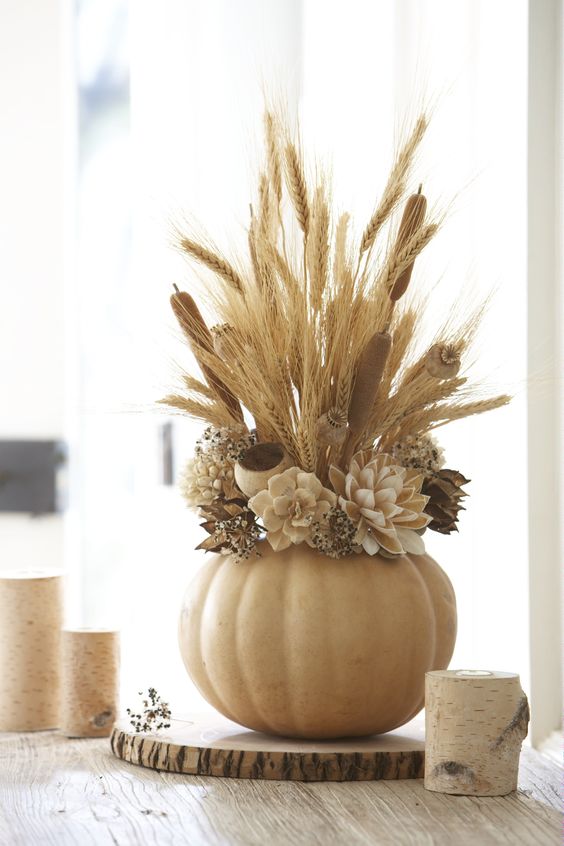
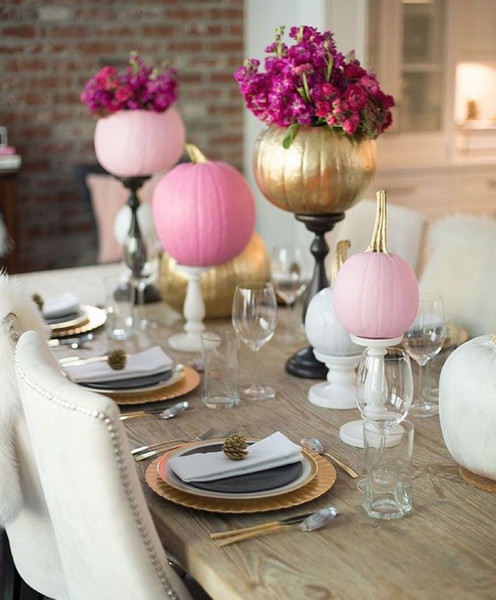
Pumpkin vase
Making a vase is a very simple process. Cut off the top of the pumpkin. Remove the pulp. Treat the inner surface. Dry the pumpkin as suggested above.
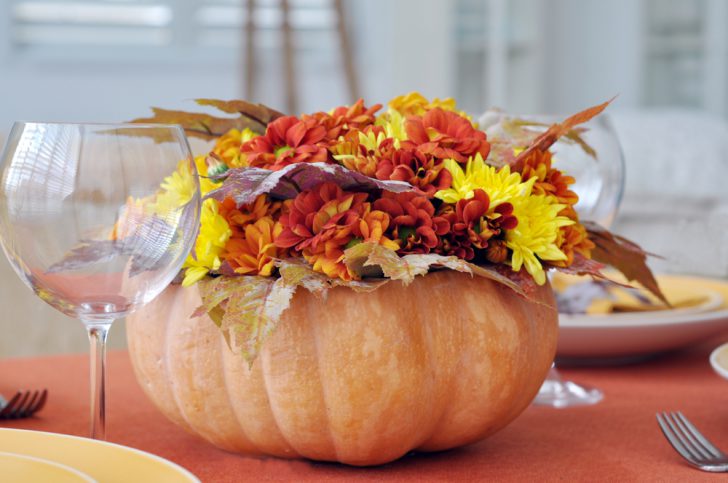
Vase of raw dried gourd
Then do everything as fantasy tells you:
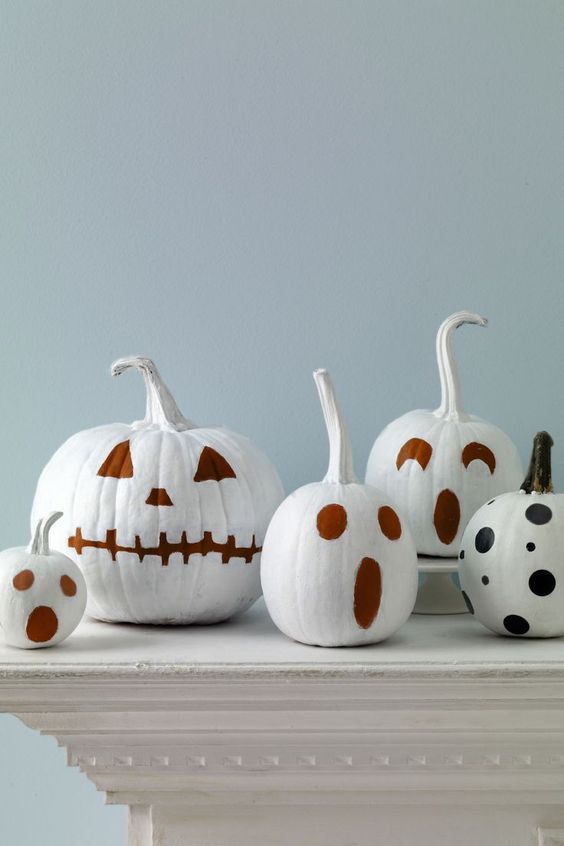
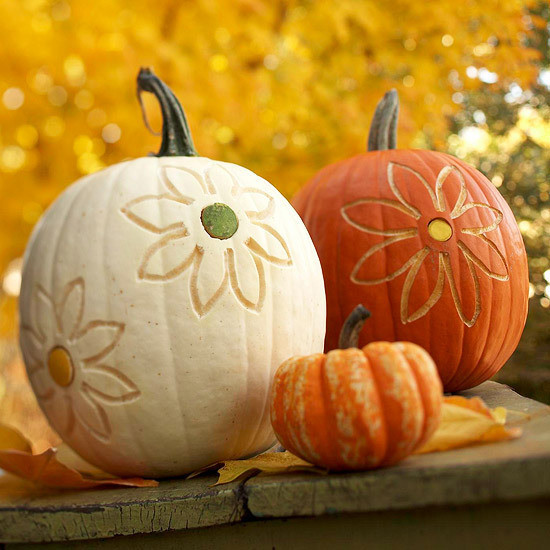
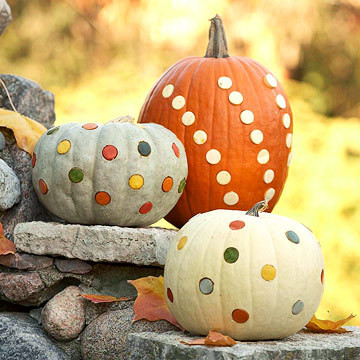
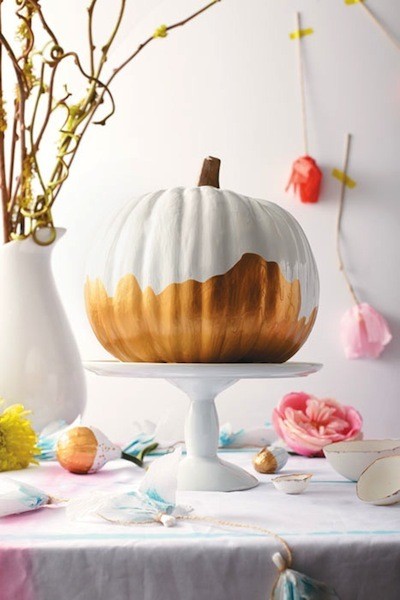
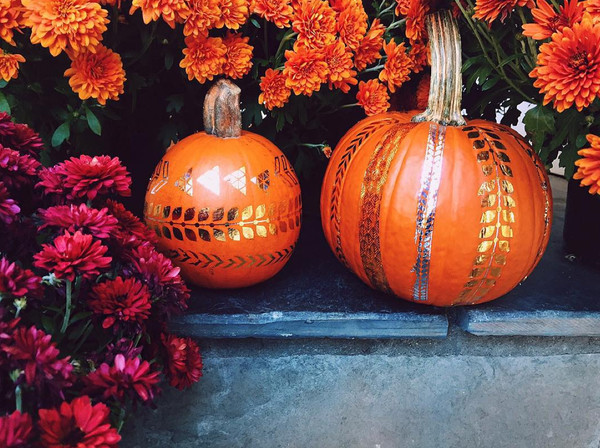
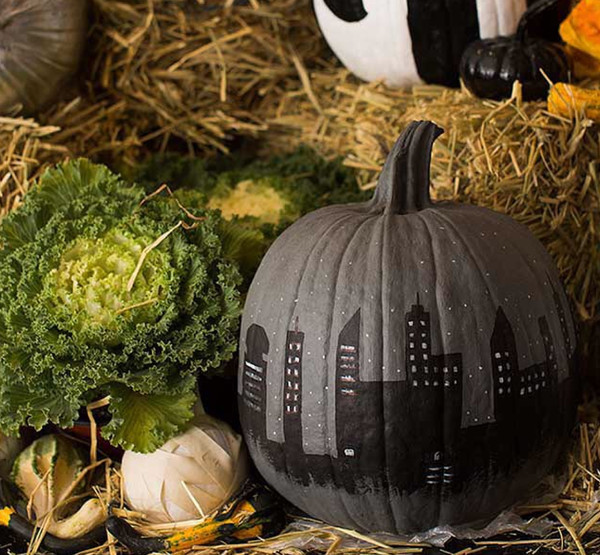
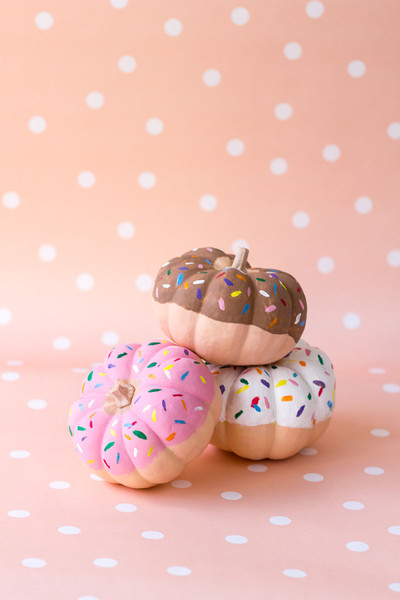
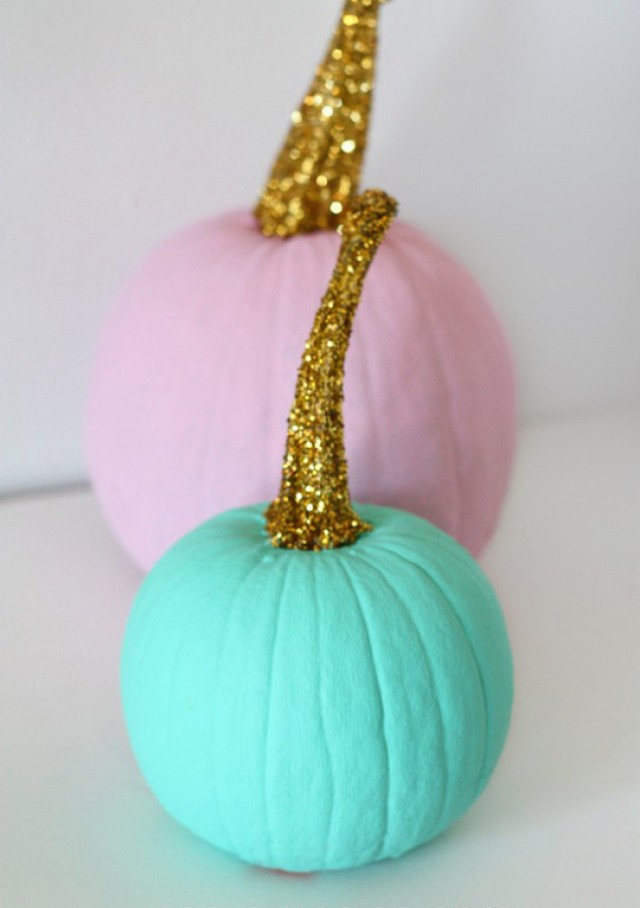
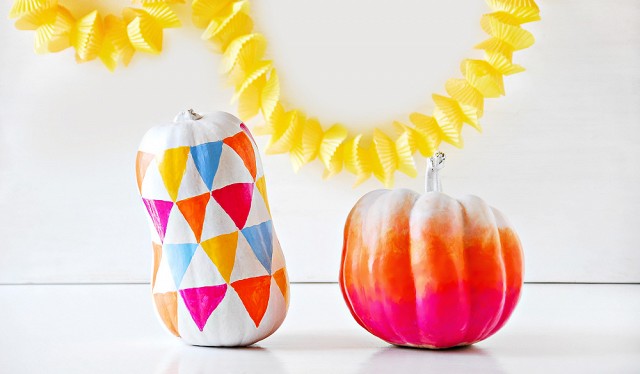
- Outside, you can paint in any color with acrylic paints.
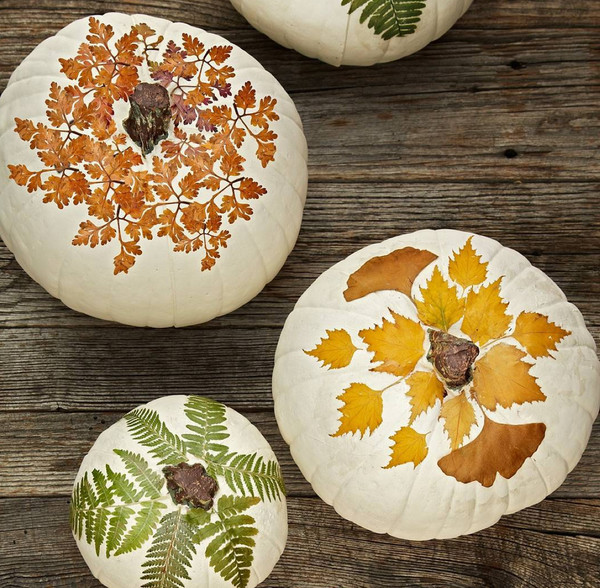
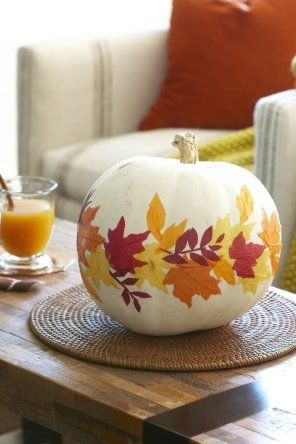
- Glue the leaves on top of the pumpkin. These can be real live leaves, which then dry up. You can stick paper pictures.
- You can apply a pattern resembling a smiley on a pumpkin using a stencil.
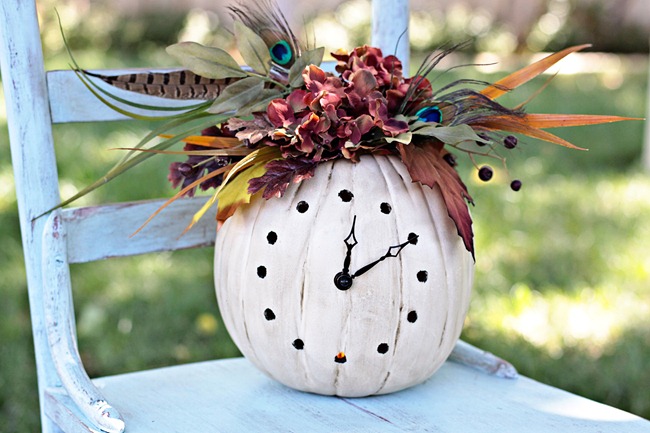
Vase of painted pumpkin
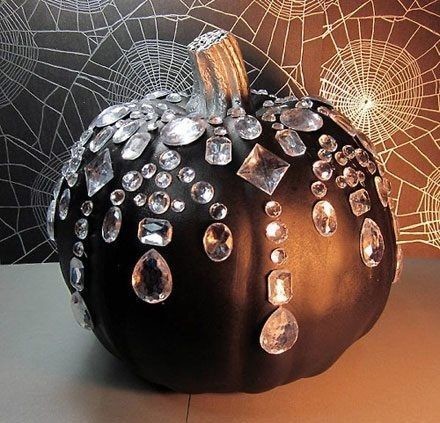
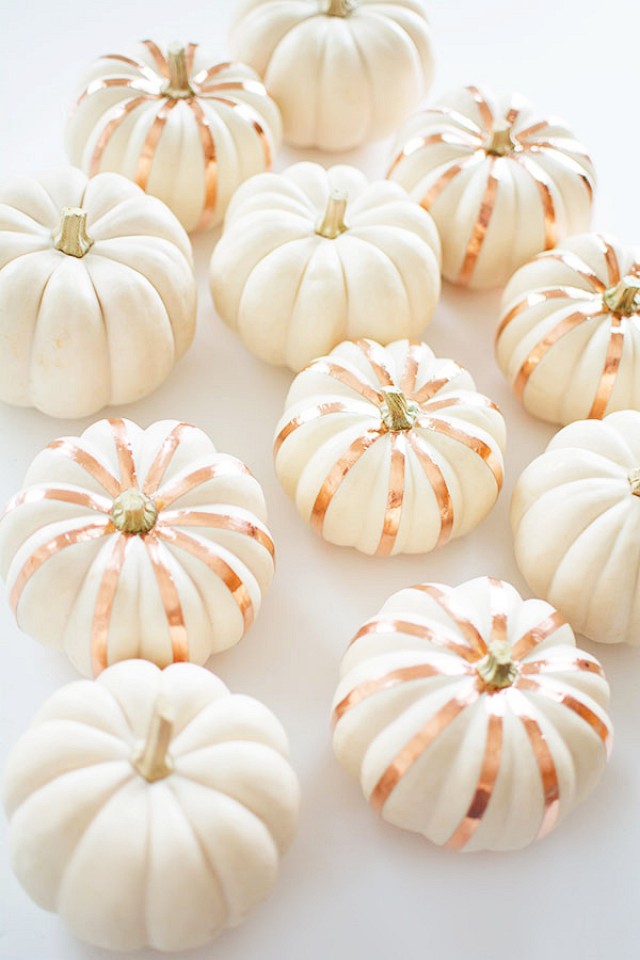
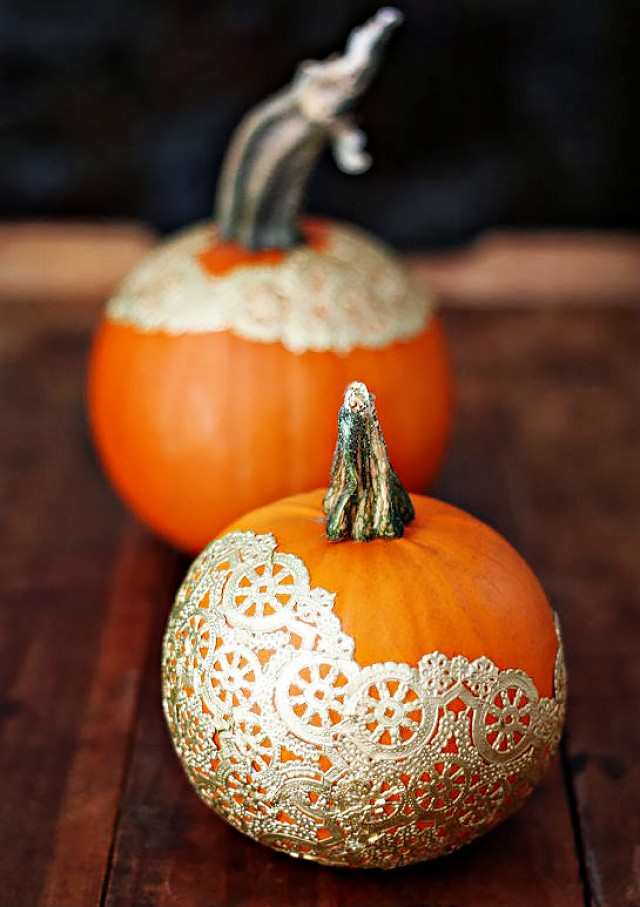
- Take curly glitter and glue them in strips.
- Decorate the pumpkin.
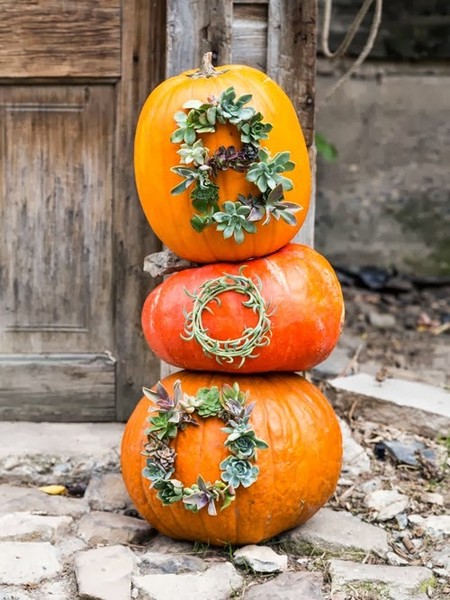
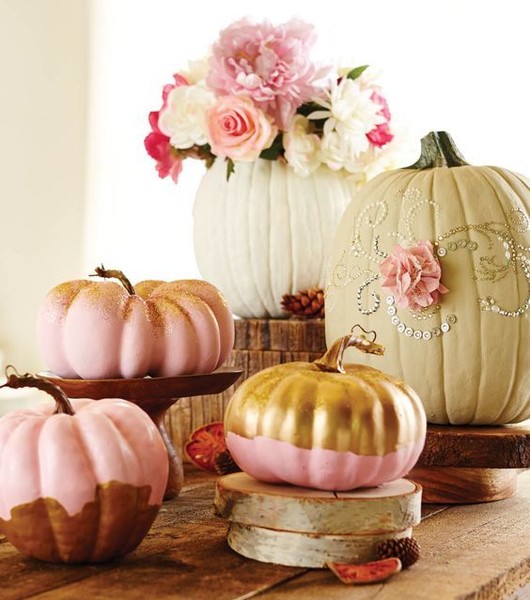
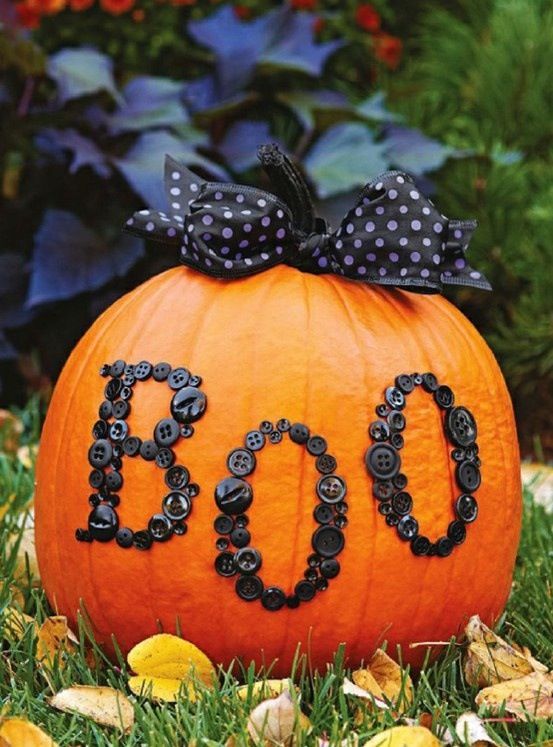
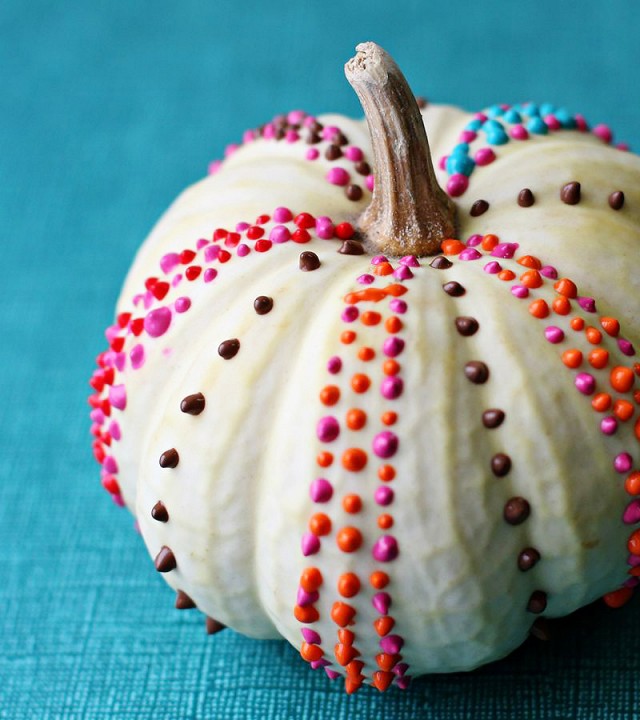
- Glue dried autumn flowers to the surface of the pumpkin.
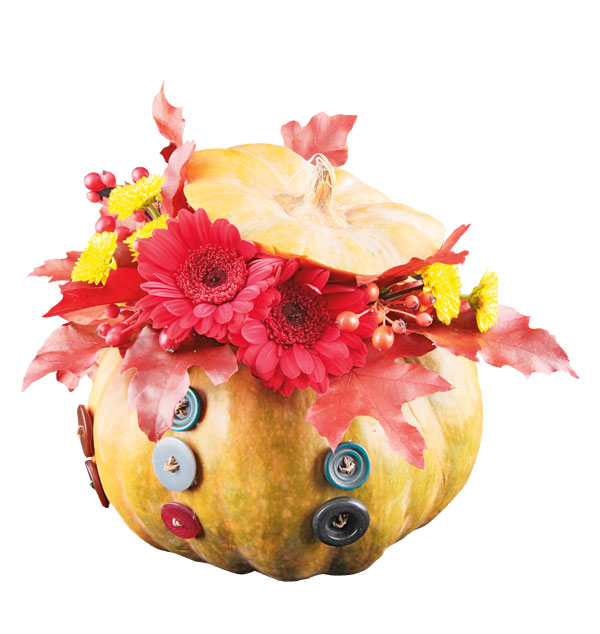
Vase decorated with buttons
Collect autumn leaves, fasten them all together in a bouquet. Set in a pumpkin like a vase.
Pumpkin casserole
In order to beautifully serve a pumpkin dish and surprise guests, it is enough to use the pumpkin itself as a saucepan. An orange container with an even brighter porridge, decorated with a lake of sour cream or cream and sprinkled with fresh herbs, is a stunning sight.
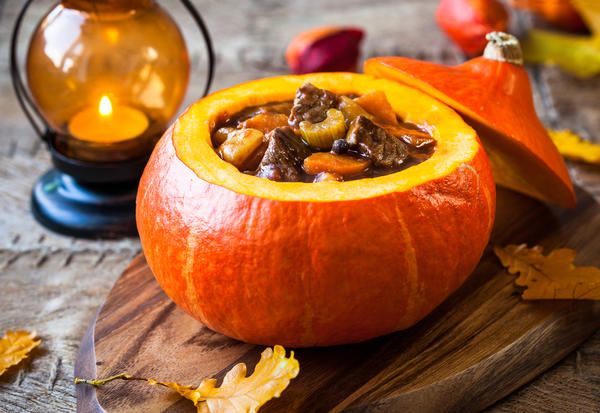
Pumpkin in the role of a saucepan
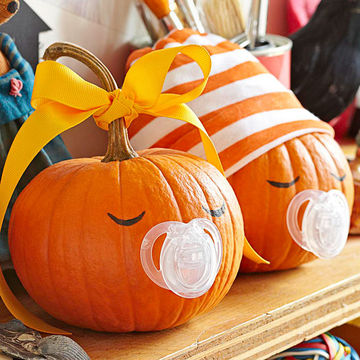
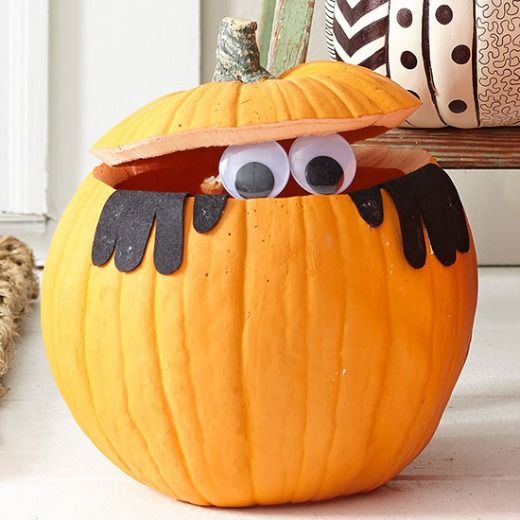
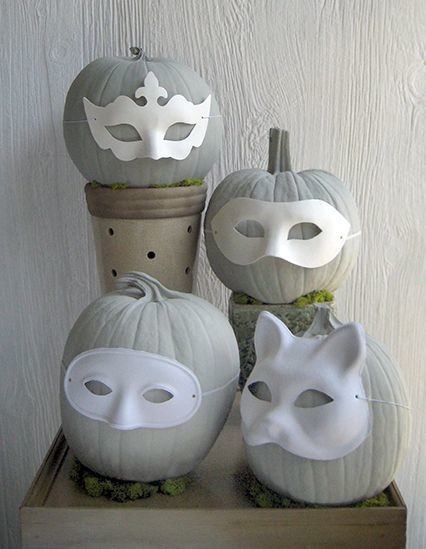
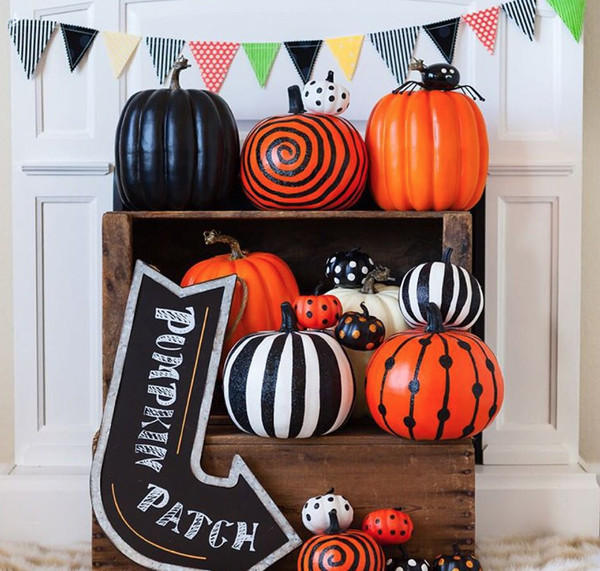
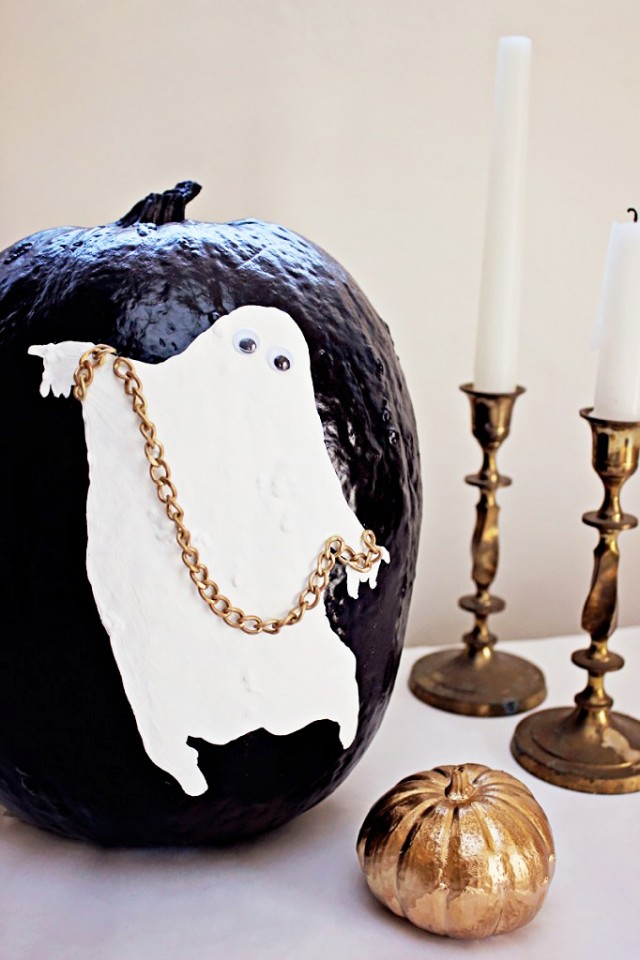
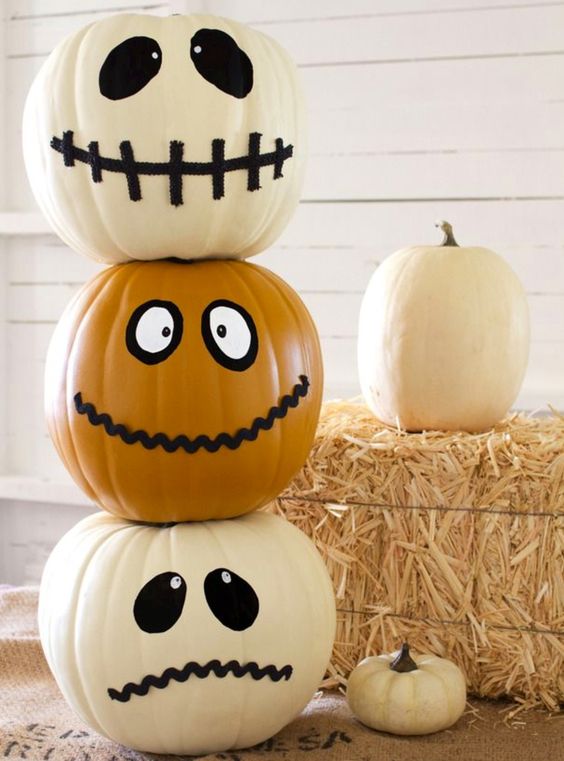
Decor little things
In order to use a pumpkin as a decoration, you need quite a bit of imagination:
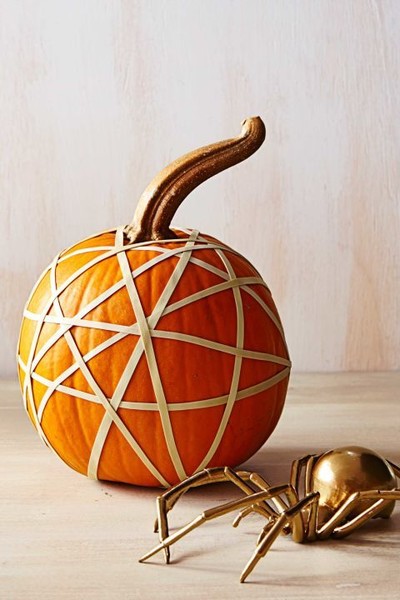
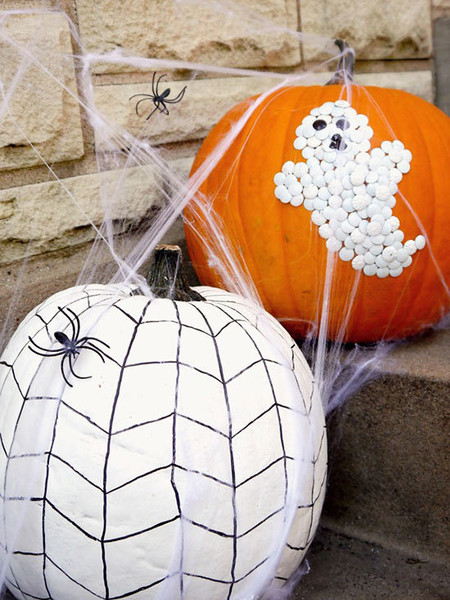
- A small pumpkin with eight paperclip legs becomes a spider. Of course, if you draw eyes on him with a felt-tip pen or glue buttons.
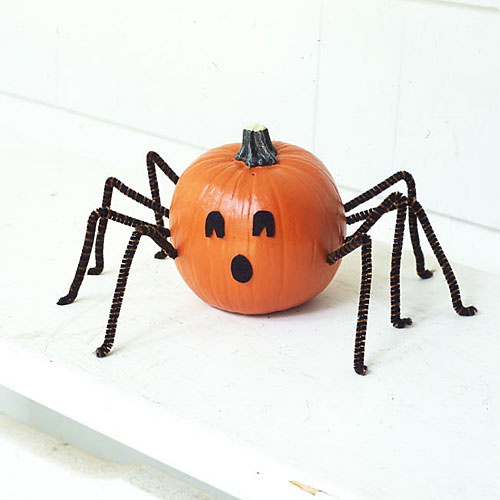
simple paperclip spider
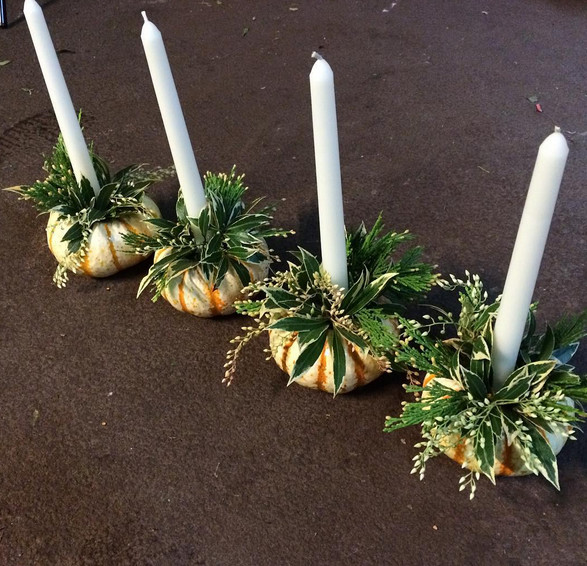
- Cut a small pumpkin and fasten a small candle in its upper part. The first lamp for a romantic dinner is ready.
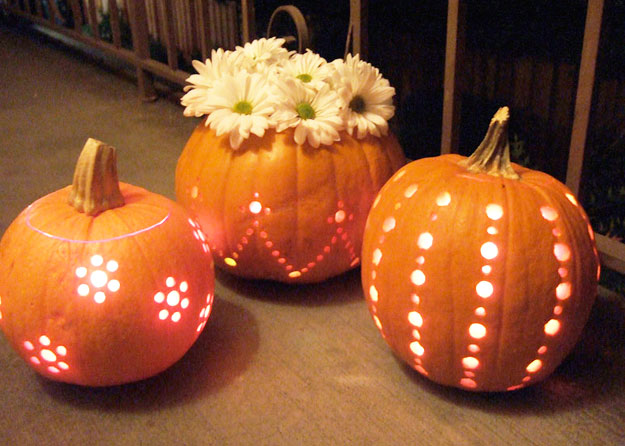
Pumpkin candlesticks
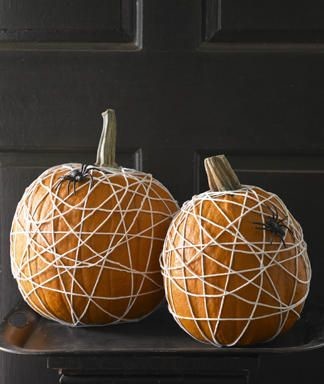
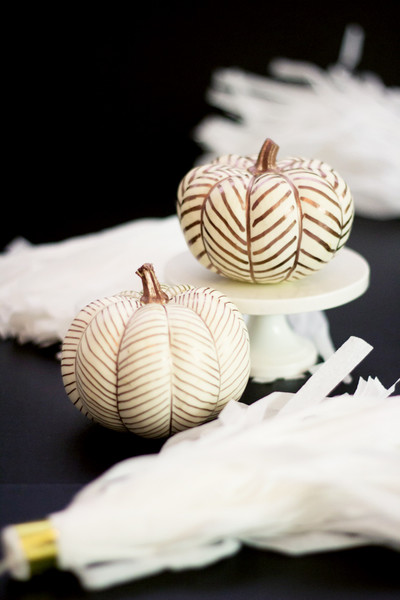
- Cover a medium-sized pumpkin with glue and apply thread patterns on its surface. One color option is available. The multi-colored picture looks beautiful. Choose the colors of the threads, focusing on the color scheme of the room.
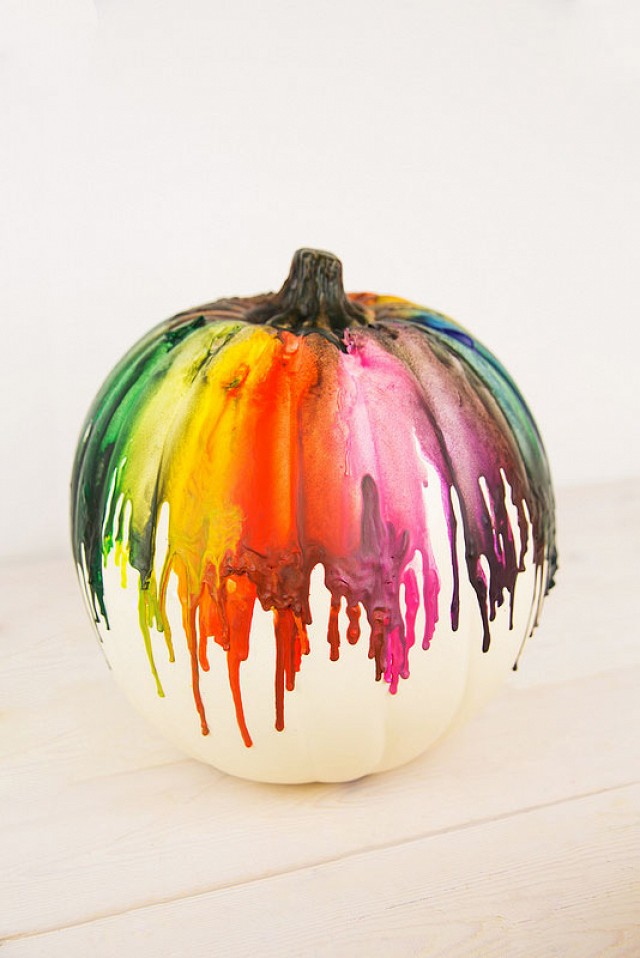
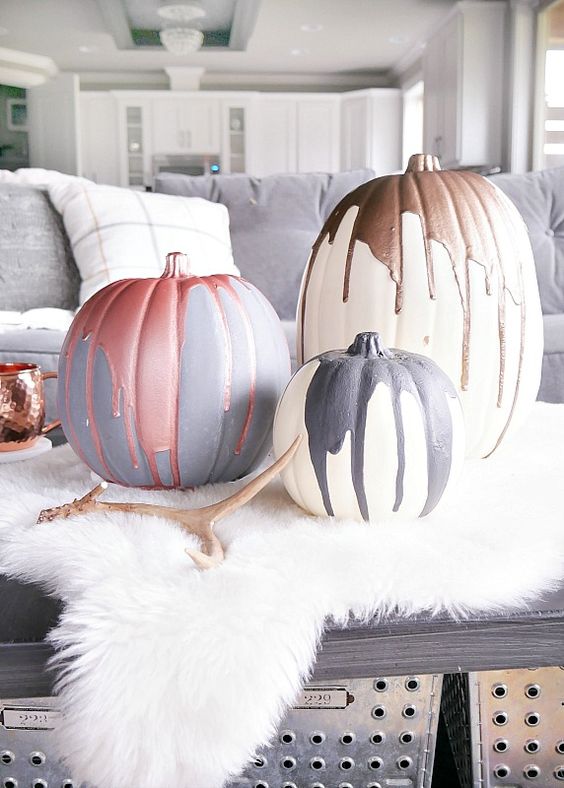
- Cut the wax drawing crayons along the stem. Attach the top of the pumpkin. Take a hair dryer, you can use a regular hair dryer. Heat the wax sticks in succession. Under the action of heat, they will begin to melt and, flowing down on the surface of the pumpkin, will create an original unique pattern.
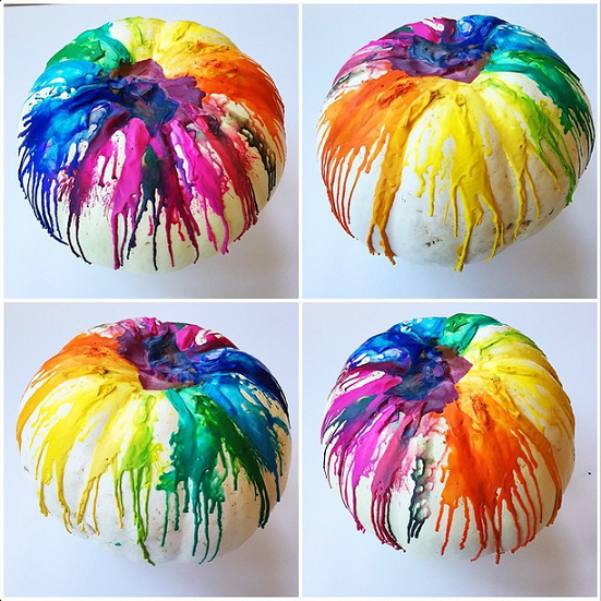
Drawing on a pumpkin with melted wax crayons
pumpkin for halloween
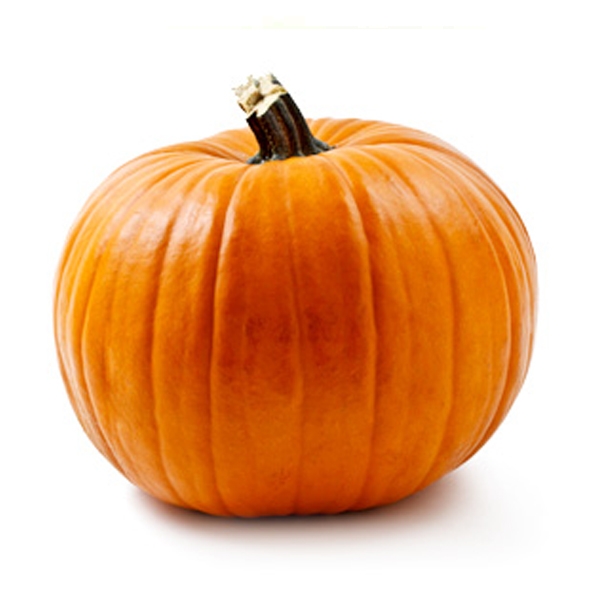
If you want to make original DIY pumpkin crafts, such as a Halloween lantern, you need to take only bright orange beautiful pumpkins. Be sure to pay attention that the product is symmetrical and resembles a ball or a beautiful sphere. For a lamp, choose a product with a diameter of at least 25 cm. Try to have your pumpkin with a stem, this indicates that it is not spoiled.
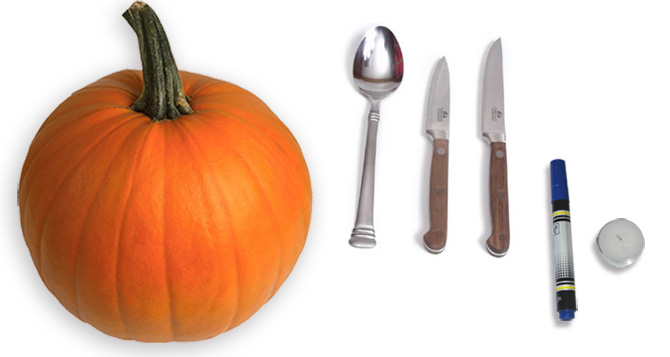
For Halloween, choose a pumpkin with a stem
When performing work, you must adhere to several rules:
- Before cutting out the pattern, the pumpkin should not be soaked. It is enough if you sprinkle it with water.
- For cutting, you need to use a sharp tool.
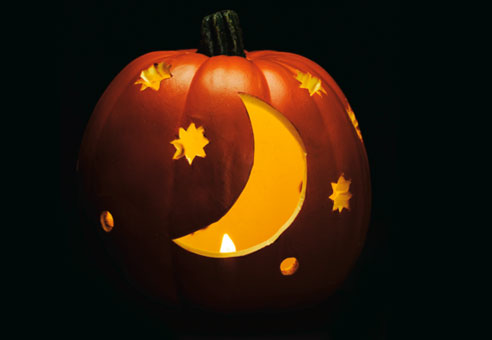
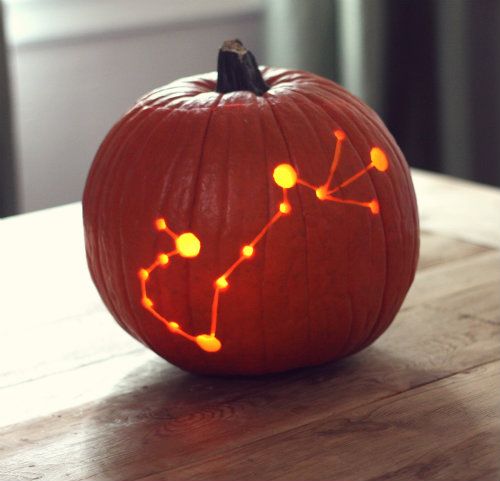
- In order for the drawing to turn out neat, you should not draw and cut out very small objects. Large drawings look much more concise and beautiful.
Large pictures on the lantern look better
- In order for the lantern to be stored for a longer period of time, treat all sections with vegetable oil.
- If you want to keep the pumpkin for a long time, sprinkle it inside and out with a bleach solution. A little less than half a teaspoon per liter of water.
Finished pumpkin lantern
Before cutting off the top, decide what kind of lighting you will place inside. If it is a candle, then cut the pumpkin from above. To install a flashlight, the lower part is cut off.
Work on the manufacture of a Jack lantern, perform in the following sequence:
- Cut off part of the pumpkin. Remove seeds. Take the pulp out of it. You can do it with a spoon. It is much easier to do the work by hand, without tools.
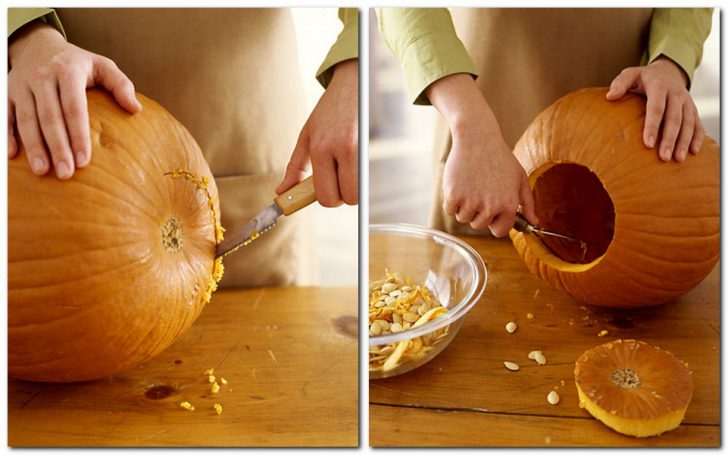
Pumpkin cleaning for a lantern
- Rinse the pumpkin under water and dry.
- Attach a pattern or stencil to the surface of the fetus. You can transfer it with the help of tattoos.
- Use a knife to cut the pumpkin peel according to the glued stencil. Work must be done slowly, carefully, paying great attention to detail. You can first try to work with a small pumpkin intended for porridge. It is good to perform work with a sharp table knife. It is better to use stationery. To simplify the movements, it is convenient if the blade protrudes by the size of the thickness of the pumpkin skin.
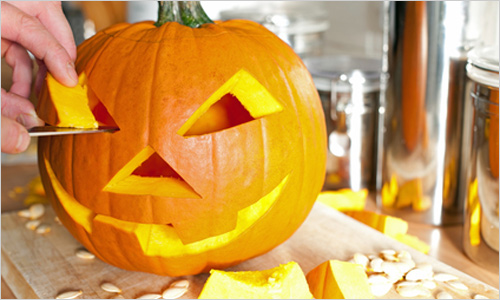
Carefully cut out the pieces with a sharp knife
In order for a pleasant aroma to spread throughout the space when burning a candle, the inner surface of the pumpkin can be treated with spices such as cinnamon and nutmeg.
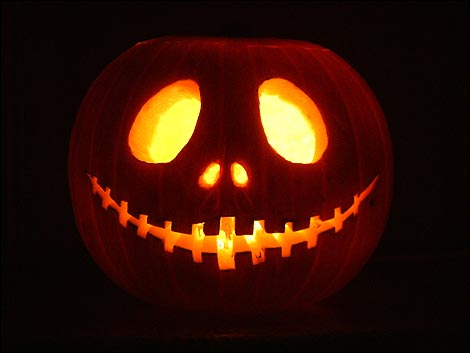
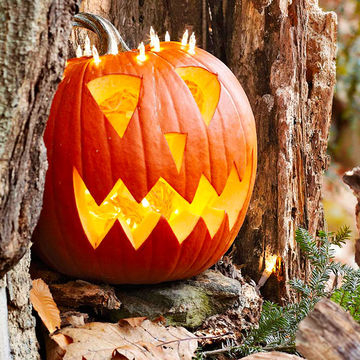
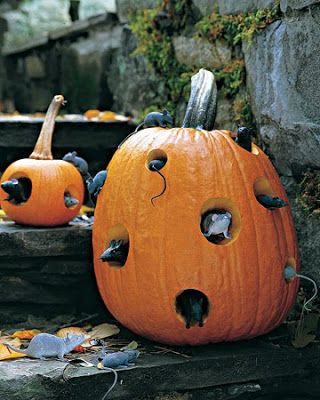
Classic pumpkin jack-o'-lantern
The above tips on how to make original crafts from a pumpkin with your own hands will help decorate the yard space, make the interior of the house original, and adequately celebrate such a holiday as Halloween. Nothing adds coziness to housing and makes a family more united than joint creativity and common affairs.
back to index ↑Photo gallery - original do-it-yourself pumpkin crafts


Video