When performing repairs, one of the most important issues is the correct choice of materials intended for wall decoration. The proposed step-by-step wallpapering master class (with your own hands) will allow you to independently decorate your apartment, house or cottage.
At the moment, wallpapers have received well-deserved recognition and popularity. The main advantages of this type of material are:
- Low cost, which is acceptable for both businesses and individuals.
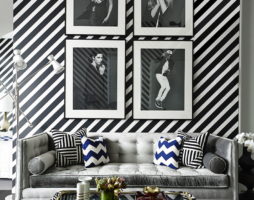
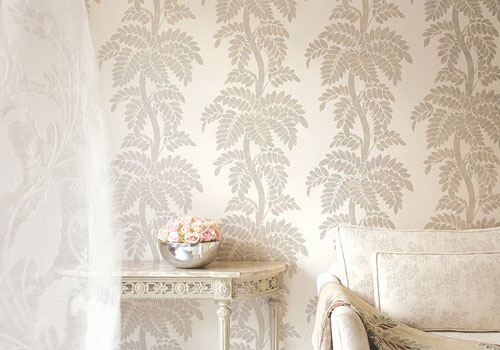
- A large selection of textures and colors, which allows you to create an exquisite design in the room.
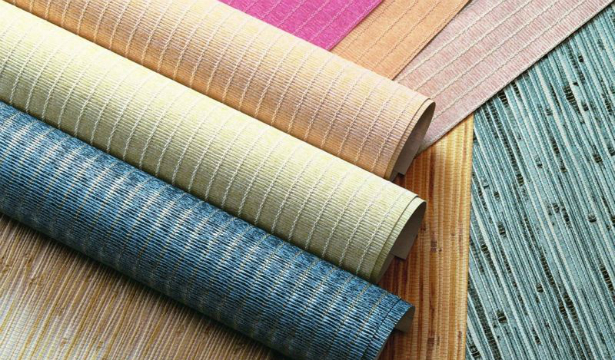
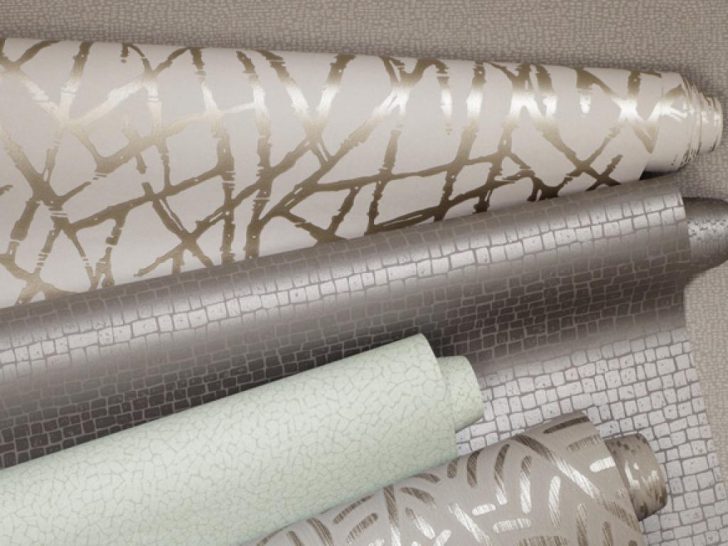
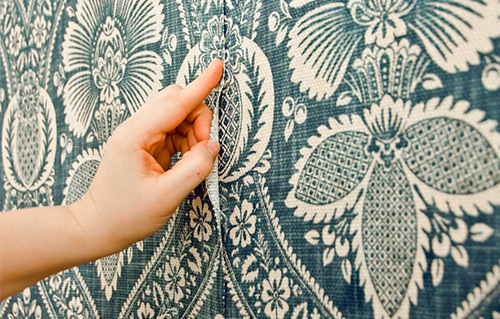
The market has a large selection of wallpapers of different colors and textures.
- There is a possibility of gluing in rooms of any type.
- The material is unpretentious, which is a fairly practical solution.
- Gluing occurs very quickly, so you can quickly carry out repairs.
Wallpapering takes place in a short time
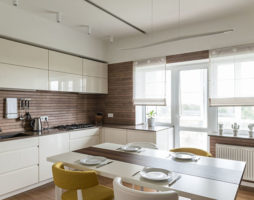
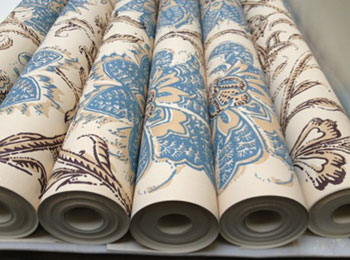
You can purchase wallpapers designed for each room. There is a huge variety of options in a wide range.
Variety of wallpapers
Manufacturers offer a large number of options, allowing you to choose the most attractive option for you. At the moment, the material is presented in the following interpretations:
1.Wallpaper made from paper. They are the cheapest, so they will allow you to perform repairs of a budget type. They are highly environmentally friendly. They will be an excellent solution for a room whose design you are constantly changing.
paper wallpaper
2. Non-woven wallpaper. Such material involves painting, which will allow you to repeatedly change the color of the walls. An excellent solution for renovations in a new building. As a rule, new buildings shrink, and this material perfectly masks the cracks that have appeared.
An example of non-woven wallpaper
3. Vinyl type wallpaper. They are made of a polymer type coating, the base is paper or non-woven. Such material is easy to maintain, it is possible to wash the walls. You can stick such wallpaper in the toilet or kitchen. They have excellent moisture resistance, which is suitable for renovation in the bathroom.
Vinyl type wallpaper
4.Glass wallpaper. They are made of fiberglass, which are intertwined with each other. The weaving type method is applied. Unlike glass wool, they look great, have a pleasant texture to the touch.
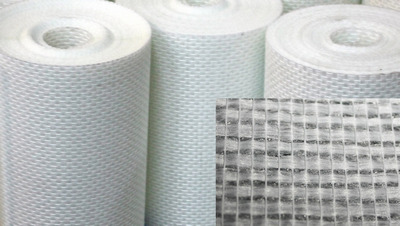
Glass fiber
5.Acrylic type wallpaper. Outwardly similar to a material made of paper. However, applying a relief type pattern allows you to create a refined and harmonious style.
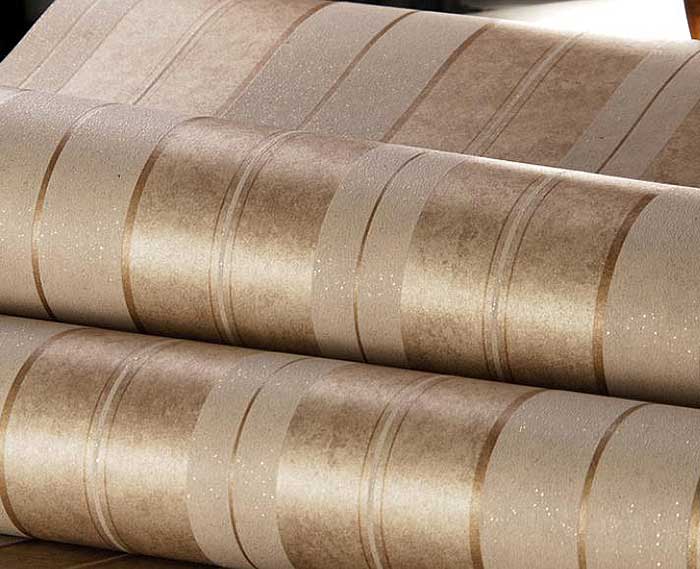
Acrylic wallpaper
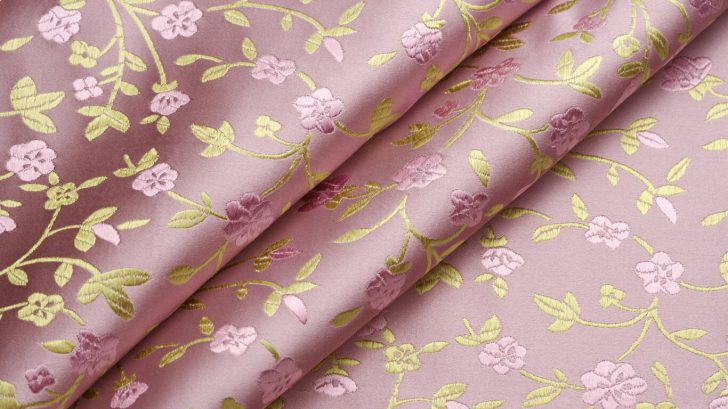
6. Textile wallpaper. The base is made of paper, acrylic or non-woven. The surface of such wallpaper is covered with fabric, which looks especially elegant and attractive. Such material is quite expensive, but allows you to achieve the most elegant result.
Textile wallpapers
If you decide to update the walls, then a step-by-step wallpapering master class (with your own hands) will allow you to carry out repairs yourself. It is enough just to purchase all the necessary materials, as well as to get acquainted with the features of each type of wallpaper.
Features of gluing wallpaper of different types
Depending on what type of wallpaper you have purchased, there are features associated with gluing this material.Experienced craftsmen are ready to give advice on the repair:
- If you purchased vinyl-type wallpaper, then you should remember that they react negatively to excess moisture. The glue will have to be applied in small portions so that the material does not have time to get wet. Wallpaper cannot be stretched wide. After drying, the seams may separate, which will give the walls an unaesthetic appearance.
Vinyl wallpaper does not tolerate excess moisture
- An excellent solution would be non-woven type wallpaper. You can apply glue directly to the wall. Purchase a special adhesive designed for this material.
When gluing non-woven wallpaper, glue is applied to the wall
- If you purchased glass wallpaper, you should not pre-cut the material. The adhesive is applied directly to the wall, and cutting is done immediately after gluing. When applying glue, you should take into account the fact that it needs more than the width of the wallpaper. These wallpapers can be used for painting.
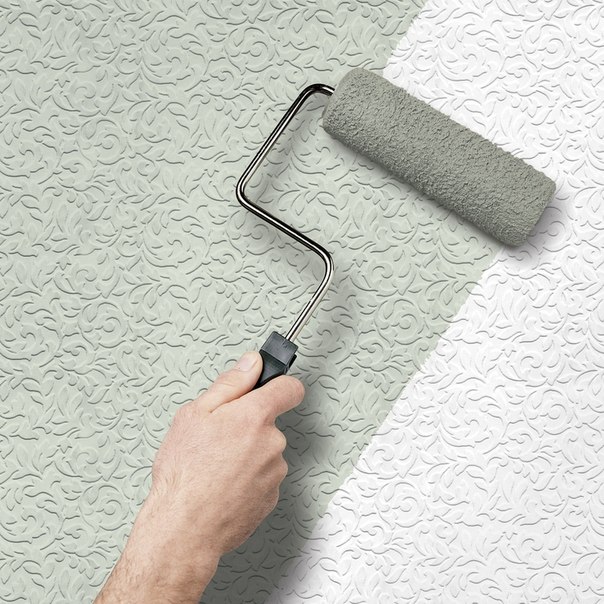
Fiberglass wallpaper can be painted
- Have you purchased textile type wallpaper? It is necessary to pre-align the walls, which must be dry.
Before gluing textile wallpapers, it is necessary to level the walls
You should carefully study the features of gluing various types of wallpaper. The result obtained depends on the correct work plan. If you want to achieve a chic effect, then the material should be purchased only in trusted places.
Pre-preparation stage
Before you start gluing, you need to properly prepare the walls. You need to remove the old wallpaper first. Experts advise to pre-wet the surface so that the wallpaper can easily move away from the wall.
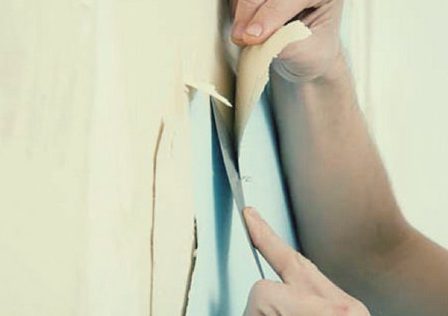
Remove old wallpaper before sticking
If you have any difficulties, you can use a few tricks:
- Excellent hydration can be achieved using a spray bottle or a bottle in which holes are made.
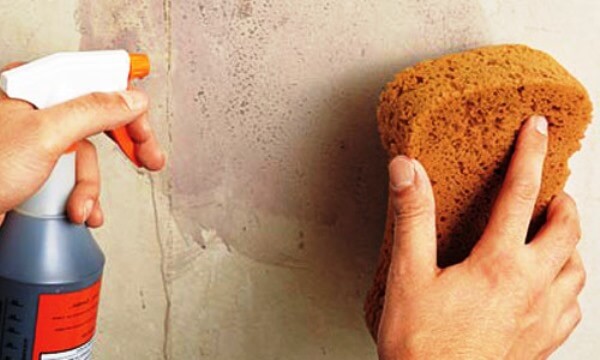
Moisten old wallpaper with a spray bottle
- An excellent solution would be to iron the wall with an iron, you must use a wet rag.
- If you have whitewash, then it is simply washed off with water.
Whitewash is easily washed off with water
- Have you used water-based paint before? It is quickly removed with a special spatula.
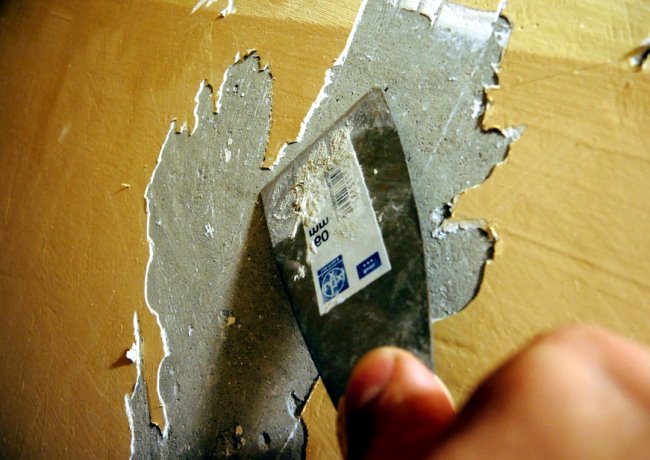
Paint can be removed with a spatula
When the wallpaper is removed, cracks must be carefully repaired. The wall must be perfectly flat. All irregularities must be removed.
You will need to complete the following prerequisites:
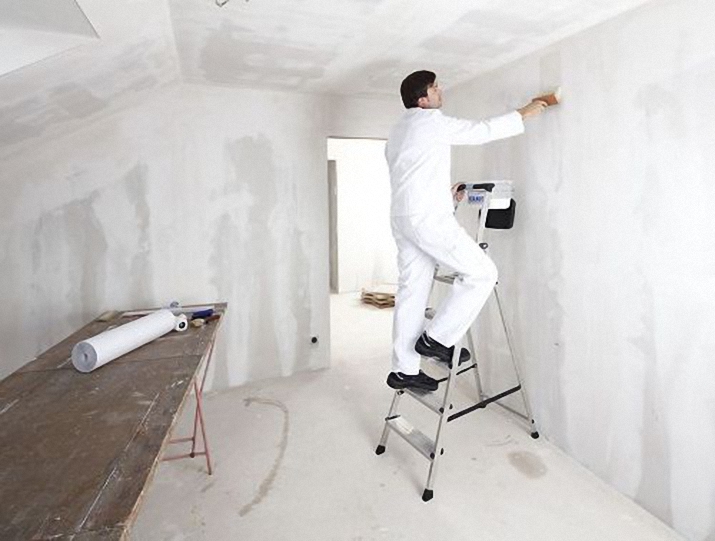
- Careful plastering of the walls.
- Performance of work on puttying the surface.

Wall plastering before wallpapering
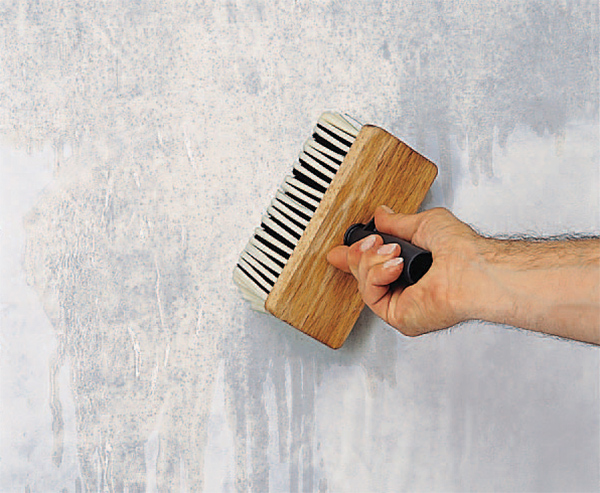
It makes sense to purchase a primer that has deep penetration. This material will get rid of bacteria, as well as provide the best adhesion of wallpaper to the wall surface.
Purchasing the necessary tools for wallpapering
Experts who offer a step-by-step wallpapering master class (with their own hands) note that you need to prepare tools designed for work.
The kit should include:
- Glue, which is intended for wallpaper of the acquired type.
- A knife that must be sharp.
- A tape measure that allows you to correctly measure the necessary pieces of wallpaper.
- Special roller and brushes.
- The container in which you will pour the glue.
- A stepladder that allows you to reach the top of the wall.
- Pencil needed to mark the cut line.
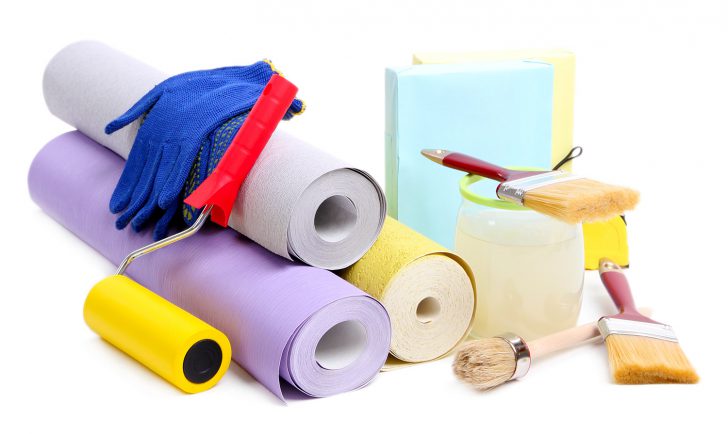
- Special plumb.
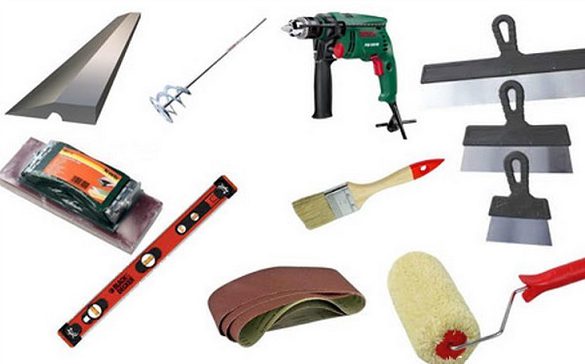
Wallpapering tool
Prepare all the tools in advance, so as not to be distracted from work later. When buying wallpaper, immediately purchase an adhesive designed specifically for your type of material.
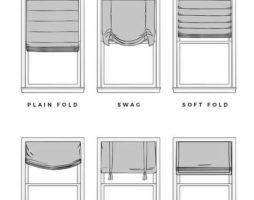
Wallpapering rules
You need to measure the height of the wall from floor to ceiling. You will need to make an allowance of about 5 centimeters. When gluing wallpaper with a pattern, you must leave a larger margin.It is necessary for joining the pattern.
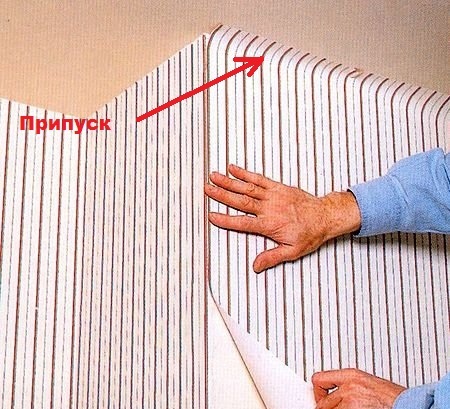
Make an allowance of 5 cm on the wallpaper
Next, you need to unwind the roll, measure the resulting length, make notes with a pencil, then cut the resulting sheets.
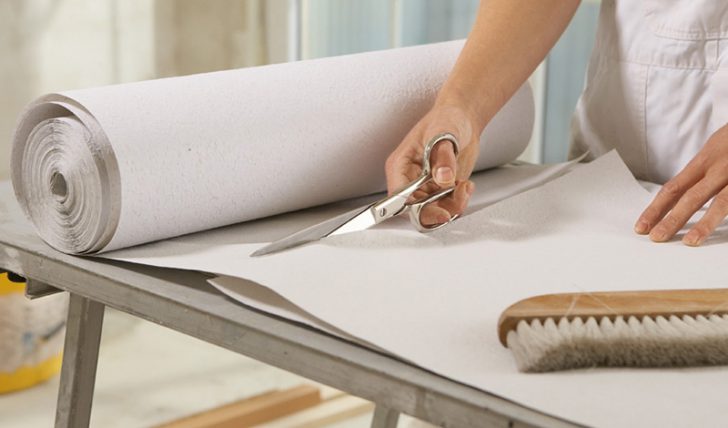
Cut the wallpaper into pieces of the required length
Do you have pieces left that are not long enough for a whole strip? These residues are useful for gluing surfaces located above windows and doors. From them you can join the necessary patterns.
A certain order of wallpapering should be observed:
- Start work from the window, and then move towards the door.
- When you reach the door, you should return to the window again.
- Paste wallpaper over the window to complete this section.
- Next, move towards the door.

The order of wallpapering in the room
Before starting work, you need to close all doors and windows so that fresh air does not enter the room. It is undesirable for someone to enter and enter the room, a draft can adversely affect the quality of wallpapering.
Before gluing the first strip, it is necessary to draw a vertical line with a plumb line. It will allow you to evenly paste all rows of wallpaper. Such a line is applied approximately 50 centimeters from the window.
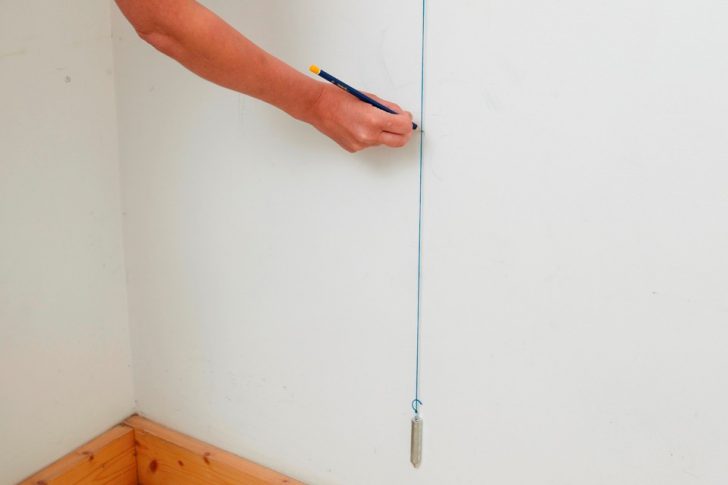
For convenience, draw a vertical line on the wall
Glue application
Depending on what type of wallpaper you purchased, you need to choose a special glue. For non-woven material, manufacturers recommend purchasing a special type of glue.
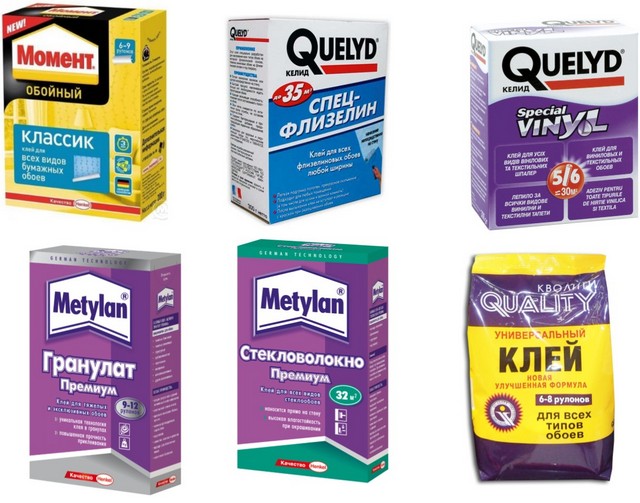
Get the right glue for your type of wallpaper
If your wallpaper does not require glue to be applied to the canvas, then you should apply it directly to the wall. If glue needs to be applied to the wallpaper, then the following recommendations should be followed:
- It is necessary to smear the cut piece of wallpaper with glue.
- This sheet is folded in half.
- Glue should be allowed 10 minutes to absorb.
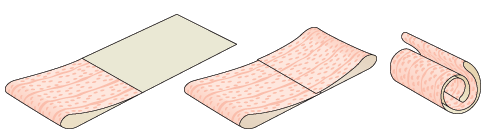
Step-by-step application of glue on wallpaper
- While the sheet absorbs the glue, the wall should be smeared.
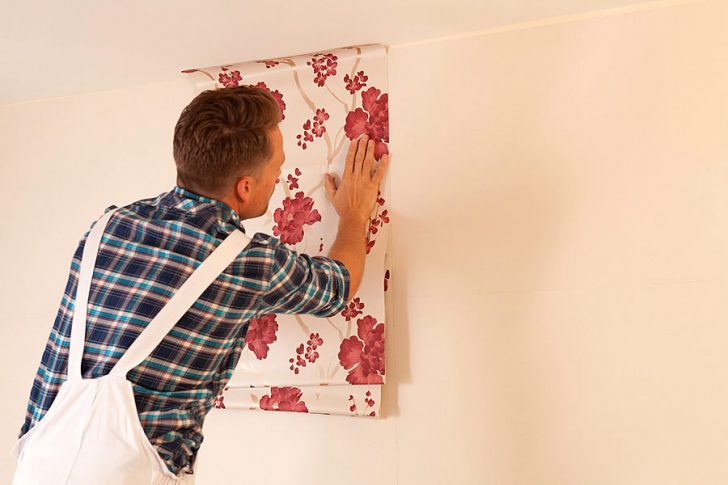
- After 10 minutes, the smeared piece is pressed against the wall.
- Start gluing from the top point.
- You will need a stepladder to make it convenient to press the sheet of wallpaper.
- Gradually unfold and press the sheet, going down.
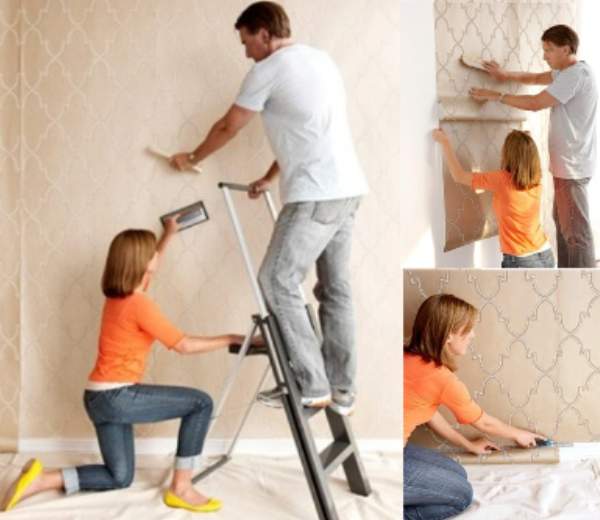
Wallpaper sticker on the wall
- When the sheet is completely pressed against the wall, it needs to be smoothed out.
- Smoothing is done with a rubber roller.
- Smoothing should start from the center, moving up and then down.
- At the stage of smoothing, air bubbles are squeezed out.
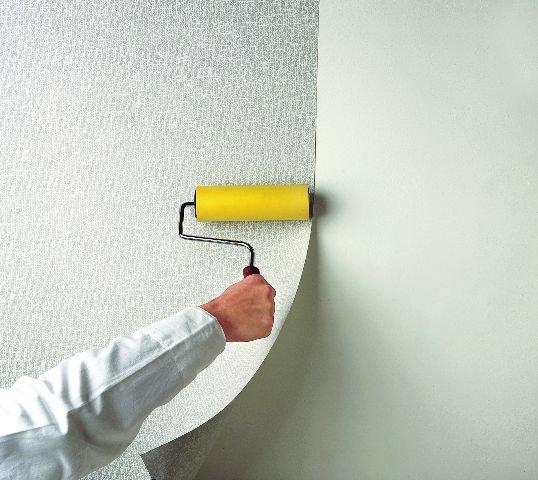
Smooth the wallpaper with a special roller
All subsequent sheets are glued in the same way. A step-by-step wallpapering master class (with your own hands) recommends sticking sheets one next to the other. You need to be careful when gluing so that there are no gaps.
Connections made at the corners must be rolled with a rubber roller. The pressure should be soft enough so as not to spoil the embossed pattern.
How to stick wallpaper in hard-to-reach places
As a rule, batteries are located in the rooms. They should also be followed by wallpapering. You need to pre-cut the sheets in the places where the radiator is attached.
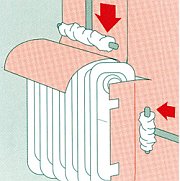
Wallpapering behind a radiator
When gluing, pull the canvas to this place, and pressing is best done with a mop, on which a rag is pre-wound.
Small problems cause switches and sockets. You need to make a cruciform cut around these elements. After gluing, the excess material must be cut off.
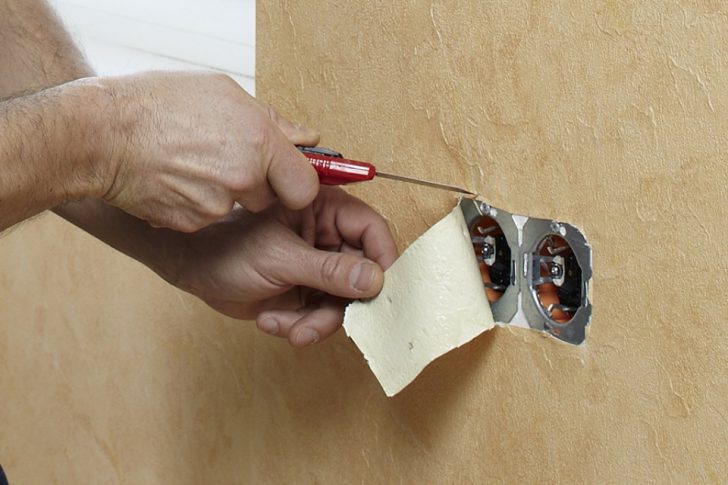
Wallpaper near the outlet
The final stages of wallpapering
You need to trim the protruding edges. This step must be performed before the material is completely dry. You will need a spatula designed to press against the corner, as well as a well-sharpened knife with which you will trim.
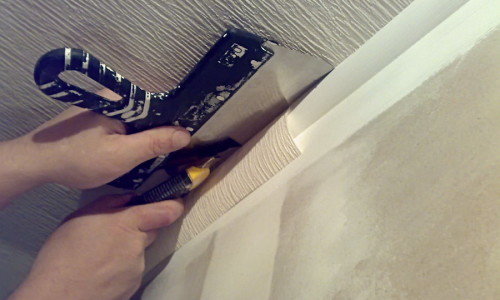
Cutting excess wallpaper
To make the edges neat, keep the knife in a horizontal position. Trim the edges immediately after smoothing.
Wallpapering should be carried out with windows and doors completely closed. In no case should drafts be arranged. It is also recommended to first turn off the electricity.
The step-by-step master class on sticking wallpaper (with your own hands) offered by specialists will allow you to carry out repairs yourself. This solution is quite profitable, you can save on paying for the services of masters. This process is quite simple, so anyone can master the technology.
Video