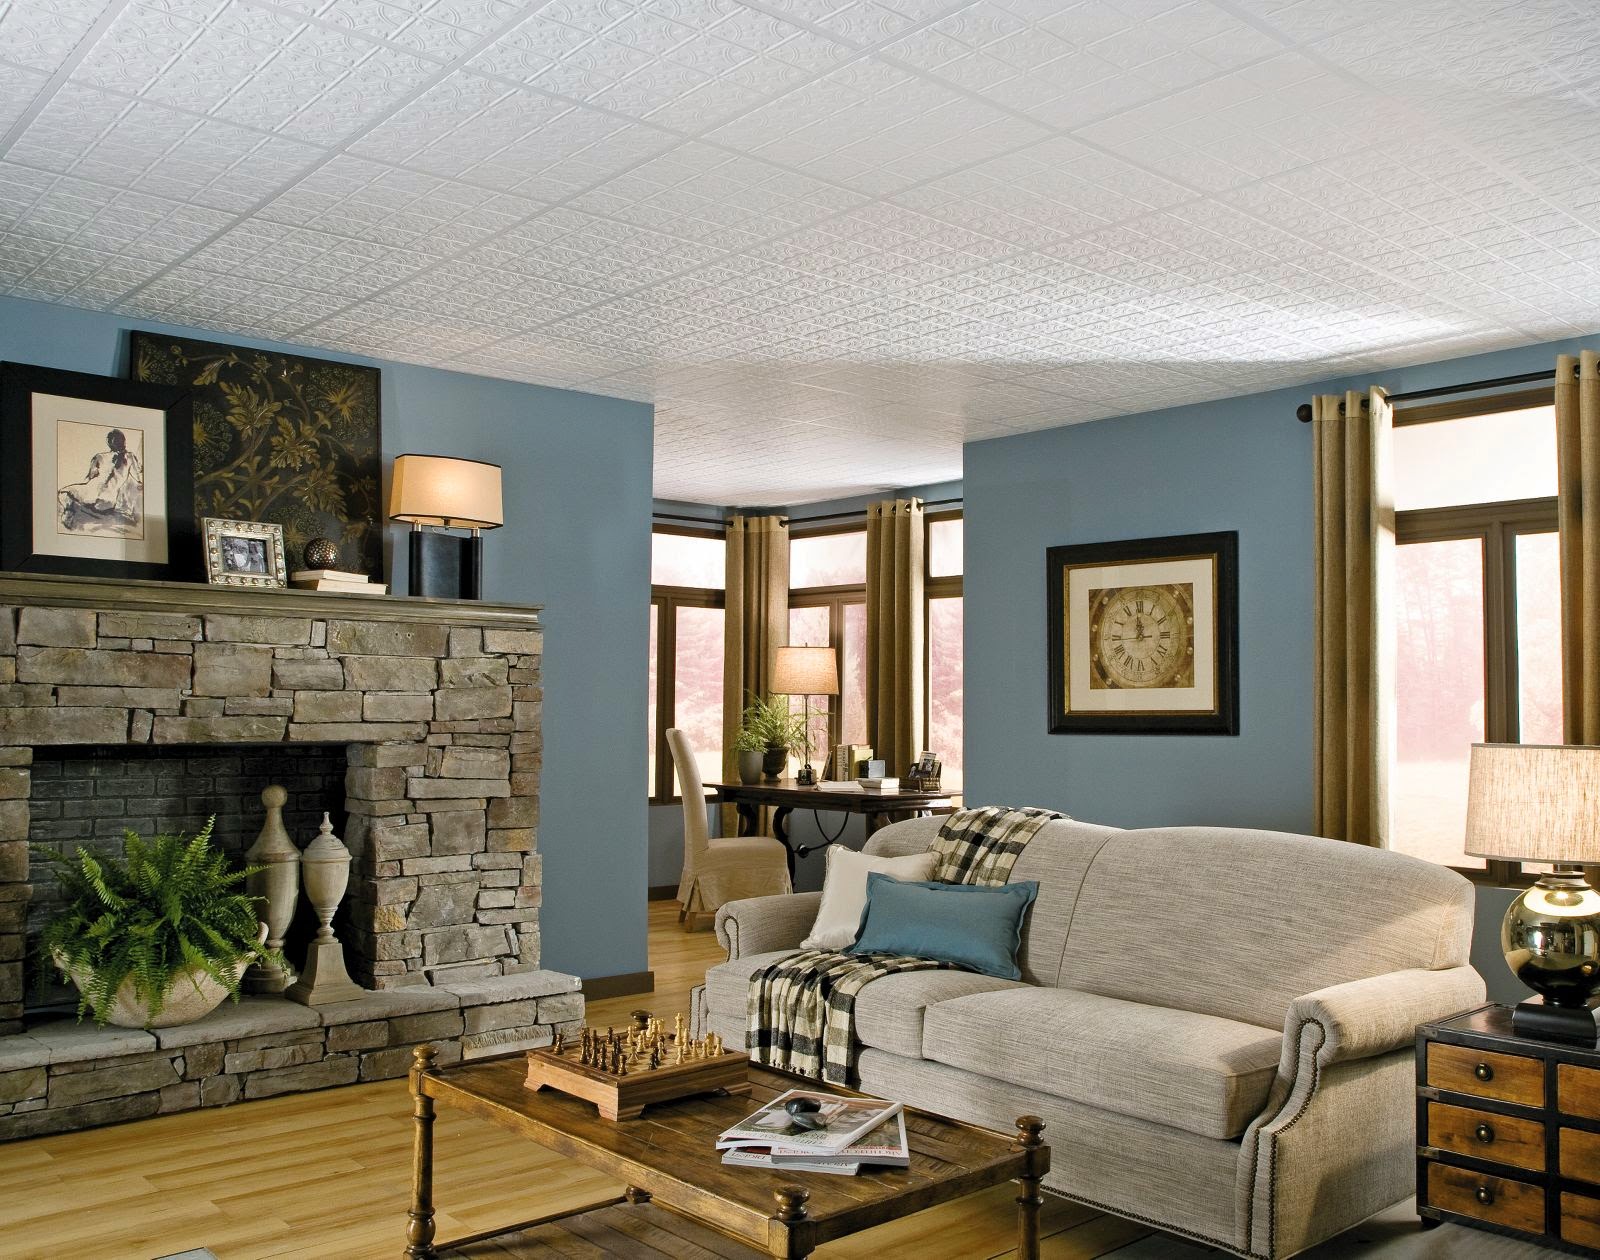
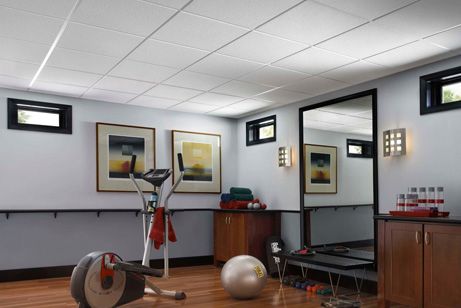
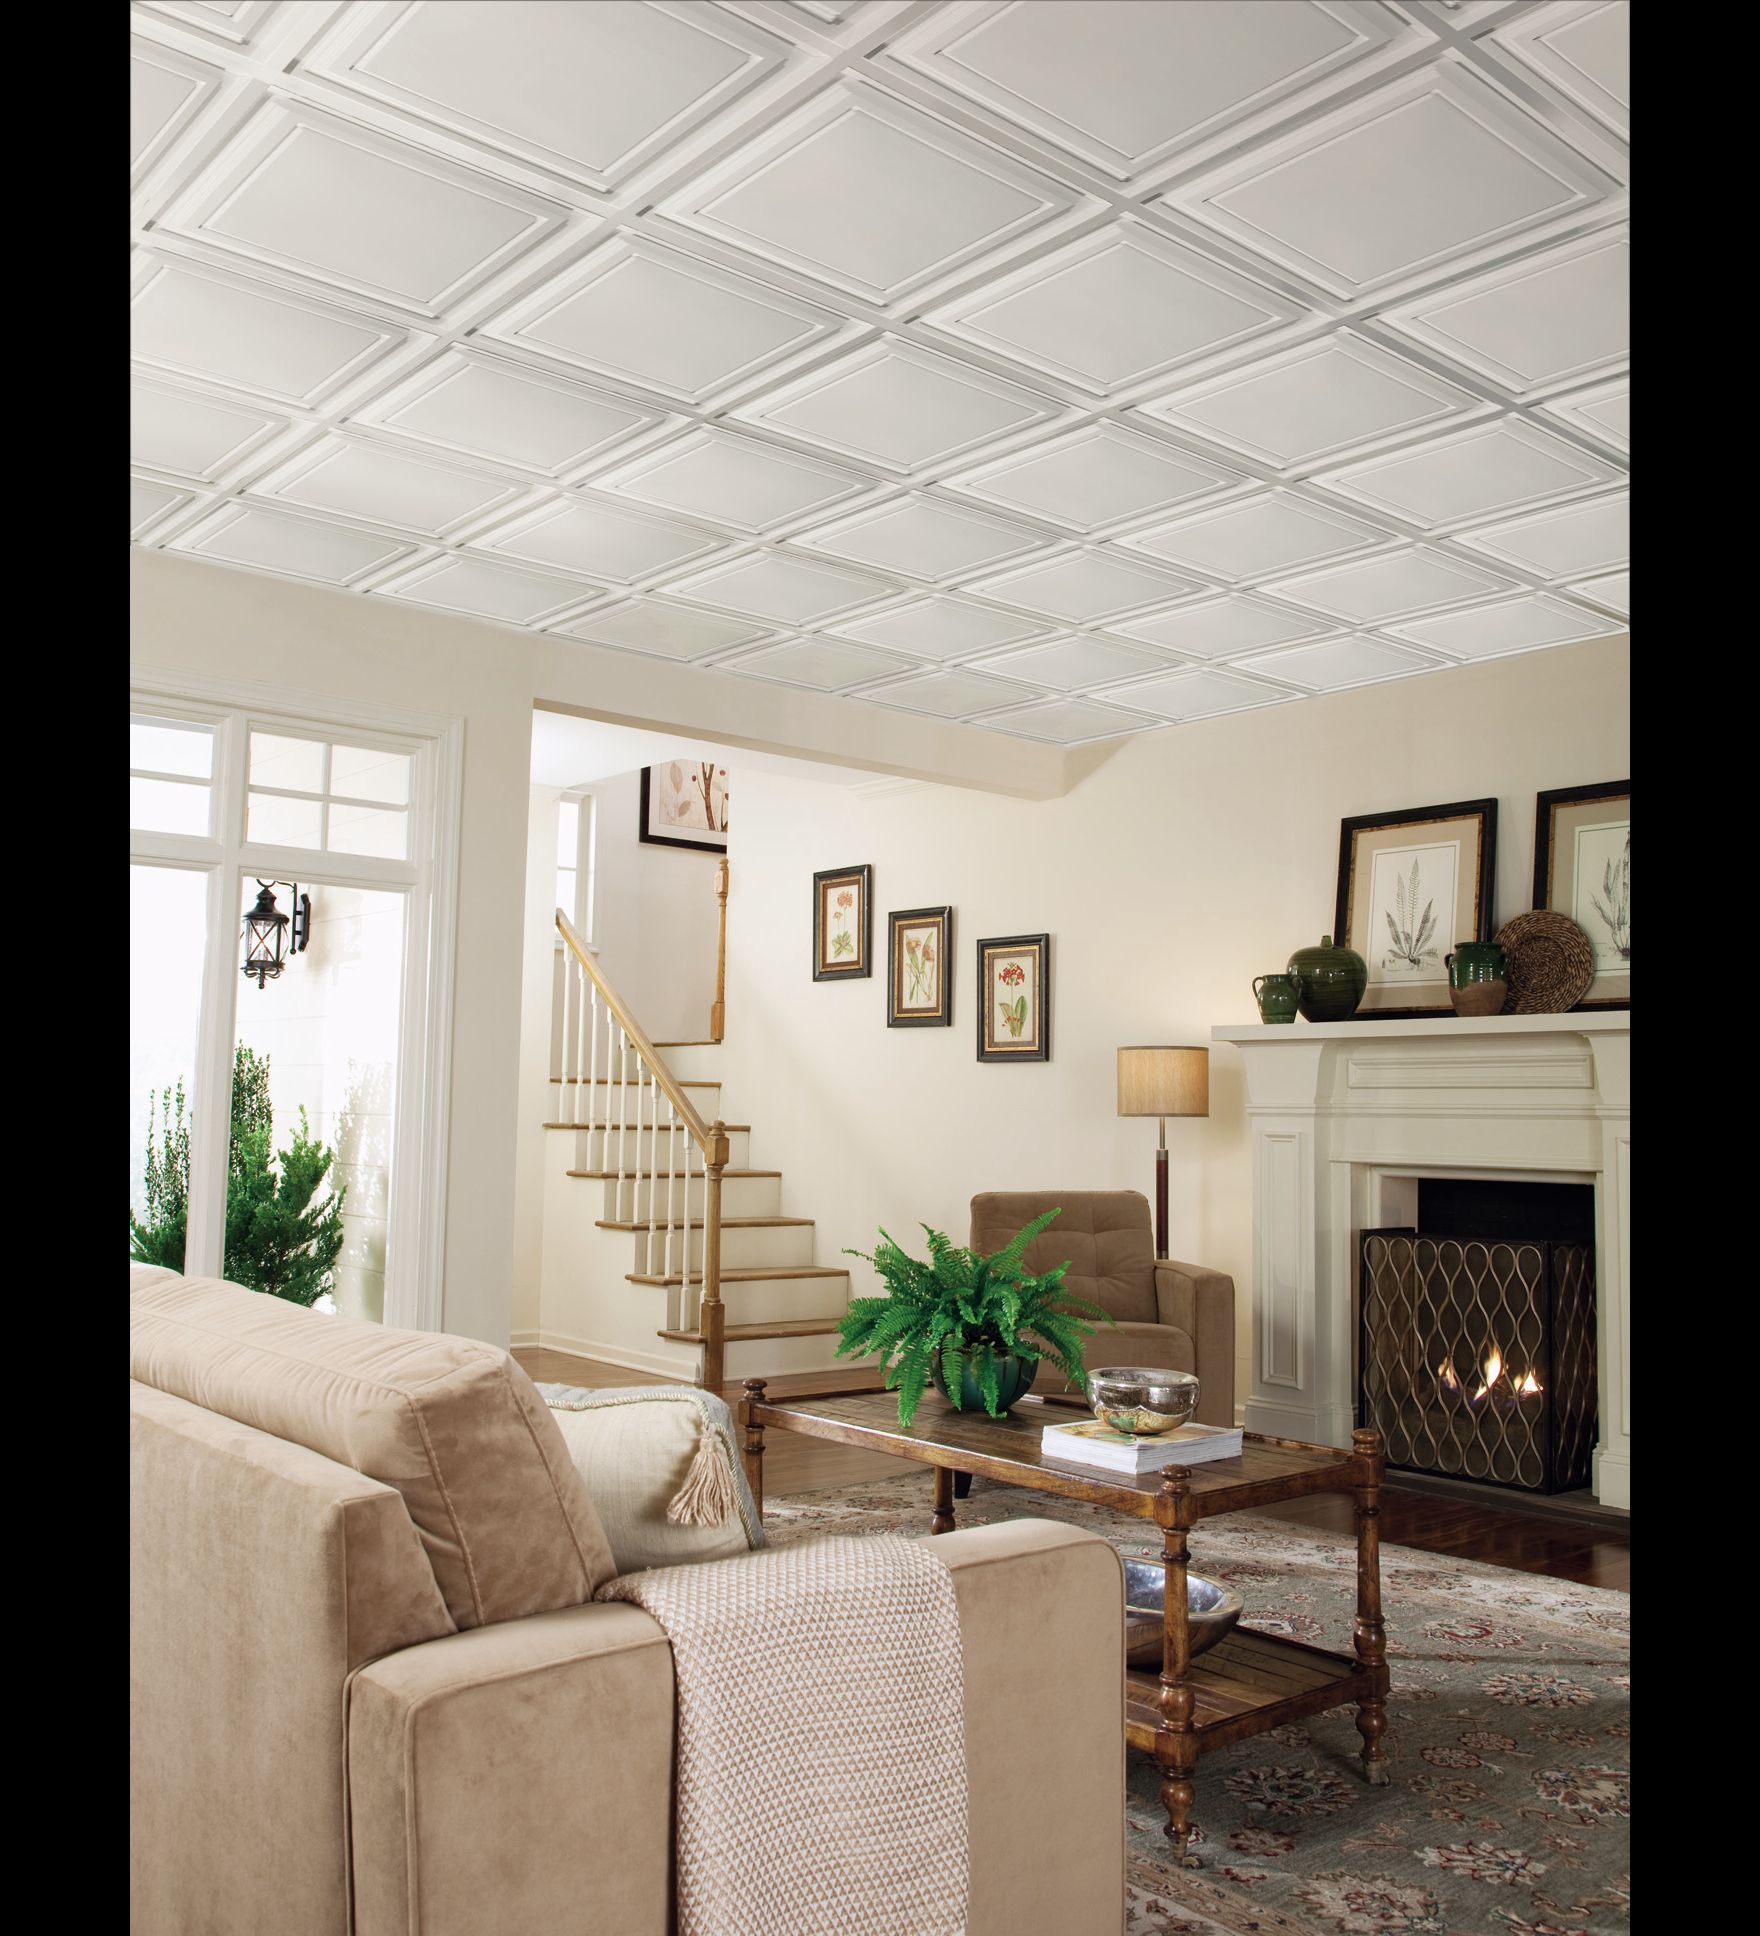
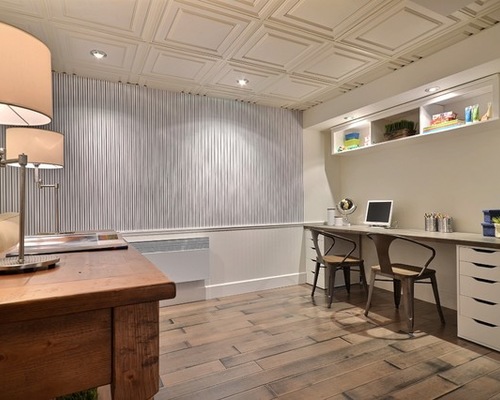
Insufficient quality of repair work and a number of other reasons can lead to the fact that the ceiling of the dwelling will not be completely even. This is a very common problem, due to which the appearance of the room is disturbed. And the subsequent alignment is a rather difficult task. In such situations, the Armstrong suspended ceiling will help. It is installed under the main one, hiding its defects.
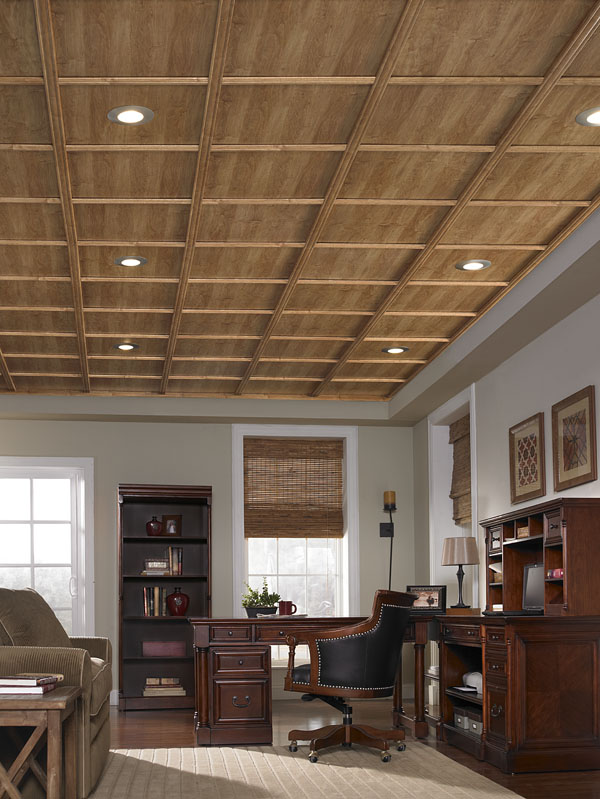
Armstrong has long established itself in the market as a manufacturer of ceiling systems. They are focused on both household and design solutions. Most often, Armstrong uses mineral fiber for the production of ceiling tiles. This material is completely harmless to the human body. For this reason, it can be used in residential and industrial premises. The company's products are of European quality at a fairly low price.
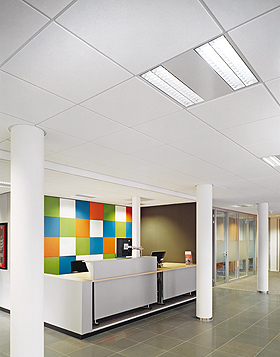
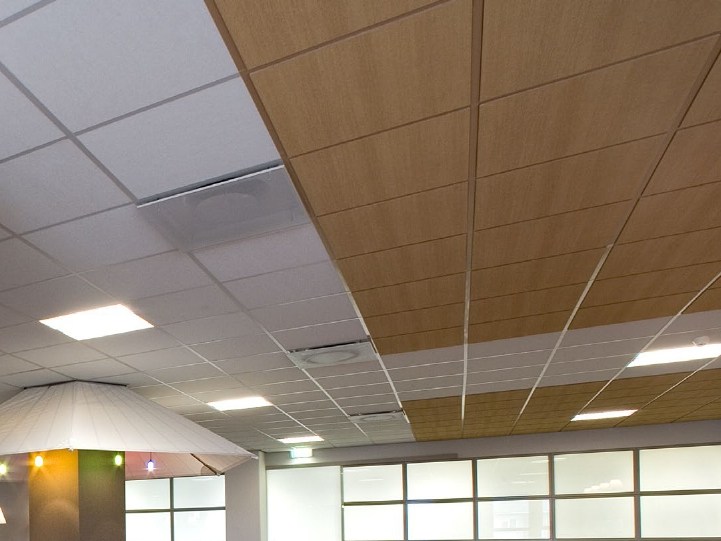
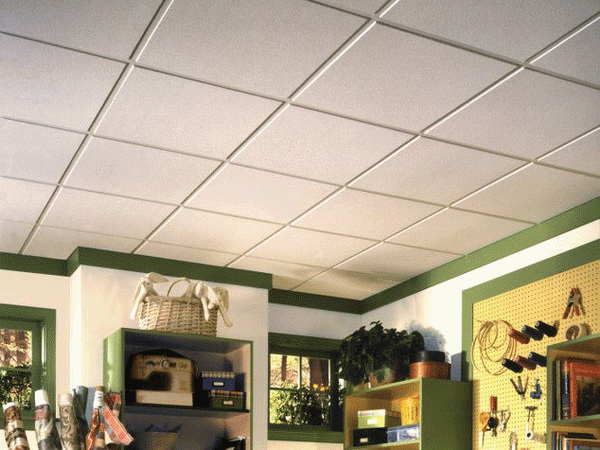
Suspended ceiling Armstrong
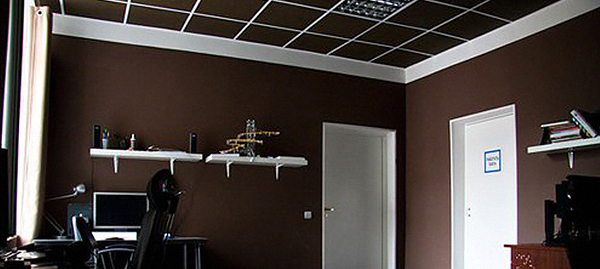
There are also plates made of rigid materials. There are metal, glass, with a mirror surface or pattern. Depending on the variation, the installation process of ceiling tiles also differs.
back to index ↑Purpose and advantages of false ceiling
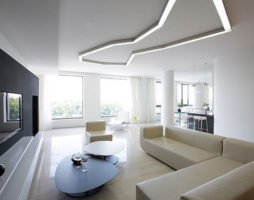
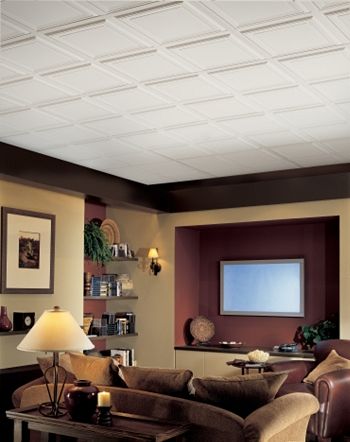
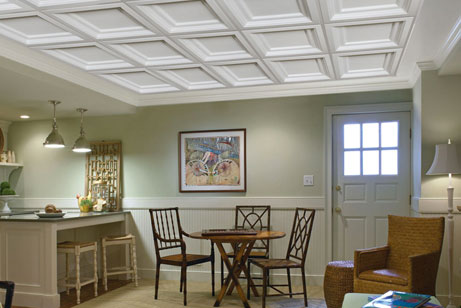
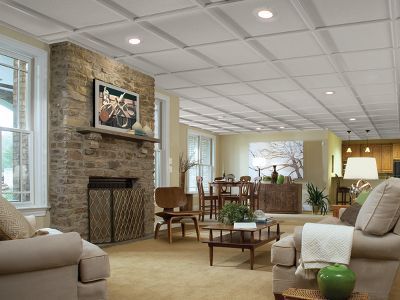
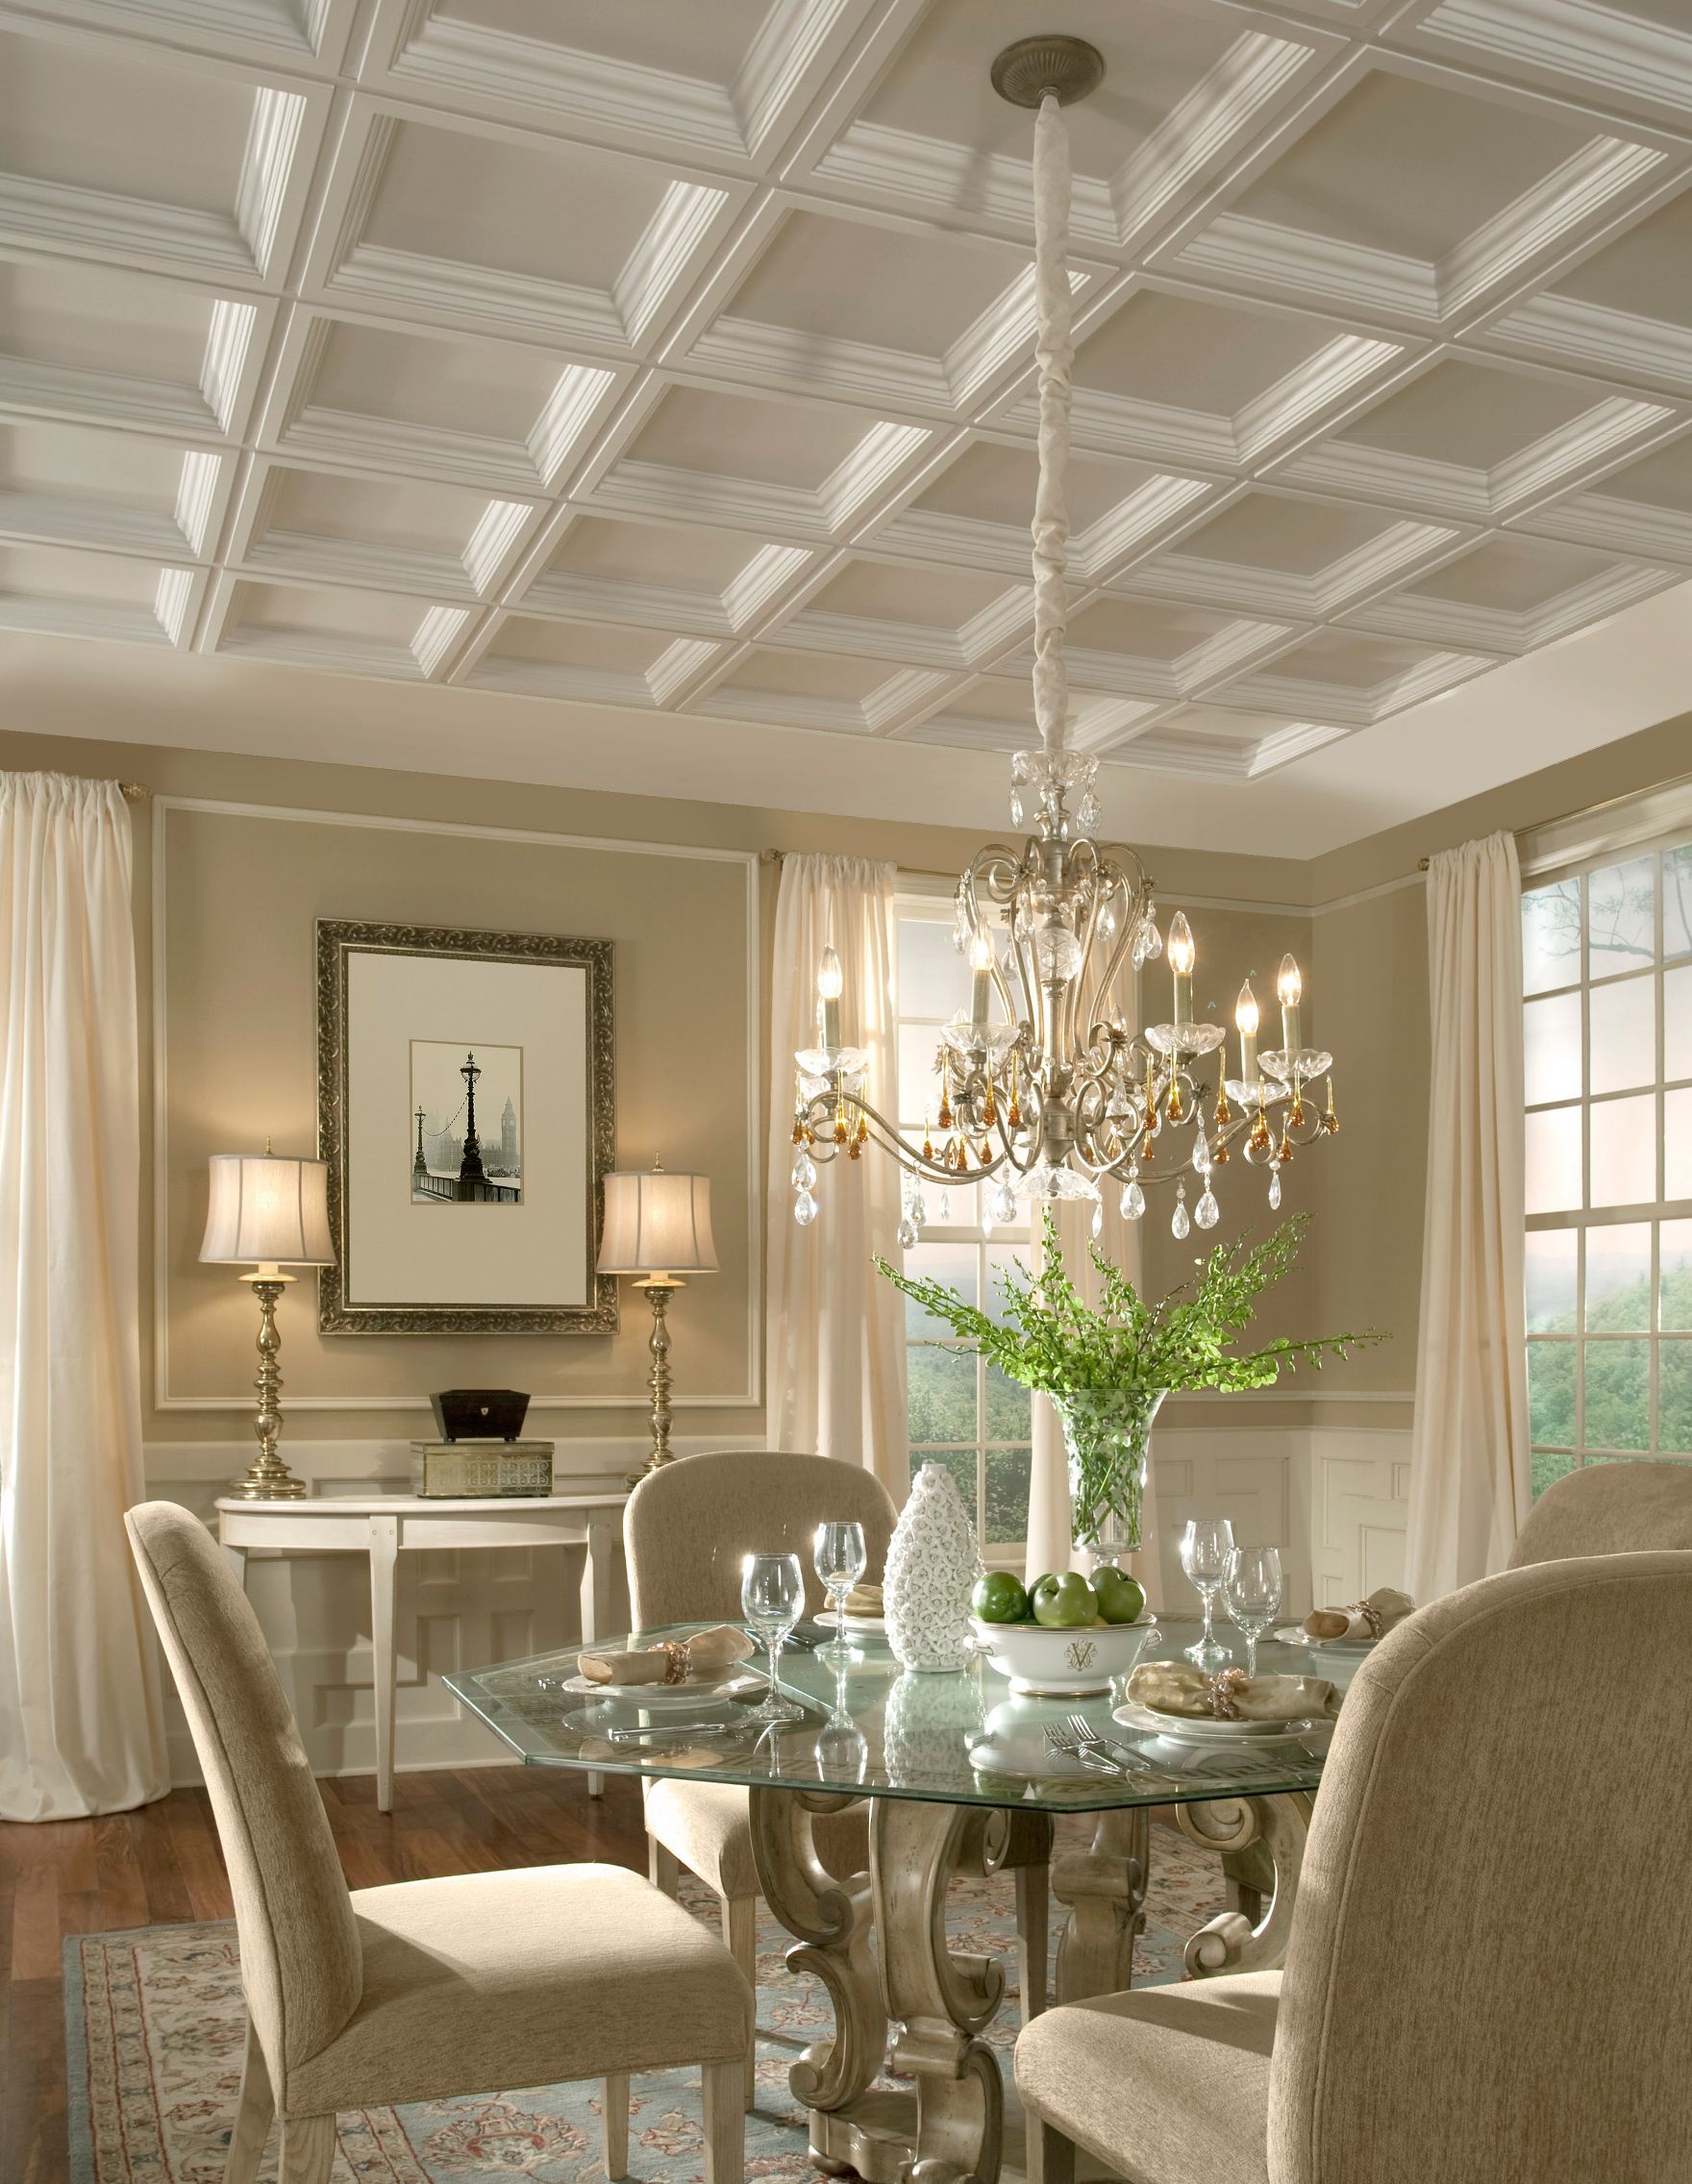
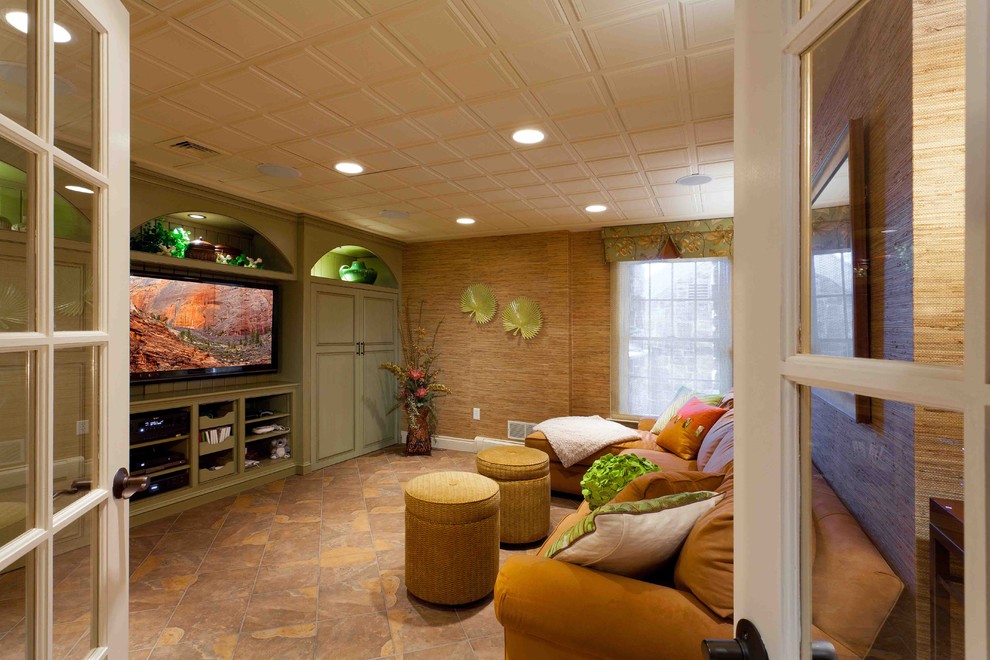
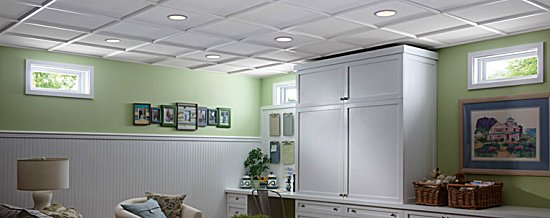
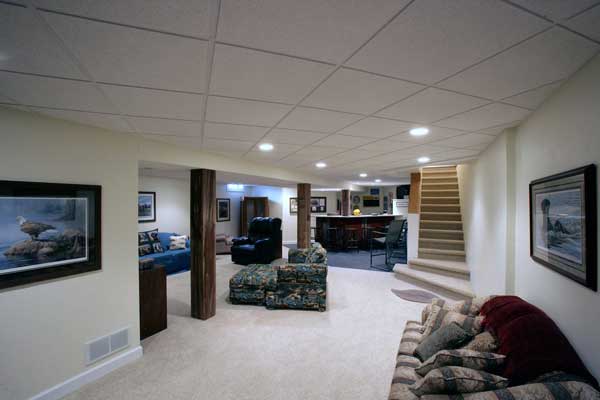
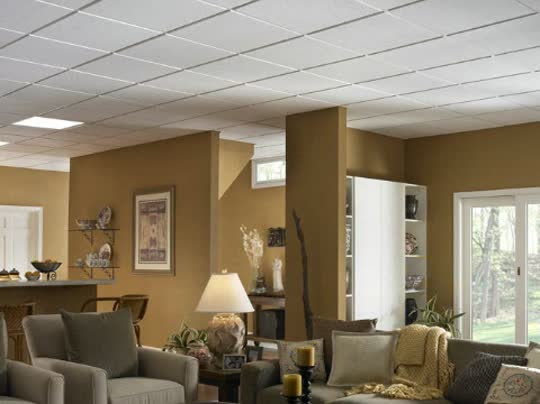
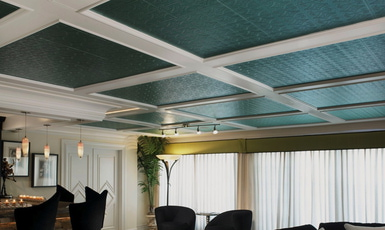
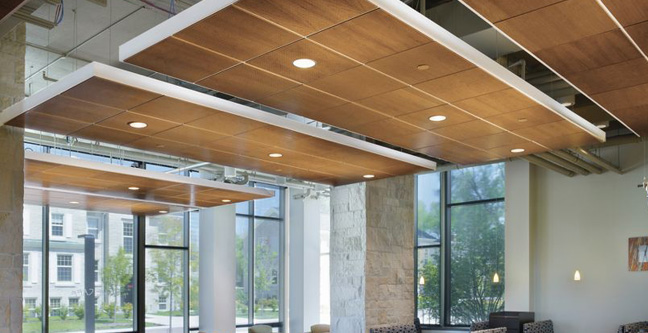
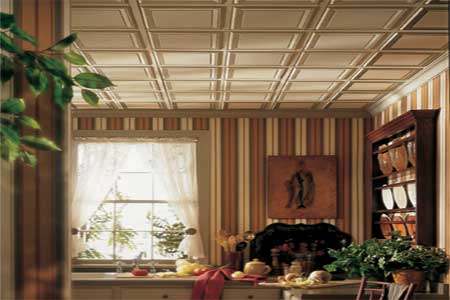
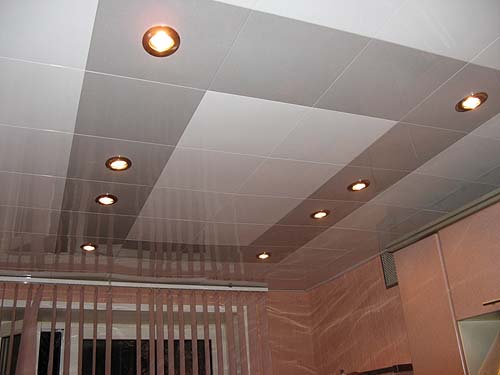
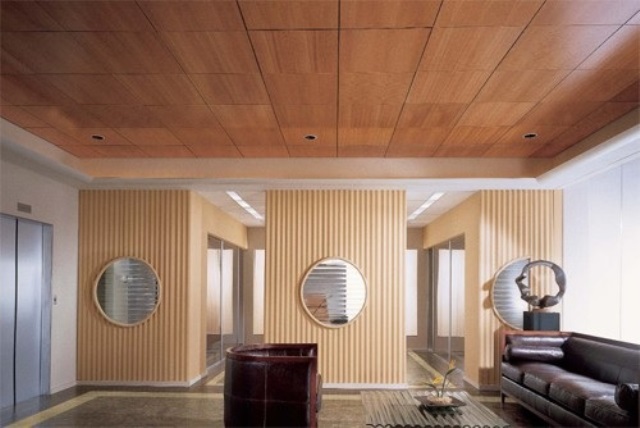
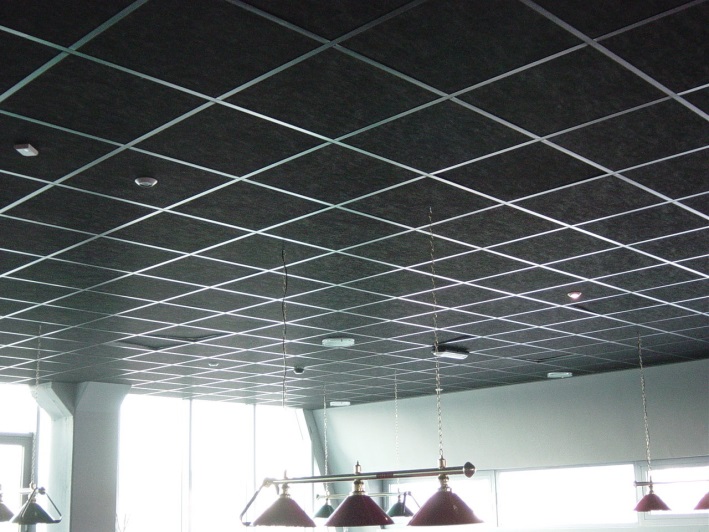
The main function of the Armstrong suspended ceiling is to hide various kinds of defects and irregularities under it. In addition, they are a good decoration. The panels have a beautiful appearance and design, so they will successfully fit into the interior of the room. The richness of colors, the possibility of embedding lighting elements in them - all these are the advantages of using hanging systems as decoration.
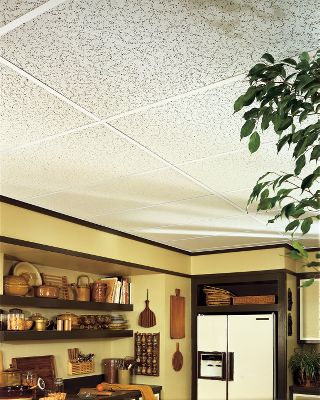
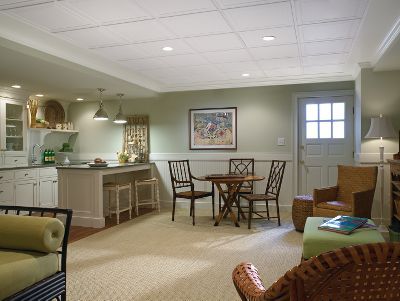
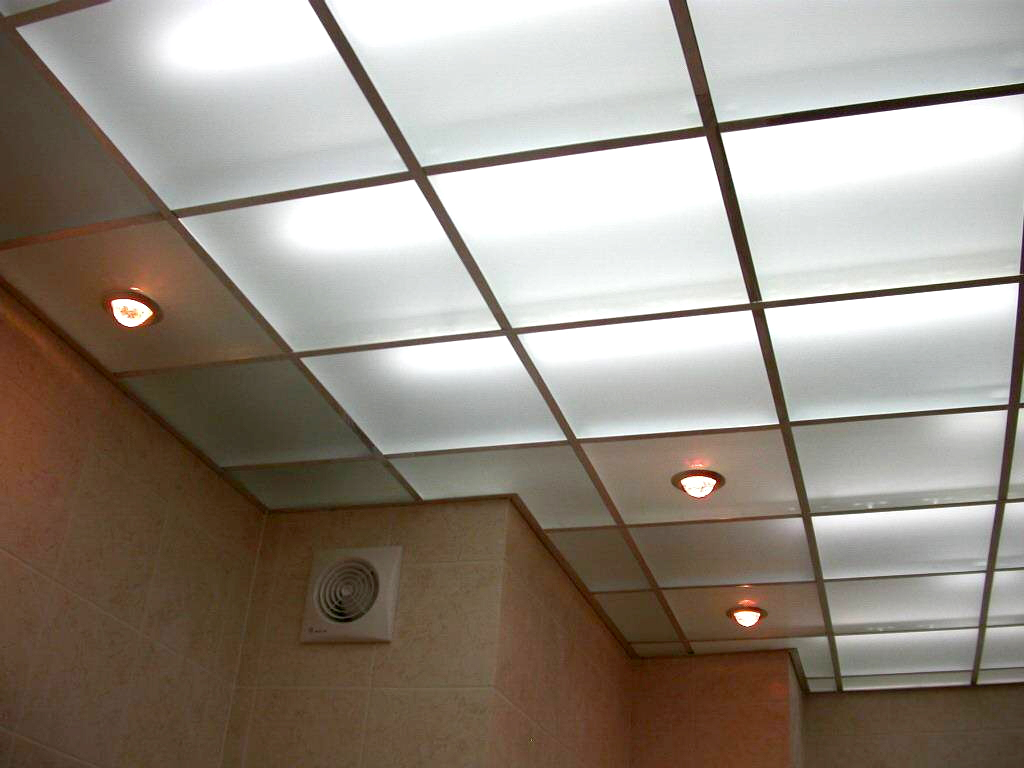
Suspended ceiling Armstrong with built-in lighting
And due to the specifics of the installation, communication means can be hidden behind the ceiling tiles. This is a pretty good solution because you don't have to mask the wiring in the baseboards or in the walls.
It is also worth mentioning the properties of ceiling panels. They are a great way to soundproof. Their installation will save you from noisy neighbors from the upper floors.
back to index ↑Flaws
But suspension systems also have disadvantages that should be taken into account. Chief among them is the complexity of installation. It requires careful preparation and the availability of all the necessary tools. You can also highlight the fact that Armstrong suspended ceiling is available in the form of panels. For this reason, it is difficult to implement an indirect configuration of the top of the room with it.
False ceiling device Armstrong
The suspended ceiling is created from a multi-part frame, on which the plates themselves are installed. This design is very reliable and will last a long time.
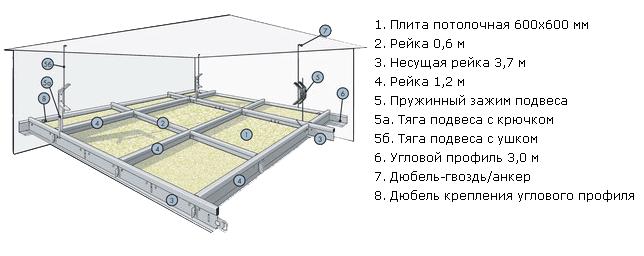
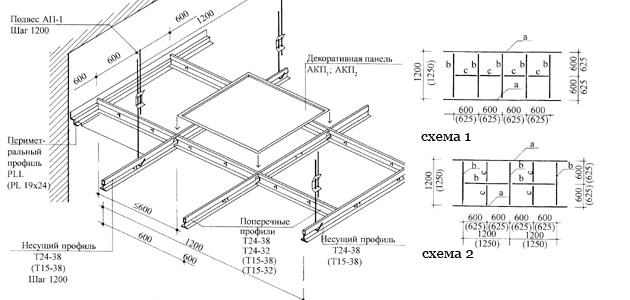
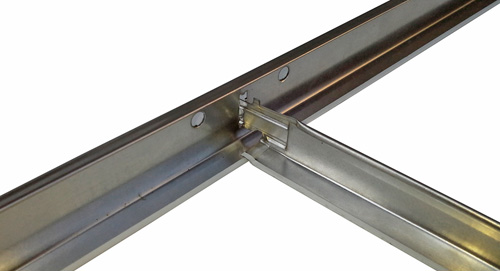
The frame is created from a variety of metal profiles, longitudinal and transverse. It is attached to the ceiling with the help of a mounting unit and a suspension, which consists of a hook and a rod.
False ceiling device Armstrong
The most massive and strong elements of the metal profile stand on the sides of the structure, forming a rectangle. The remaining beams are placed on it in accordance with the future number of plates. It consists of a bearing profile of 3700 mm, a perimental profile of 3000 mm (required if you need to install undercut boards), a longitudinal profile of 1200 mm and a transverse profile of 600 mm. As a result, all this forms a frame for the suspension system.
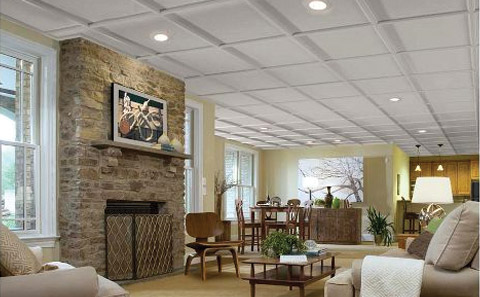
Armstrong false ceiling installation
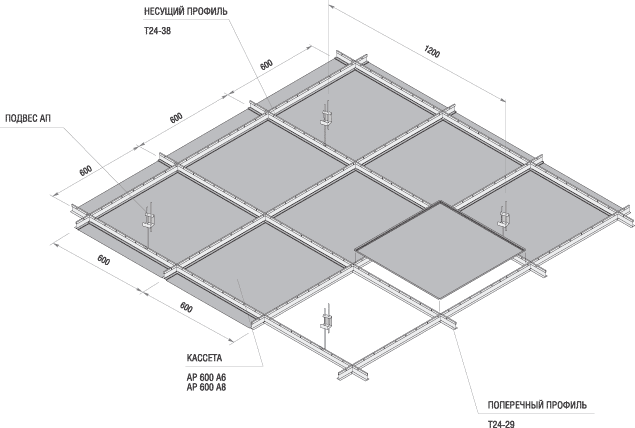
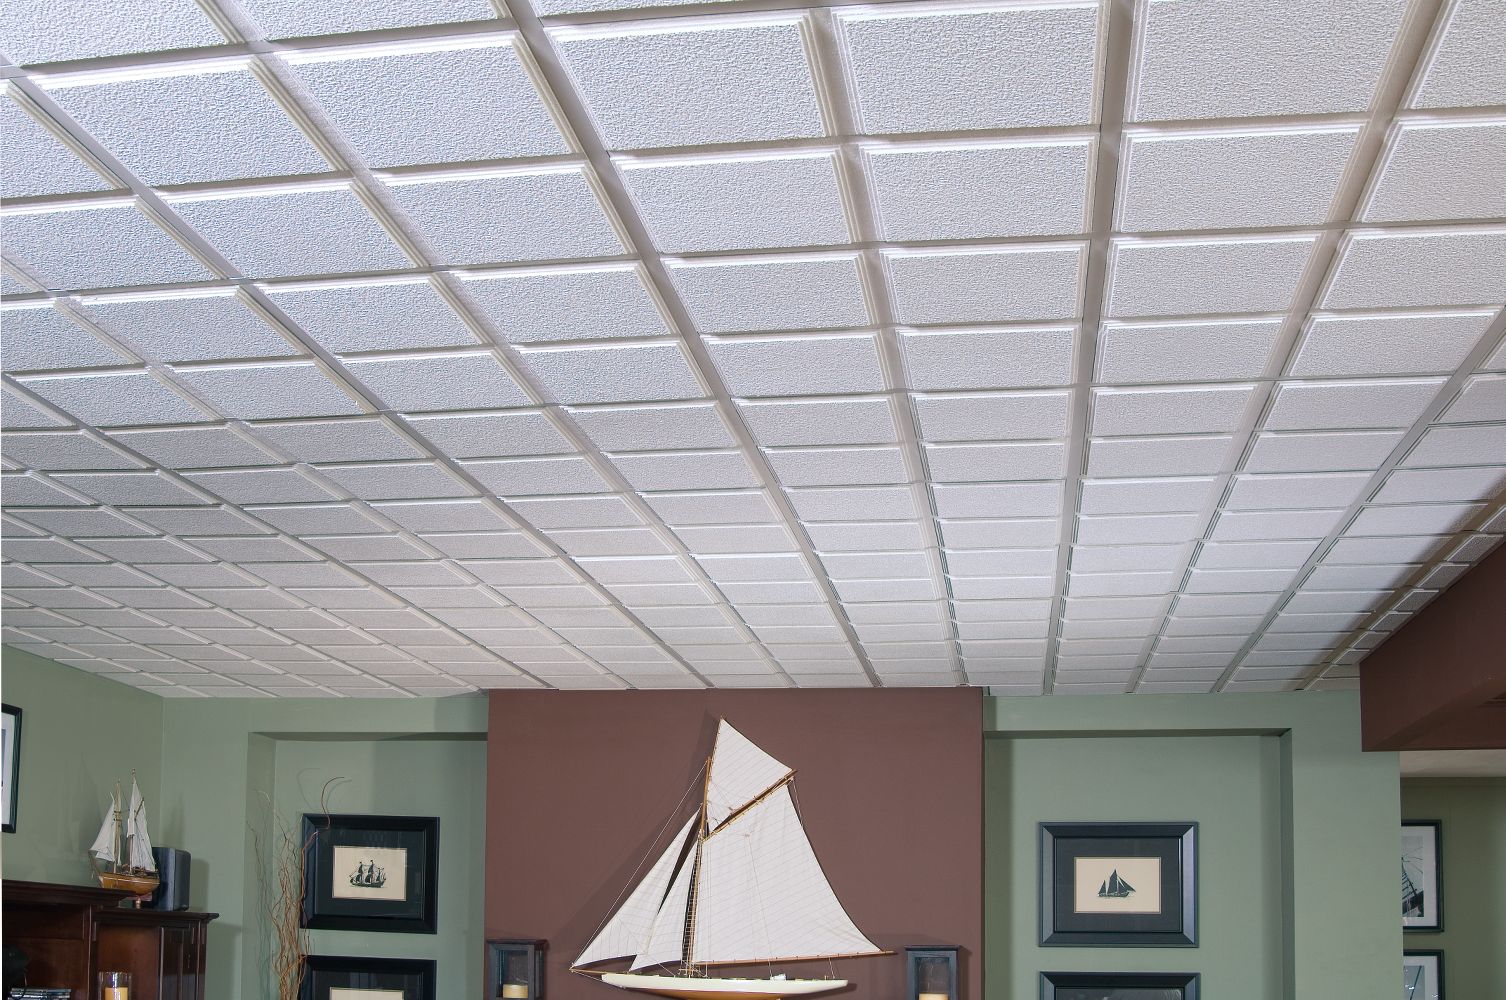
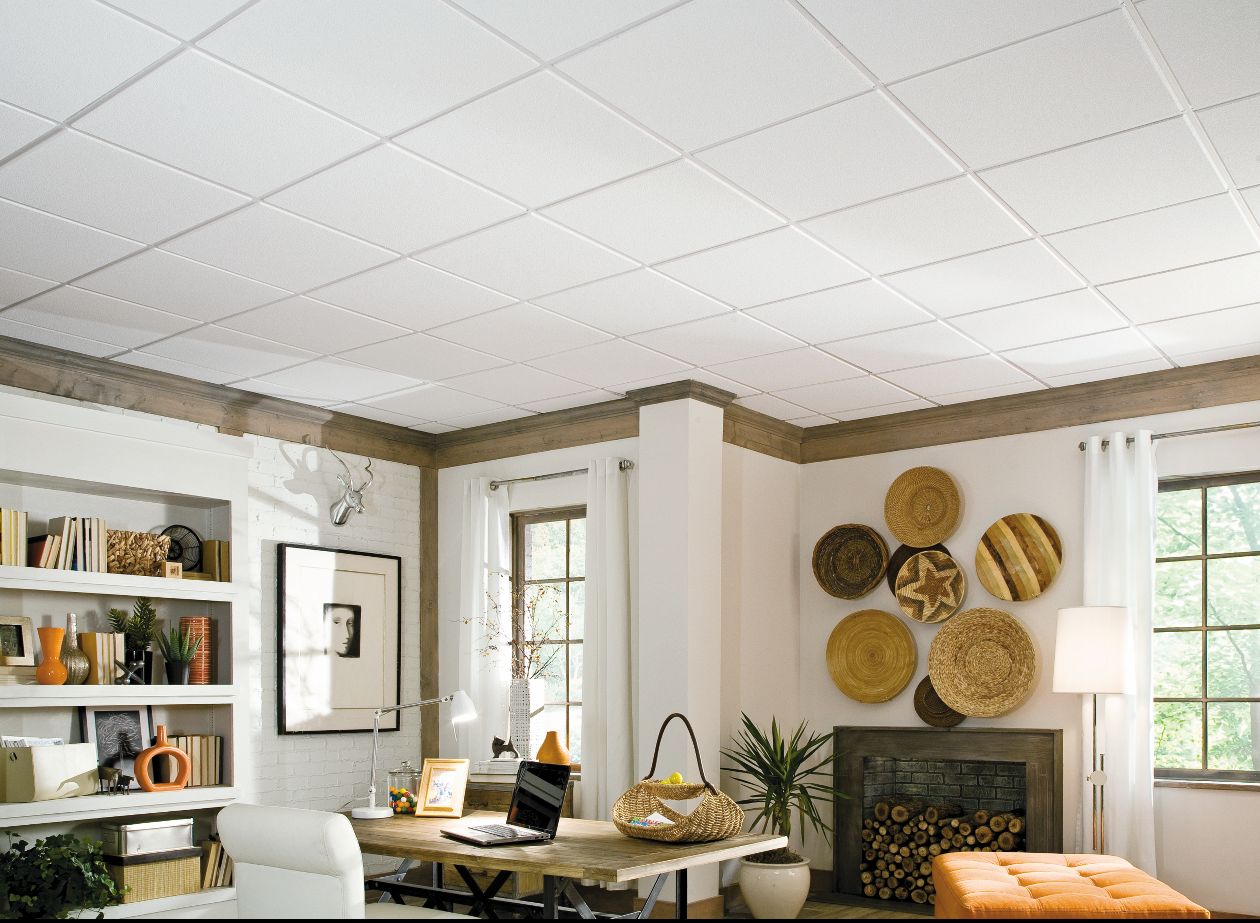
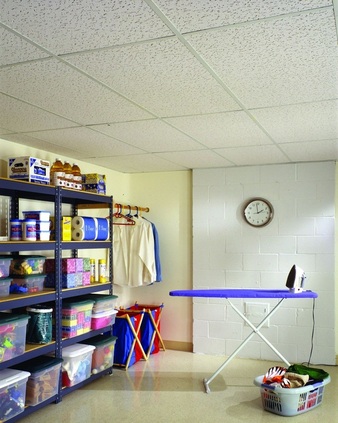
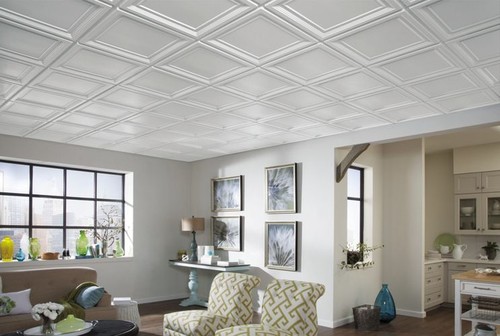
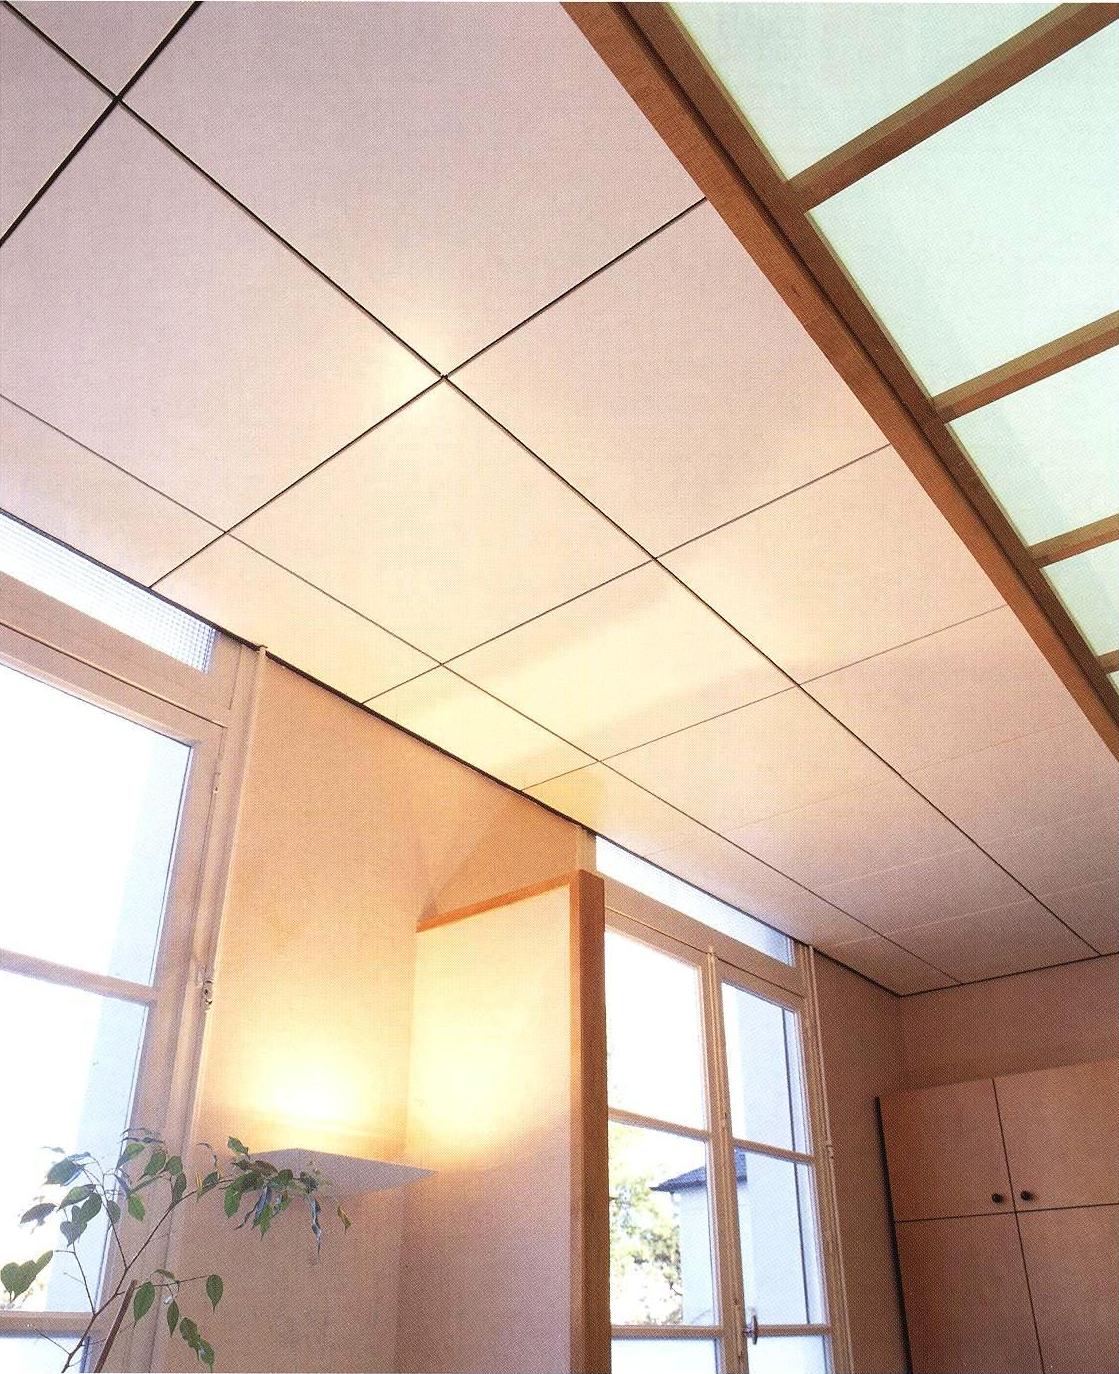
Armstrong false ceiling panels are most often produced square, with dimensions of 600x600 mm. Not always only equal plates can fit on the entire ceiling. For this reason, they can be cut without violating the overall reliability.
Mineral fiber slabs are divided using a mounting knife or its analogues. Cutting them is easy enough. With rigid materials, things are more difficult. For example, to cut a glass ceiling slab, you will need a tool with a diamond base.
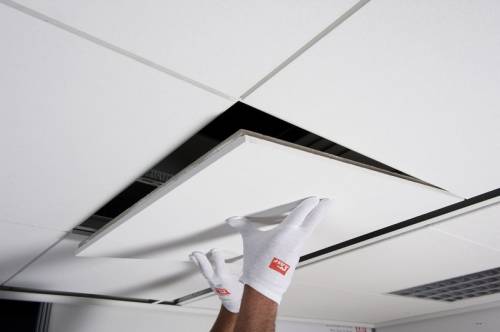
Suspended ceiling tiles can be trimmed if necessary
The very device of the Armstrong suspension system is extremely simple. And its main advantage is considered to be the possibility of installation on a ceiling with defects. Various bumps, chips, dilapidated paint - all this is not a hindrance to the suspension system. After all, its panels are not installed directly to the ceiling, but are attached to a pre-mounted frame. And thanks to its reliability, the design will last for many years.
back to index ↑Fastening
The suspension system is built in using suspension. For this purpose, a system of many fasteners is provided, which are located in the base ceiling, as well as hooks on the structure itself. You can adjust the length of the pendant. Thanks to this, it will be possible to change the final height of the Armstrong false ceiling.
Suspension elements are attached to the supporting metal profiles of the frame. The step of their installation, according to the standards, is 1.2 meters. There is one more condition: the suspension units should not be located further than 45 cm from the walls. But it is not always feasible. For this reason, it is possible to arrange suspension units along the length of the room according to the principle of chess pieces. As a result, they will move back and forth during installation.
Suspended ceiling mount Armstrong
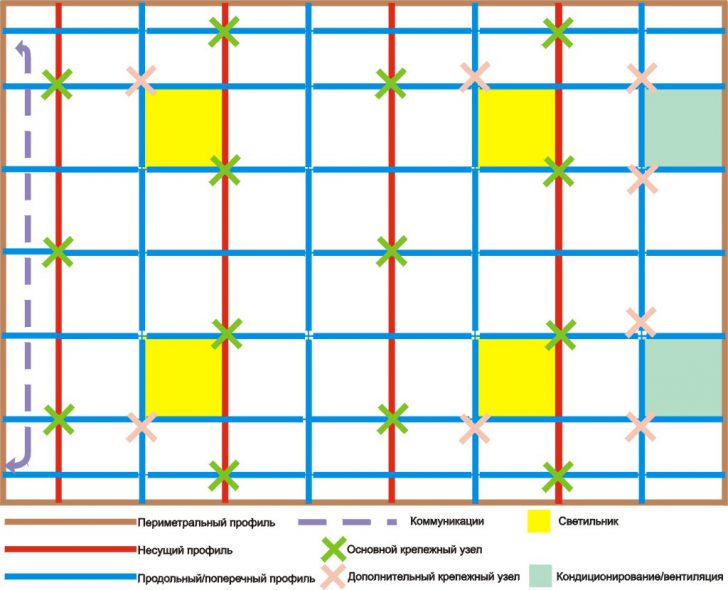
In some places on the longitudinal and transverse profile, additional fastening units are provided. They are used to support concentrated loads.
back to index ↑Installation of suspension systems
The entire installation process can be divided into four main parts: preliminary calculation, preparation of the room, installation of the frame and the assembly of the ceiling system itself. It is quite possible to cope with everything on your own, without resorting to the help of specialists. But the whole process of placing an Armstrong false ceiling will take a certain amount of time and require a lot of special tools as well as skills.
Payment
One of the first preliminary steps is the calculation of the suspended ceiling Armstrong. In this case, the measurement accuracy is very important. Small deviations in the big direction are not critical, the material can always be cut. However, if the calculated dimensions turn out to be less than the real ones, then the volume of the plates will not be enough to occupy the entire space of the ceiling. In this case, the installation of a suspension system will lose any meaning.
Measurements must be taken at the joints of the walls themselves. As a result, you should get indicators of length and width. Next comes the calculations. It is necessary to calculate the required number of plates, taking into account their size and shape. For example, a room has dimensions of 3x4 m. Five slabs (5x0.6 m) are required in width, and six whole and one trimmed (6x0.6 + 0.4 m) in length. It remains to find out their total number. For a ceiling with a length of 4 meters and a width of 3, 35 whole slabs will be required, 5 of which will have to be cut by 20 cm.
Calculation of false ceiling Armstrong
Together with the number of suspended panels, you should calculate the dimensions of the frame for their installation. It should contain the same number of metal profile cells as the calculated number of plates. For rooms with an aspect ratio of 3x4, it will be required per square meter of the ceiling: 80 cm of the bearing and transverse profile, 160 cm of the longitudinal and 50 cm of the perimental, as well as 0.6 suspension units. In case of inconsistencies in size, larger than necessary numbers should be taken into account.
Preparation of tools and room
After all the calculations have been carried out, and the ceiling slabs and materials for the frame have been ordered, you can proceed to the second stage. Now you need to prepare all the necessary tools and clean the room. The room in which the Armstrong suspension system will be installed must be free. From it it is necessary to take out all the furniture and other things that will interfere with the installation. After all, when assembling the frame will take up most of the floor.
List of required tools:
- Perforator. It will be used to make holes in the walls and ceiling for fasteners. Suitable for concrete or stone walls. If they are wooden, then you can use a drill or a powerful screwdriver to replace the puncher.
- Level. Used to determine the angle of inclination or the evenness of a surface. The best option would be a laser level, it is more accurate. But the classic version, with an air bubble, is also suitable. It is recommended that such a level exceed one meter in length.
- Cross screwdriver. It will be required for screwing in self-tapping screws during assembly and installation of a frame made of metal profiles.
- Hammer. It will help when leveling metal profiles in a frame or fixing them in wooden walls.
- Construction pencil. With his help, it will be possible to make the necessary serifs on the walls and ceiling.
- Roulette. Used for measuring room dimensions and when cutting slabs or metal profiles
- Pliers. To replace them, you can take ordinary pliers.

Armstrong False Ceiling Mounting Tools
During the installation process, various connecting elements will also be needed: self-tapping screws, dowels, nails, and so on. Additional tools may also be required. But above is a list of the seven most necessary.
Frame installation
After the end of the preparatory stage, you can proceed directly to the installation of the frame in the ceiling. The main action should begin with the installation of the perimeter. To mark its height, according to building standards, it is recommended to use a laser or classic level. Moreover, its length must exceed a meter. But the level markup can be replaced in a non-standard way. It is possible to beat off the height of the perimeter vice versa. That is, first mark the level of the floor, apply marks of vertical dimensions in the corners. And then beat off the contour with a hinted cord. But this method will require three people, but it is much faster.
Marking for installation of Armstrong ceiling
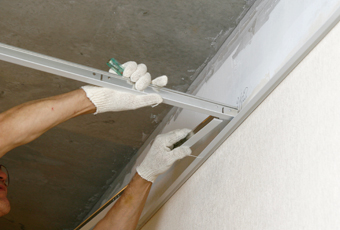
The next step is to cut the perimental profile to the required dimensions. After it, you can start attaching to the walls. At the same time, self-tapping screws are twisted into pre-installed dowels. This method is suitable for concrete and brick walls. If the suspended ceiling is not planned to be particularly heavy, without a lot of concentrated loads, then it can be fixed to wooden ones with nails. It will be faster, but the whole structure becomes difficult to disassemble.
Suspension units of the ceiling frame
After the necessary marks are made on the ceiling along with the perforation of the holes, you can begin to prepare the supporting profile 3700 mm. It must be cut to the required size obtained at the stage of calculations. Further on the floor, it should be combined into planks of the desired length. And then lay the structure in the perimeter.
Installation of carrier rails
When these steps are completed, you can proceed to the next step.Now the supporting profiles should be extended along their length and the required number of suspension elements should be placed on them. The installation step is 1.2 meters. For greater reliability, each supporting metal profile should be aligned with sagging using a tightly stretched cord or rope.
Installation of cross rails
The final step in installing the Armstrong ceiling frame is the installation of longitudinal and transverse profiles. But first you need to crop the elements to the required size. There are two installation schemes: parallel and cross. The first is easier to implement, but less reliable. The second one to place in the frame will be a more difficult task. But the cross mounting scheme of longitudinal and transverse profiles provides greater reliability. For this reason, it is used for places with additional load, with insulation or where communications pass. In terms of material consumption, parallel and cross circuits are almost identical.
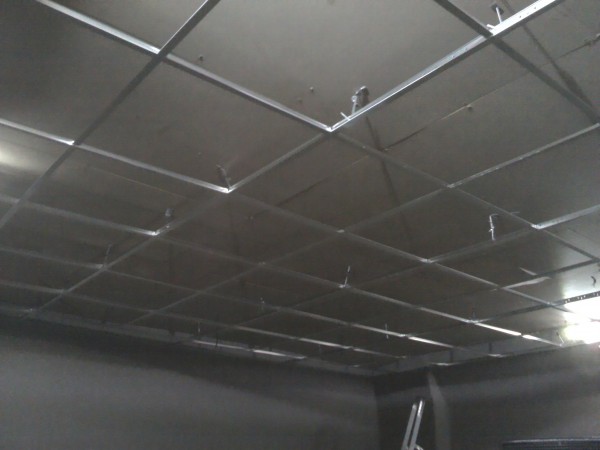
Armstrong False Ceiling Frame Finished
All stages of installation should be carried out as competently and efficiently as possible. Errors in the process can lead to the unreliability of the suspension system and its early failure. In some situations, the frame can become dangerous for people who are in the room. After all, if he falls, then injuries are possible.
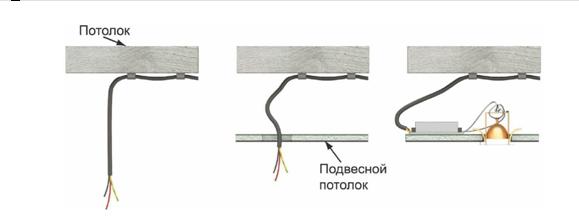
After installation, it remains to bring the wiring and various communications where necessary. The location system should be thought out in advance. It will depend on the number of concentrated loads and built-in elements.
Installation of fixtures
Assembly
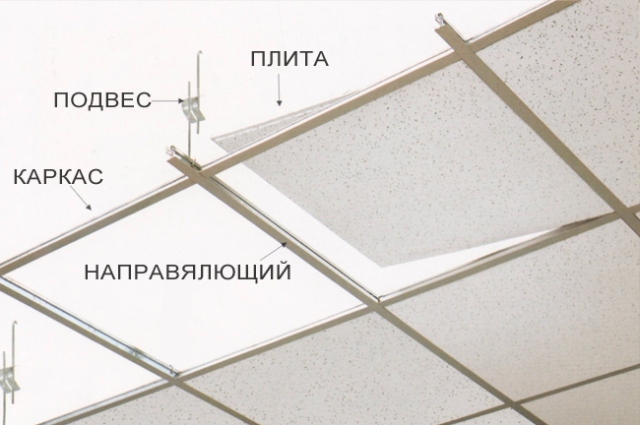
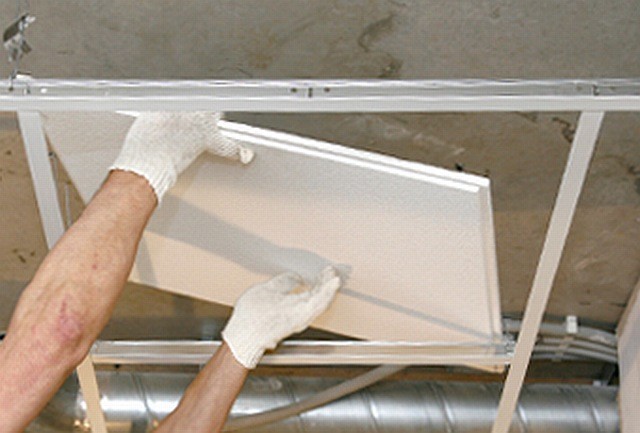
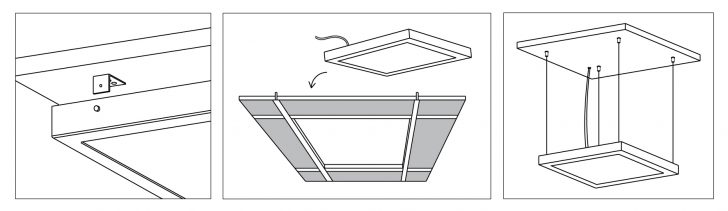
After these steps, the frame is securely fixed in the base ceiling. Now you can proceed to the final stage - the final assembly of the ceiling. The first step is to cut the panels. And then post them.
Panels or lumped blocks should be led at an angle behind the frame, and then installed in the profile cell. Now they will hold securely.
Armstrong ceiling panel installation
You should start by placing lumped blocks in the cells of the frame, as well as connecting communication means to them. After placing them, you can proceed to the lamps. They must also be connected to the electrical wiring. The last elements will be the ceiling panels themselves.
If the plate is in any way crooked, for example, obliquely, then it should be leveled. It is very important not to put pressure on it from above, namely from below to push in the lower corners. Thus, it will turn out to arrange the plates in the cells of the frame as evenly as possible. Thanks to this, the suspended ceiling will look aesthetically beautiful.
Famous foreman's words:
The entire installation of a false ceiling, from measurements to assembly, can be done independently. With the right approach, the help of masters is not required. Carefulness is essential in this matter. Errors in the calculations can lead to the fact that the materials of the panels or the metal profile, together with the fasteners, are not enough. And poor-quality installation and assembly will negatively affect the service life. However, full adherence to the instructions and construction standards will allow you to install the suspended ceiling as competently as possible.
back to index ↑Embedded elements
The frame structure of the Armstrong suspension system is such that it is possible to install more than just ceiling tiles. Various equipment for the system is made in a square shape, with dimensions of 600x600 mm.
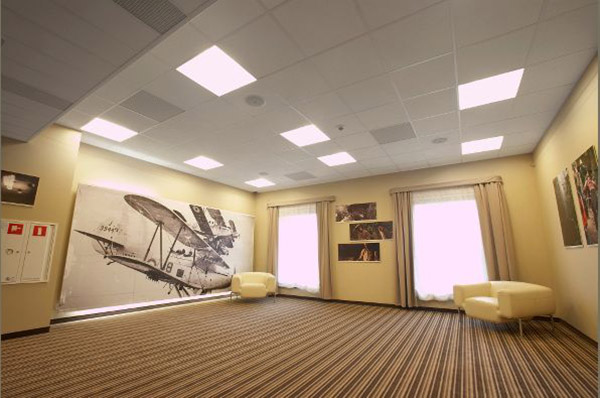
The most popular of the elements built into the ceiling are lamps. Raster are crated panels, inside of which there are several lamps. Plafond variations of lamps are also produced. They have a more standard look. Such a model consists of a panel with a cartridge, and protects its cover.
Armstrong ceiling luminaire installation
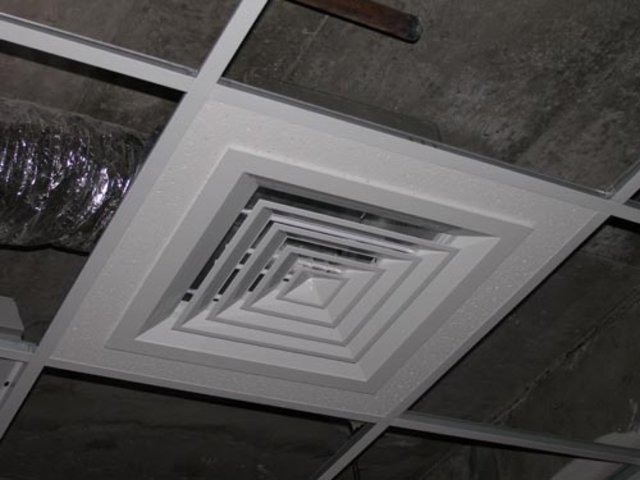
For a false ceiling in the kitchen, a built-in ventilation panel will be relevant.The advantage of its placement will be the fact that all communications and the drainage system can be hidden behind the panels. There are also air conditioning units for ceiling systems. In addition to the above equipment variations, there are many others.
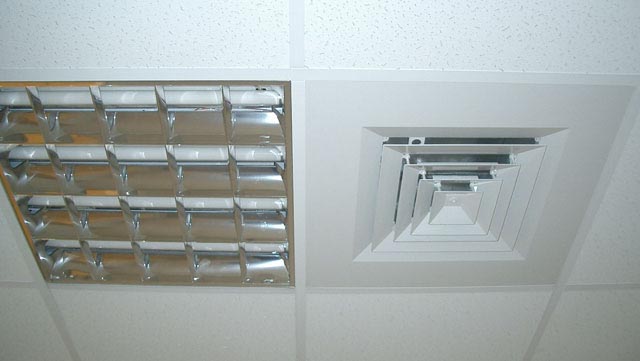
Ceiling ventilation panel Armstrong
All built-in elements put an additional load on the Armstrong false ceiling. For this reason, it is not recommended to install them on wooden walls, on which the frame is fixed with nails. For greater stability of the suspension system with equipment, additional fasteners are used. On the remaining metal profiles, a suspension is placed, which is then attached to the prepared nodes on the ceiling.
back to index ↑Accommodation options
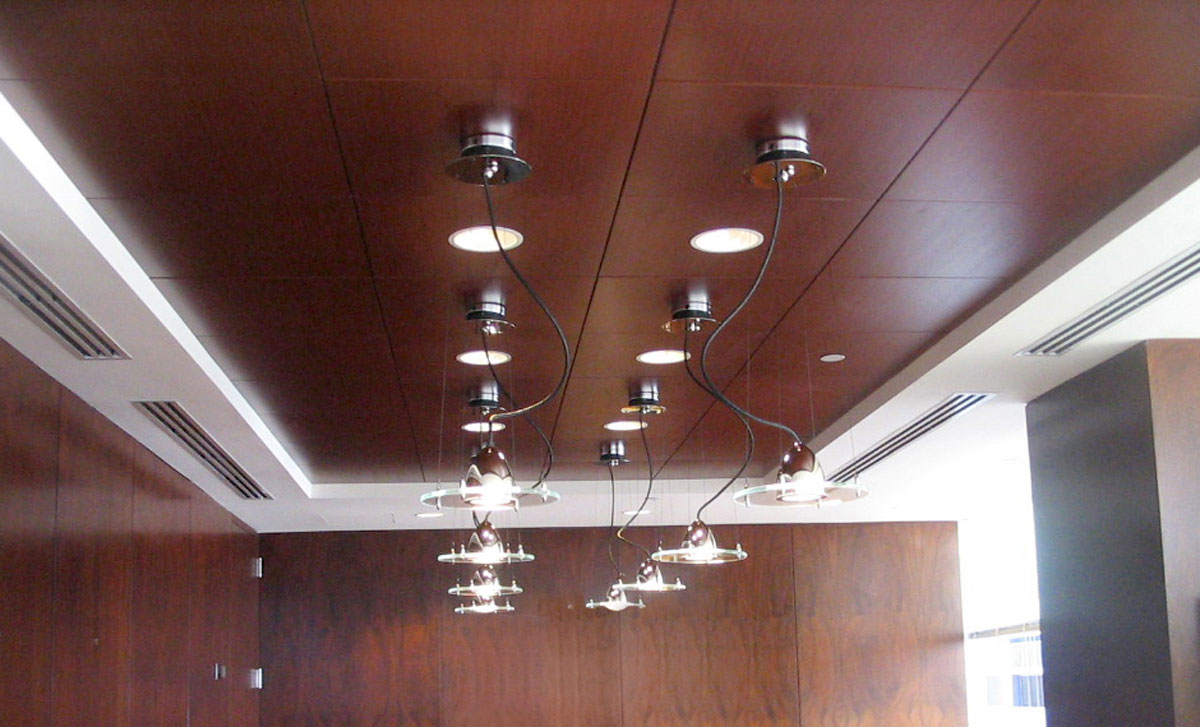
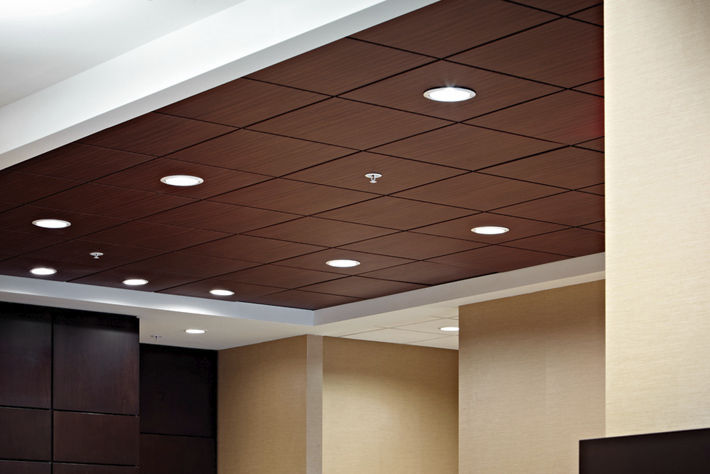
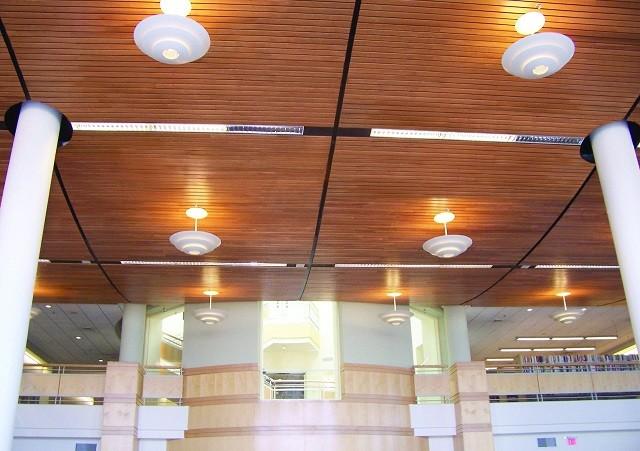
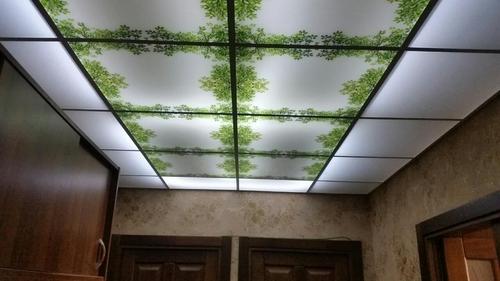
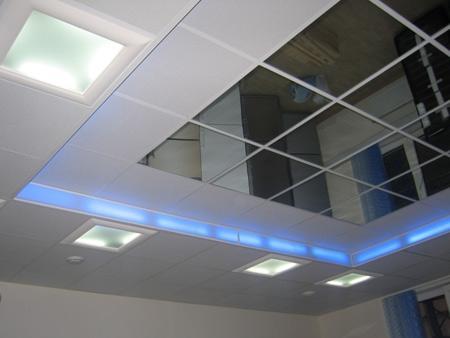
An important feature of the Armstrong suspension system is its block system. It is not necessary to place only a row of mineral fiber panels. You can add lamps, air conditioners, ventilation grilles and other equipment to it. This will increase the overall practicality of installing the suspension system.
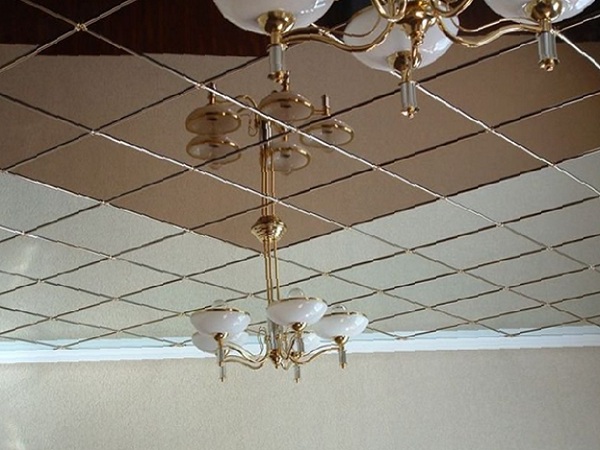
Suspended ceiling ventilation grille
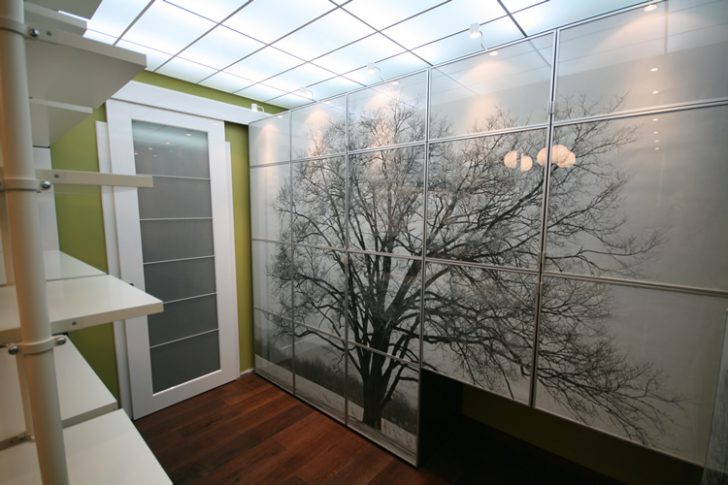
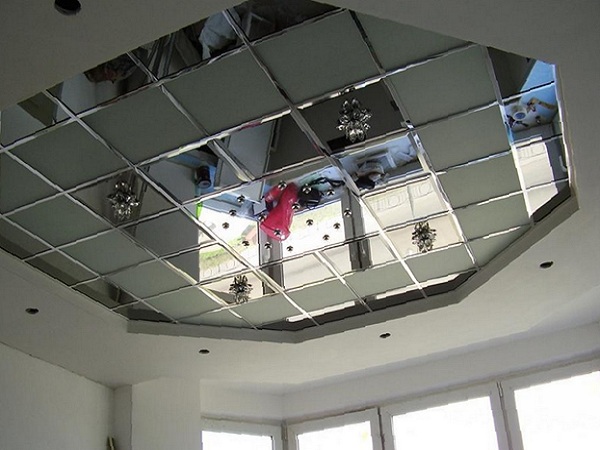
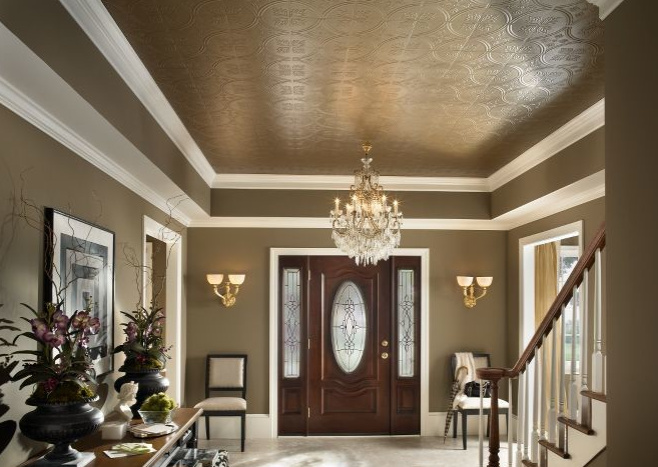
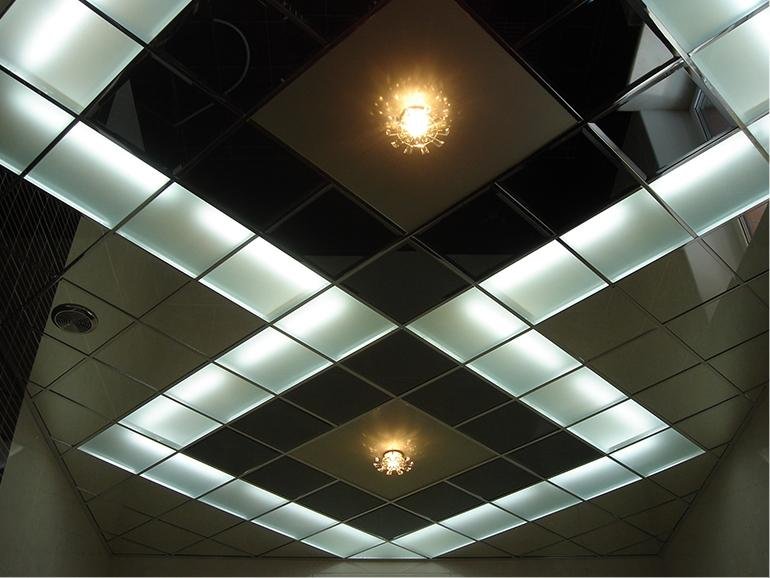
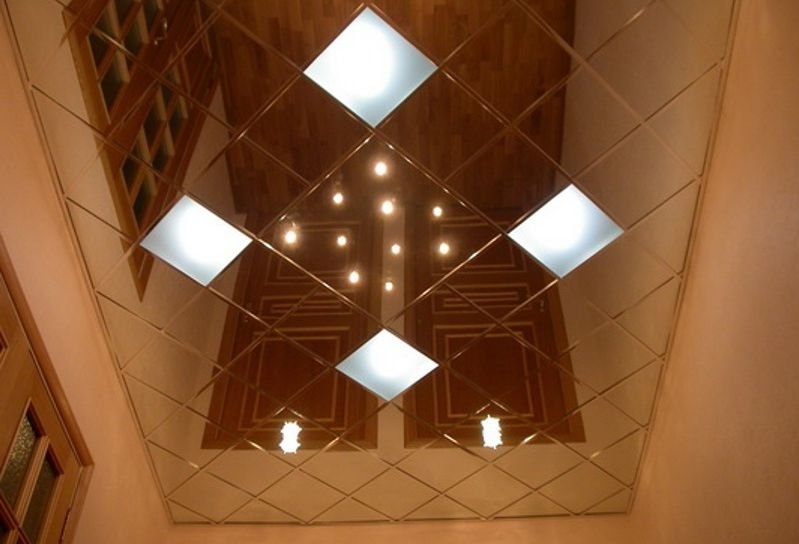
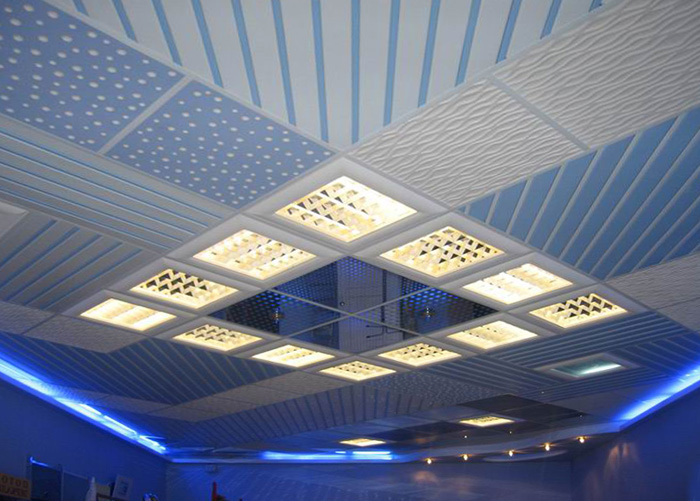
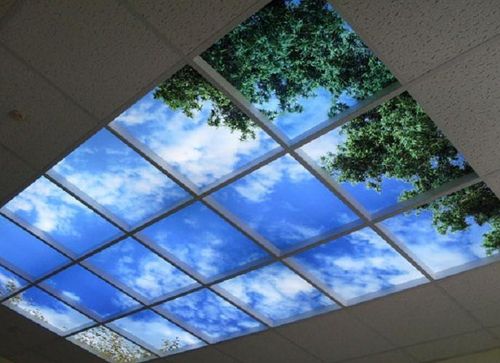
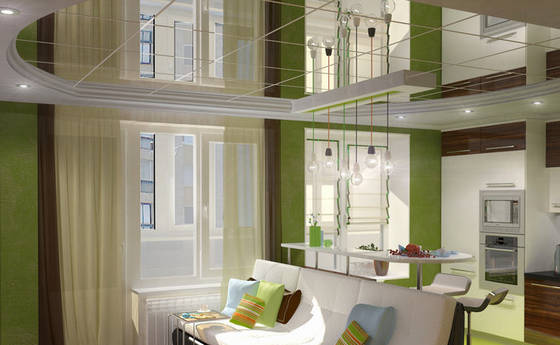
And you can add external beauty and design to it. There is already a lot of room for improvement. With conventional panels, metal or mirror can be placed in the cells of the frame. This will not add functionality to the ceiling, but it will transform its appearance. There are special panels on which drawings are applied. They are made not only from metal and PVC, but also from glass. Such solutions at a price will come out more expensive, but they will also look more interesting.
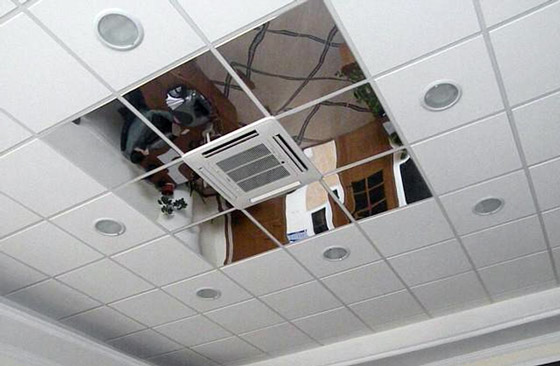
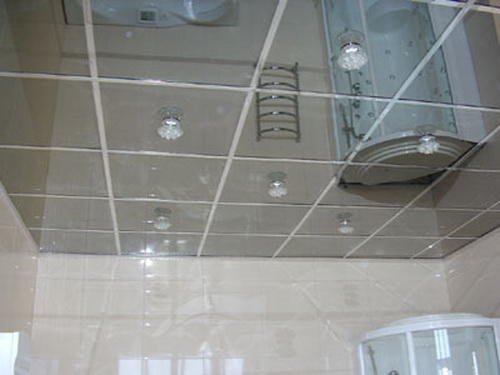
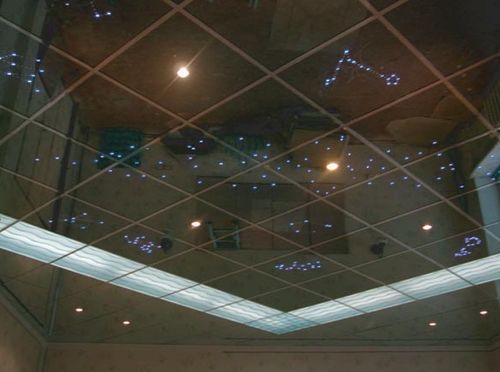
Armstrong ceiling mirror panels
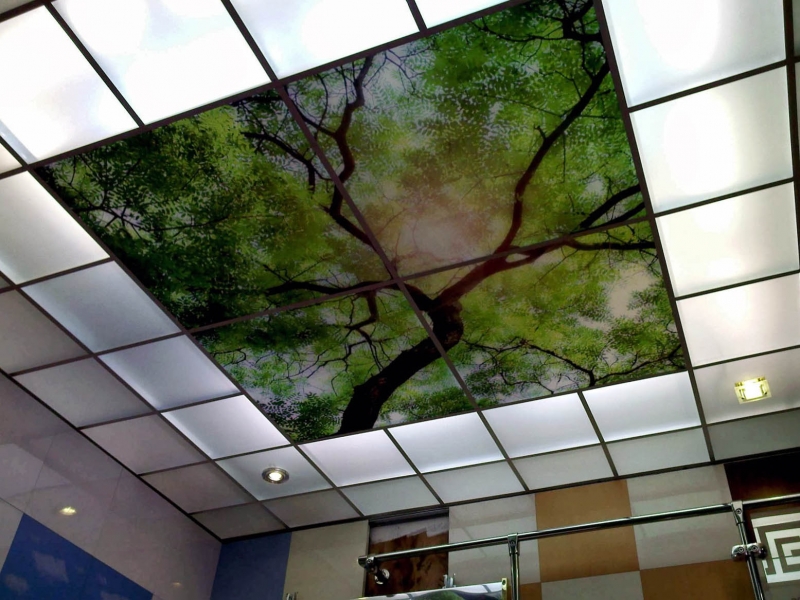
With the help of a variety of panel variations on the ceiling, Armstrong will be able to compose a whole ornament. And this will add color to the room in which it is located, and make it more beautiful, as well as more unique. A look at such a ceiling will be pleasant for both the owners and guests of the house.

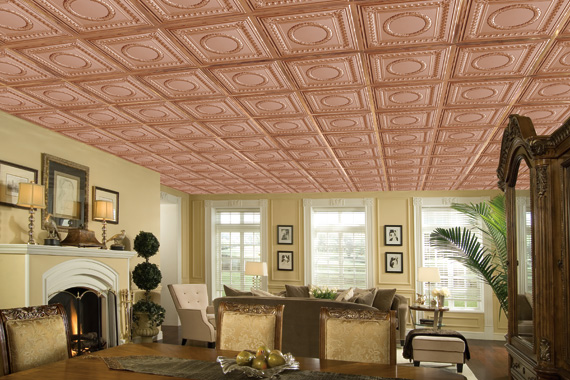
The pattern on the panels in the ceiling Armstrong
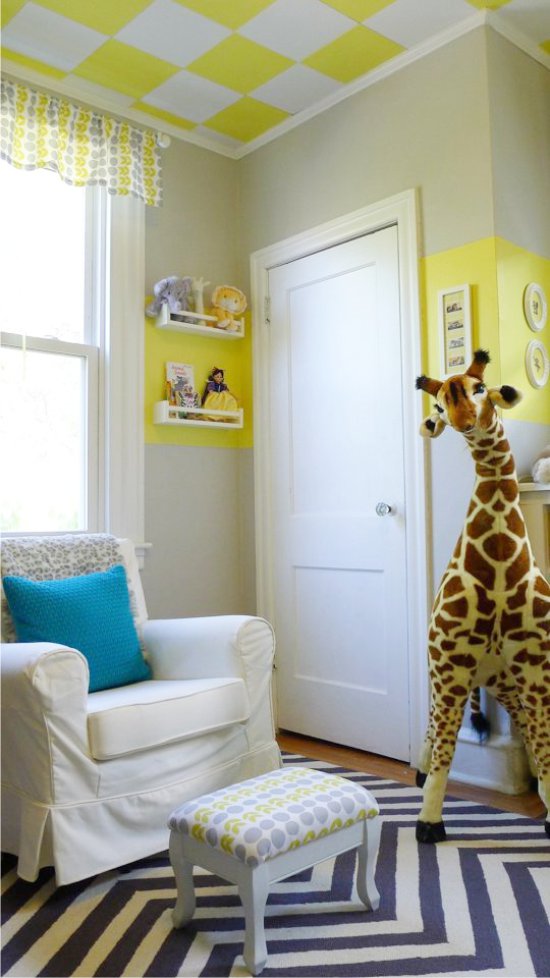
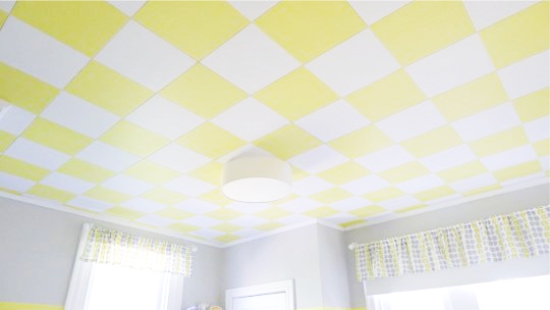
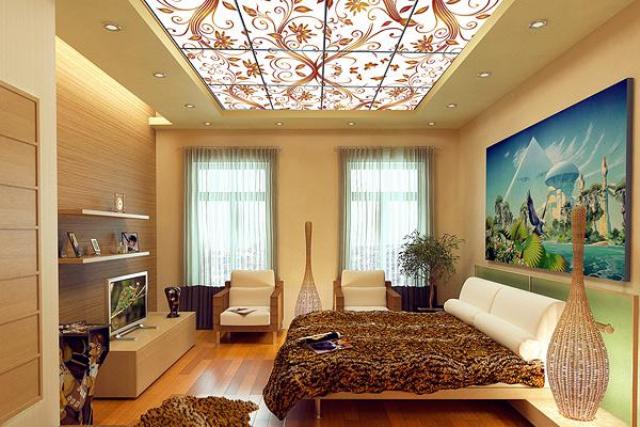
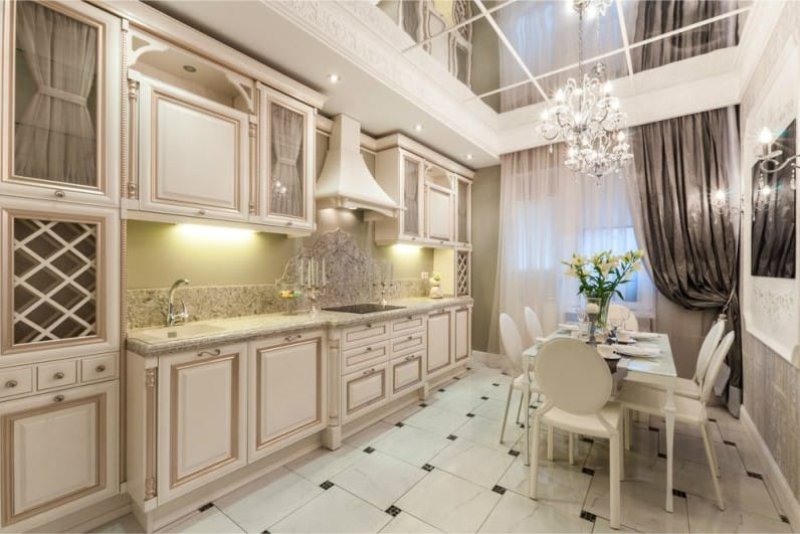
Photo gallery - armstrong suspended ceiling


Video