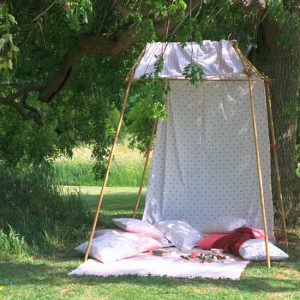
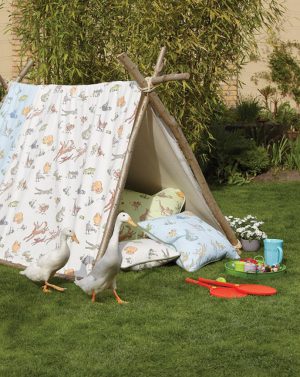
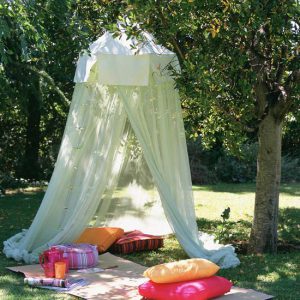
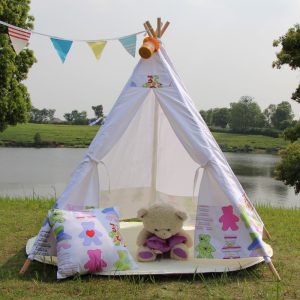
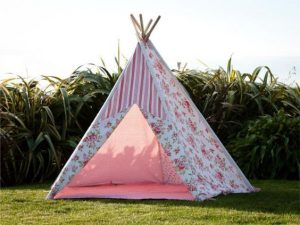
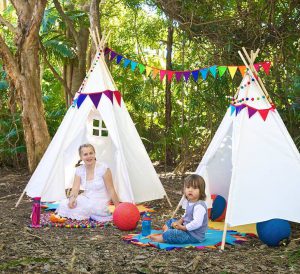
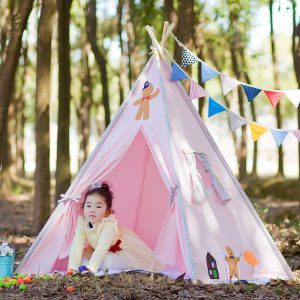
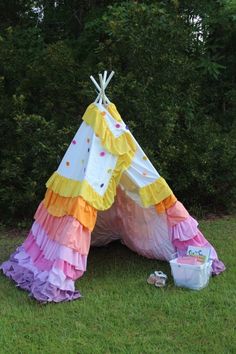
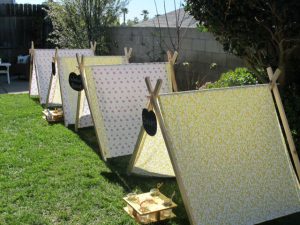
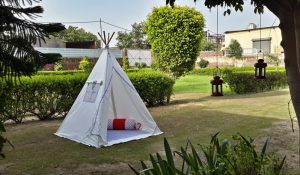
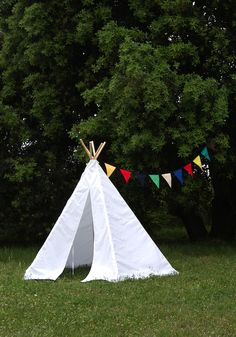
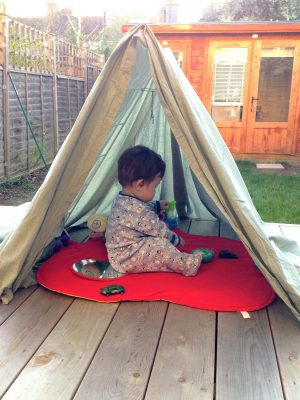
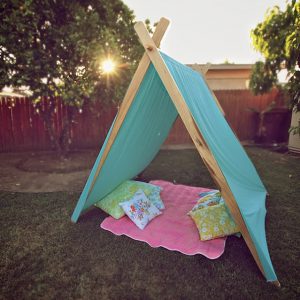
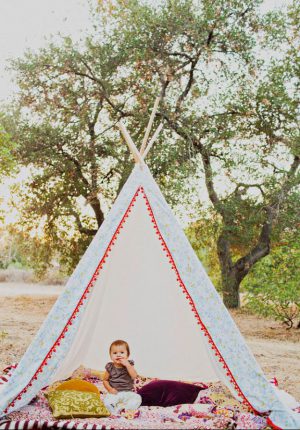
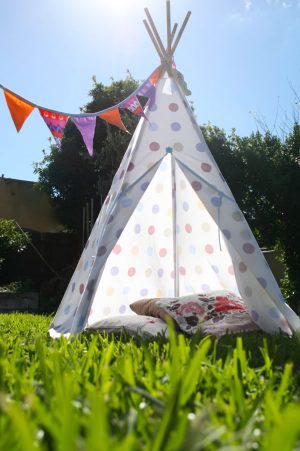
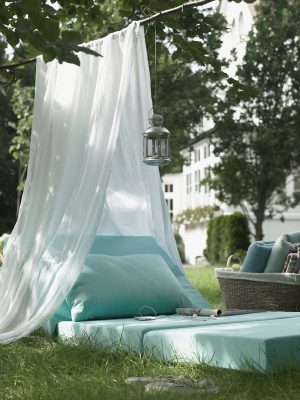
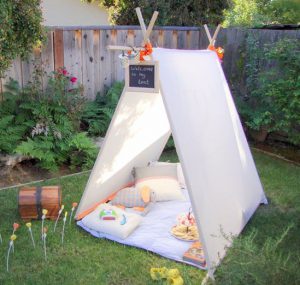
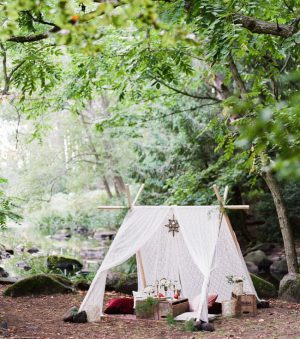
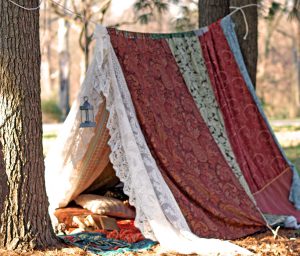
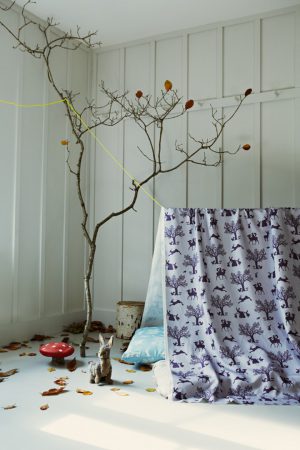
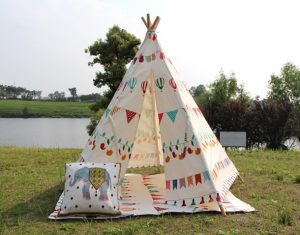
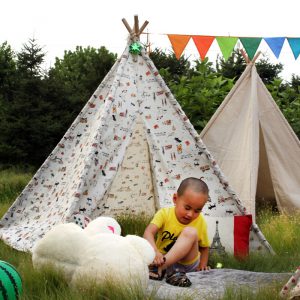
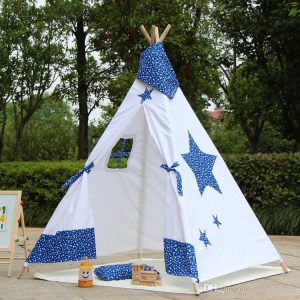
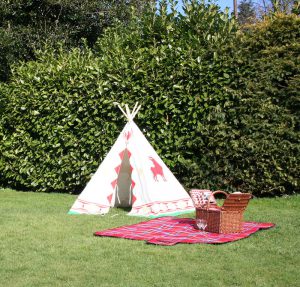
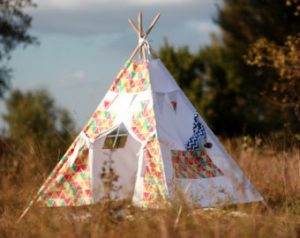
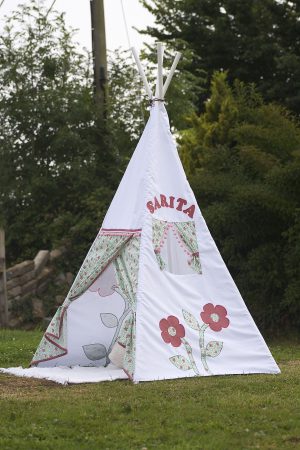
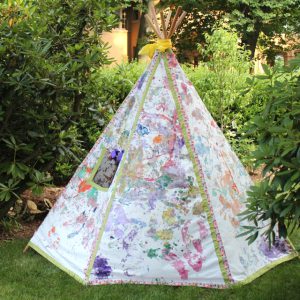
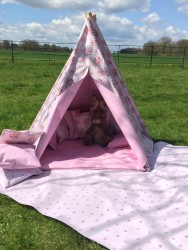
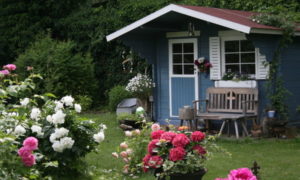
An unusual gift idea for a child will be a do-it-yourself children's hut. It is distinguished by its ease of creation and its functionality.
The hut will be an excellent element for children's games, as well as just a place to relax. And making it yourself is quite simple.
Accommodation options
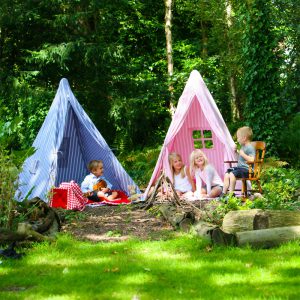
The most suitable location for a do-it-yourself hut is a summer cottage. Prolonged exposure of children to the fresh air will positively affect their health. On the territory there will be enough space for active games. And the hut itself will be an excellent addition to the summer cottage.
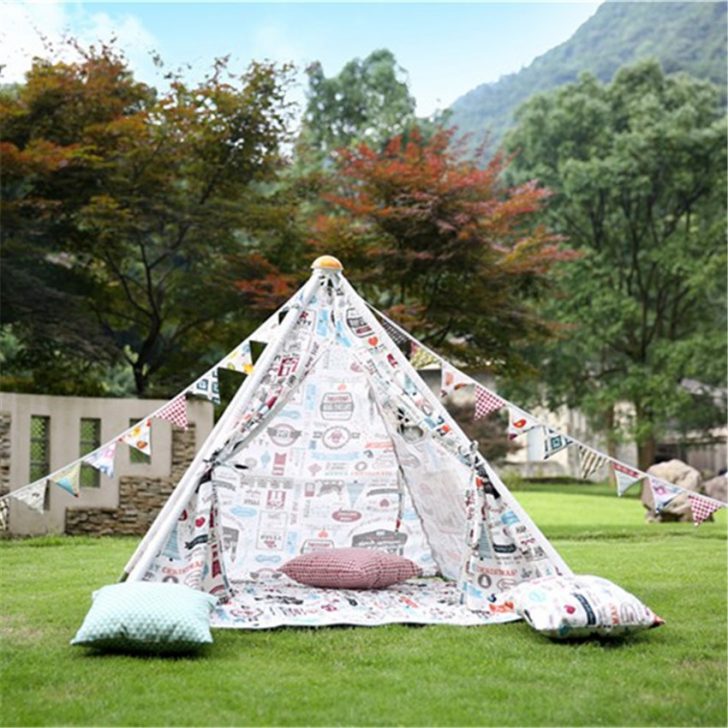
Hut for children in the country
An alternative location will be an apartment if there is enough free space. This option is less convenient, because there is much more space in the country. However, a home-made hut in an apartment can stand regardless of the season. And in the country only in the warm season.
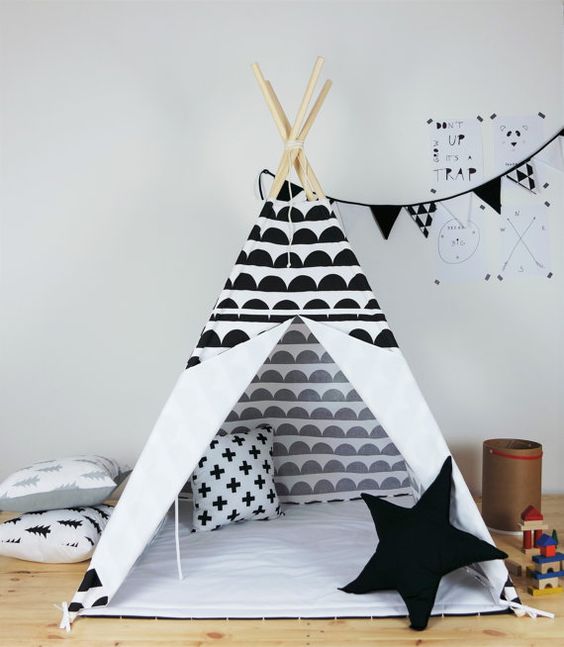
Children's hut for the apartment
The type of homemade hut will also depend on the location. The design of dry branches is much more preferable in the country, and not in the living room.
back to index ↑General principles of construction
Regardless of the installation location, appearance and variation of a hut made for children with their own hands, several principles should be followed during its creation. Designs must be as reliable as possible. When installed in the country, the hut must remain stable even with strong gusts of wind.
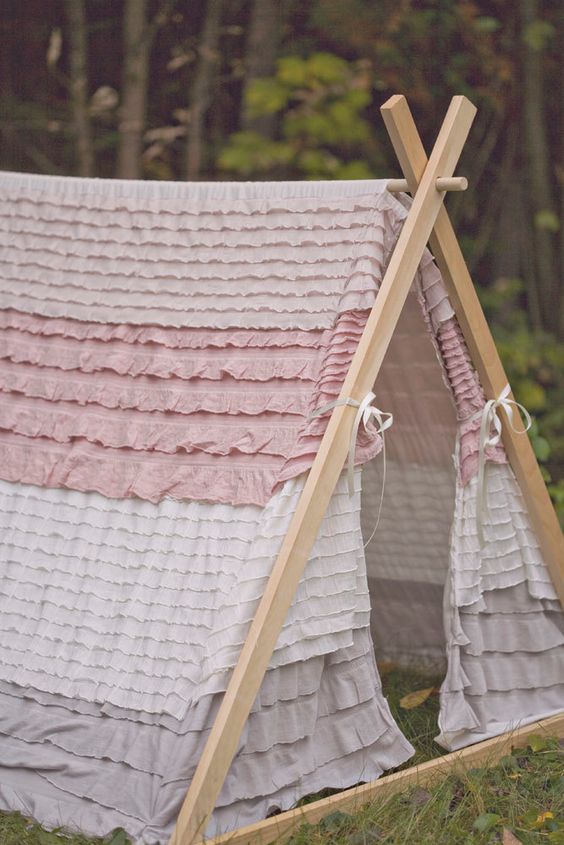
The hut for children must be stable and reliable
Materials for manufacturing should be made safe. If these are some kind of perches or sticks, then they need to be leveled so that the child cannot get any splinter. By analogy with this, all resources for the hut should be made safe for children, this is very important.

Before installation, carefully process the components of the hut
When designing a hut, the main attention should be paid to its safety. The design of the product must be as reliable and stable as possible. And the various elements of the hut should not cause any harm to young children. Contact with wooden parts without splinters and so on.
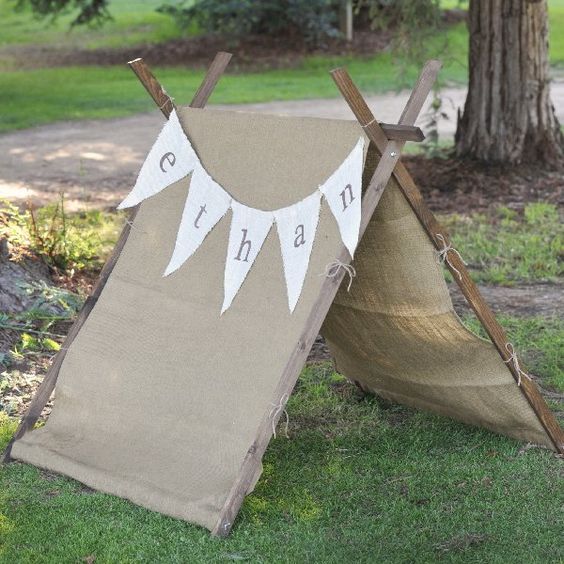
Make sure that the hut for children is stable
Do-it-yourself variations of huts for children
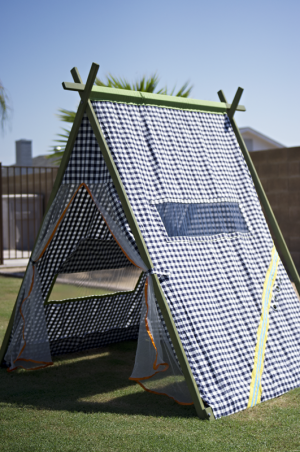
The design of the hut itself includes two main elements: the base and the canopy. The first one defines the general form. And the second element serves as decoration. However, for country variations, the canopy is also protection from the sun and bad weather.
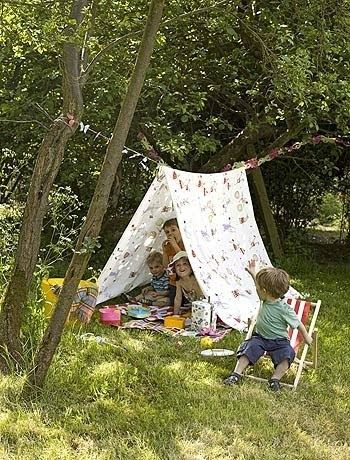
Children's hut from improvised materials
In the manufacture of a hut for children, you can independently use, in addition to purchased and improvised materials. Dry branches, curtains, tablecloths - all this and many other resources can be used in construction. Thanks to this approach, a hut for children will turn out to be quite budgetary in price, as well as beautiful in appearance. Below are several design variations for a summer cottage, as well as an apartment. Huts will also vary in complexity of execution and size of the building.
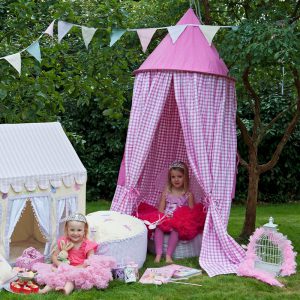
Hut from a hoop
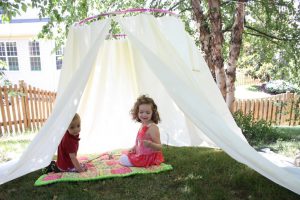
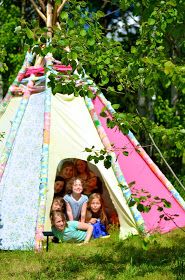
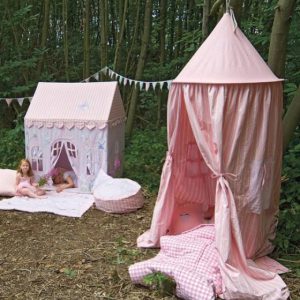
One of the simplest do-it-yourself options for a children's hut will be a design with a hoop. It is possible to place it both in a summer cottage and in a city apartment. And to create such a hut, improvised materials are suitable, so the option is quite budgetary in price.
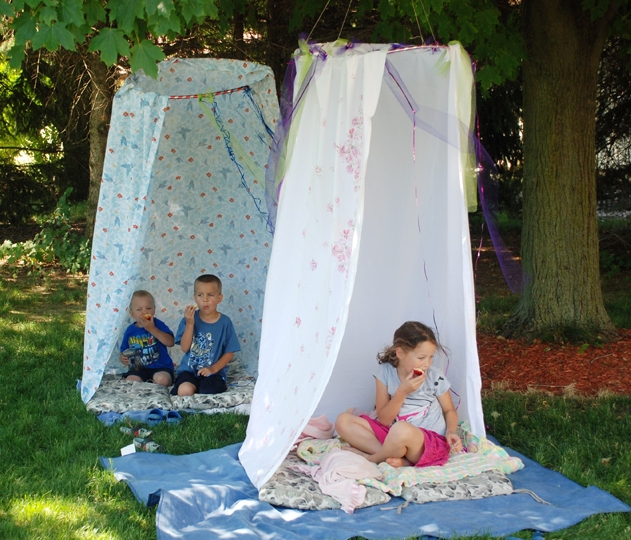
Do-it-yourself hut for children from a hoop
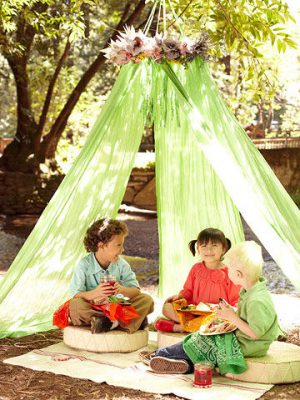
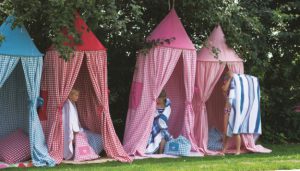
The design itself consists of a hoop, which is located on top, and a canopy hanging from it. This variation of the children's hut is very easy to create, install and remove.
Before you start creating, prepare materials. A canopy is easy to make from a piece of fabric or curtains. Several different patches can be used. The height of the hut will be such that the child can fit in it while standing, it is advisable to take sizes with a margin. And the canopy itself should touch the ground. Therefore, the material under it should be pre-cut to the desired length.
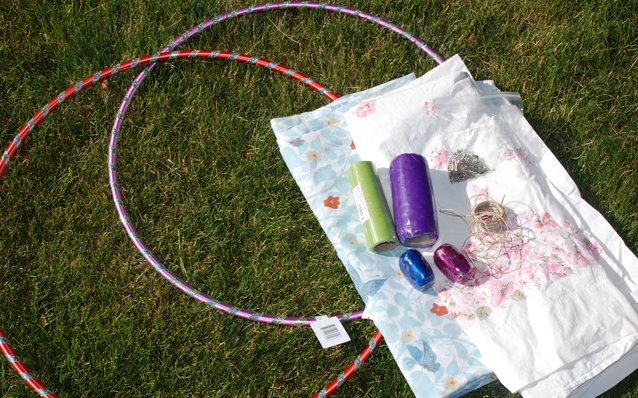
Necessary materials for a children's hut
The very manufacture of a children's hut from a hoop is extremely simple. First of all, make a mount for hanging on the hoop. Two or four ropes of the same length are suitable for this. They need to be tied to different ends of the hoop, and then connected together. Now you should attach a canopy to it.
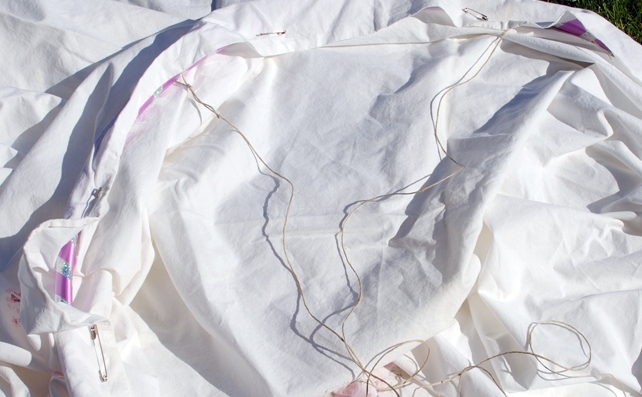
Attaching ropes for hanging a hut
The material can be fixed on the hoop with strong clothespins. A more difficult option would be sewing. The canopy can completely encircle the hoop or leave a small circle gap for entry. This moment is functionally insignificant, it is purely decorative.
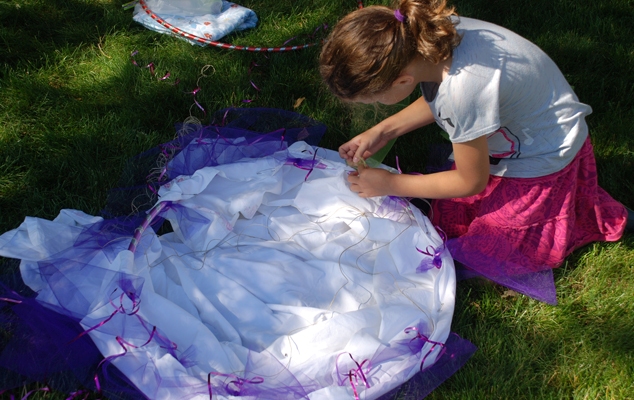
Cover the hoop with fabric
The hoop is recommended to be additionally closed from the light. To do this, it is best to sew a flap of fabric to the edges of the canopy to fit the size of the circle. After all these actions, a do-it-yourself hut will be finished. It remains only to hang it in a suitable place.
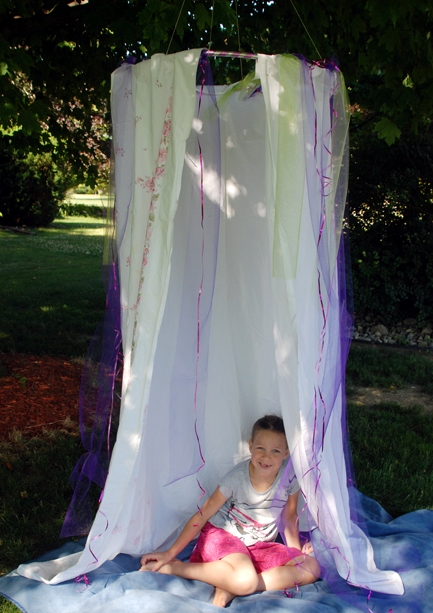
The hut can be hung in any suitable place
The advantage of such a hut will be its small size, it is limited by a hoop around the circumference. This design can be installed not only in a summer cottage, but also in a small apartment. And for the manufacture of a hut, a minimum of materials is required. The general unreliability and simplicity of design is the main disadvantage of this variety.
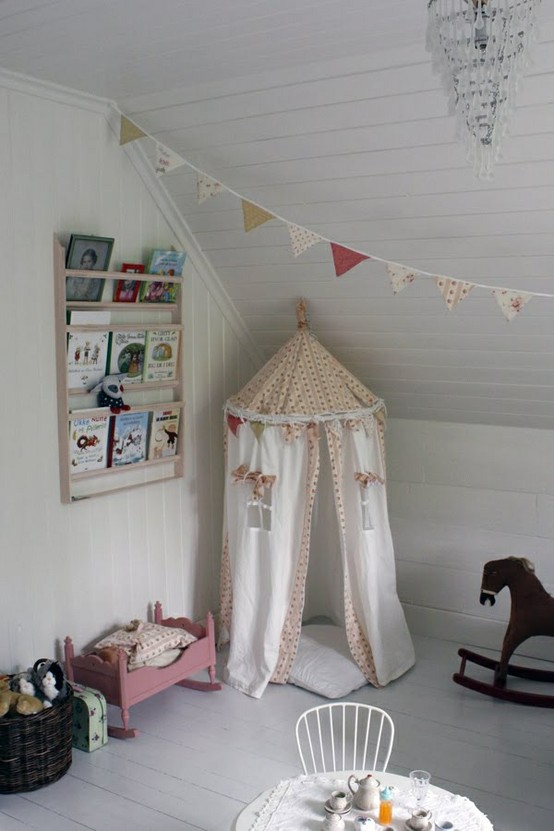
The hoop hut can also be hung in the room
A hut from a hoop will be additionally decorated. Its entire appearance is given by a canopy. For greater beauty, it can be made from high-quality material. Expensive fabric or tulle is well suited. On it, you can additionally place an embroidery pattern or something similar. A decorated hoop hut will look good, which will be appreciated not only by children, but also by adults.
The simplest tent
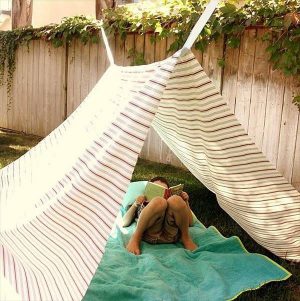
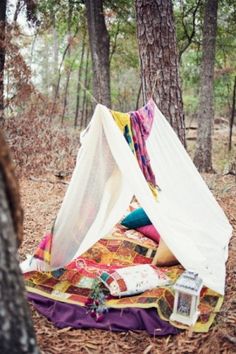
At the summer cottage, a hut-tent, fixed on a rope between the trees, will look good. The design is distinguished by its simplicity, ease of erection and disassembly, as well as spaciousness.
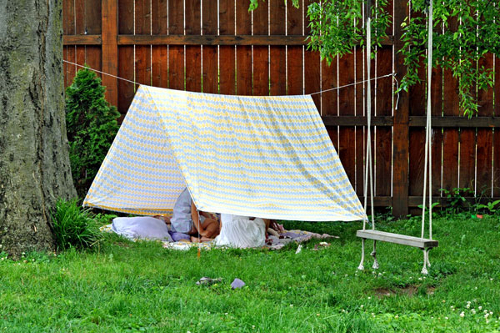
Simple hut tent for children
To build such a hut with your own hands, you first need a suitable place. The site should be flat, with trees on both sides of it. From the resources you will need a long rope, flooring and a canopy. And you can also use a lot of decoration elements for interior and exterior decoration.
First you need to tie the rope between the trees. It will be the basis of the entire structure. The height of the fixing should be slightly higher than the height of the hut. This is due to the fact that the rope will not stretch completely, but will begin to sag. Now you need to put a flooring on the ground under it. And then throw a canopy over the rope. Secure it with pebbles laid out in the corners. Instead, the canopy can be held with pegs driven into the ground.
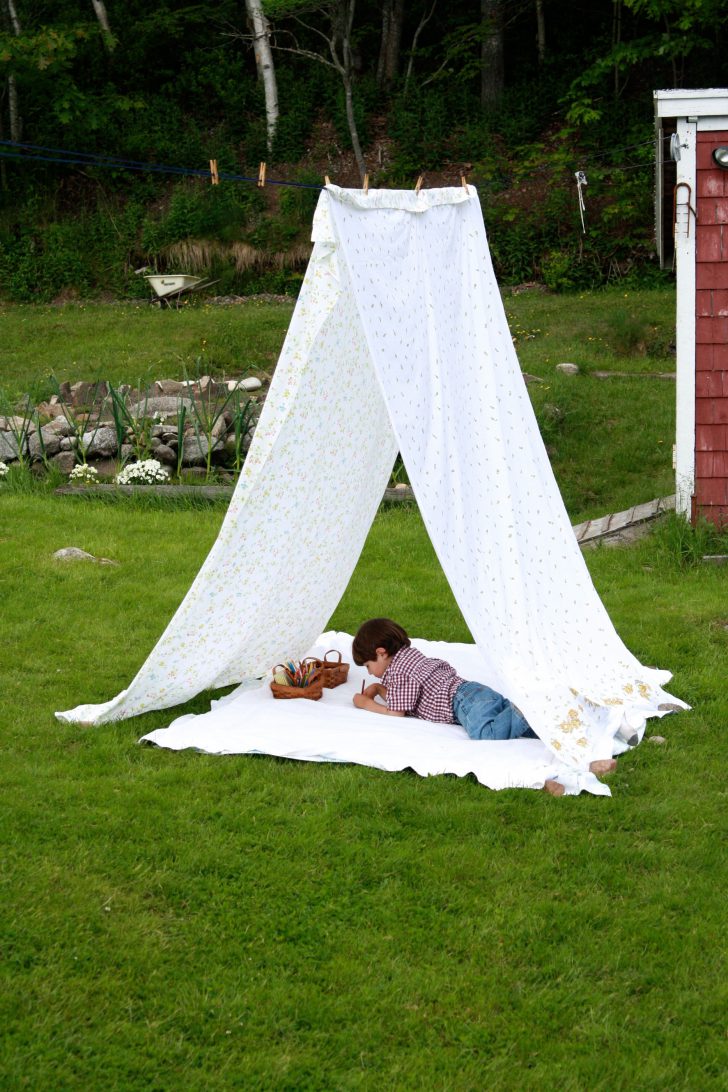
Anchor the hut fabric to the ground
Such a homemade hut for children can be made of any size, depending on the free space on the site and the amount of resources. It's also easy to decorate.The canopy can be made from an ordinary blanket, curtains or thick fabric. The material should protect children inside the hut from direct sunlight. Use something soft as flooring.
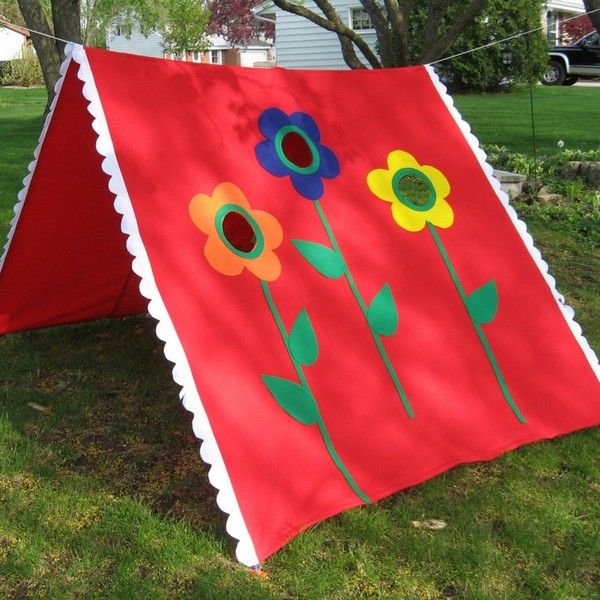
This type of hut for children can be made in any size.
The advantage of a homemade hut-tent is its complete safety for children. If the rope cannot withstand the canopy and the whole structure collapses, then nothing will happen to the child, all materials are very light. The hut itself is very easy to install and disassemble, it will take a minimum of time. Outwardly, it will look quite unusual, and when using proper materials, it will also be beautiful.
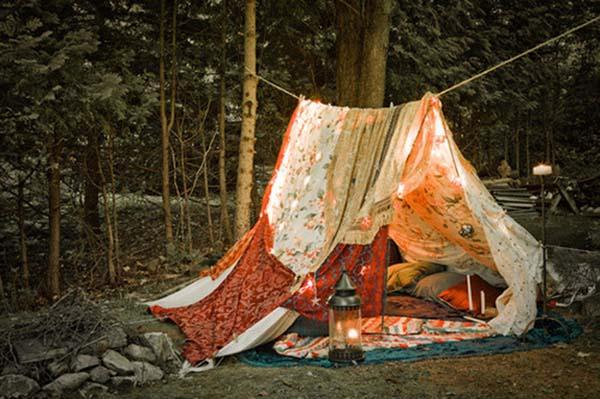
The hut-tent is completely safe for children
Among the shortcomings, one can single out the instability to weather conditions of the hut-tent. Even a strong wind will survive the structure without any problems, as it is securely fixed. But the homemade hut will not endure the rain well. The materials used in it do not tolerate water well and get wet quickly. Plus, the design itself will not be able to fully protect against rain. Therefore, in bad weather, it is best to disassemble it, and install it only on sunny days.
The hut-tent is quite easy to upgrade. For example, it can be protected from rain. To do this, you need to use a waterproof material as a canopy, and also hang two holes with it. This hut will turn out to decorate, for example, hang a lantern on a rope for lighting.
wigwam
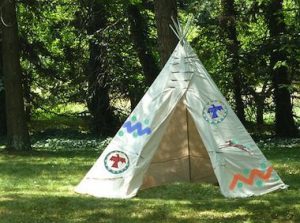
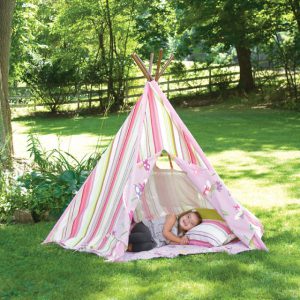
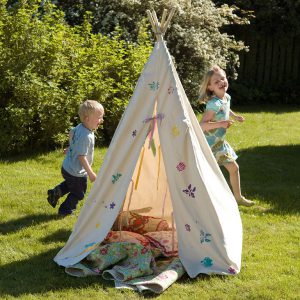
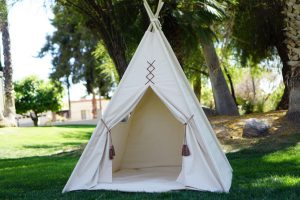
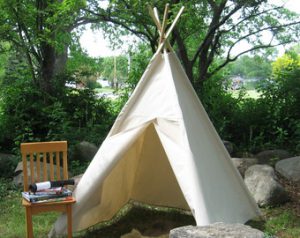
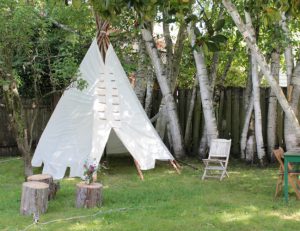
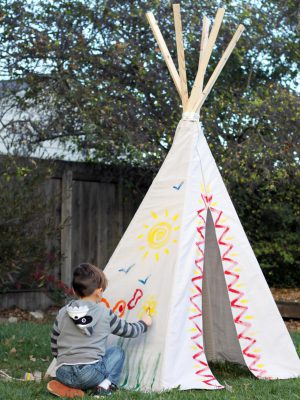
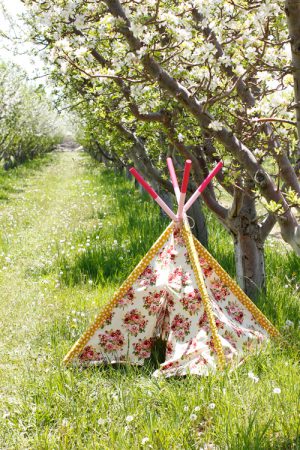
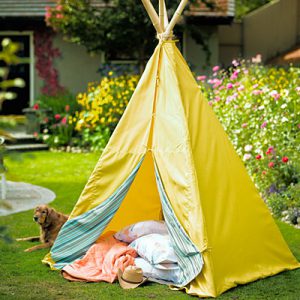
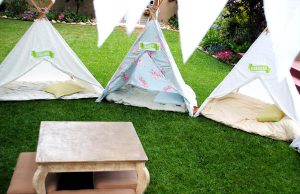
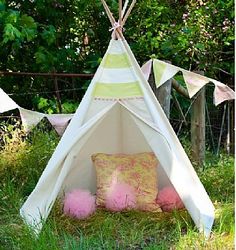
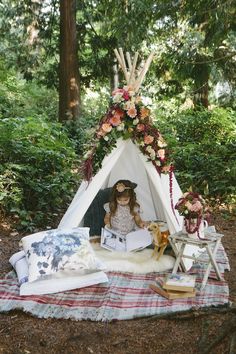
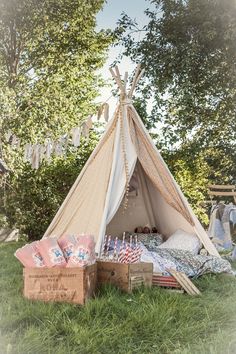
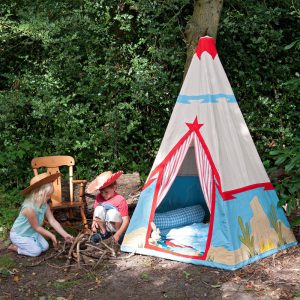
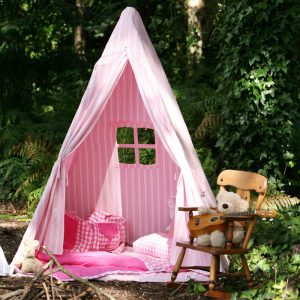
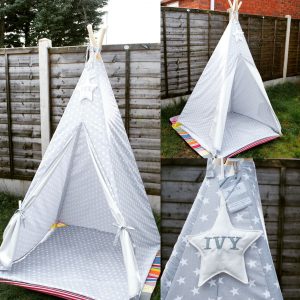
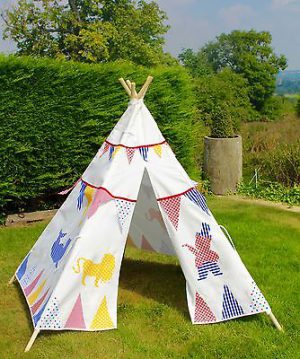
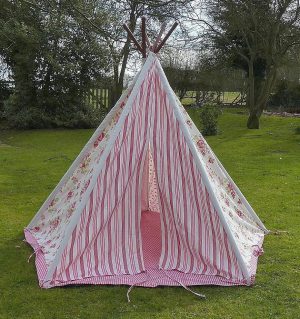
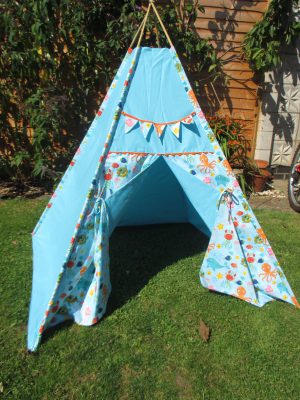
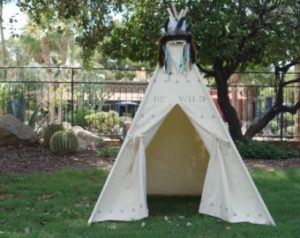
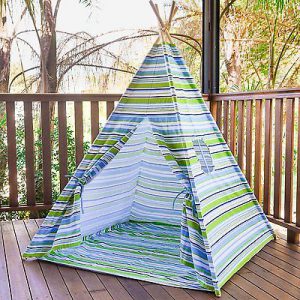
The wigwam is a traditional Indian hut. Such a homemade hut is distinguished by its appearance, design and reliability. This variation is much more difficult to make and will require more materials and time to work.
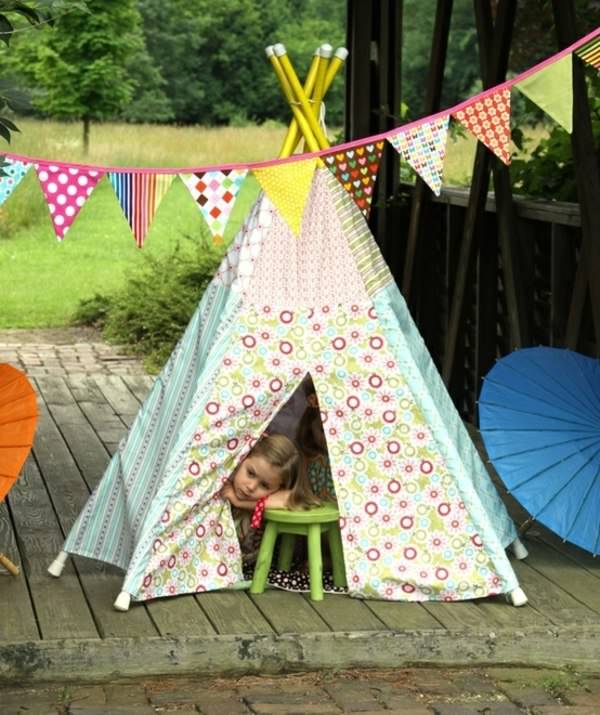
Original wigwam for a summer residence
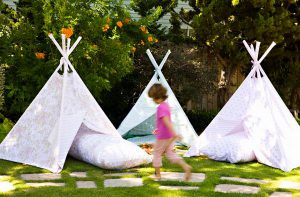
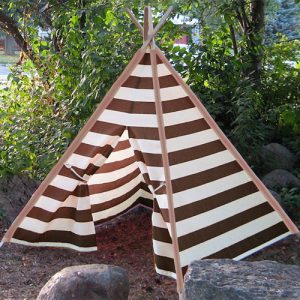
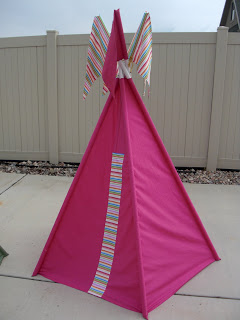
A do-it-yourself "Teepee" consists of three main elements: a frame, a coating and a flooring. In shape, it is most often cone-shaped, with many flat edges. The frame is formed from several sticks, poles or poles of equal length. They are fastened together at a short distance from the ends. As a result, they will rise slightly above the hut itself, forming a smaller cone. The frame itself is covered with dense material. Most often it is some kind of fabric.

Material for a wigwam-hut
Next will be instructions for the children's hut "Wigwam" with six faces. This is a more advanced option, which will require more materials. However, it is quite simple to make a kind of do-it-yourself hut for children with four faces. The general principle will be the same.

Connect the rails into a single structure
To begin with, you will need six even sticks, poles, twigs, or something similar. It is important that the material is easily cut and reliable. If it is a wooden pole, then it should be pre-treated. Remove all irregularities from it with sandpaper so that it is completely safe for children.
Now the sticks need to be cut to the same length. It must be selected in such a way that the final height of the hut is significantly higher than the height of the child, and he himself is roomy enough. The pole can also be painted for a more beautiful appearance and varnished to make the material moisture resistant.

Cut the fabric into wide strips
The next step is to prepare the flooring of the children's hut. The final height of the hut will depend on its area, together with the length of the frame sticks. Any soft material is suitable as a flooring. The easiest way is to use an old blanket or the remnants of an already unnecessary carpet. The material must first be thoroughly washed and cleaned, and then given the shape of a circle or hexagon. Even on the flooring, marks should be affixed for the installation of poles. They should stand in a circle with equal indentation, so that the design is reliable and balanced.

Thumbtacks for attaching fabric to the frame
After that, the sticks must be installed at the desired points so that they intersect from above. At the junction, they must be connected in turn to each other. A strong rope or thick fabric is best for this. It is desirable to make several knots on each stick. An alternative to this method can be nailing them. It is important to bend the sharp ends after and insulate them. This method is not suitable for already painted and varnished sticks, as the coating will fly off as a result.
Now it is important to finally place the sticks in the flooring. There are two accommodation options:
On small nails. This is an easier option.
On the brackets of a construction stapler. This option is more reliable.

Attach the fabric to the frame
As a result, the frame must sit securely and be supported by the flooring itself. It can be secured by nailing the perches to adjacent sticks. Do this both from below and in the middle of their length. Then the design will be much more reliable.
The frame is firmly fixed in the flooring and retains its shape. Now you can move on to tightening it. Any piece of fabric will work for this. The easiest way is to fit in several parts. In this case, you will need to prepare five triangular canvases, shaped like the edges of the frame. And the sixth hole will serve as an entrance. Each one is the same size. You can fix them with small nails or a construction stapler. It is important that the fabric is not completely stretched, but could sag a little. Otherwise, it will break easily.

The process of stretching the fabric on the frame of the wigwam
The result is an interesting do-it-yourself hut for children. It can be installed both in the apartment and in the summer cottage. And the fabric for fitting can be additionally decorated. Or use several materials, creating an ornament on the frame of the hut.

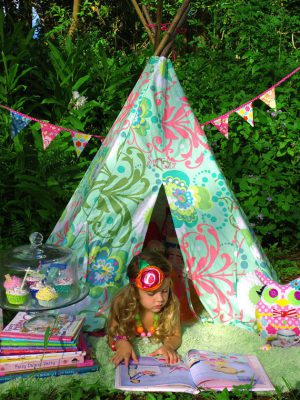
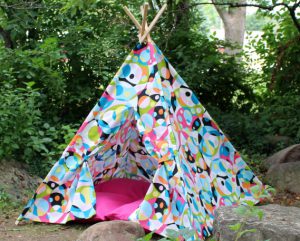
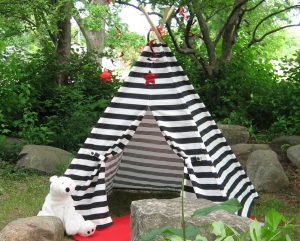
Ready-made hut for children with their own hands
The main advantage of the Wigwam design will be its reliability. The frame consists of several poles, which are additionally held by the flooring. Plus, this option is distinguished by its capacity.
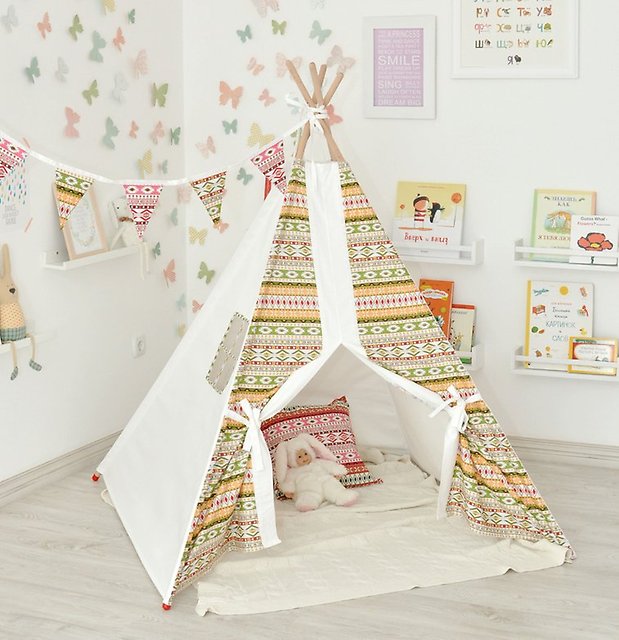
But such a hut is quite difficult or completely impossible to disassemble. And together with its large dimensions, the design becomes difficult to carry. Hut "Teepee" is not mobile, unlike other variations. Another disadvantage is the complexity of its assembly. The frame will require several sticks, pre-processed and adjusted in length. And also it is quite difficult to fit it, and at a price it will come out more expensive than other varieties.
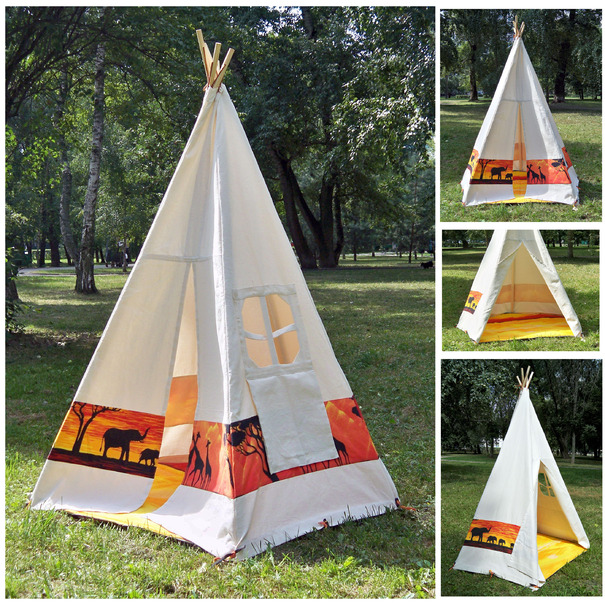
Wigwam for children in the country with their own hands
The hut "Wigwam" is one of the most difficult to build. Its design includes many separate elements that need to be additionally fastened together. And the amount of materials needed to build it is quite high. However, the end result will pleasantly surprise both children and adults. The hut "Teepee" turns out to be very reliable and beautiful. And its appearance can be additionally decorated according to the preferences of the child.
Shed hut
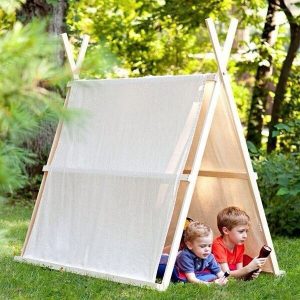
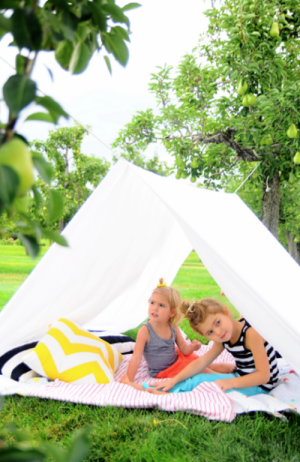
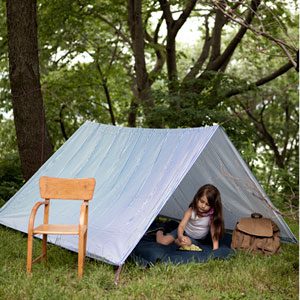
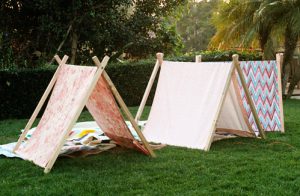
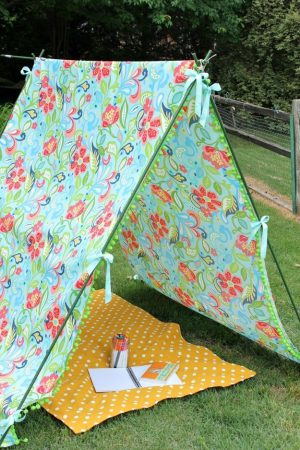
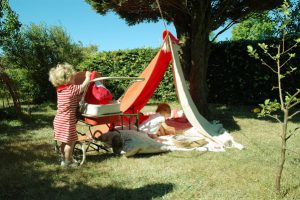
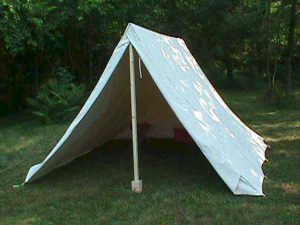
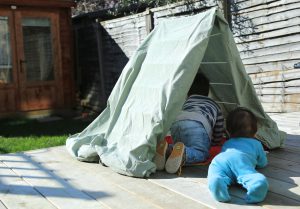
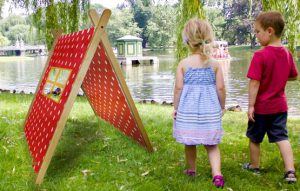
An interesting and fairly simple solution for a summer residence would be to build a shed hut for children with your own hands. Its design is distinguished by its simplicity, speed of construction and a small amount of the required material. Such a hut in shape will resemble a canvas located at an angle.
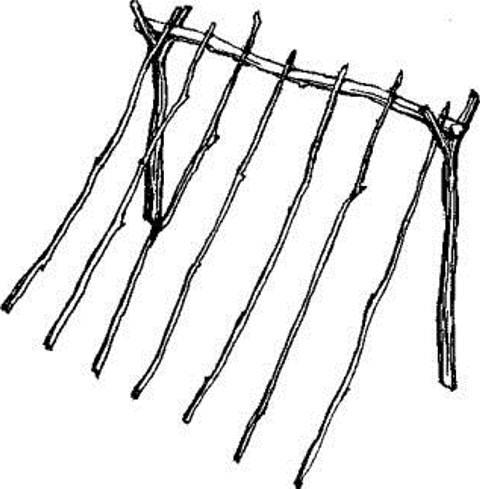
The design of a shed hut
The basis of the design will be two stands on which the support stick will be placed. One of them can be a low bough of a tree, and then it will be possible to use a pole of the same length as the second. A stretched canvas of tarpaulin or other water-repellent material will be the roof of the hut itself.
Assembling the structure together is extremely simple. Roof material should be secured to two long sticks on both sides. Suitable for this nails or strong rope.The canvas must be held firmly on the poles so that it is not torn off by a gust of wind.
Now you can start installing the base for the hut. It will require two supports or one, but with a branch of a tree. It is best to make them from two strong and long sticks. First, they should be trimmed and cut to equal length. It should be borne in mind that the sticks will be fixed in the ground. After installation, one of the support poles with a canvas should be attached to them.
It is important to place the base in such a way that the roof covers the visitors of the hut from direct sunlight and wind. According to the height of the stick, it is best to make a meter above the ground. The lower part of the canvas with the second support pole should be nailed to the ground. To do this, just put something heavy on top. For example, stones at both corners of the canvas or a massive log.
Now the shed hut is ready. Its advantages include ease of assembly and disassembly, as well as the possibility of transferring the structure. The hut is resistant to rain. This is due to the fact that its roof is made of water-repellent material. And the rest of the parts can be additionally treated with a special varnish.
However, the design of such a hut provides for only one roof slope. In view of this, from other sides it is vulnerable to wind and rain. A shed hut will not become a full-fledged shelter from bad weather. But it will easily protect against light rain or light wind from the side of the roof.
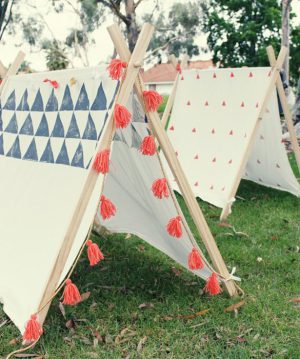
All the variations of home-made huts for children presented above are exclusively the basis for future designs. That is, in the process of creating them, it is possible to further modernize and decorate them. The final appearance of the building will depend solely on the wishes of its author. The appearance for the hut can be chosen in such a way that it is most pleasant for the child. The result is a unique design for a house or summer cottage. When building, it is important not to forget about the requirements of safety and reliability.
back to index ↑Photo gallery - do-it-yourself hut for children
Video
