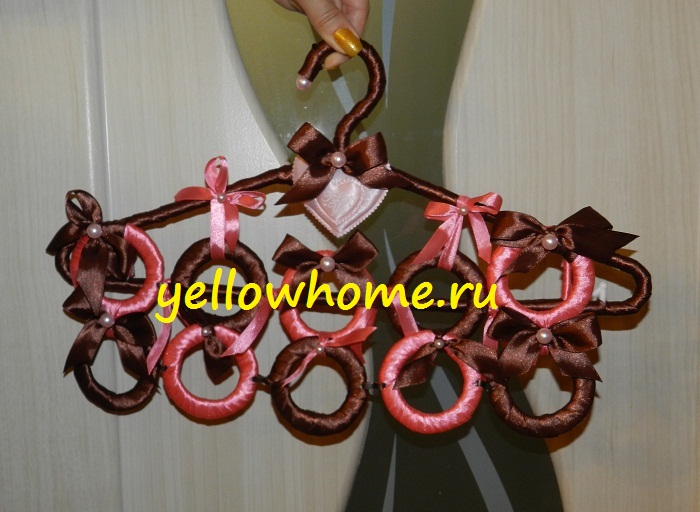
What can a hanger with rings be used for? To hang a scarf, large scarves, belts, tights, stockings, long gloves, leggings. Step-by-step instructions on how to make a hanger with rings with your own hands.
Materials and tools:
- wide satin ribbon (brown);
- thin satin ribbon (pink);
- gauze (cotton fabric or fabric remnants);
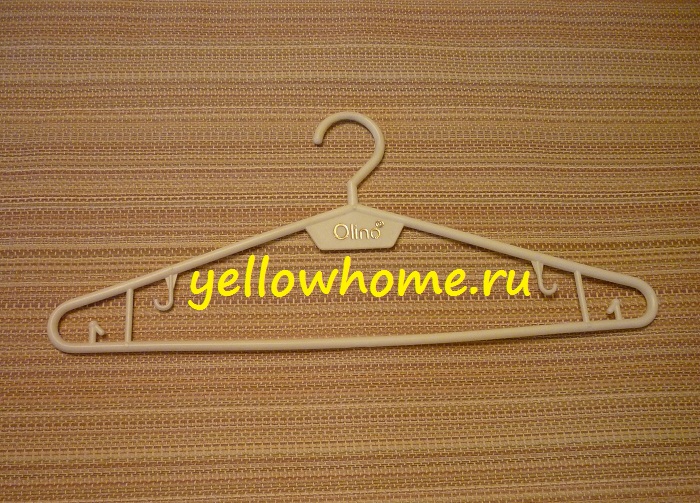
- clothes hanger (hangers);
- beads (different sizes);
- fabric heart (2 pieces);
- lighter (candle);
- thermal gun;
- pliers;
- scissors;
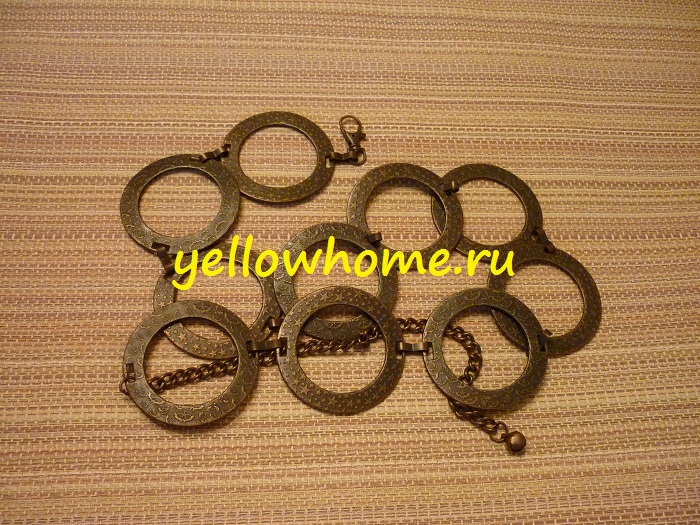
- rings;
Note:
Suitable for rings: a belt in the form of rings, small rings for curtains in the bathroom, or just ordinary wooden curtain rings. Or you can make them out of cardboard.
If the small hooks on the clothes hanger get in the way and there is no need for them, then we bite them off with pliers.
So that the edges of the satin ribbon do not split, we melt them over a candle or a lighter.
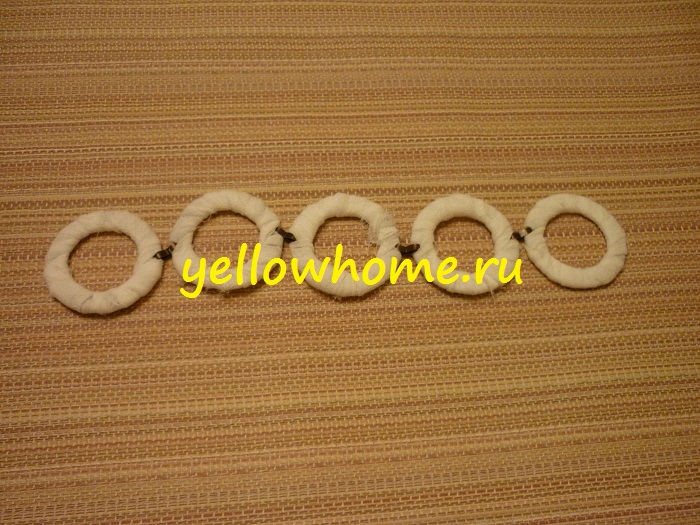
We wrap the rings and the hanger with gauze to give volume to the product.
1. Take an ordinary clothes hanger. In this master class, the most common plastic hanger.
2. In this master class, ready-made rings from the belt in the form of rings.
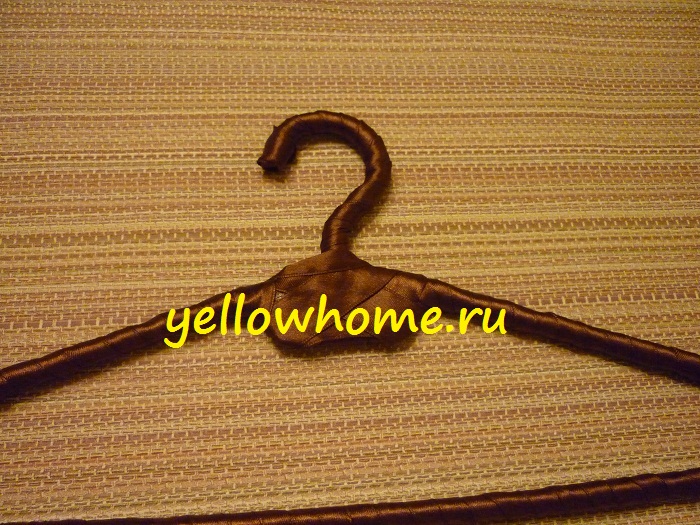
3. Cut the gauze fabric into thin long strips. We start working from the middle of the hanger. We apply glue, apply the tip of gauze and begin to wrap over the entire surface of the hanger. We finish wrapping on the hook. At the end, apply glue to the tip of the gauze.

4. Apply a drop of glue in the middle of the hanger at the back. We press the tip of the satin ribbon. We wrap the whole hanger with it. We wrap the side parts inside with a pink ribbon.
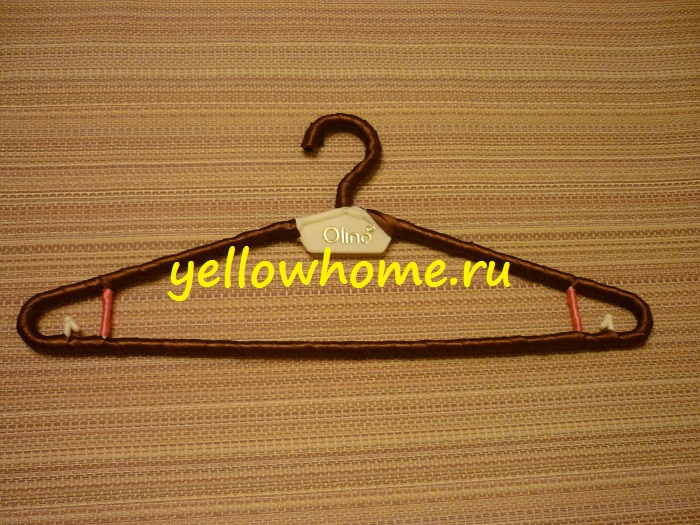
5. We also wrap the middle of the hanger with a brown ribbon.
6. There are 10 rings on our belt. With the help of pliers, we separate them, bite off and remove all unnecessary. In the future there will be 2 rows of 5 pieces. We wrap each ring with gauze.
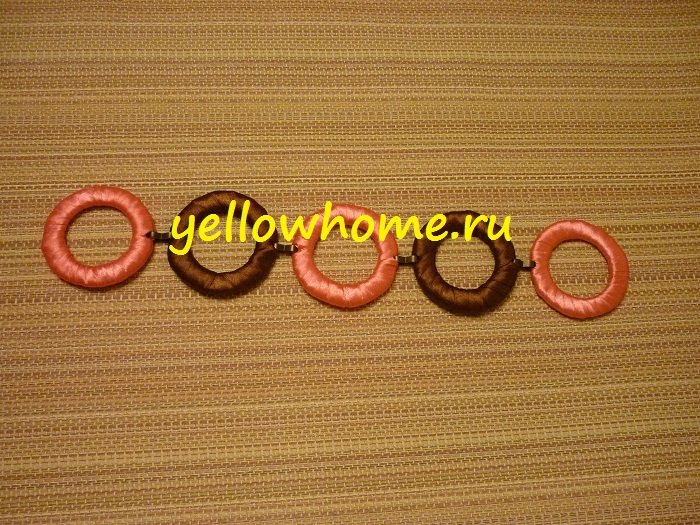
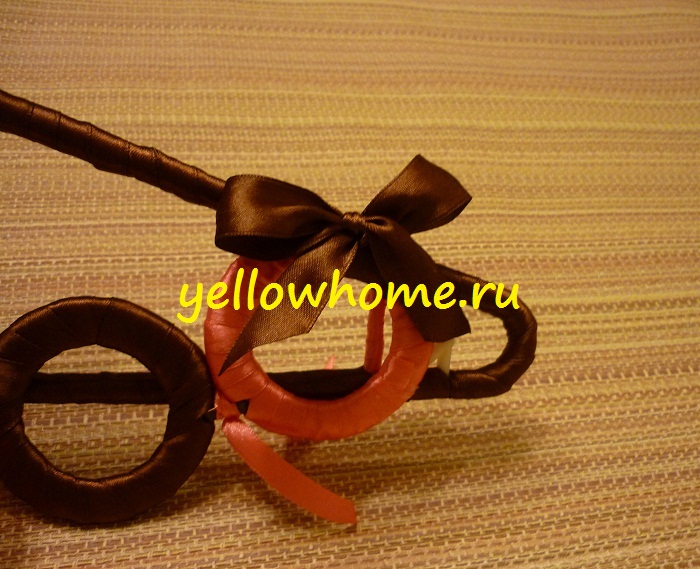
7. First row. We begin to wrap the first ring with a pink satin ribbon. The second brown and so alternate to the end.
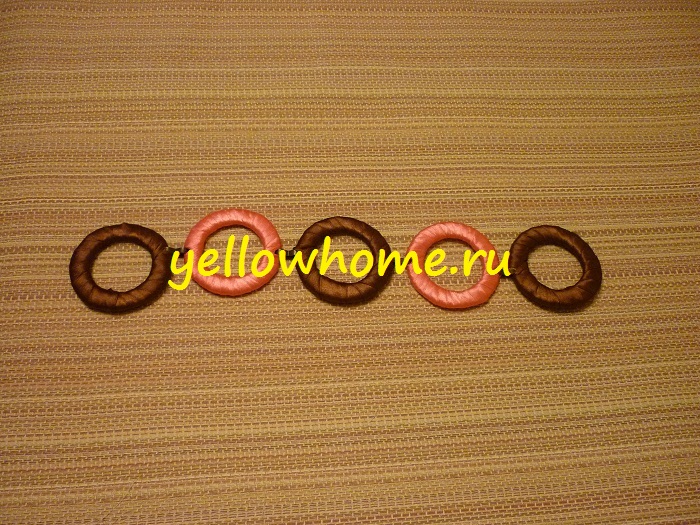
8. Second row. We begin to wrap the ring with a brown satin ribbon, the second with pink, and so alternate to the end.
9. Cut the pink ribbon into 4 small strips. We take the first piece of tape and tie the rings to the base of the hanger, tie in 2 knots. Next, we tie all the rings.
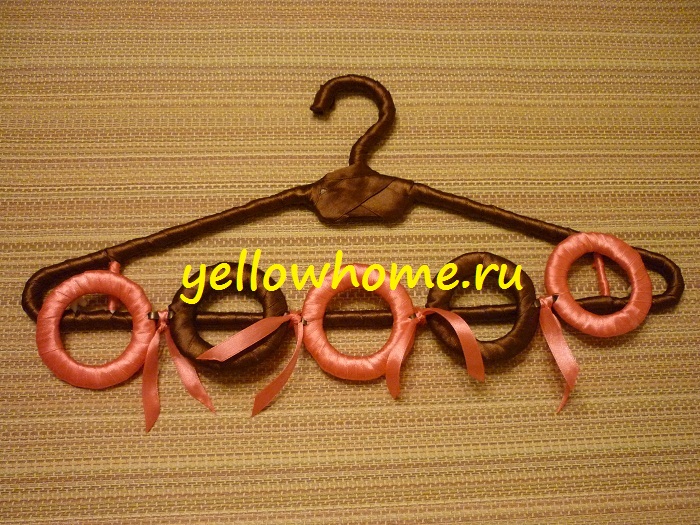
10. Take a satin ribbon, make a bow. Glue bows on the sides of the hanger.
11. Glue a fabric heart in the middle of the hanger. On the front and on the back. We tie the second to the first row with the help of satin ribbons. Glue more satin bows on the hanger and rings. Glue on the beads.
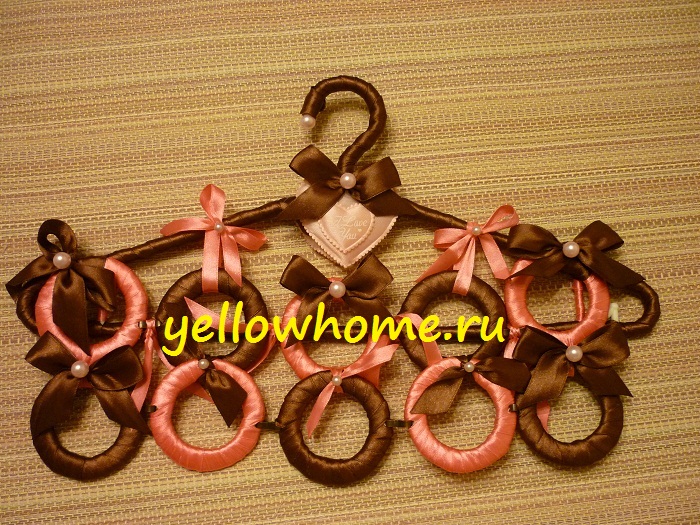
Fashionistas, lovers of scarves, girls who like to complement their image with a belt, beautifully tie scarves, stoles and have them in unlimited quantities. The hanger with rings takes up little space.
Now there will be order in the closet, and therefore in the apartment. Also, this idea can be used in cafes, restaurants, training and children's centers, for a dance studio, so that customers can hang their accessories in the cold season: a scarf, stole, long gloves, leggings. They didn’t crush them, and most importantly, they didn’t forget them at the exit from the institution!
Author:
Yakovleva Anna