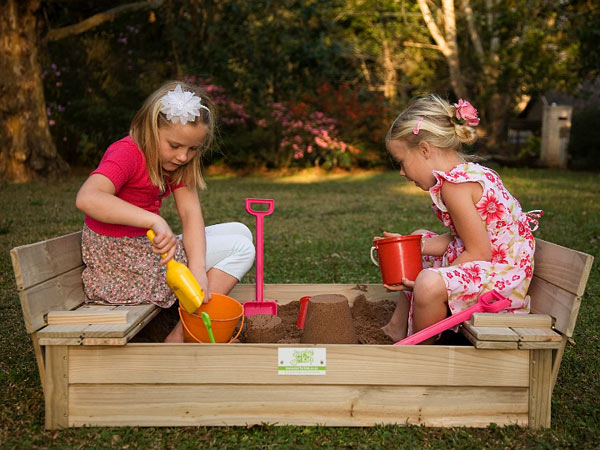
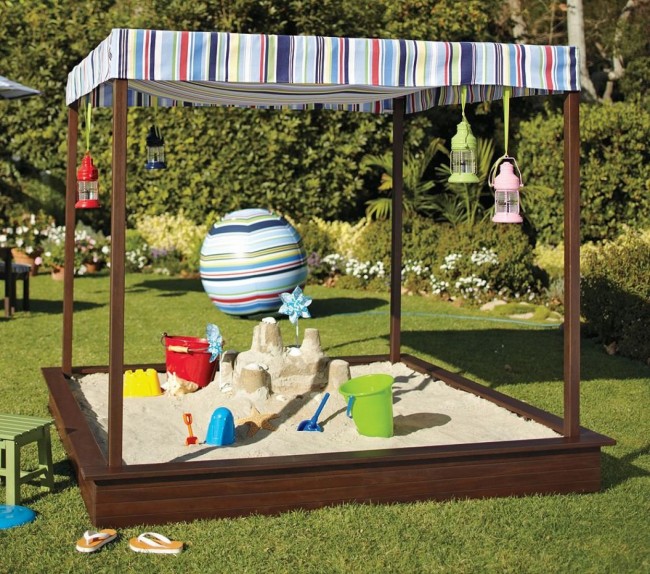
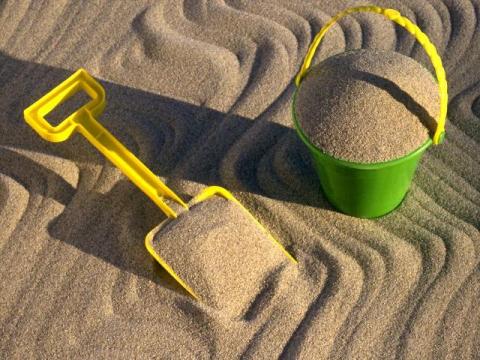
Sand games are the most revered entertainment for kids. Almost every one of them is ready to build sand castles around the clock and make small pastries. Such entertainment is not just an exciting pastime, it is also a very useful thing.
Fine loose, sun-warmed sand contributes to the development of children's imagination, stimulates the progress of motor skills of tiny hands, helps to develop perseverance, teaches concentration and trains the eye. The organization of the play area will require some effort and, of course, ennoblement. At the same time, it is not so important whether the sandbox will be assembled with your own hands or bought via the Internet, the main thing is that the corner of children's fun turns out to be safe and well adapted for games.
back to index ↑Types of sandboxes
Designer fantasy in the production of children's play equipment of this type has practically no boundaries. Each new sandbox drawing is another masterpiece. This gave rise to a variety of classification subspecies of models. The sorting criteria are:
1. Design features of the product.
2. Material.
3. Mobility.
Design features
Integrity
According to this parameter, monolithic and collapsible sandboxes are distinguished. The first ones are a one-piece construction that does not require installation.
An example of a monolithic sandbox
The second - consist of parts that need to be assembled into a single whole. They are more practical for country use, as they can be removed for the winter period from an open area, which will significantly increase their service life. Look at the drawing of a collapsible sandbox, and you will understand that it is quite possible to make it a dry pool and even convert it into an arena.
Collapsible sandbox can be removed for the winter
The presence of the bottom
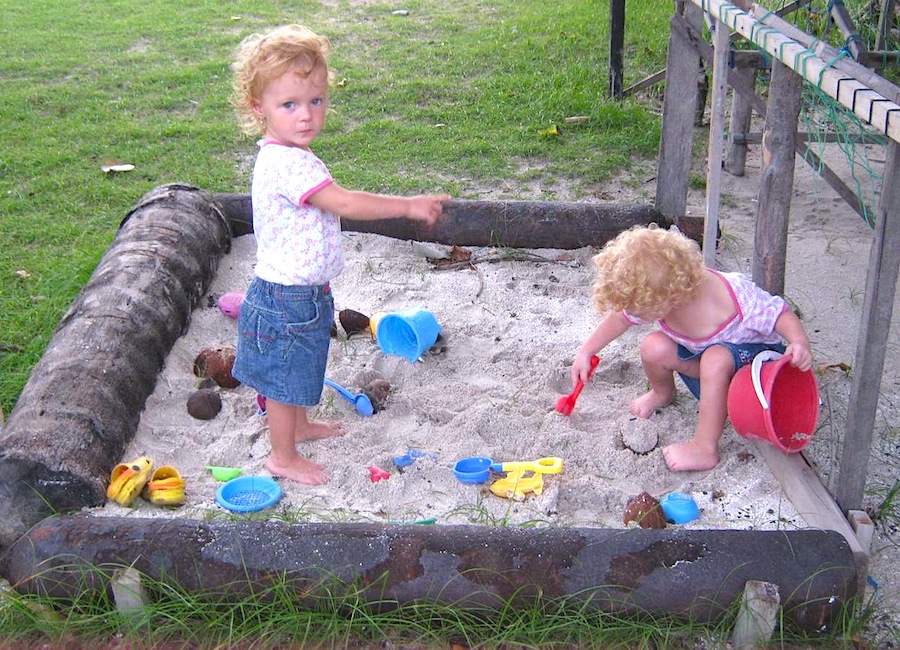
According to the design criteria, the sandbox does not have to have a bottom. For example, sandboxes made of wood of a stationary type are most often deprived of it. The sand here is poured directly onto the ground. On the one hand, this causes some inconvenience, because if you decide to reinstall the structure, you will not be able to move it along with the contents. On the other hand, it will not be problematic for you to increase the size of such a sandbox, since nothing will limit you.
Often sandboxes have no bottom
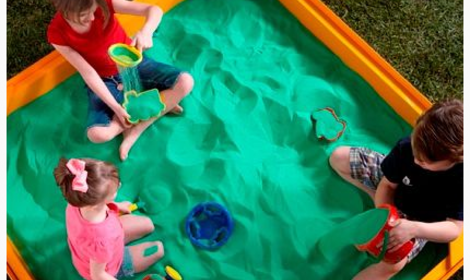
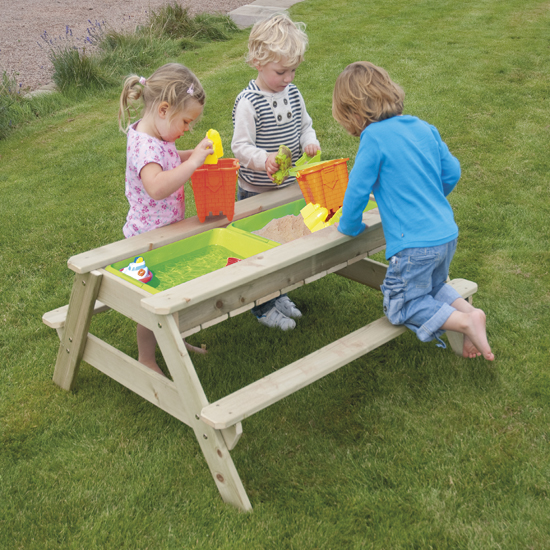
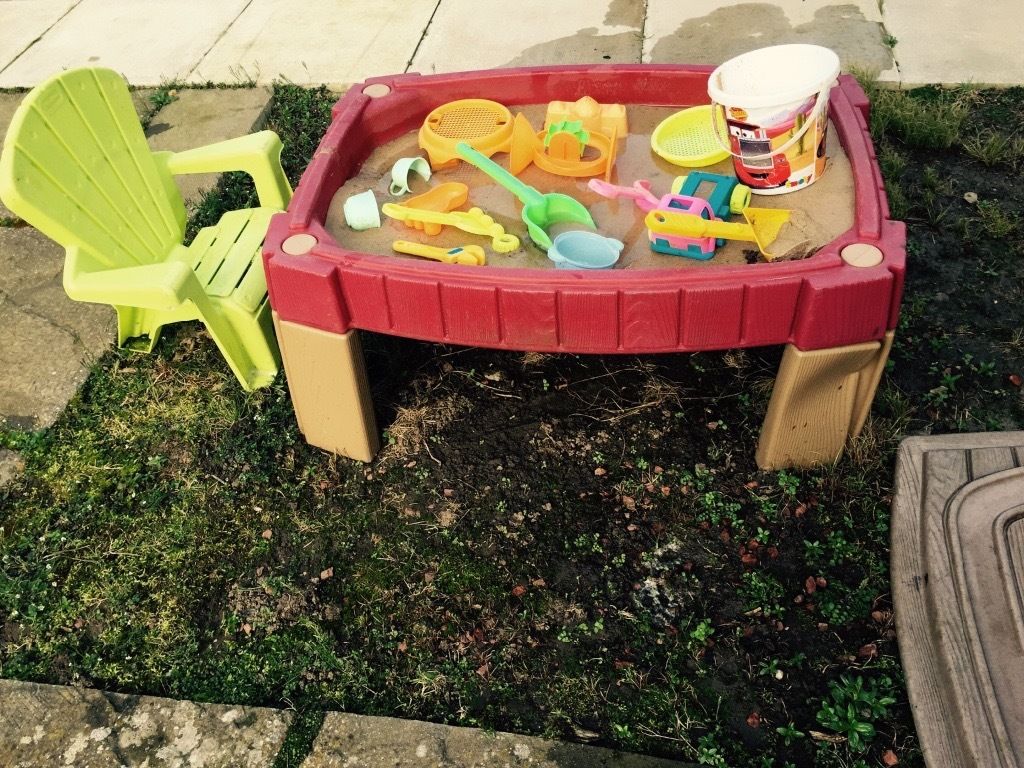
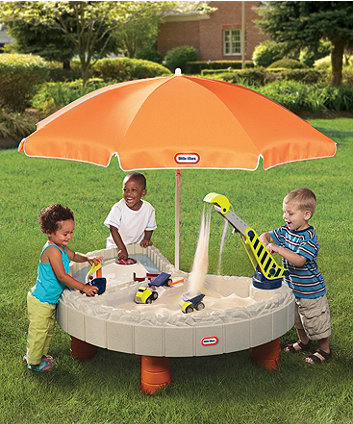
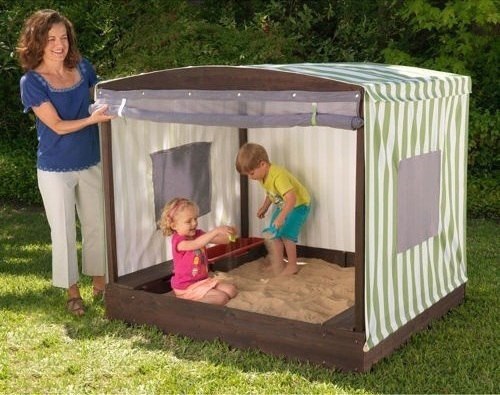
The owners of the bottom are mainly small mobile models. Naturally, this makes it easier to move them, plus in some cases it makes it possible to expand the functionality. We are talking about plastic options that can be filled not only with sand, but also with water or turned into a whole play center. The latter includes a set of gaming tools and a table equipped with an eyeliner for water fun.It is extremely difficult to make such a sandbox for giving with your own hands, without special education and specific skills. It’s easier to buy a ready-made version than to suffer all winter over the development of a sandbox drawing with extended functionality and, as a result, limit yourself to a traditional solution.
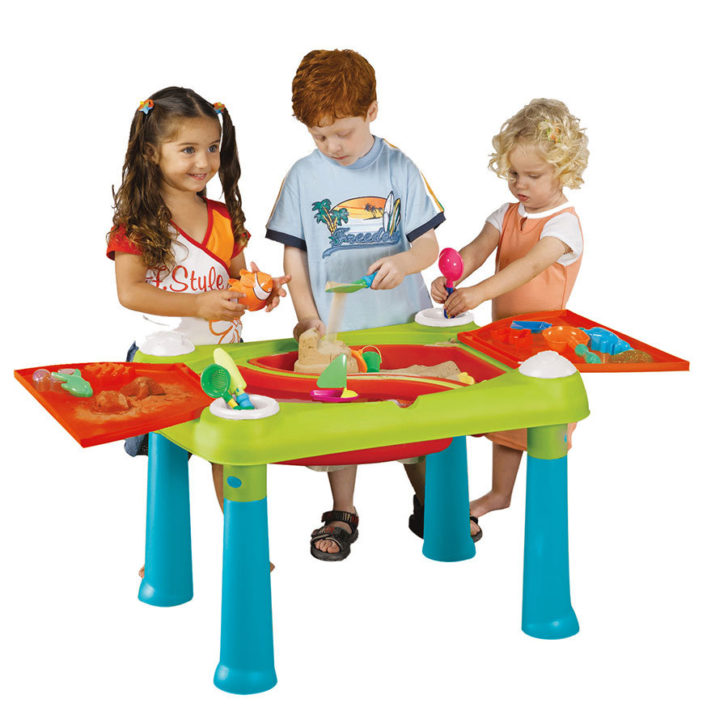
A small sandbox with advanced functionality
Mobility
Sandboxes are:
- stationary;
- portable.
The first is the prerogative of public playgrounds. They are large and designed for the simultaneous use of their areas by a large number of children.
Portable structures can often be seen in the arrangement of private properties. They are small in size and are usually ready to accept no more than two or three children. Mobile sandboxes can also be collapsible, which will allow you not only to move them around the country house, looking for the most convenient and picturesque places to stay, but also to take them on trips.
Manufacturing materials
Three types of materials are involved in the production of sandboxes:
1. Tree.
2. Plastic.
3. Metal.
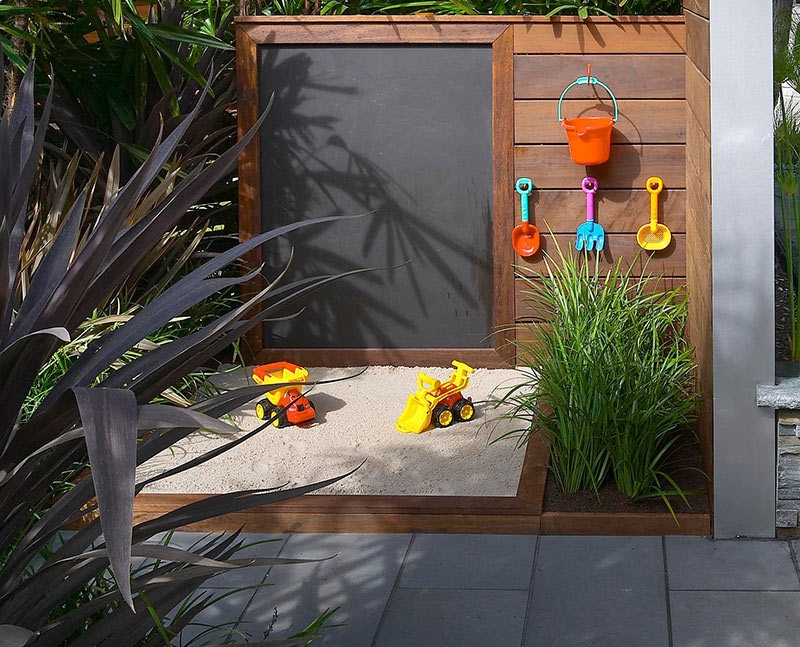
Sandbox made of wood
To organize a playing area with sand, it is permissible to use not only natural wood, but also sheet plywood. In the second case, you will have to spend much less money and you can assemble the sandbox with your own hands. When choosing the type of wood material, one must take into account the fact that plywood, for all its price attractiveness, will last significantly less than thick boards, and besides, its surface will definitely need to be protected with water-repellent paints. And yet, why, of all types of sandboxes, is it worth giving preference to wooden options? Because they:
1. With adequate care, they will please with durability.
2. Eco-friendly.
3. Do not get hot under the sun.
4. Perfectly harmonize with the surrounding landscape.
Wooden sandbox
Of the negative points, it is worth considering that a tree of any kind is subject to decay, so the country sandbox will need regular maintenance, that is, annual painting. In addition, poorly treated wood can carry a danger in the form of splinters.
Attributing the need for regular painting to disadvantages may not be entirely correct. The fact is that this need can become one of the ways to update the design of the site, to present it in a completely new stylistic solution. Add to this the fact that it is not particularly difficult to assemble a sandbox for a summer cottage from a tree with your own hands, and you will get an almost perfect solution for arranging a children's territory.
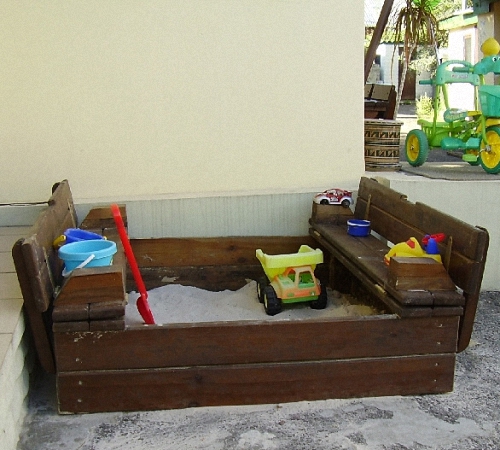
Easy to make a wooden sandbox with your own hands
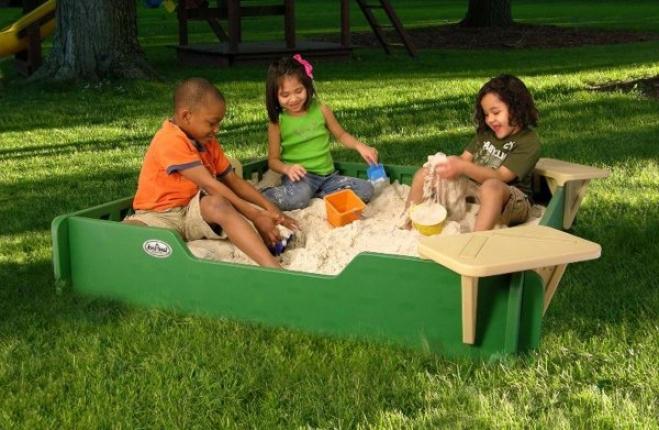
Plastic sandbox
“It must be remembered that plastic tends to get very hot and burn out, so these types of sandboxes should be located in dense shade”
In the open spaces of the playground, a plastic sandbox will look like a bright island. She is practical and comfortable. Such gaming equipment is completely safe, since only environmentally friendly raw materials are used for production. Children playing here are not in danger of being injured by rusty nails. They do not collect in this kind of sandbox and splinters. Plastic does not require specific care. The design itself is lightweight and easy to install, which will allow you to bring it to a suburban area and mount it yourself, without involving specialists in the process.
Plastic sandbox is recommended to be installed in the shade
It must be remembered that plastic tends to get very hot and burn out, so these types of sandboxes should be placed in dense shade. In addition, of all the possible options, plastic models are the most fragile, so you should not count on their long service life. Assembling a plastic sandbox with your own hands is a thankless task. It is much easier to buy it ready-made.
Metal sandbox
Finding a drawing of a sandbox in such a solution is almost impossible today. The reason for this is the tendency of the metal to heat up quickly.Contact with such a surface may result in severe burns. High quality metal is very expensive, and simpler types tend to rust quickly. Consequently, the service life of the sandbox will be short, and throughout its entire length the structure will need careful maintenance.
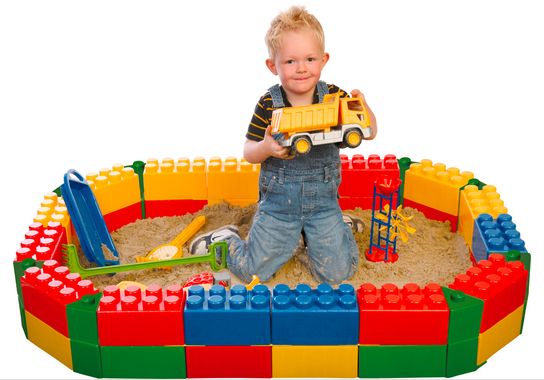
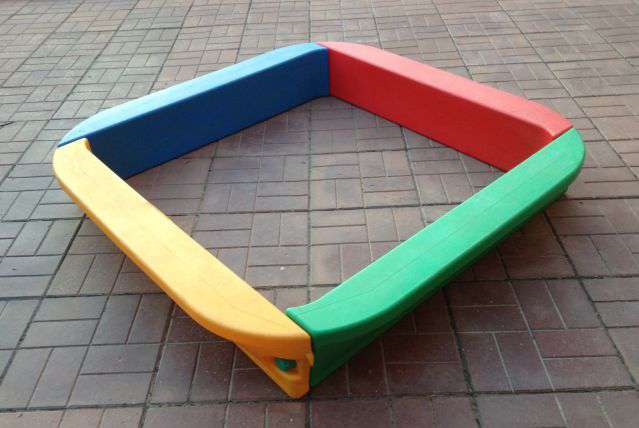
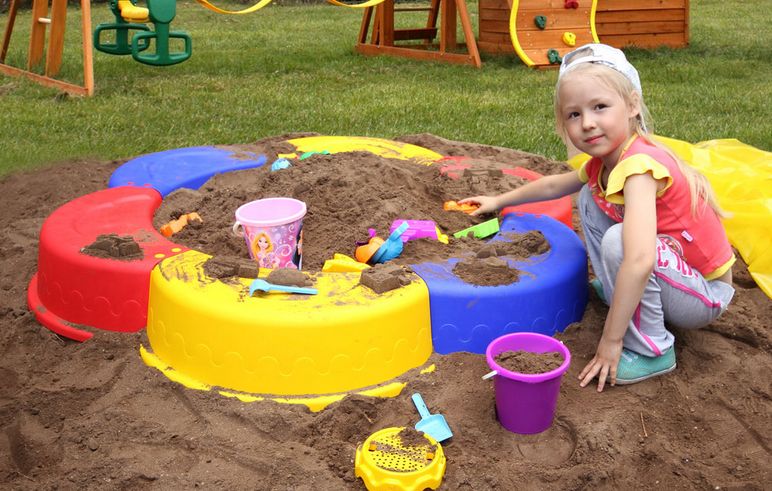
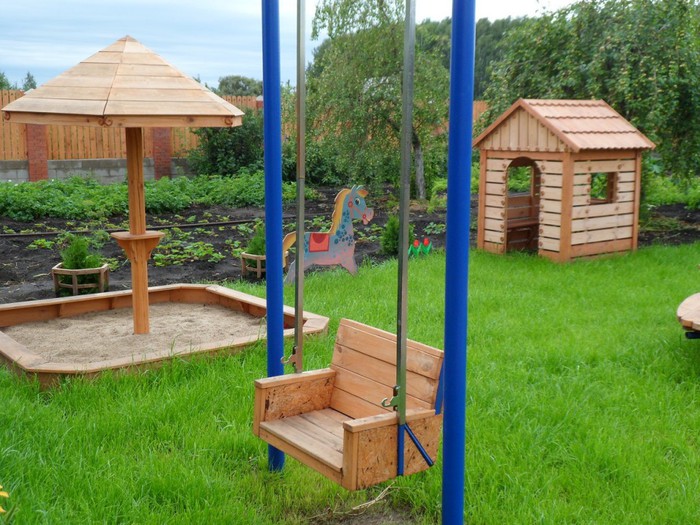
Shape variations
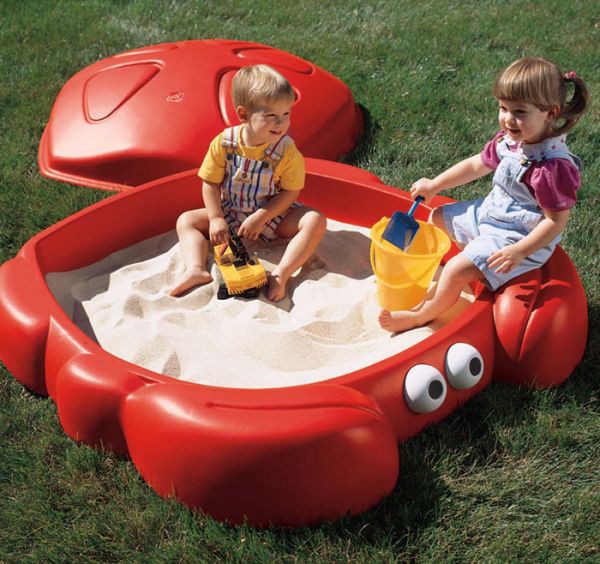
Round sandboxes
This configuration is the prerogative of a plastic construction rather than a wooden sandbox. Designers love it, as the shape is convenient for decorating. Most often, round models are presented in the form of animals. For improvisation, it is enough to attach paws and muzzles to the frame.
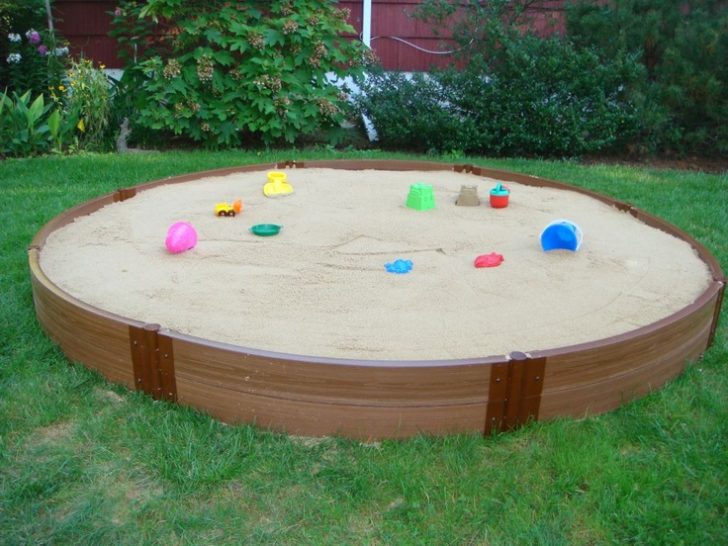
Sandbox for giving a round shape
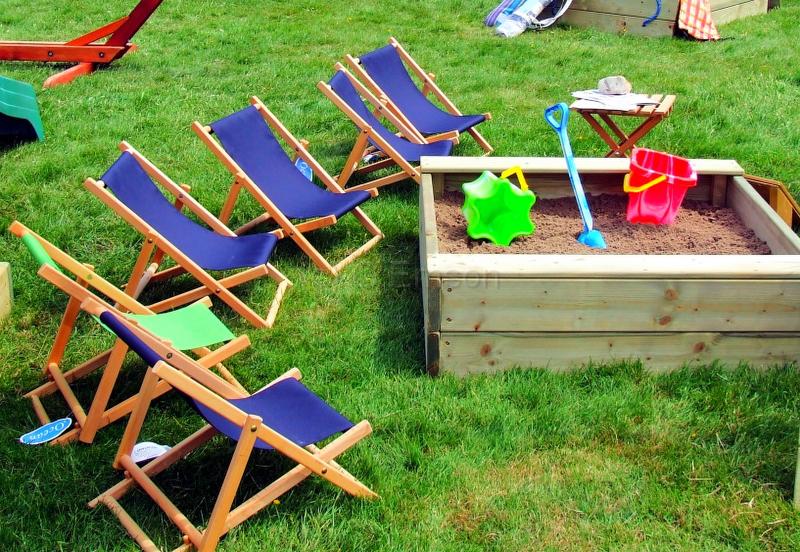
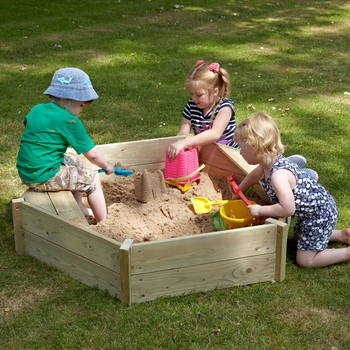
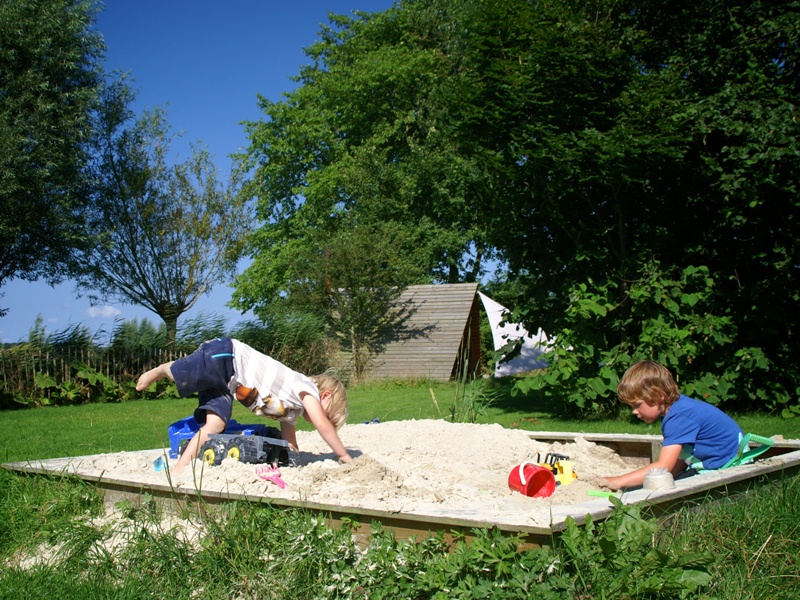
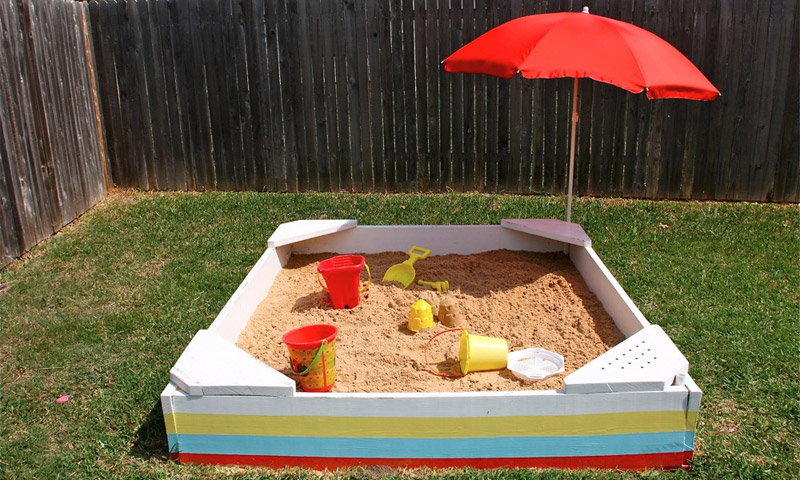
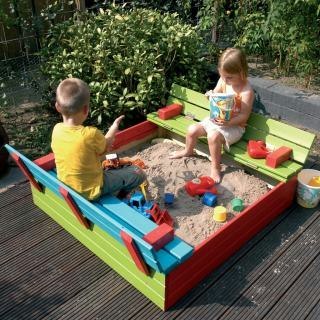
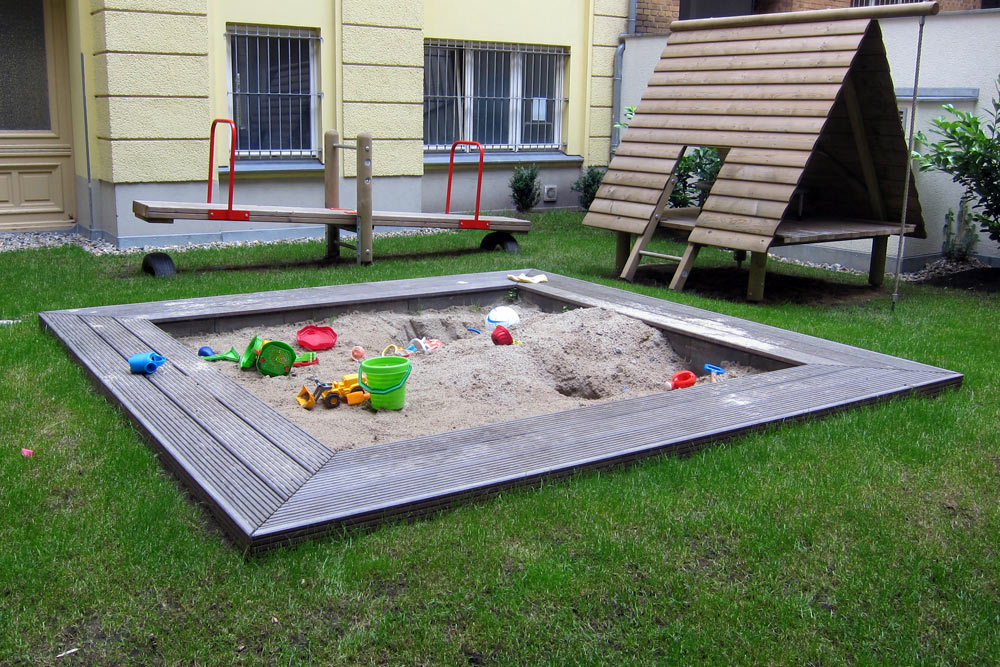
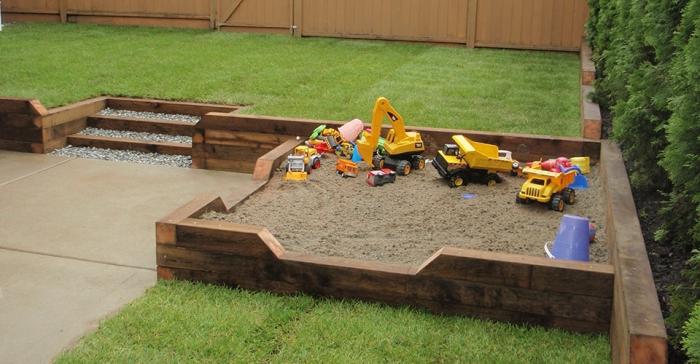
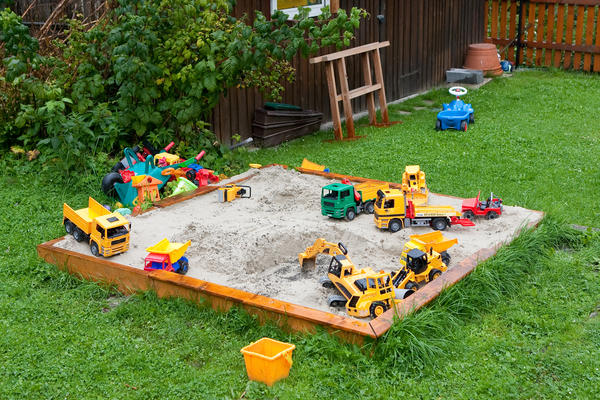
Squares and rectangles
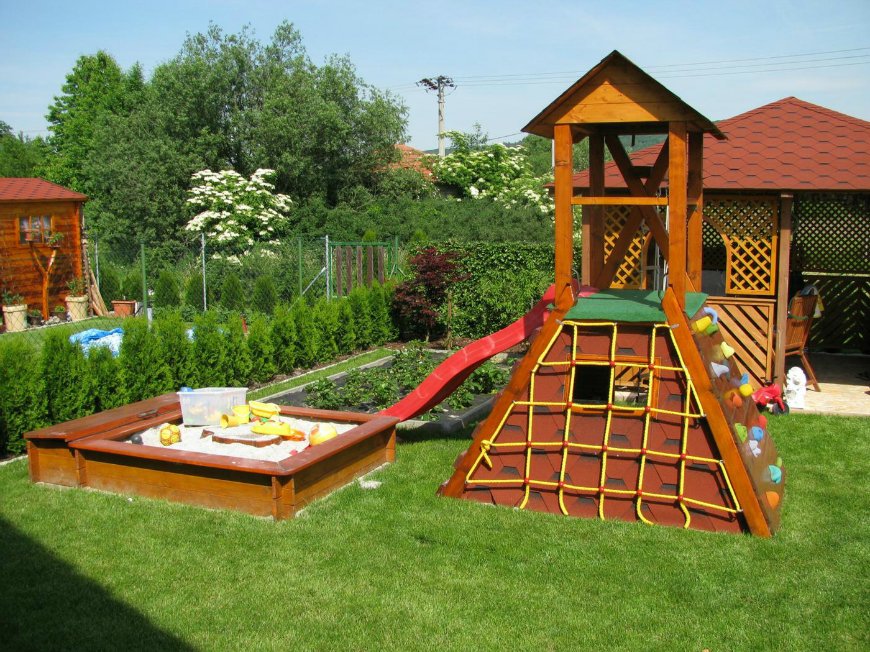
The old, kind, familiar to all generations classics of the sand genre. These types of sandboxes are the easiest to perform and assemble. Comfortable benches are often arranged along their perimeter.
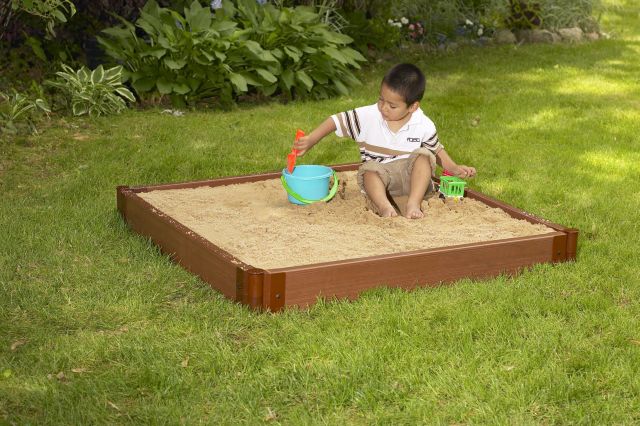
Classic square sandbox
Arbitrary interpretation
Today, modern sandboxes are actively trying to give original forms. In the assortment range, you can see products in the form of:
- polygons;
- hearts;
- boats;
- dogs;
- cars;
- shells;
- flowers.
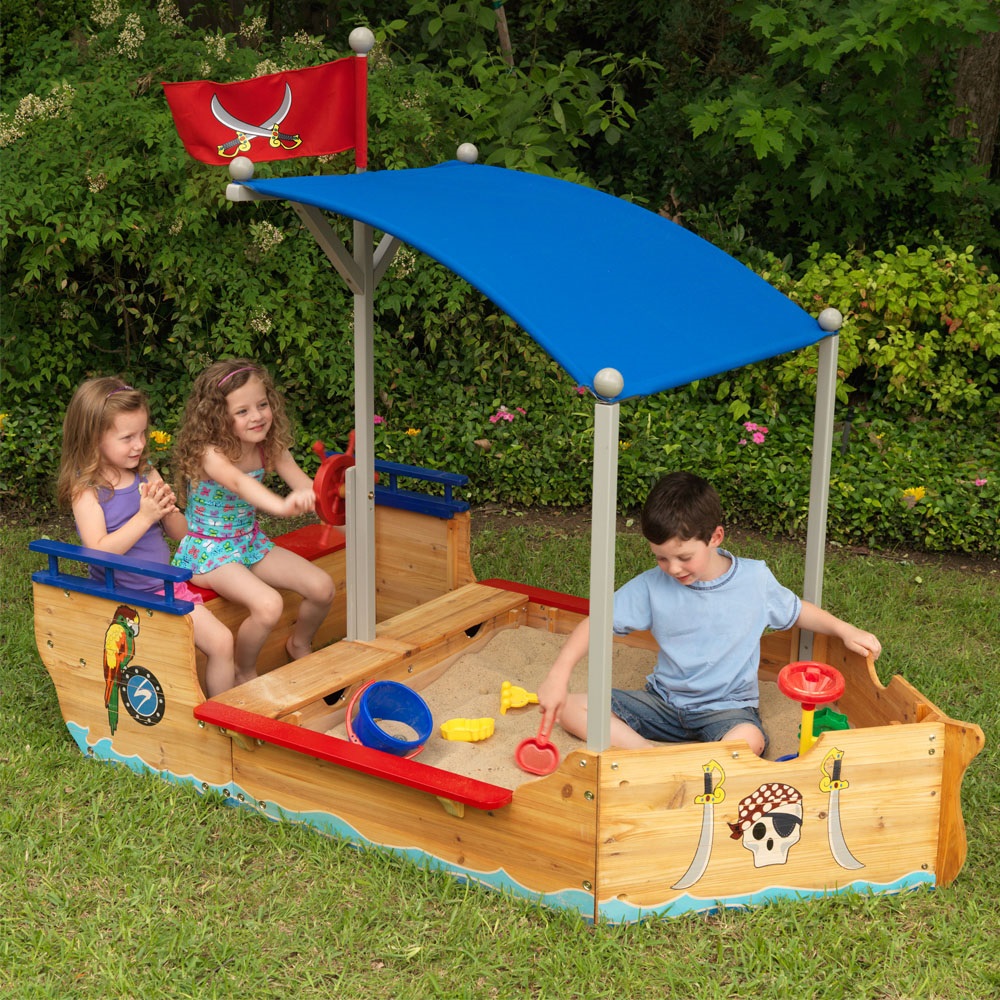
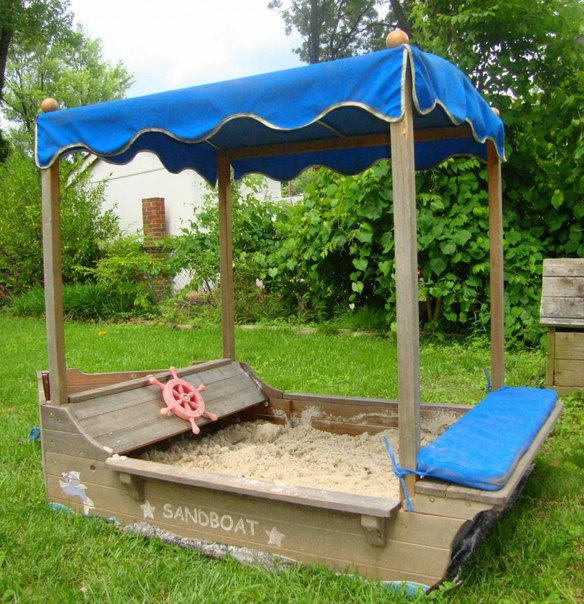
Original sandbox for giving in the form of a ship
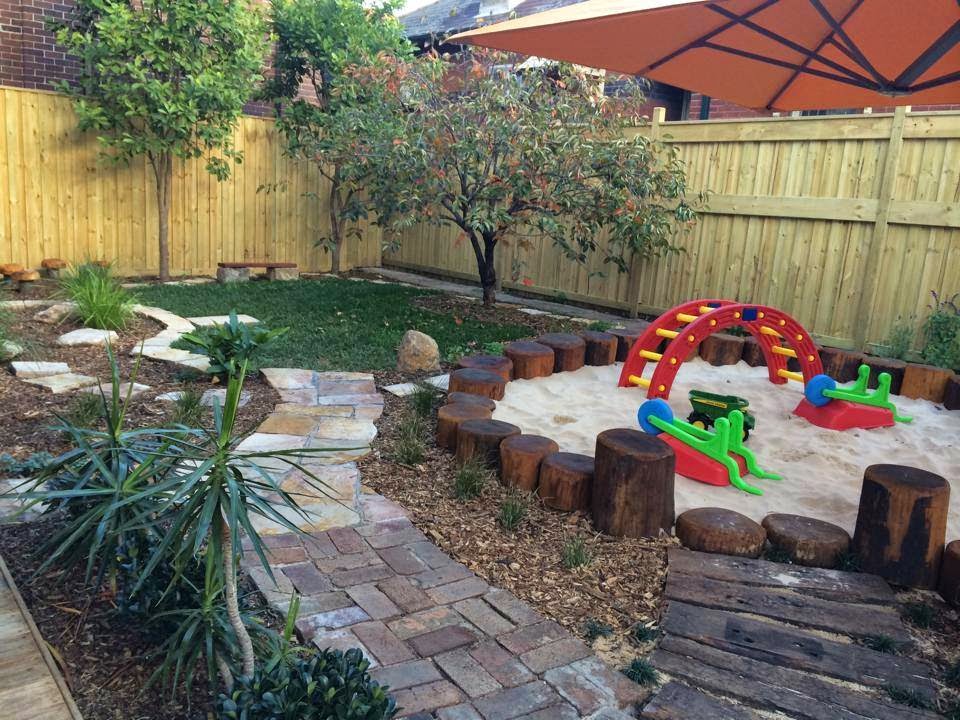
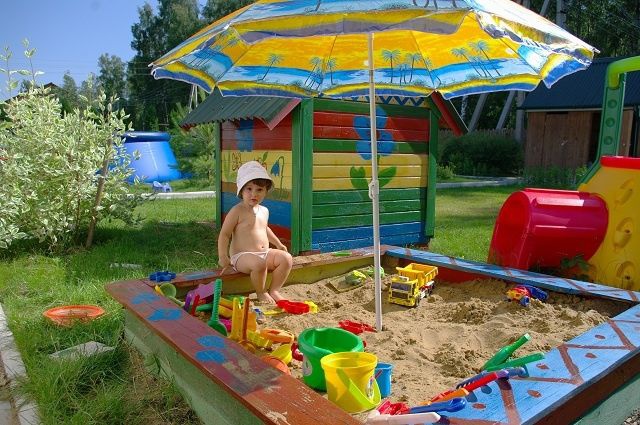
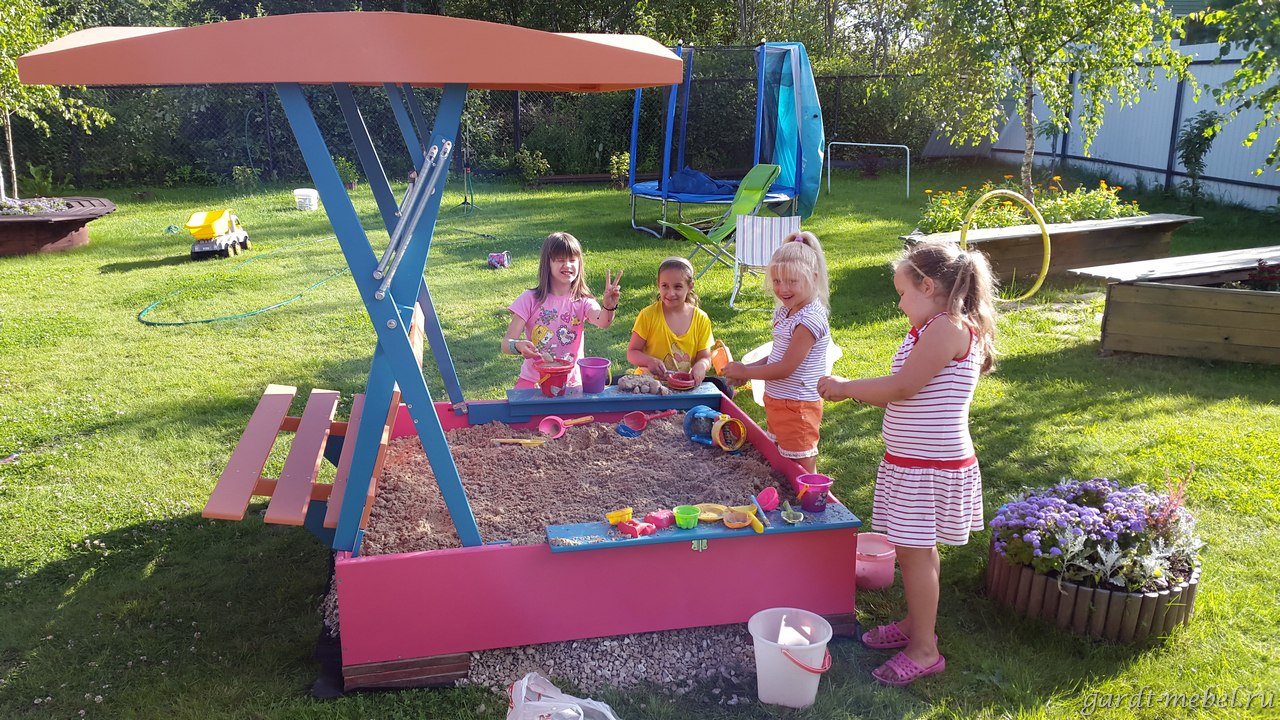
Any of them can be accompanied by a table, umbrella, bench or whole sets of game elements. The greatest interest in children is caused by such additions as: ropes, slides, canopies, ladders and houses.
back to index ↑Where to put the sandbox
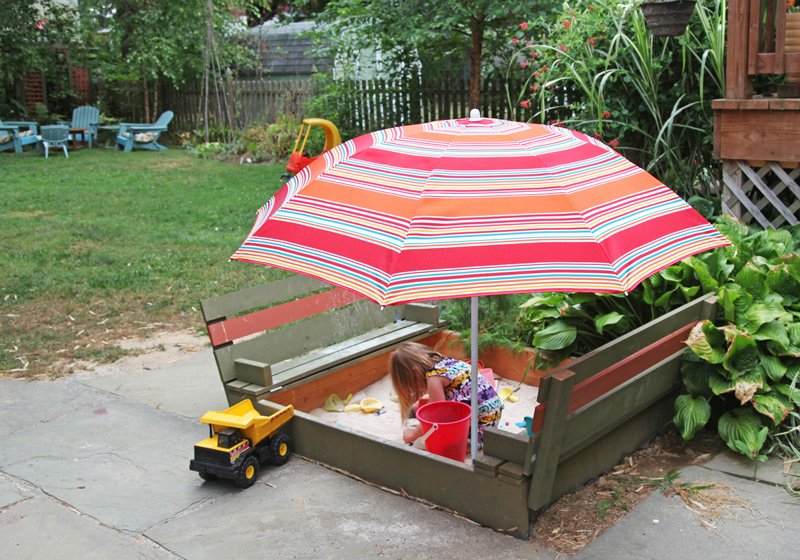
We briefly figured out the types of sandboxes for giving, now it's time to be puzzled by finding a place to equip it. It is necessary to choose a place for installing a play corner with a certain degree of pedantry. On the one hand, it should be located in a picturesque green area, on the other hand, it should be completely visible. This is a safety issue and should not be neglected. The best option is to put the sandbox under the crown of a tall tree, then one part of it will always be in the shade, and the other will be well warmed up by the sun. The sand in this case will always be warm and ready to play. If there is no such place in the summer cottage, think about shading the sandbox with an umbrella fungus.
The place for installing the sandbox should be clearly visible from all sides.
Do-it-yourself sandbox for giving
“Whatever type of sandbox you build, you should definitely organize a drainage system in them”
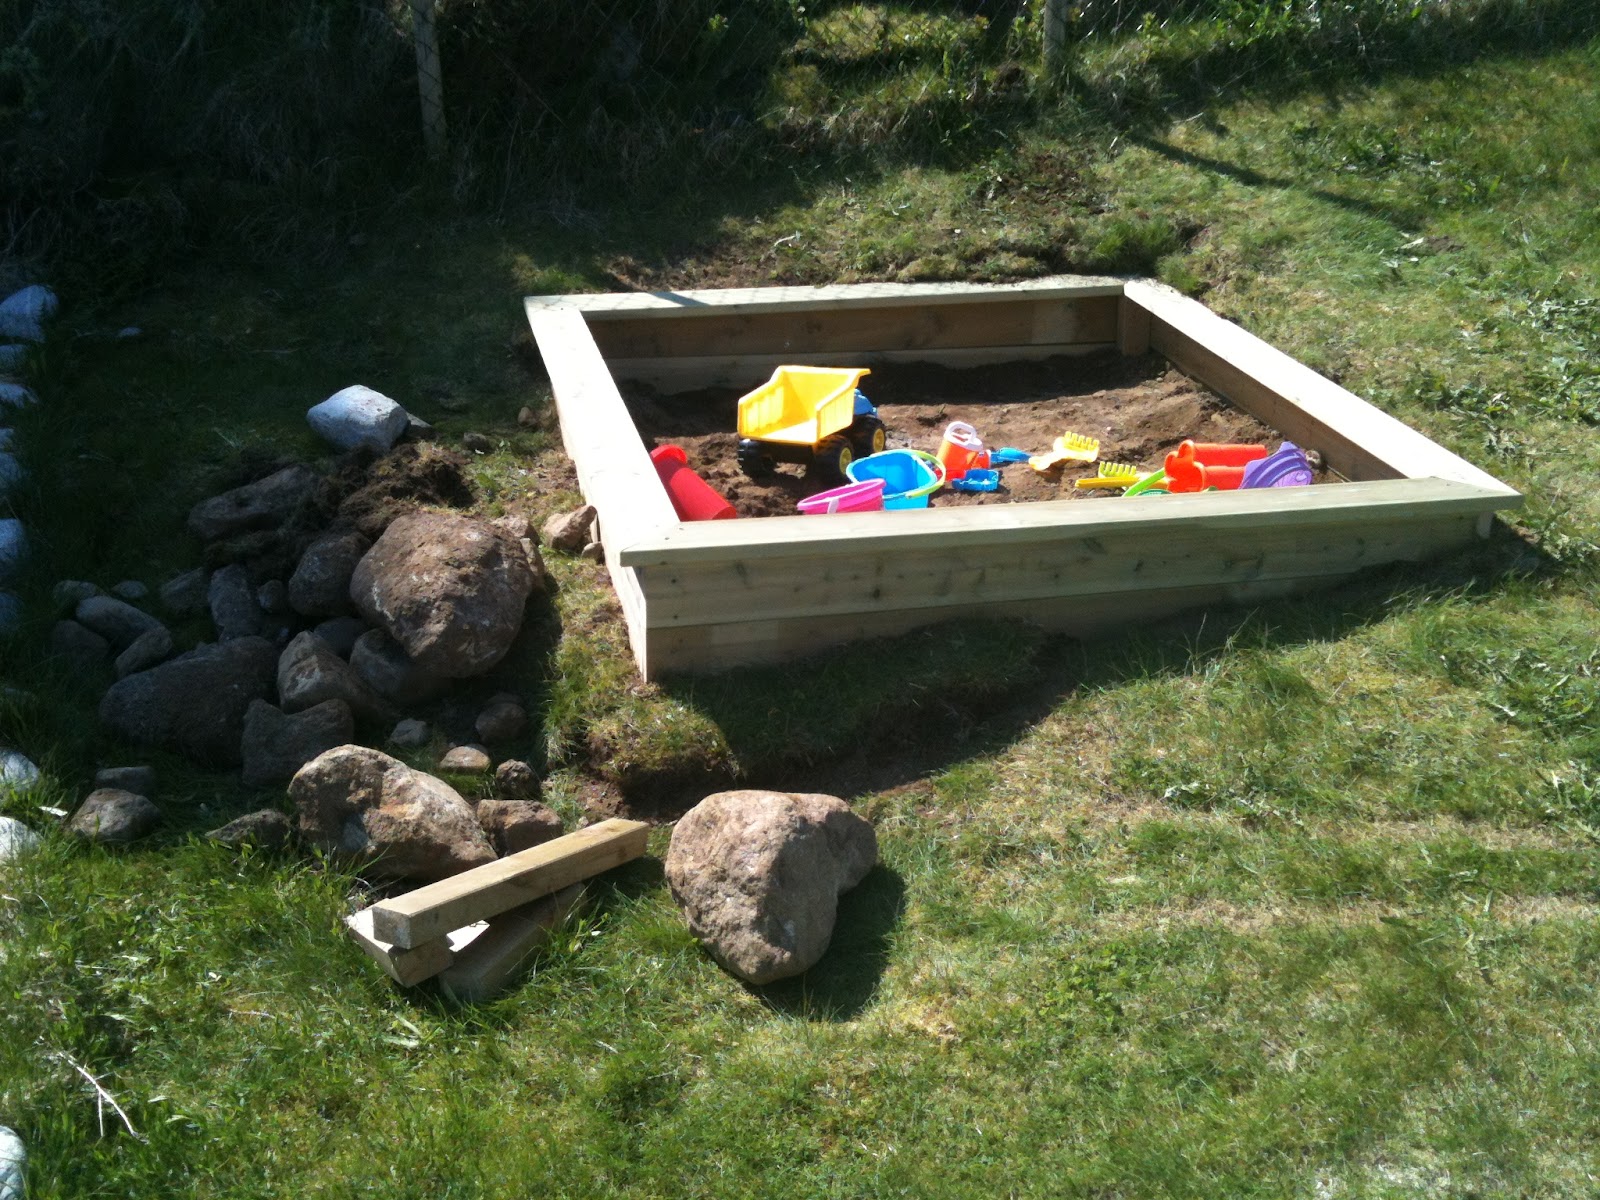
Considering the species diversity of play structures, you probably came to the conclusion that it is best to assemble sandboxes for summer cottages with your own hands from wood. The process will take place in several stages. You can start by designing a blueprint for the sandbox, or looking for a suitable sketch online.
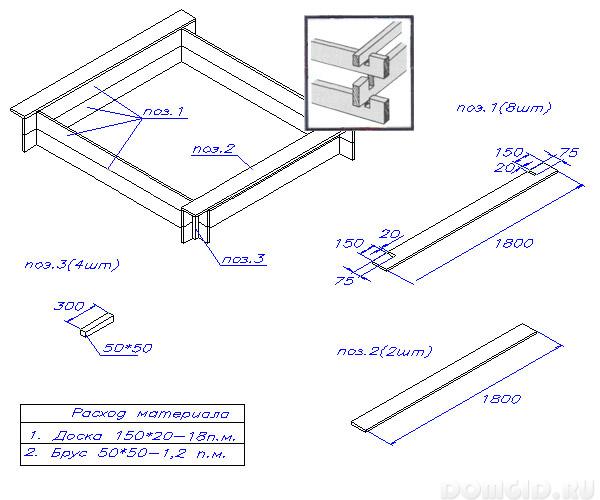
An example of a drawing of a simple wooden sandbox
Of the consumables, you will need to stock up on a planed board of 25-30 mm thickness. Its width is chosen arbitrarily, based on the height of the sides of the structure. This parameter is determined according to the age of the child. The kid should easily climb into the sandbox, but at the same time its contents should not fall outside the restrictive walls.
At the second stage, they are engaged in marking the area for the game equipment. This is done with a tape measure, four pegs and a cord. On the ground, the boundaries of the future sandbox made of wood are laid. The angular intersections of the lines are indicated by pegs on which the cord stretched around the perimeter is fixed. The correctness of the breakdown is checked by measuring the diagonals. These should be two absolutely identical lines in length. This method is relevant only for geometrically proportional structures with right angles.
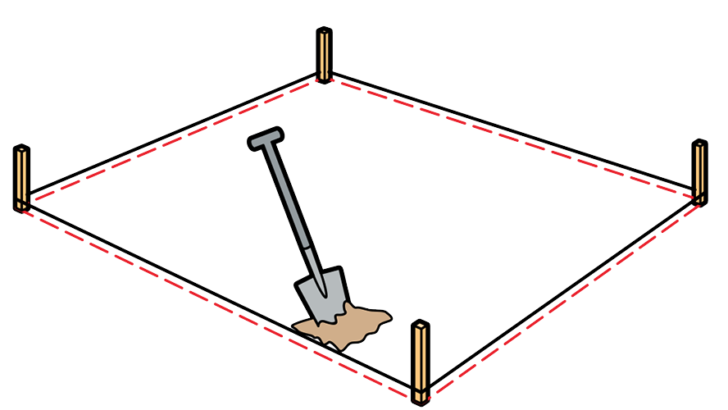
Marking the sandbox on the ground
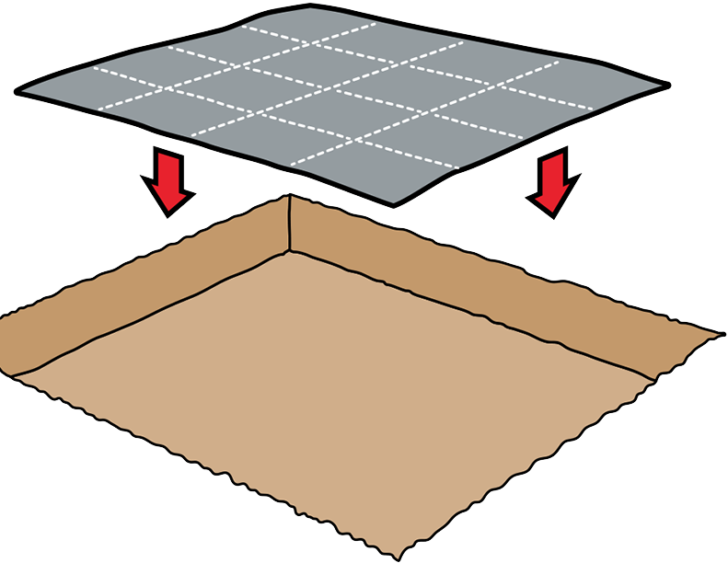
Now we will directly prepare the chosen site. The site gets rid of the upper soil layer. It is necessary to remove about 30 cm. It is desirable to make the walls of the resulting recess as even as possible.Whatever type of sandbox you build, you should definitely organize a drainage system in them. This will help to avoid the accumulation of moisture in the sand after heavy rains.
How to do it? In the center of the site, an additional recess is dug with a diameter of 40 cm and a depth of up to 60 cm. Crushed stone or pebbles are poured there. In order to improve drainage in a sandbox created by one's own hands for a summer residence, it is necessary to give its bottom a slight slope tending to the center. If you do everything right, you can be sure that the place for games will never turn into a swamp.
Sandbox drainage device
As we have already said, the sandbox can have a bottom or be assembled without it. To make the base, you will need a plywood sheet, a piece of durable film, paving slabs, or any material of a similar quality that is at hand. To maintain the idea of high-quality drainage of the structure, holes are made in the base. Its laying is carried out on a sand and gravel pillow, up to 5 cm thick.
To assemble the body of the sandbox made of wood, you will need:
- Four bars of a five-centimeter section and half a meter in length.
- Planed boards thirty centimeters wide.
How long to take the board is determined by the parameters indicated in the sandbox drawing. Its size should correspond to the length of the side. By standards, this figure cannot be less than 175 cm. The sandbox with dimensions of 2.5 x 2.5 m is considered the most comfortable for a child to play. All wooden parts should be sanded and treated with an antiseptic before assembly. You can take bitumen, drying oil or any of the modern mixtures purchased at the store. If you did not find the boards of the required width, do not be discouraged. Feel free to collect their narrower types for the assembly of the sandbox with your own hands. Although they will have to be nailed in several rows, the aesthetics of the structure will not suffer from this.
Assembling the body
At the end of the preparatory stage, you can proceed to the direct installation of the structure body. First of all, dig in the corners of the bars, deepening them by 20 cm. Boards will be nailed to them, acting as bumpers. It remains to add comfort to the wood sandbox by providing it with seating. To do this, horizontally lying boards are attached to the sides.

Sandbox body assembly
Now we need to paint our craft with water-repellent paint and bring in clean sand.
back to index ↑Sand selection
You will be surprised, but there are many varieties of sand, but not every one of them is suitable for filling in a sandbox for a summer cottage made of wood. You should be interested in sand having a particle size modulus of about 2 mm. Smaller fractions will be poorly molded and more likely to resemble dust. Getting into the baby's eyes, such bulk material will provoke inflammation of the mucous membrane.
Suitable for you: quarry, sea, quartz or river subspecies of sand. The last option is optimal. River sand is distinguished by a reasonable cost with excellent quality, fully consistent with the purpose. When purchasing a sandbox filler, do not forget to ask about product certification. The area of its production should be indicated there and environmental safety confirmed.
river sand for sandbox
There is specialized sand with the addition of clay. It is just designed to fill all kinds of sandboxes for summer cottages. It is a pleasure to play with him, as the material is perfectly molded. In addition, super sand is specially processed, so animals bypass it. The cost of such sand is quite high, and it can be purchased mainly by pre-order.
Colored quartz sand
Before sending the brought sand to the built container, sift it through a construction sieve. Keep large particles and debris out of the children's play area.
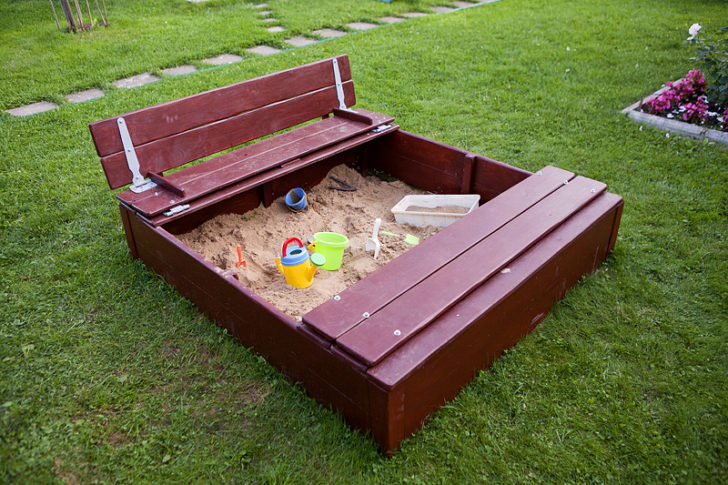
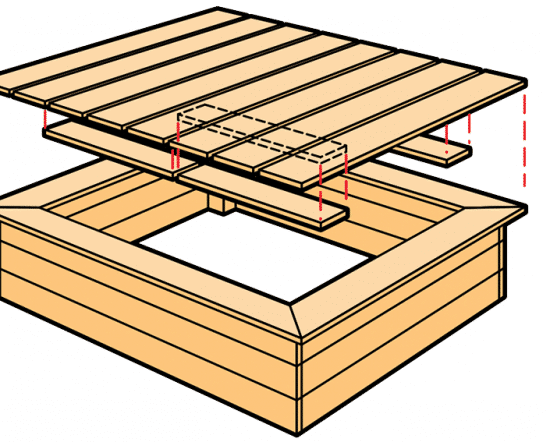
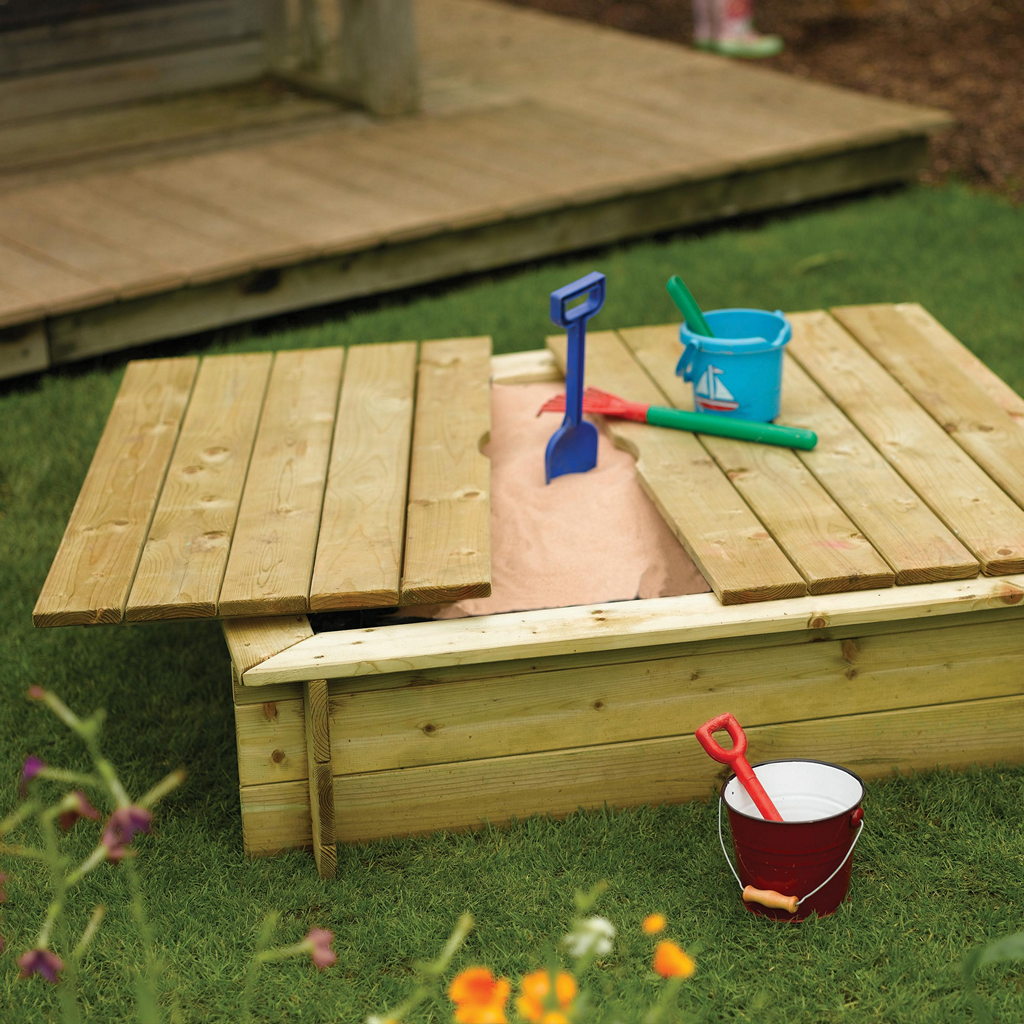
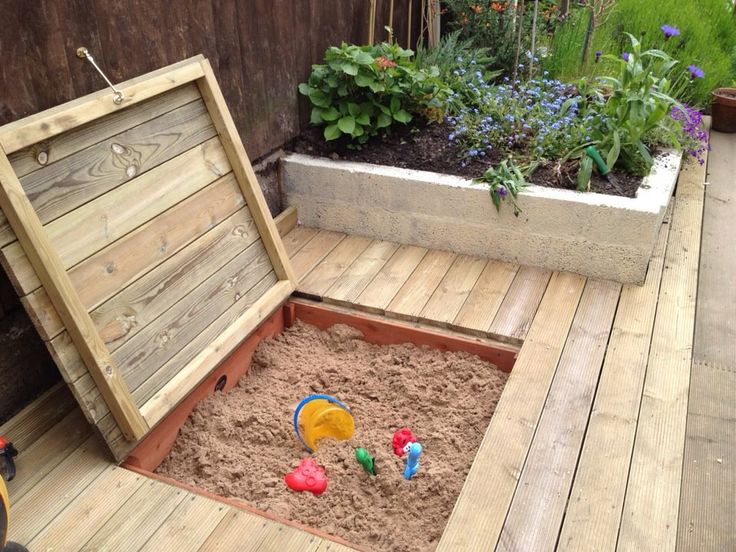
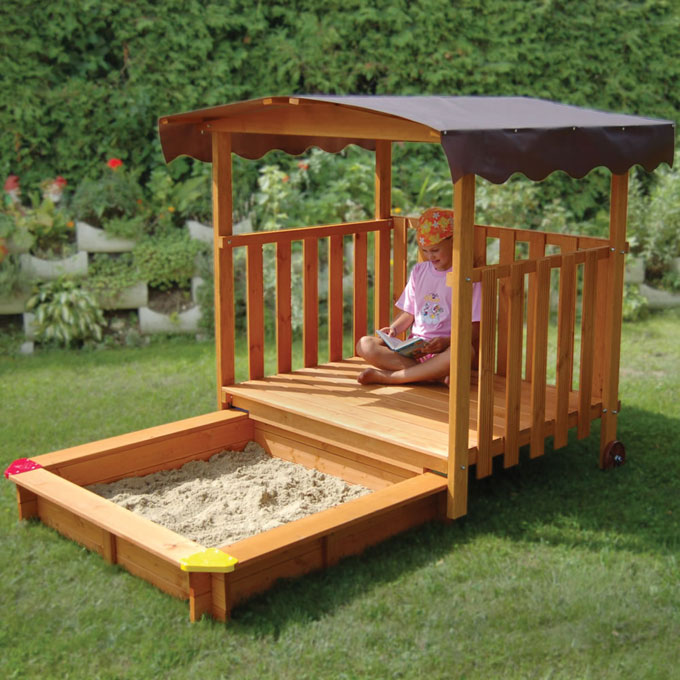
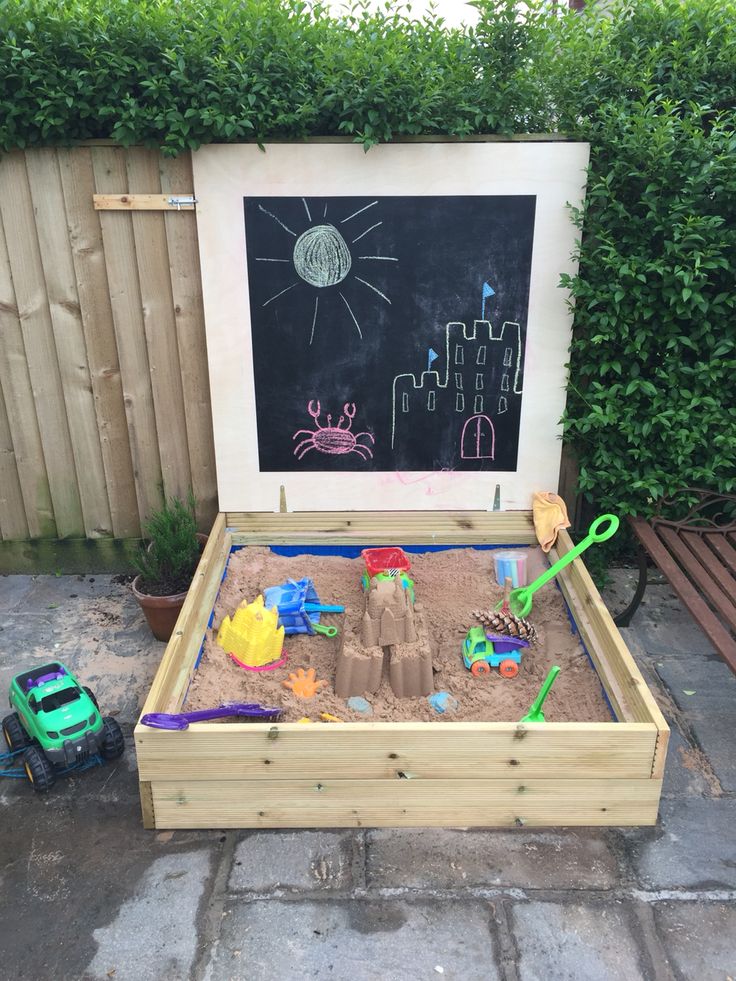
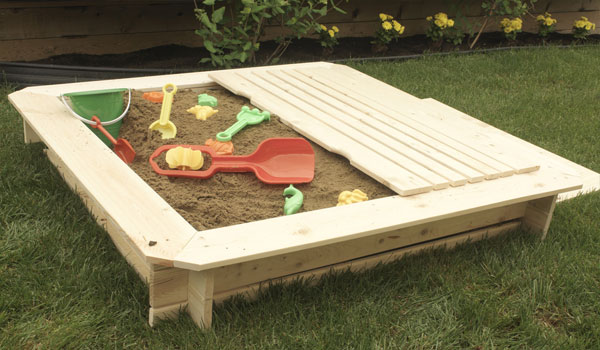
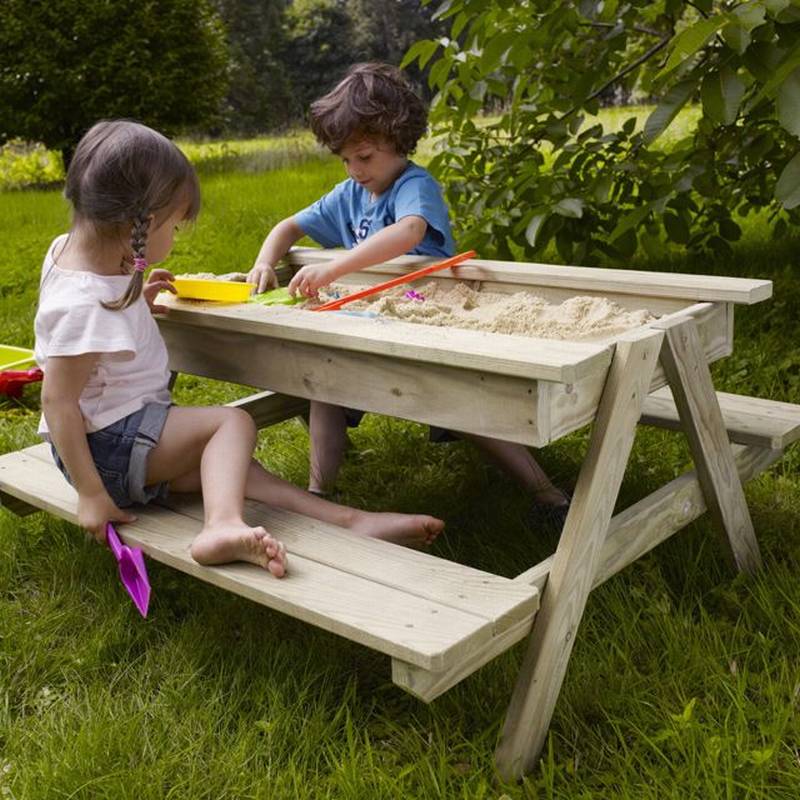
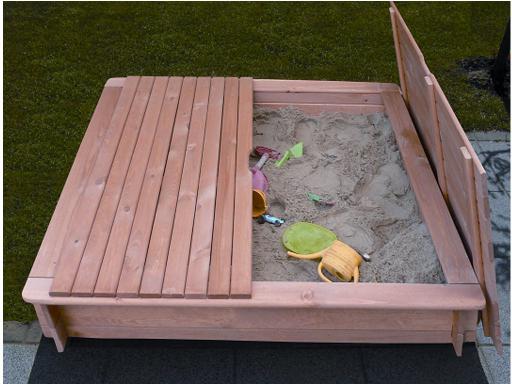
back to index ↑Sandbox with lid
We discussed the simplest option for assembling a sandbox, but from a hygienic point of view it would be very nice to close the place for children's games with a special lid. This would save the sand from unnecessary pollution, visits from neighboring cats, getting wet. The lid can be a piece of tent (polyethylene) stretched over the sandbox and pressed with a load, or something more stationary, such as a wooden shield. The last one is not hard to make. It is enough to connect several boards by stuffing them onto transverse bars. How it should look like, you can see on the drawing of a wooden sandbox for a summer residence.
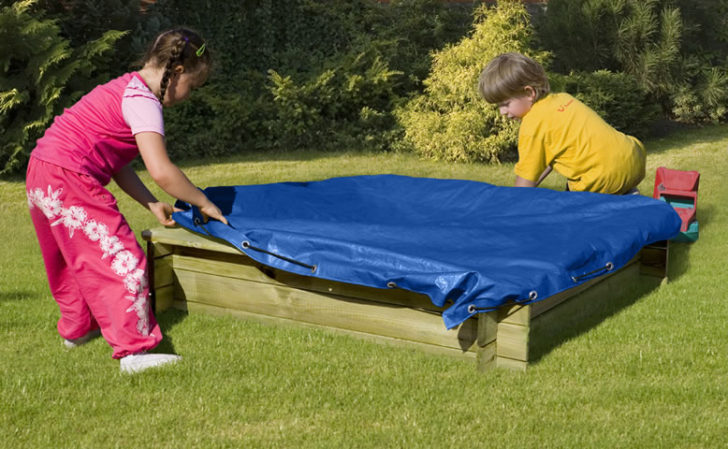
Cover-tent for a sandbox
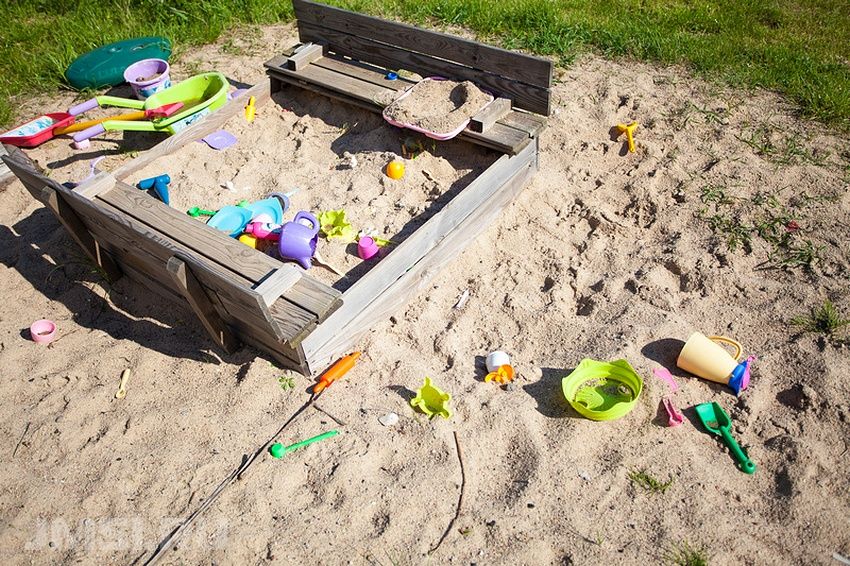
It is permissible to simply lay the shield cover on top of the structure, but it is better to make it hinged, fixing it to the sides with door hinges. You can complicate the task and design a hinged or retractable version of hinged lids. Swing doors should be equipped with support handles, then children will not have problems when opening the sandbox with their own hands.
Shield cover for sandbox
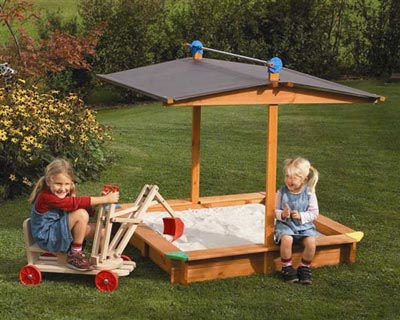
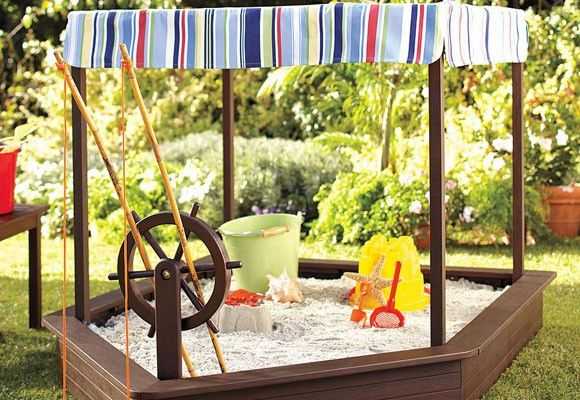
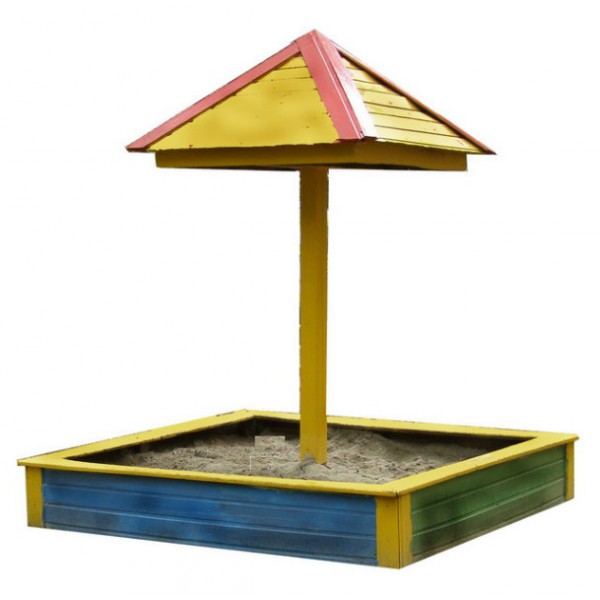
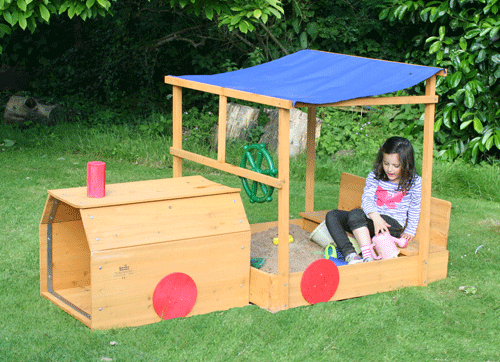
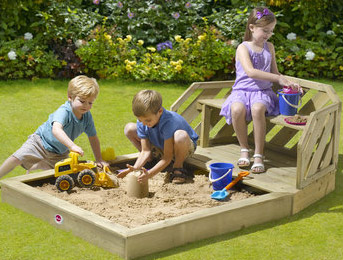
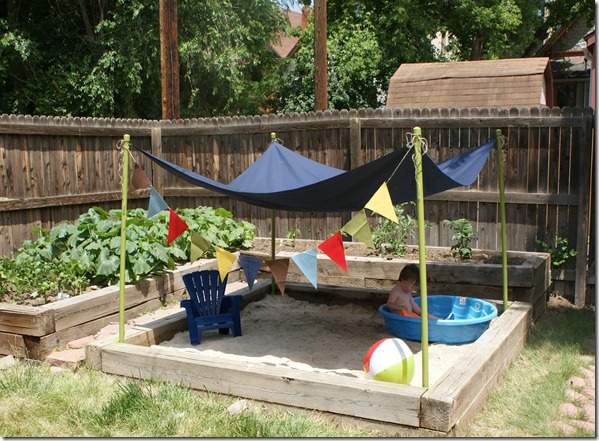
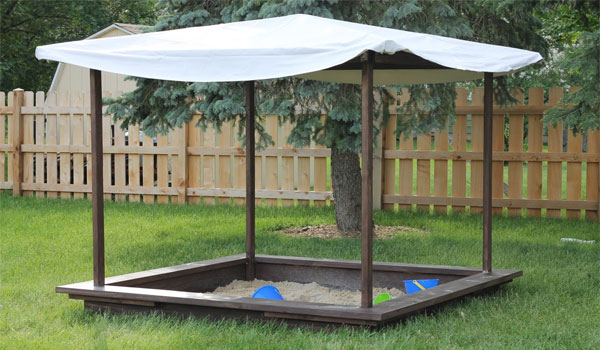
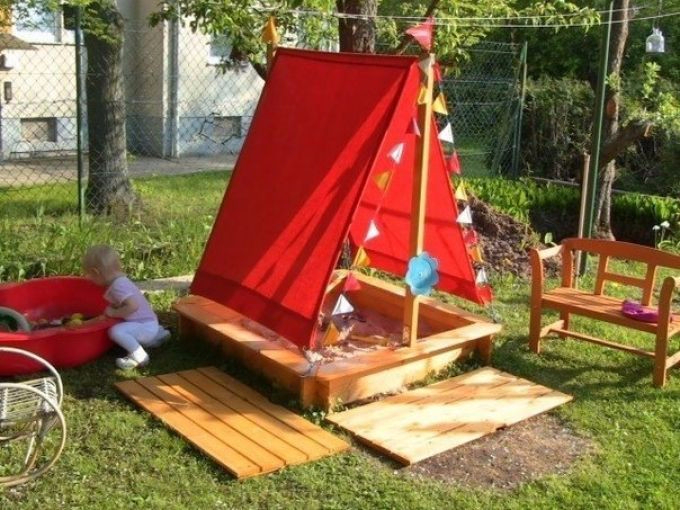
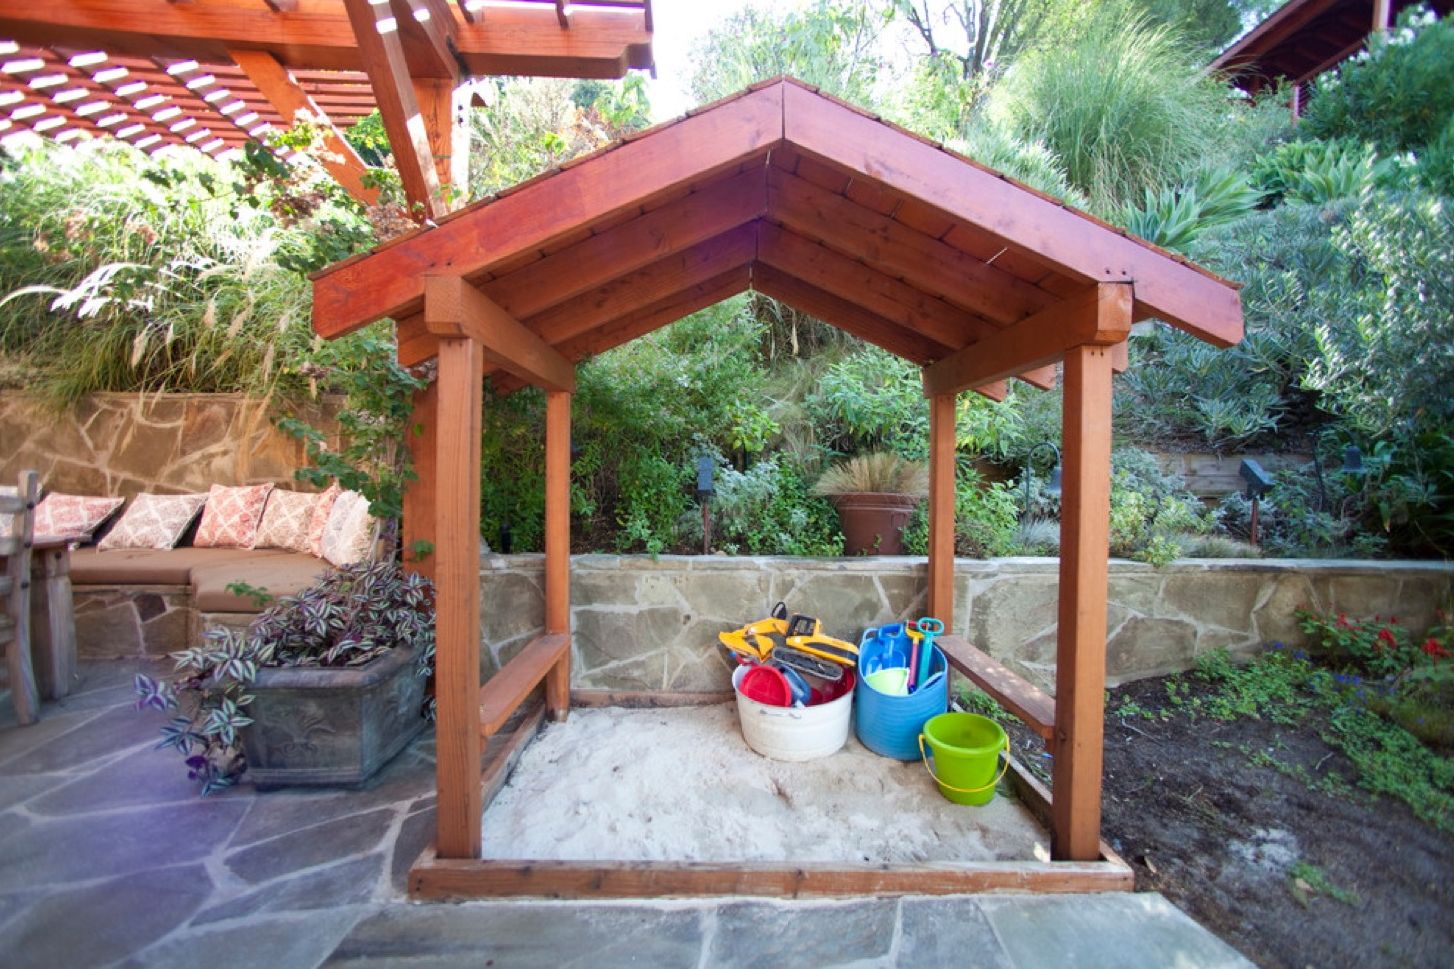
Sandbox with canopy
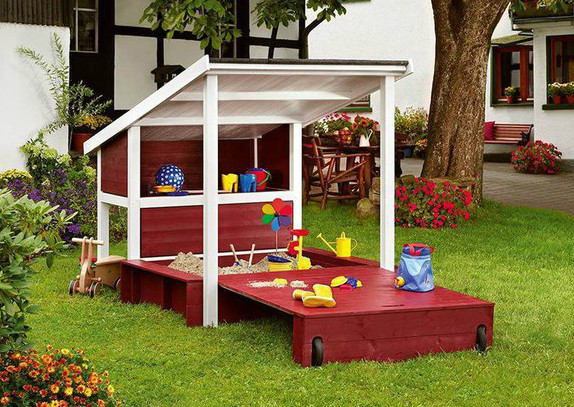
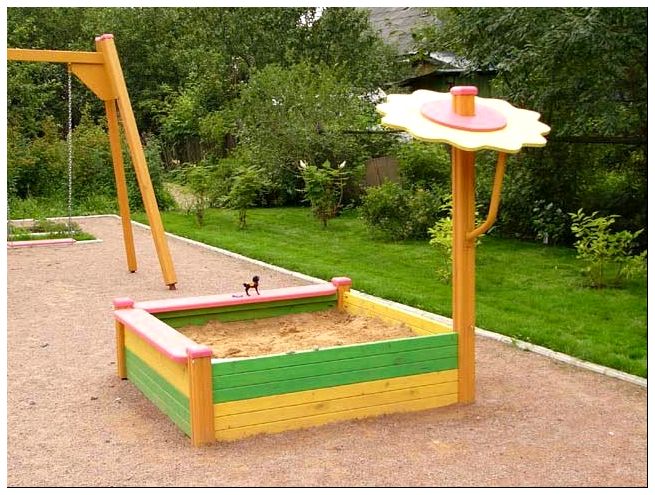
A fungus or a roof of a different design is a multifunctional element in the sandbox. This is a decorative detail, and protection, and comfort. Under a canopy you can wait out the rain. It gives a good shade, so that the baby does not burn in the sun. The fungus is often equipped with an additional table assembled around the support. This expands the playing space and makes it more comfortable. You can sit on such a “skirt” yourself and serve the “lunch” to the dolls.
To construct a fungus, you will need to make a design drawing of the sandbox, purchase boards, plywood and timber with a ten-centimeter section and three meters in length. Don't make your legs shorter. Keep in mind that the fungus must be well fixed, so dig it into the ground at least a meter. Since the sandbox for giving is made of wood, it is also worth picking up boards on the mushroom hat. They are cut and hammered into triangular shields, which will then be assembled into a pyramidal hat. On the outside, the surface is sheathed with sheet plywood and painted with paint. The diameter of the hat should be about 2.5 m. You can make a fungus from fabric or sheet iron, but it will be less practical than a wooden model. In the first case, you will have to forget about protection from the rain. In the second - it will be too hot under the hat.
sandbox fungus
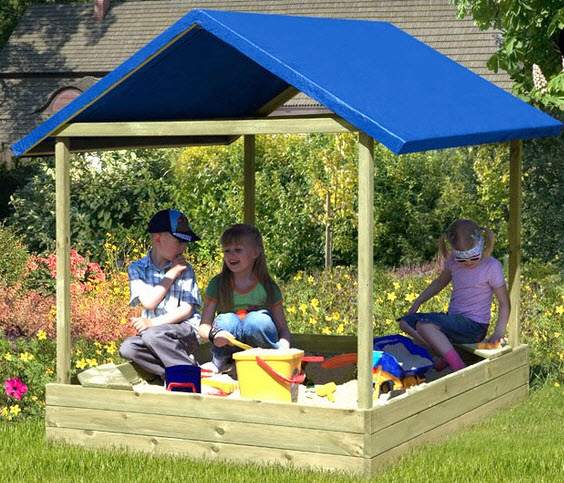
DIY do-it-yourself wooden sandbox roofs are made according to a slightly different principle. For fastening here you will need 4 - 6 poles. Supports are placed around the perimeter and in the corners of the sandbox. The roof, like the fungus, can be made stationary or collapsible and constructed from any material.
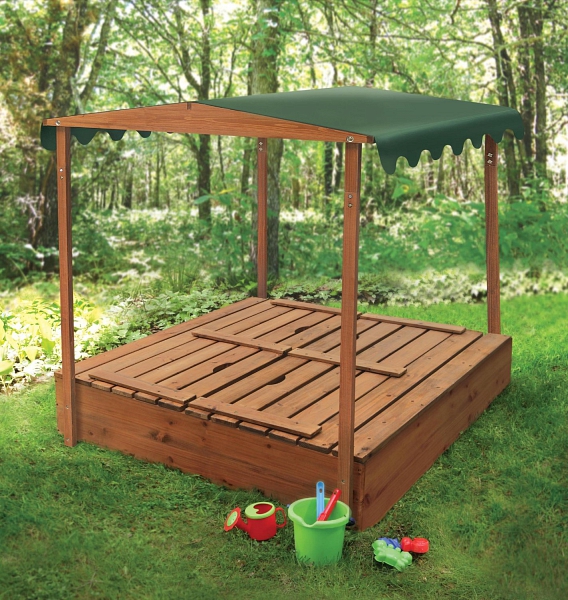
Sandpit with hinged roof
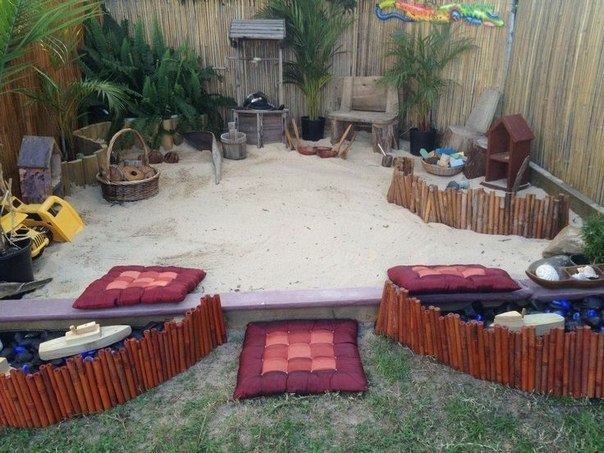
Original Sandbox Design Ideas
In addition to the standard, classic forms of a square and a rectangle, a sandbox in a summer cottage can be given a more original look. Try to make a truck in the back of which to load the sand. Look for a drawing of a sandbox-car on the Internet.
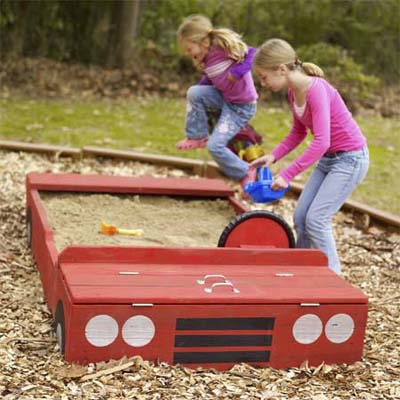
sandbox car
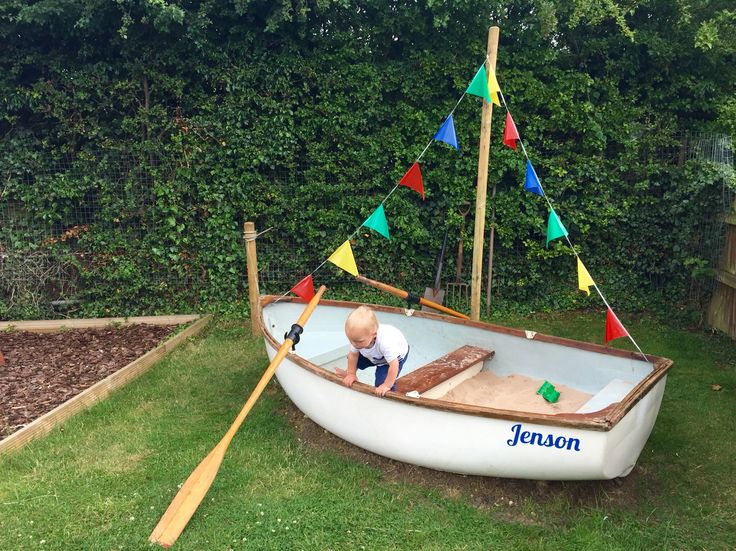
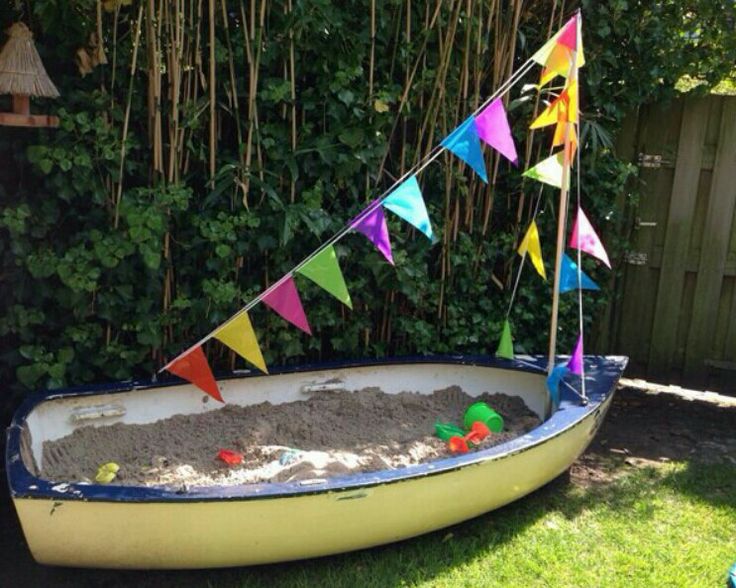
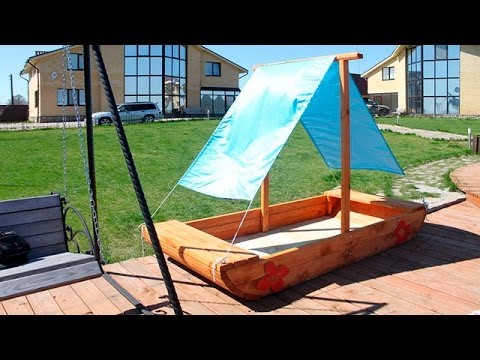
It will be interesting to look at a place for playing with sand in the form of a boat, the sail of which will simultaneously serve as a canopy. It can be organized in a gazebo with benches, in a mini-house.
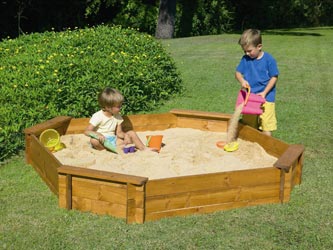
Fantasize. Give the sandbox a polygonal shape or assemble it from several small hexagons like a honeycomb.
The most difficult to implement is the round model of the transformer sandbox. It is assembled from several compartments that open when the lid is turned.
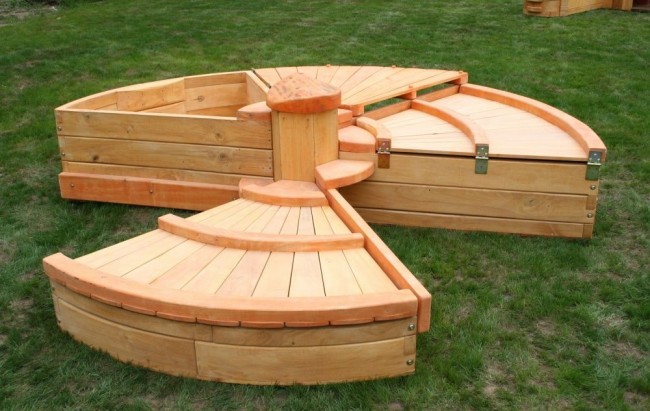
Round sandbox-transformer
Alternative sandboxes
In addition to the so-called production materials, a sandbox for giving with your own hands can also be assembled from improvised means.
Worn out ramps
There is probably no easier way to organize a sandbox with your own hands. The main thing is to find a ramp from a large truck or tractor and half the work will be done. It remains to lay it in a certain place and fill it with sand.For greater aesthetics of the composition, paint a nondescript slope with paints.
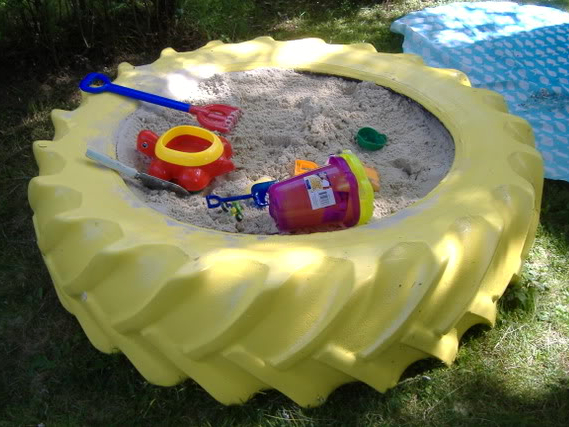
Sandbox from a stingray
You can form a sandbox frame from the standard diameter of car wheels by simply digging them into the ground along a given path. The holes in the tires must first be covered with plywood or, after digging in, be laid with a stone. It will turn out unusually and reliably. There is another interpretation of the use of car tires. They are cut, removing the third part, and laid out in the shape of a flower. This is a great opportunity to make a spacious and aesthetic sandbox.
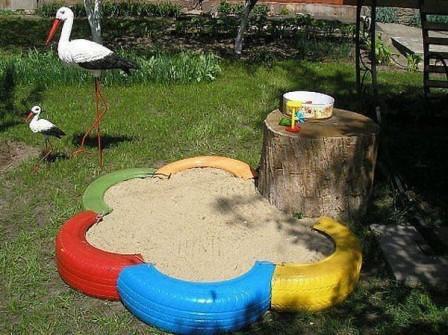
Tire sandbox in the shape of a flower
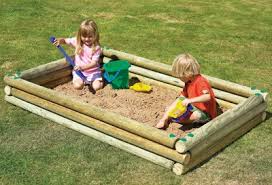
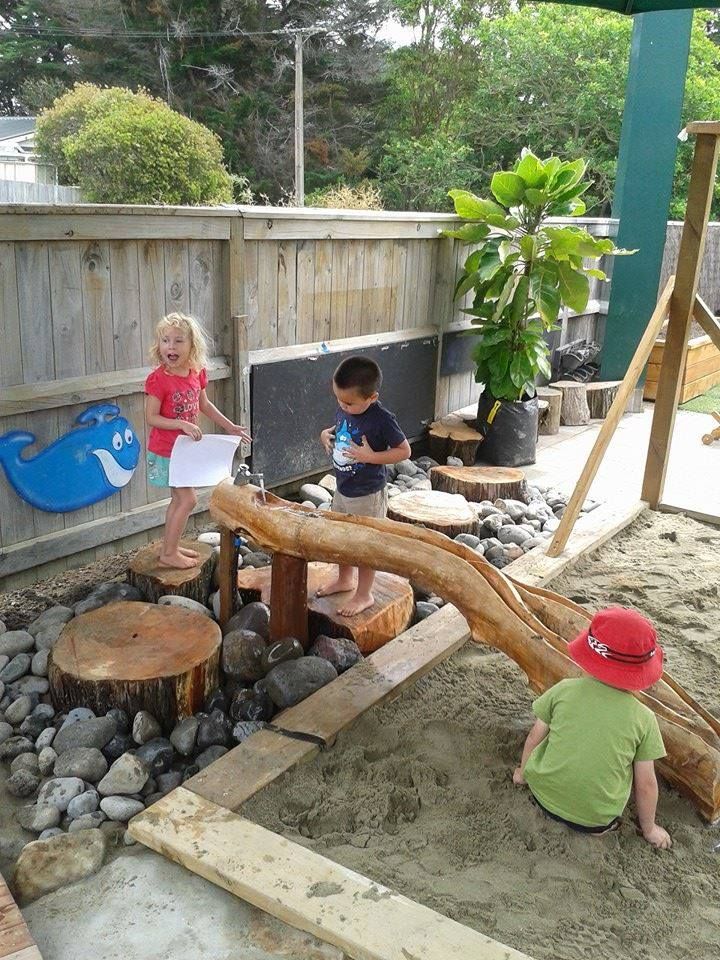
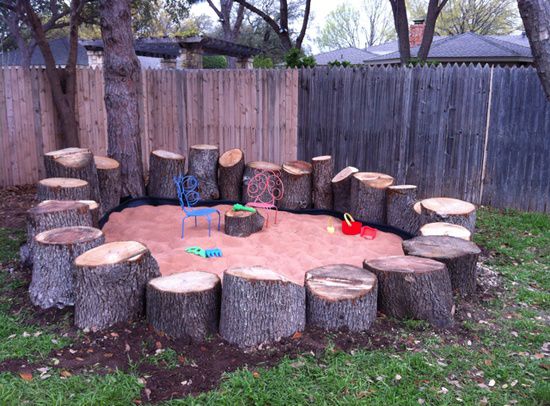
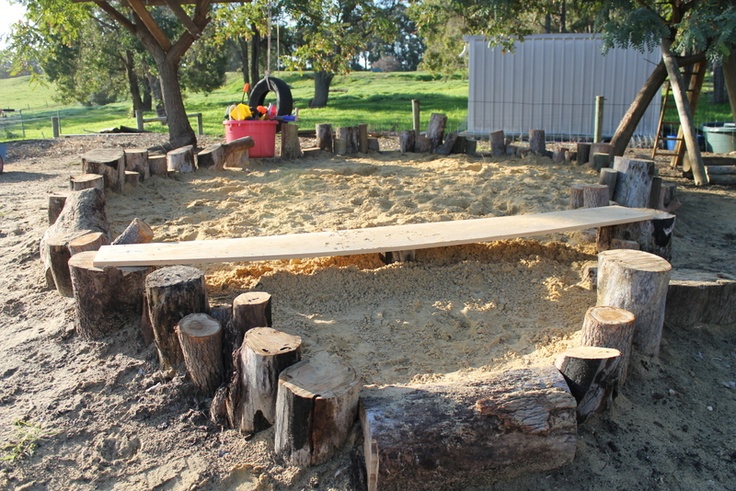
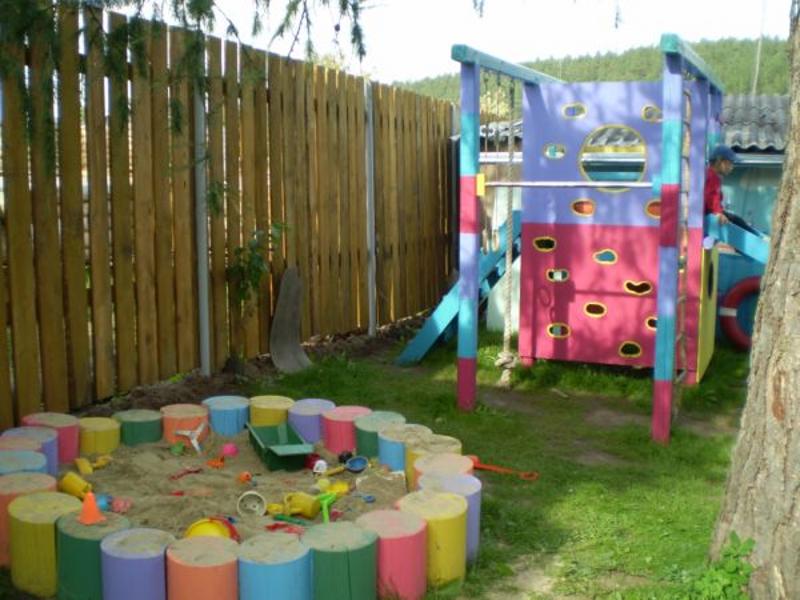
Stumps and logs
Also an easy option. From the remains of trees, you can also design a couple of types of sandboxes. In the first version, stumps are dug in at the corners. Quite voluminous logs are laid out between them. Naturally, it is desirable to pre-process everything by thoroughly grinding the surfaces.
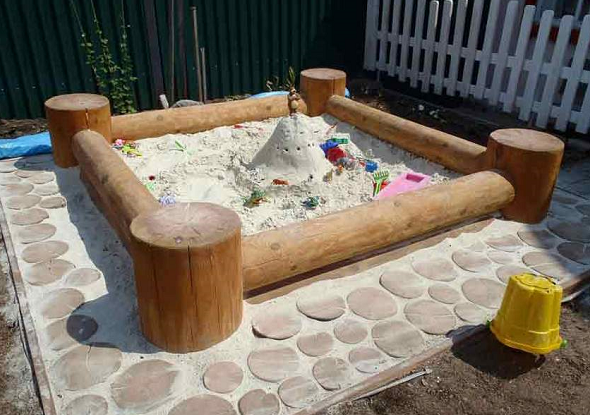
Sandbox of stumps and logs
In the second version, the walls of the sandbox made of wood are assembled from sawn logs. This will require blanks 40-50 cm long. Material can be picked up in the forest, if any, near the cottage. The bark is removed from the tree trunks, and the exposed surface is polished with sandpaper. After that, the log is sawn and impregnated with a protective compound. That part of the decks that will be dug into the ground should be additionally covered, for example, with used engine oil. Further, the prepared logs are dug in along the intended perimeter and fastened with powerful nails.
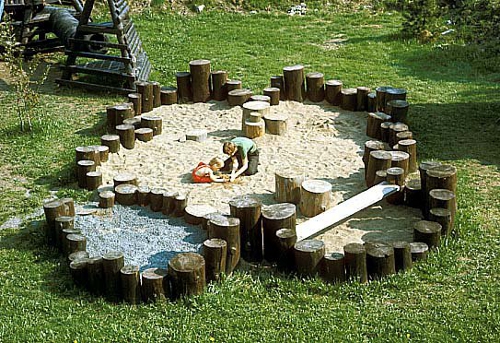
Stump Sandbox
Layered solution
An old boat will help to realize the idea of creating a sandbox with your own hands without special talents in full. All you need to do with it is clean it up and style it like a pirate ship, complementing it with comfortable seats. Sand, at the same time, must be poured both around the boat and inside it. To prevent it from spreading throughout the site, protect the playing area with plastic bottles or large smooth stones. Try to imitate the coast from them.
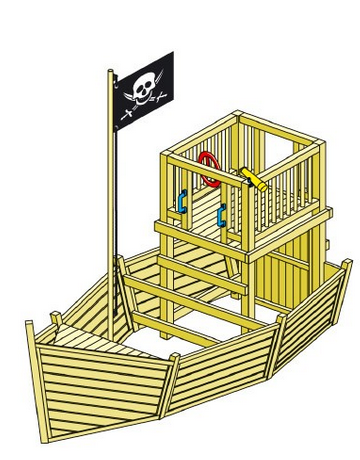
Schematic of the sandbox-ship
Sandbox decoration
This is the most exciting stage in creating a sandbox for a summer cottage with your own hands. Here you can let your imagination run wild and demonstrate your creative abilities. What most often decorate its sides:
1. Prints of children's hands. Do not rush to dip children's pens in paint, although kids will definitely like the idea of decorating a sandbox with their own hands. But still, drawings of this kind are applied on a stencil.
2. Funny little men in colorful outfits.
3. Cheerful emoticons.
4. The faces of cute animals.
5. Letters.
6. Numbers.
7. Geometric shapes.
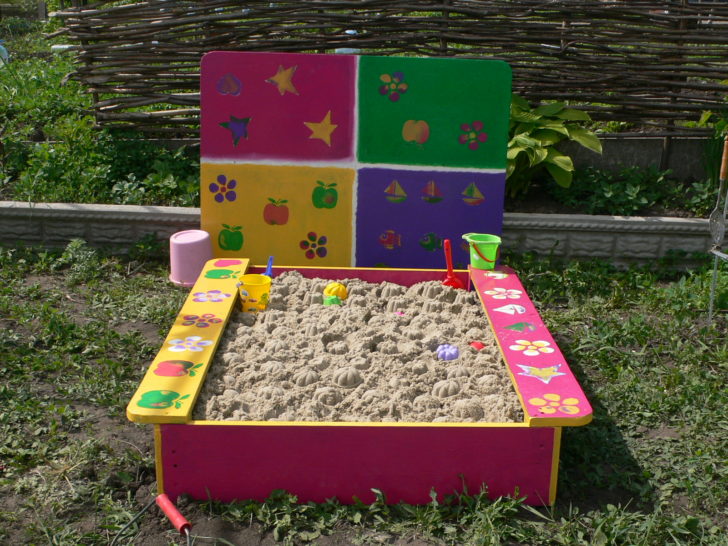
Decorating a children's sandbox with drawings
When working on the decor of the play corner, do not forget that it should remain part of the landscape design, so think over the color schemes, first reproducing them on the sandbox drawing.
back to index ↑Care of the children's play area
The sandbox, like any other place for children's games, requires attention and regular maintenance. First of all, you need to monitor the cleanliness of the sand and clean it in a timely manner from debris, branches, glass and pebbles dragged during the game, and broken toys.
Next, you need to control the amount of sand in the sandbox. Children often spill it outside the play area, so get ready to replenish it in a timely manner.
At least once a year (usually done at the beginning of the summer season), the sand changes completely. At the same time, cosmetic repairs or planned painting are carried out, if the types of sandboxes require it.
Do not forget to close the sandbox at night with a protective lid or film. The child should play in clean sand not contaminated with animal feces.
back to index ↑Conclusion
Regardless of whether a wooden sandbox appears in your dacha or it will be a construction from improvised means, the play area will certainly bring real joy to the child and contribute to strengthening health, as well as developing thinking. Perhaps, inspired by the work on the sandbox with your own hands, you will not stop at one object and continue to equip the play area with swings, houses, slides and other interesting attractions, so try your hand at small things. Who knows, maybe grandiose projects are waiting for you.
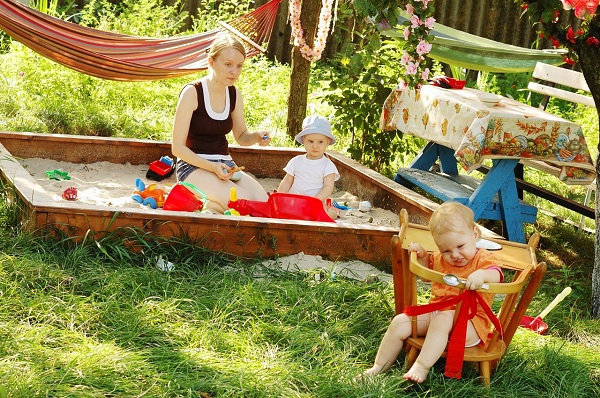
back to index ↑Photo gallery - a sandbox for a summer residence


Video