While ennobling a suburban area, it is impossible to do without such a wonderful material as paving slabs.
- Types of paving slabs
- Advantages and disadvantages of the material
- Laying tiles: preparation for the process
- Substrates for paving slabs
- Stages of laying paving slabs with your own hands
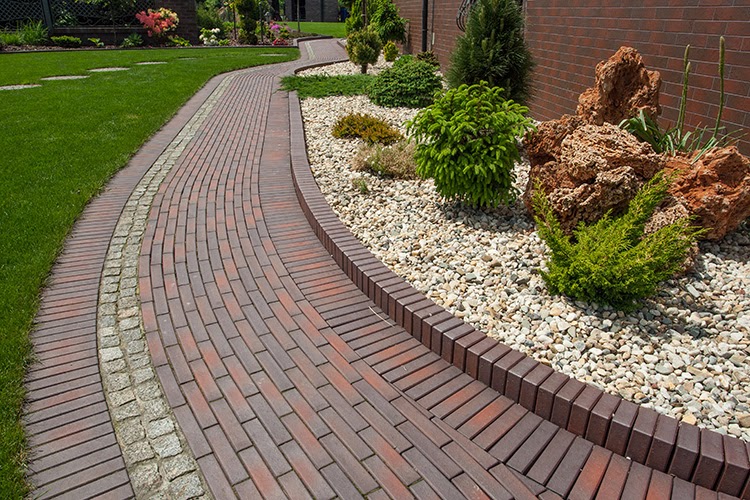
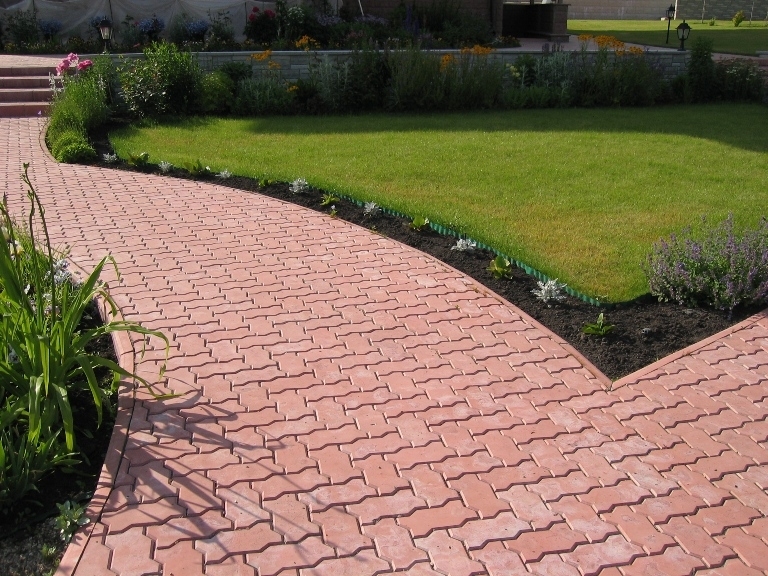
- Paving slabs in the decor of the courtyard of a country house
- Care of paving slabs
- Conclusion
- Photo gallery - paving slabs
- Video
This is a great solution, proven over the years. Coatings from it are strong, beautiful and durable. A variety of assortment allows you to choose the right look that is in harmony with the design of the facade of the house or fits perfectly into the landscape. Yes, and the laying of paving slabs can be done without the involvement of specialists. It is quite possible to deal with this issue on your own, especially if you know which side to approach it from.
back to index ↑Types of paving slabs
Paving slabs are an easy-to-install and easy-to-maintain material used to cover areas, approaches to houses, footpaths. Tiles came into our everyday life in the 70s and, despite not the highest strength, immediately became a popular material for ennobling not only city streets, but also suburban areas. Over time, the material has evolved, and today, thanks to new production technologies, it has become noticeably more practical and durable in operation, which stimulated an increase in its use.

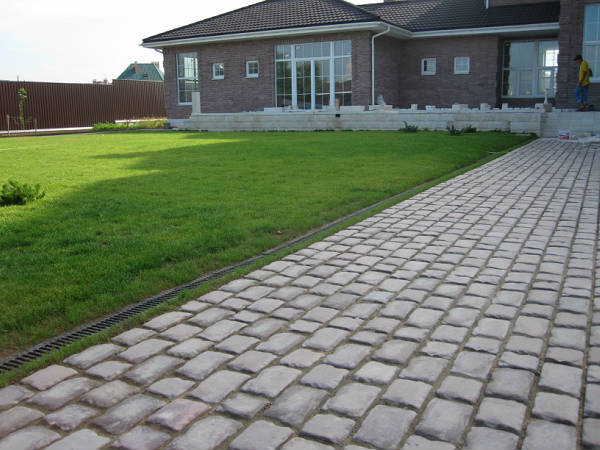
Paving slabs are ideal for ennoblement of a suburban area
Tiling is done in three main ways:
1. Vibrocasting.
2. Vibrocompression.
3. Hyperpressing.
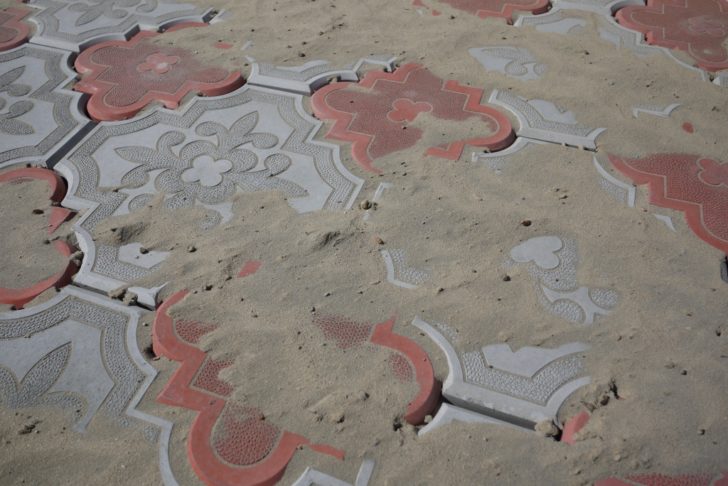
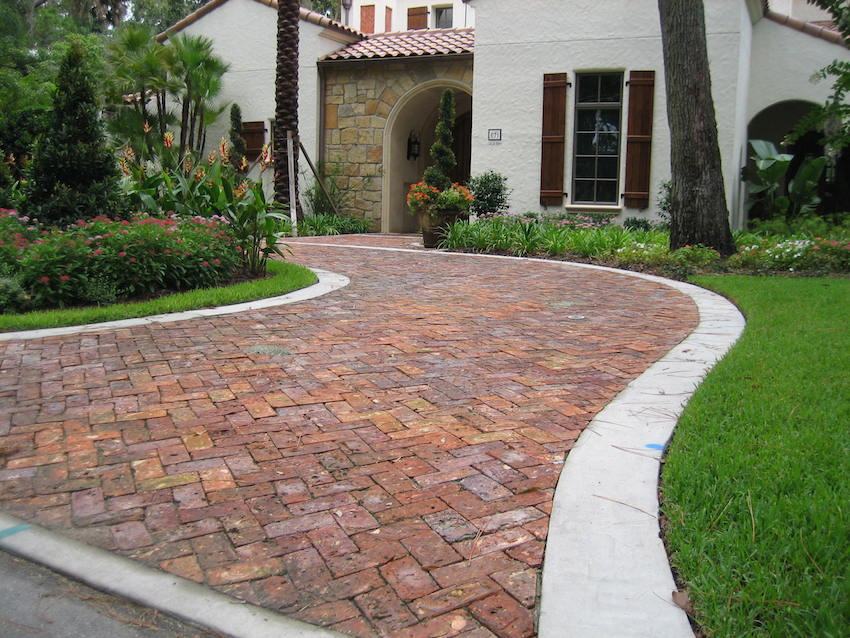
Vibrocast tiles differ from the rest in that plastic compositions are used in its production technology. It is highly decorative. Such paving slabs are perceived as a wooden or stone covering. The main area of use is individual construction: garden paths and adjoining space are paved with material.
Vibrocast paving slabs
The vibropressed tile has a rough surface and strict geometry. It can be found in covering squares, roads, bridges, public places. Do-it-yourself laying of tiles produced using this technology is rarely done. This is a job for experts.
Vibropressed paving slabs
Hyper-pressed tiles are produced using a similar technology. It, as well as vibropressed, is durable and ready to withstand serious loads.
Hyper-pressed paving slabs can withstand heavy loads
Tiles can also be classified according to the material of manufacture. For its production use:
- concrete;
- clay;
- a natural stone.
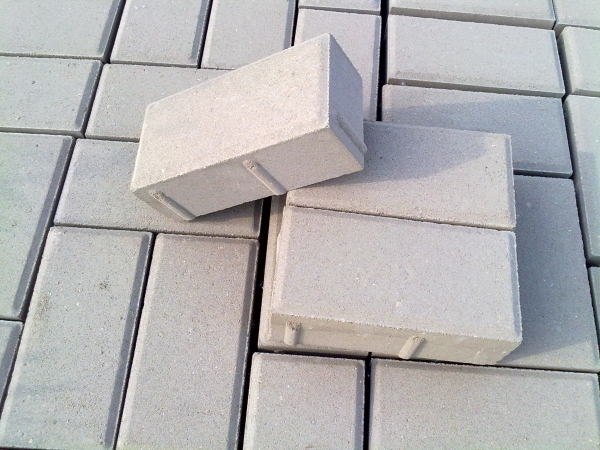
You probably know what a concrete tile looks like - it is with it that the streets are paved.
Concrete paving slabs
Clay paving slabs are somewhat similar to roof tiles: they are also highly decorative. Often, manufacturers add granite chips or other binders to it, which increase the strength of the coating.In addition to the variety of colors, the material pleases with a large selection of the shape of the elements.
Clay tiles are distinguished by a variety of colors
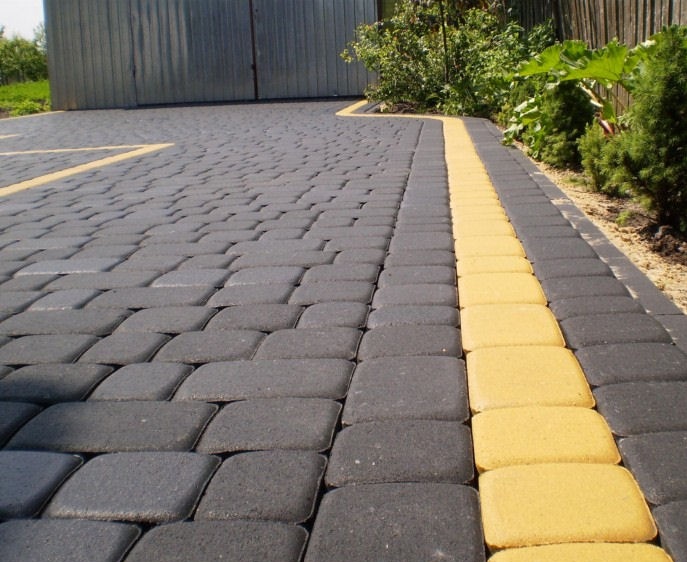
If it is planned to lay paving slabs with your own hands, then it would be useful to know the gradation of the material in thickness: this will help to avoid unnecessary expenses. It is quite possible to pave the paths in the garden with 20 mm tiles. In principle, it can be used wherever serious traffic is not expected, such as the passage of cars. It is better to lay out the territory of the yard with elements 40 or 45 mm thick. The thickest tile - 60 mm - is the prerogative of busy roads.
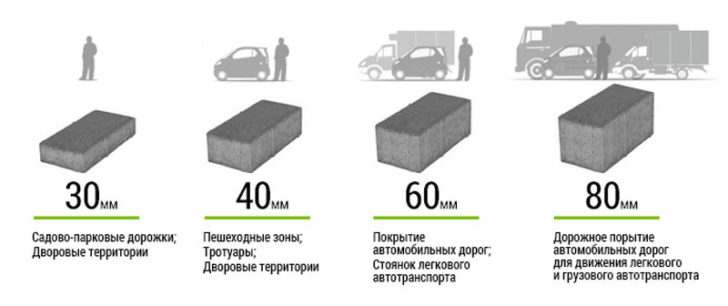
The use of paving slabs with different thicknesses
Advantages and disadvantages of the material
The advantages of paving slabs include the following properties:
1. Resistance to temperature fluctuations.
This makes it possible to use it in the landscape design of territories located in different climatic zones.
2. UV resistant.
A paved surface will not melt in the sun like an asphalt pavement.
3. Environmental friendliness.
Natural materials are used in production, so laying tiles does not harm either human health or the environment.

Paving slabs are resistant to temperature fluctuations
Granite tiles, in addition to the above, will not allow groundwater to rise, its pattern will not fade or fade over time. Granite tiles are forever. It can be removed and re-transferred. The only thing that prevents its widespread use is the cost. It is really high, and not everyone is ready to afford such a luxury. However, if you compare the regular costs for the reconstruction of concrete tiles, then you can think about this alternative.
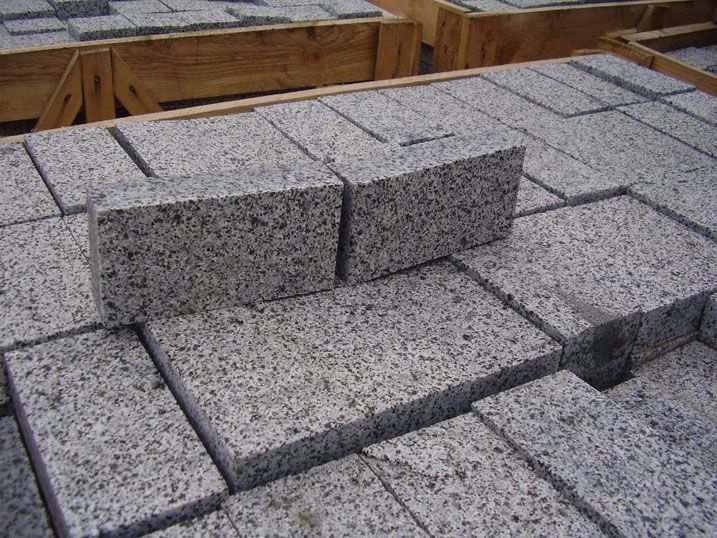
Granite tiles are eternal
Of the shortcomings note:
1. Uneven subsidence of the coating as a result of a violation of technology when laying tiles with your own hands.
2. High injury risk of the coating in the winter season. With the onset of frost, tiled paths can be very slippery.
back to index ↑Laying tiles: preparation for the process
At the preparatory stage, they calculate what area is required to lay out, and get acquainted with the technical and operational characteristics of commercially available samples. A full consultation on a particular type can be provided by consultants of shopping centers. Before placing an order, make sure that the interpretation you choose is strong enough for its assigned mission and can easily withstand the weight of a car or person. If the laying of paving slabs is done by hand, you need to think about choosing the shape of the elements, especially if you have to cut them when fitting them in place. Since it is planned to pave with tiles paths and playgrounds near the house, that is, places for walking, views with a well-roughened surface should be a priority.
Paving slab laying: tools and consumables
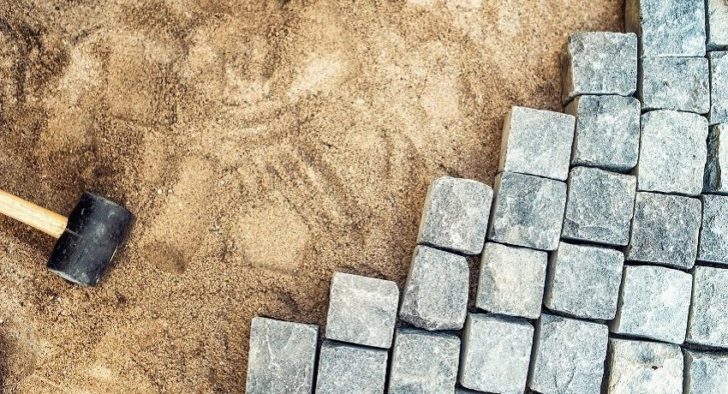
Of the consumables, in addition to the tile itself, it will be necessary to purchase sand in large volumes, cement and curbs. From the tools prepare:
- rubber mallet;
- pegs;
- strong thread;
- Master OK;
- tamper;
- level;
- broom;
- buckets;
- two pieces of an inch steel pipe;
- grinder with a nozzle for working on concrete;
- long rule.

Tools for laying paving slabs
For the convenience of laying tiles with your own hands, you will need work clothes and knee pads.
back to index ↑Substrates for paving slabs
“Whichever way you choose to lay the tiles, prepare the base first”
First of all, we prepare the base and select the composition for the underlying layer. The substrate for tiles can serve as:
- sand cushion;
Laying on a sand cushion
- cement-sand mortar;
Laying on cement-sand mortar
- cement-sand mixture.
Laying on cement-sand mixture
Whichever way you choose to lay the tiles, prepare the base first.In principle, you can put it on the grass, but then the leveling of the zone is done by adding rubble. The finished area is covered with a thick layer of sand and rammed. To facilitate the task, the rammer is replaced by abundant moistening of the sand. It is watered from a hose through a scattering nozzle. Paving slabs are laid out directly on top of wet sand. It is impossible to call such a method thorough, but it is quite acceptable for paving garden paths. There will be no puddles on such paths. Water will easily go through the sand.
Paving slabs are laid on wet sand
The option with a cement-sand pillow from a dry mixture is no less simple to implement, but more practical in practice. The mixture is prepared in a ratio of 1:5, where the first indicator is a portion of cement, and the second is sand. The composition is scattered over the site in an even layer, but watered after laying the tiles.
Tiles on a cement-sand cushion are watered after laying
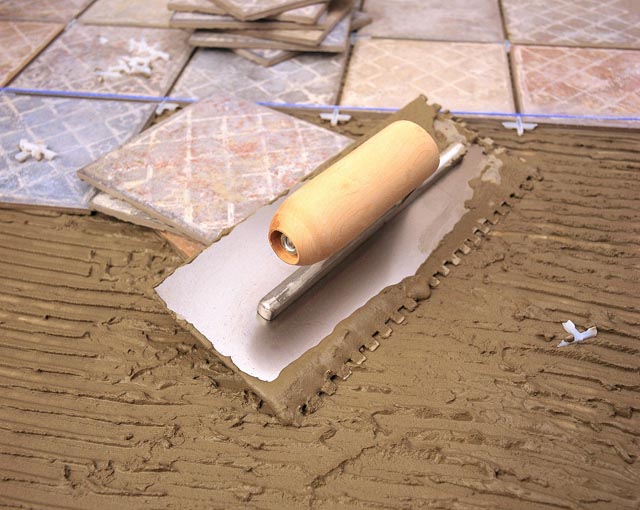
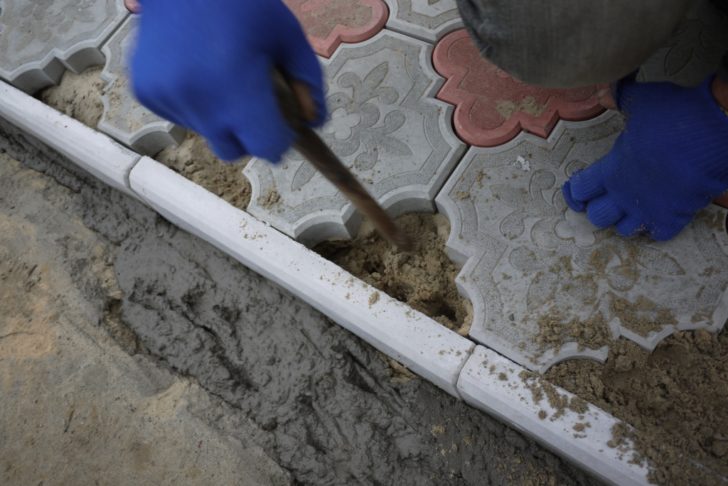
The most practical way is to fix the paving elements with a cement-sand mortar. This is the most time-consuming option, since the composition will require a lot and kneading it manually will be tedious. It is advisable to have a concrete mixer on hand. The share ratio of the constituent components is similar to the previous case. The solution laid out on the ground is leveled with a trowel. The cushion layer should be about 4 cm. The tile is immersed with a rubber mallet.

A practical way of laying on a cement-sand mortar
Stages of laying paving slabs with your own hands
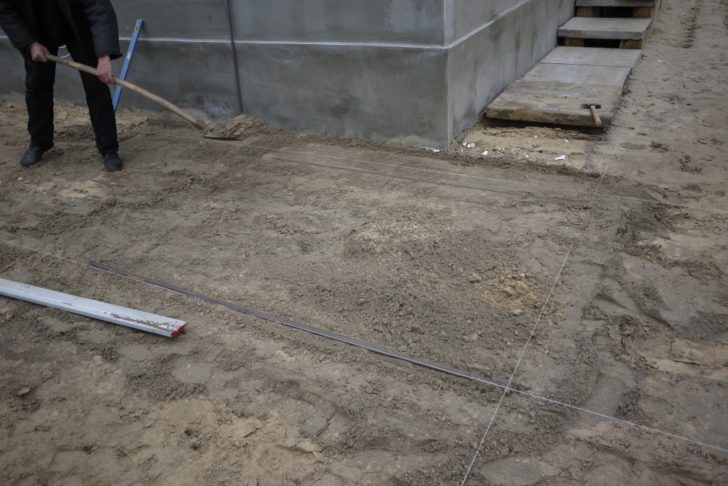
Work begins with the removal of the top soil layer. The site is leveled and provided with a uniform slight slope towards the street. The process is laborious but necessary. By sloping, you will ensure the outflow of rainwater from the yard and extend the life of your paving slabs. If you do everything according to the rules, then the street level will become the zero point. By skipping this stage, you will have to attend to the arrangement of gutters for drains or storm drains.
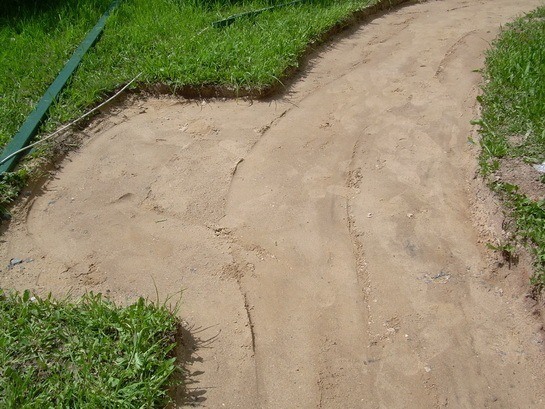
Leveling the area for laying tiles
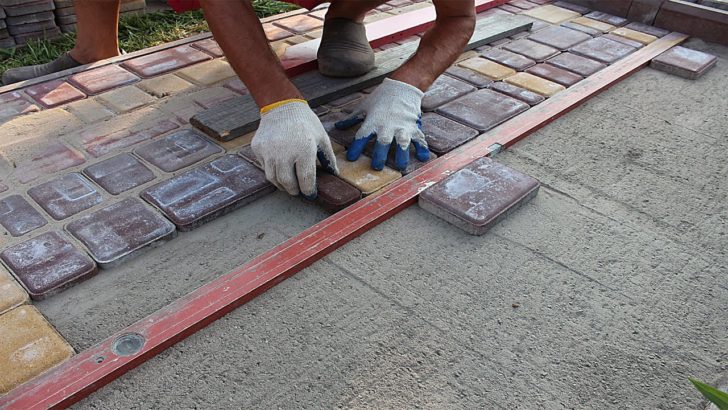
Now you need to divide the work area into sectors. This is done with pegs and thread. The first two are scored on the zero line. The horizontality of the tied thread is checked by a level. The last one, correctly apply along the bottom edge. Next, the pegs are hammered under height control, with the removal of the angle of the tile laying. All pegs are also connected with a strong thread. As a result of efforts, a rectangle or other figure will appear (it all depends on the planned shape of the site) inside which the main work will be carried out. Now you should bring all the curbs to a given height.
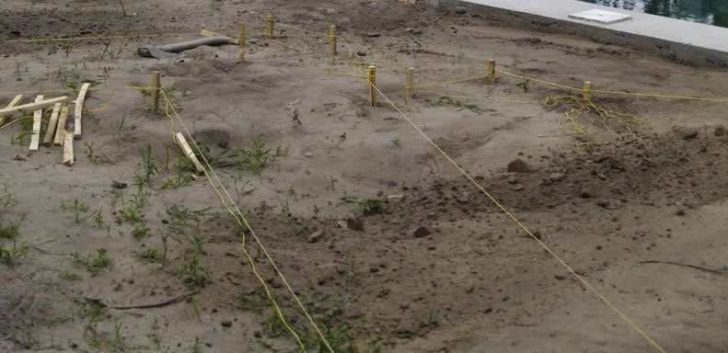
Marking for laying paving slabs
The area prepared for laying paving slabs is leveled with fine gravel, screenings or sand, watered abundantly and compacted. Compaction is carried out with a vibrating plate or other suitable tools.
The site is leveled with small gravel
The next stage is the breakdown of the existing territory into lanes and check the level of the site relative to the markings. Where the thread hangs too low, the excess of the substrate is removed, on the contrary, it is poured into the existing pits. In places where soil is poured, tamping is carried out. The tool can be made independently. A crane leg will do if a handle is welded to it. With a correctly completed task, the thread will be located above the ground at two heights of the laid paving slabs. Special accuracy is not needed here, so it is quite possible to focus on the eye.
The preparation process is over - proceed to laying the tiles. Consider the progress of work when using a cement-sand mixture.
Pipes are laid under two parallel threads that limit the working part. They should be under them with a gap of a centimeter. The finished mixture is applied to the designated area of \u200b\u200bthe site and leveled. Now you need to put a rule on the pipes and stretch it over all surfaces.This way it is easy to determine where the lack of bedding is. The excess will be removed automatically.
Preparing the base for tiles
Next, the tiles are inspected for defects. The surface of some specimens may have bulges (they are called turtles), concavities (cymbals) and disproportionate curvatures (propellers). The whole marriage is better to take aside. Laying paving slabs of this quality is done only as a last resort.
The hardest thing to lay out the first tile row. He will set the tone for the rest of the masonry. Having put the first element, carefully adjust it along the planes and marking axes. Tap it with a rubber mallet and sink it into the pillow to the markings. Do the same with the following details. You need to work “from yourself”, then you will move forward without falling into the substrate, but stepping on an already laid out and fitted surface.
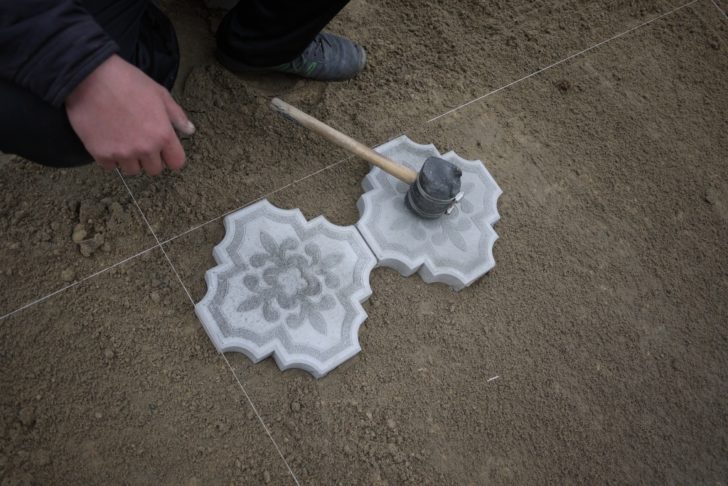
Laying the first row
If, when laying tiles with your own hands, there are obstacles, for example, sewer manholes, then they should be overlaid with whole elements, leaving the fitting for later.
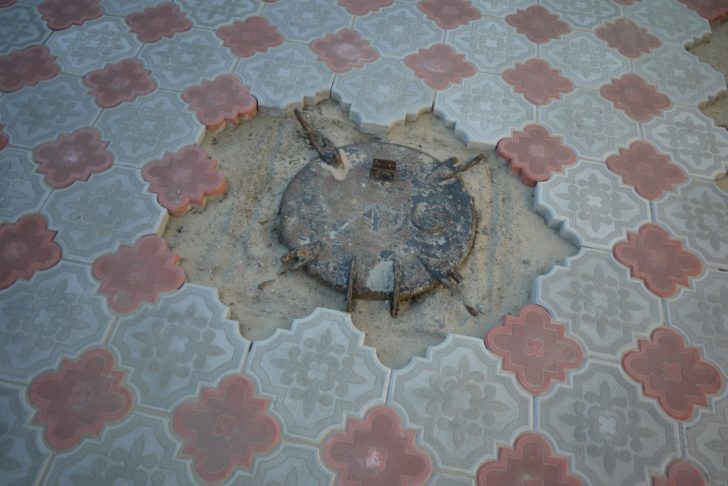
Sewer manhole tiling
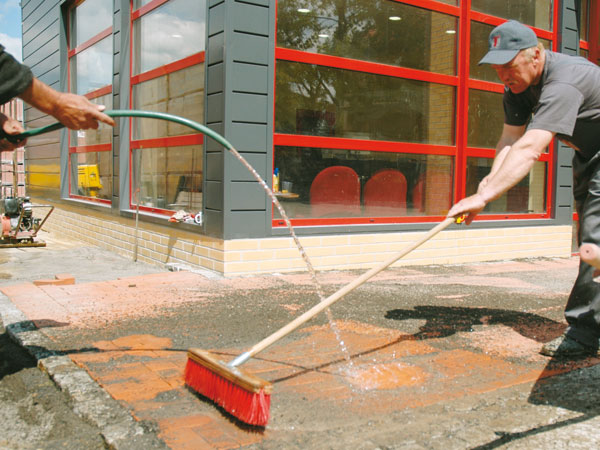
Each working day must end with a sweeping process. This is done using the same cement and sand. After mixing them in a known proportion, generously sprinkle the finished section of paving slabs with the composition and sweep it with a broom. The mixture will fill the gaps formed.
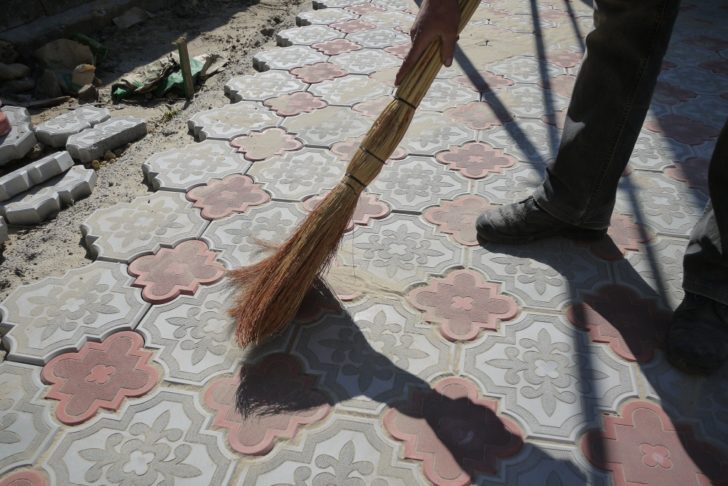
Sweeping paving slabs
Council number 1. When working with colored tiles, after sweeping with a cement-sand composition, a white coating may appear. Often, the reason for this is the quality of the material. Adequate manufacturers usually stipulate this nuance of laying tiles in the recommendations for the product. To play it safe, avoid the use of cement and sweep the surface with clean sand.
Sweep the surface with clean sand
Tip #2. If masonry defects are formed, they are corrected with a solution of cement and sand mixed 1: 2.
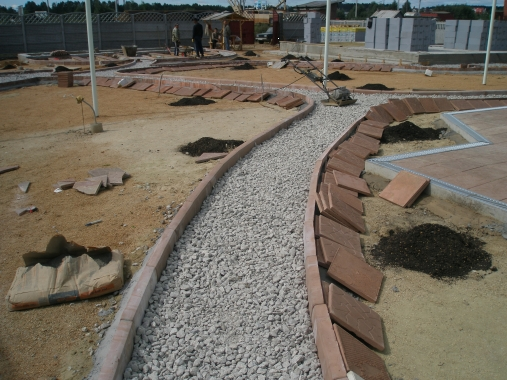
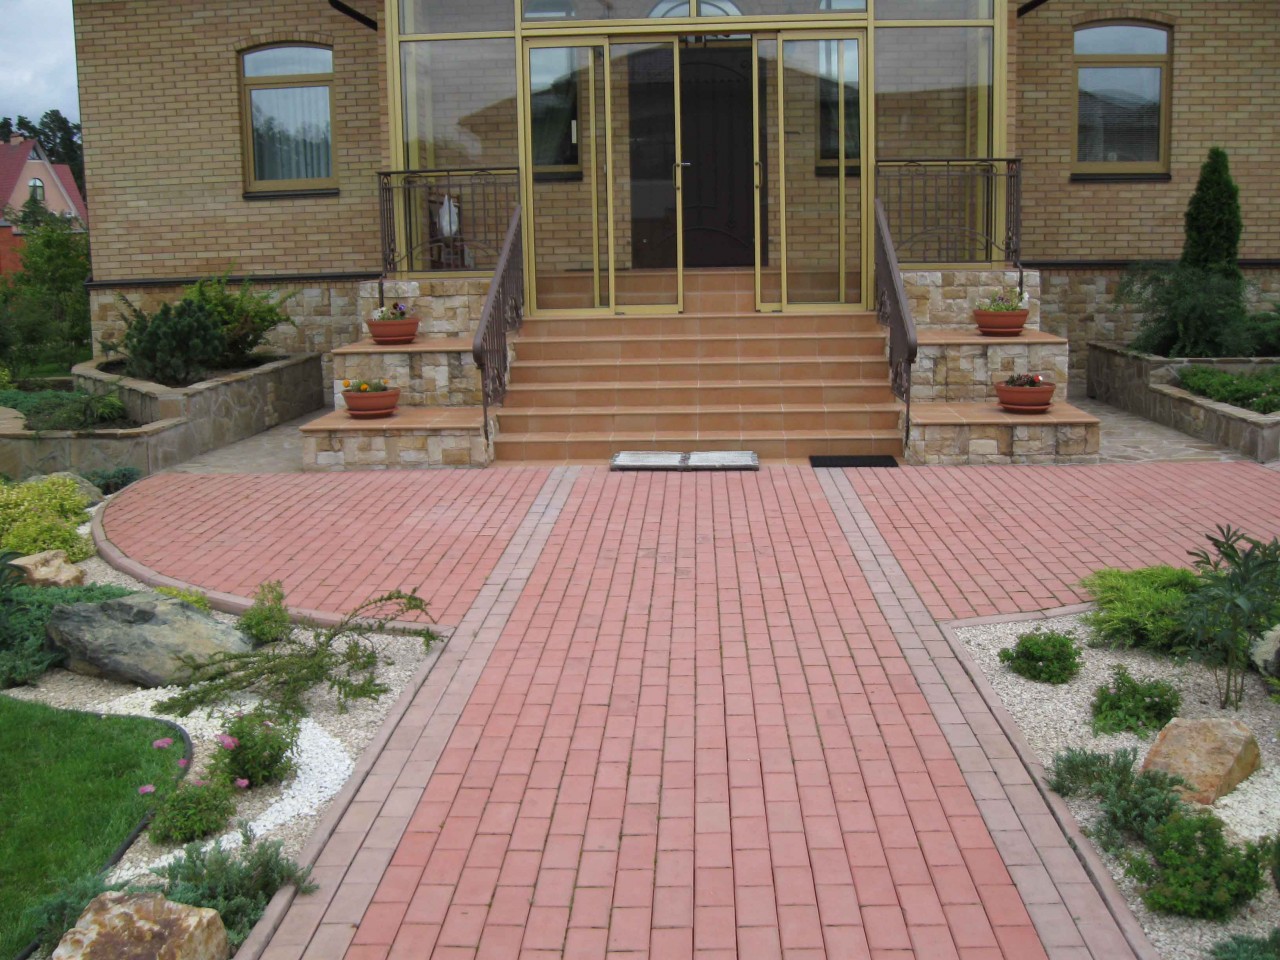
Laying of paving slabs is completed by framing the site with curbs. A small trench is dug along the edge using a trowel or a small spatula. The depth is determined by the height of the enclosing element. After installing the sections, the curbs are fixed with a concentrated concrete solution. Along the fence, areas will certainly form that need to be corrected with trimmed tiles. Before putting the parts in place, it is necessary to re-tamp the soil in the reconstructed places, since during the digging of trenches it could crumble somewhat. If necessary, add the required amount of backing material.
Framing the site with curbs
In places where the platforms adjoin the gate or gate, when laying paving slabs with my own hands, I need to take not dry compositions, but a good bonding solution, because here the load on it will be the most significant.
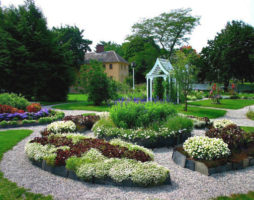
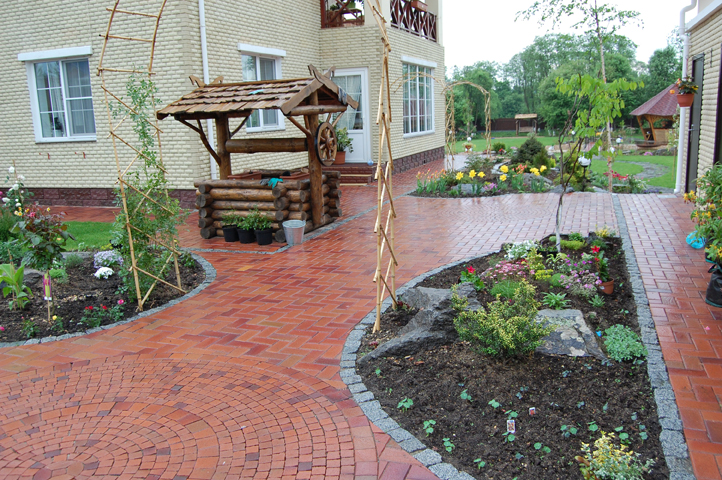
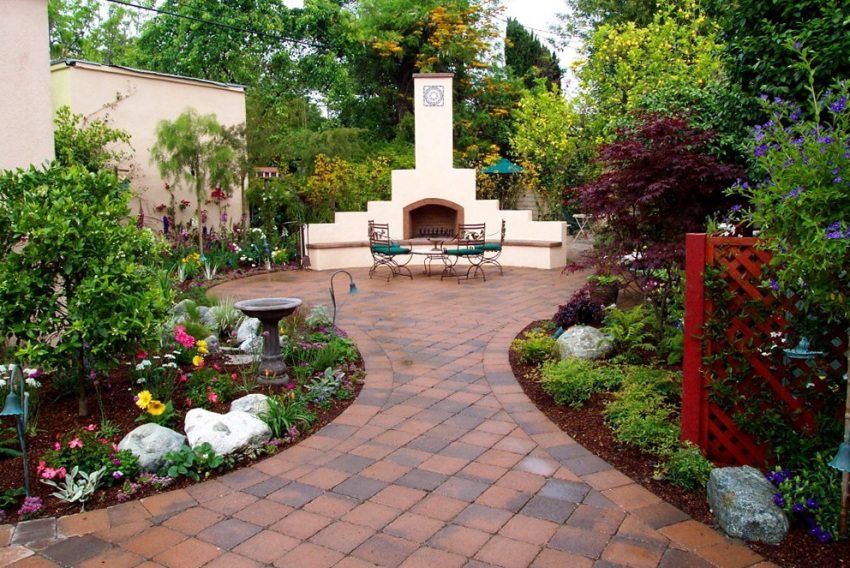
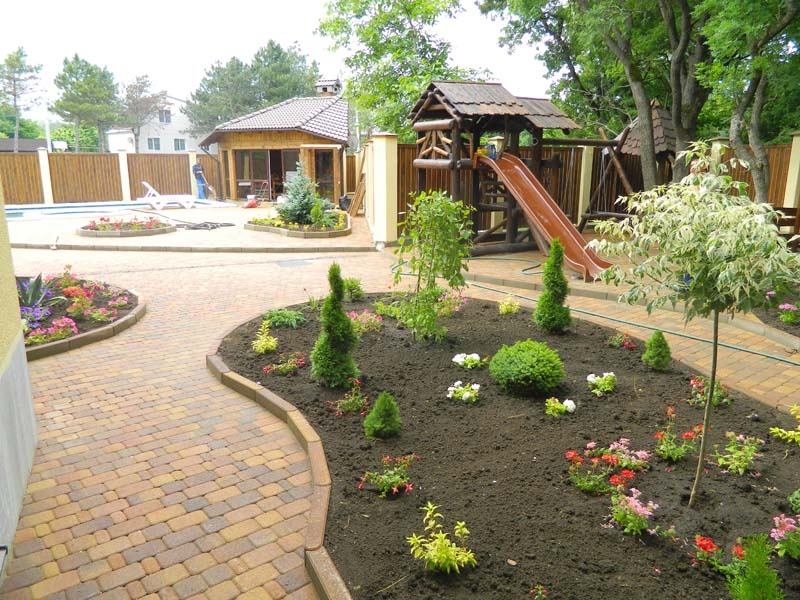
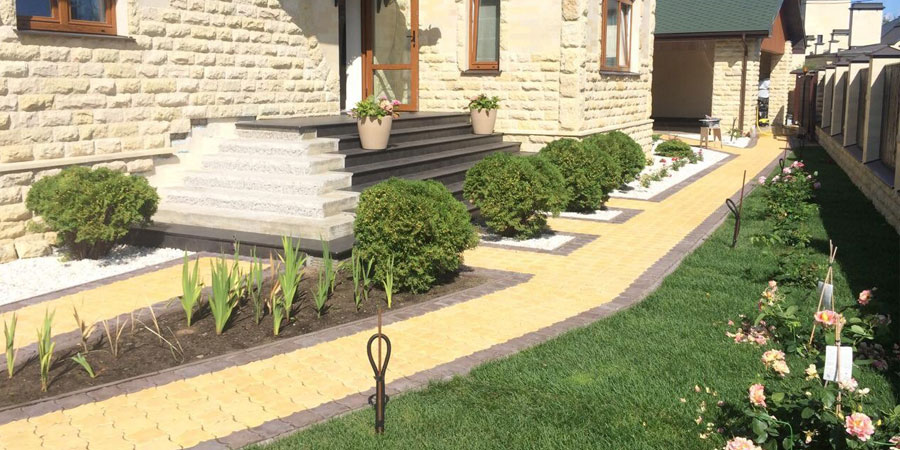
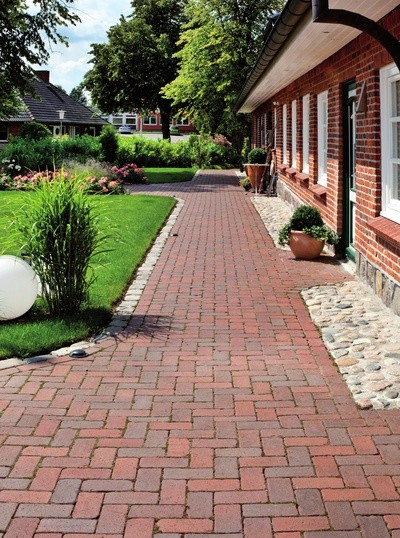
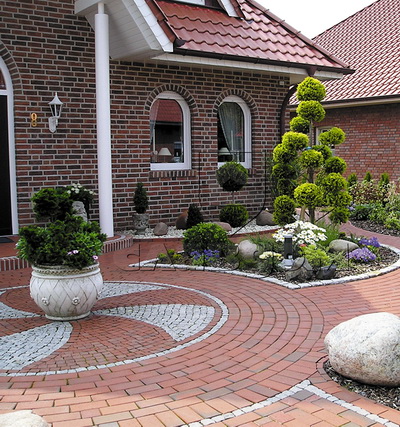
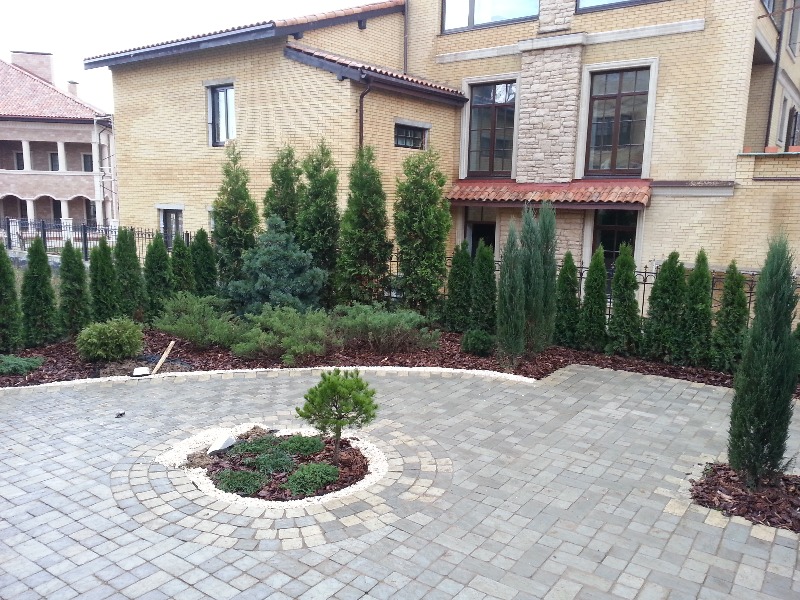
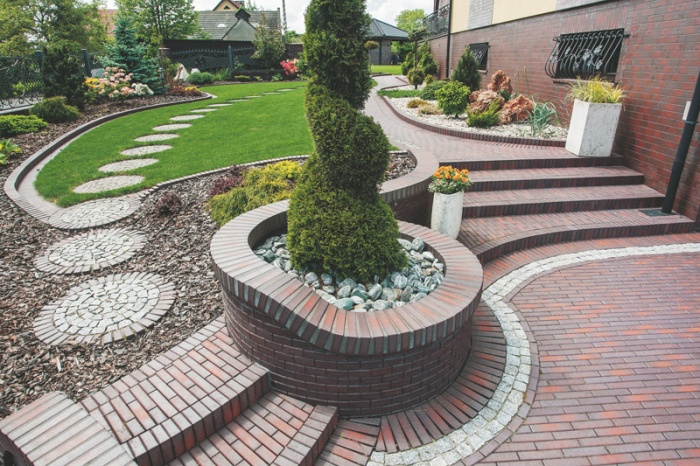
back to index ↑Paving slabs in the decor of the courtyard of a country house
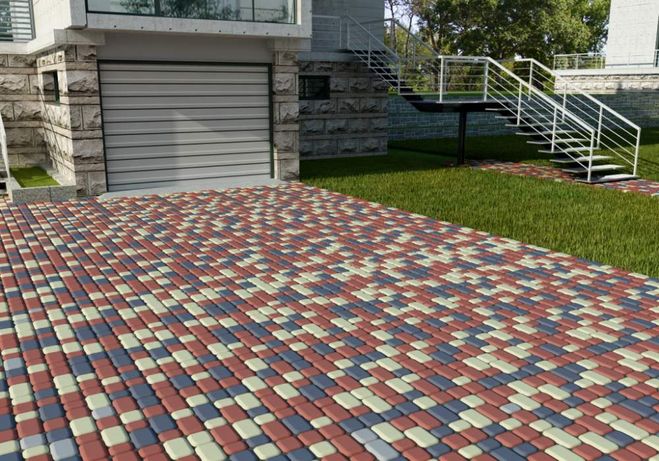
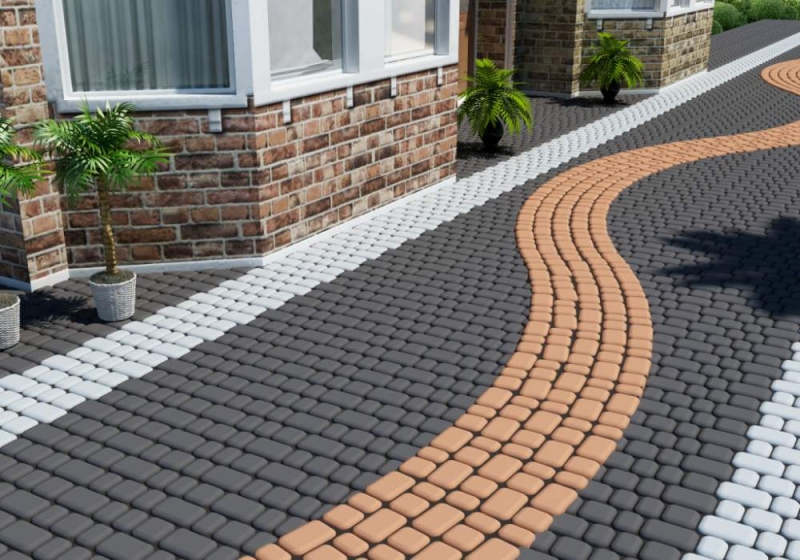
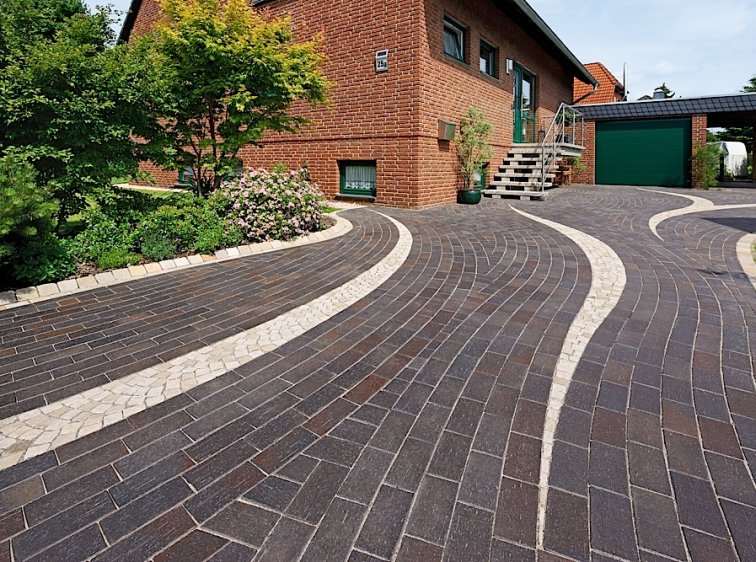
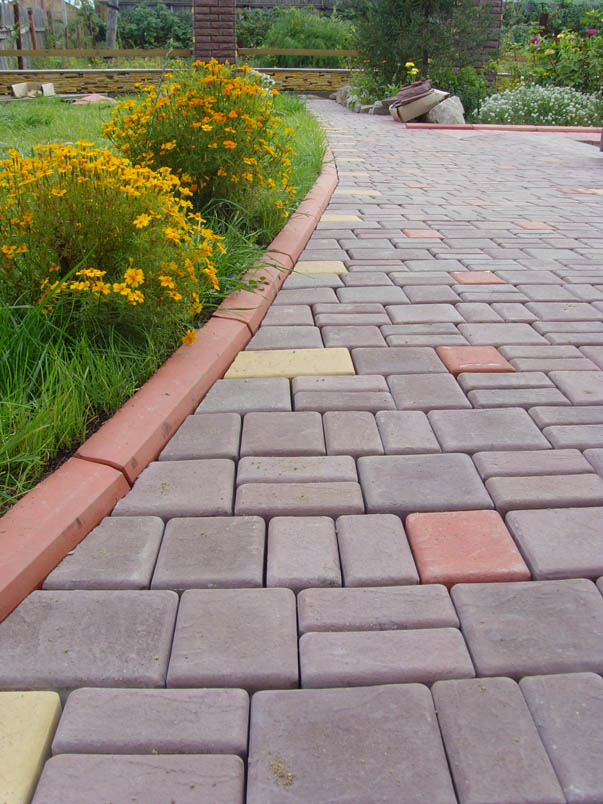
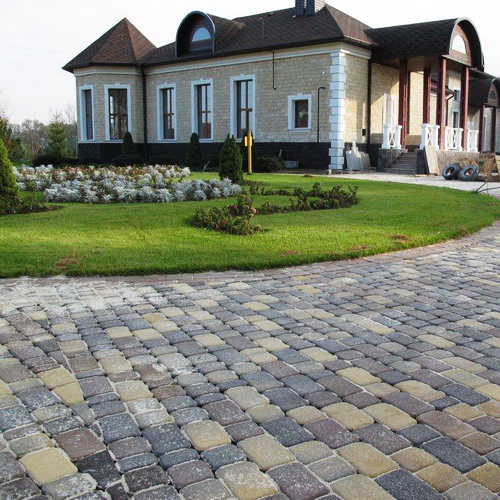
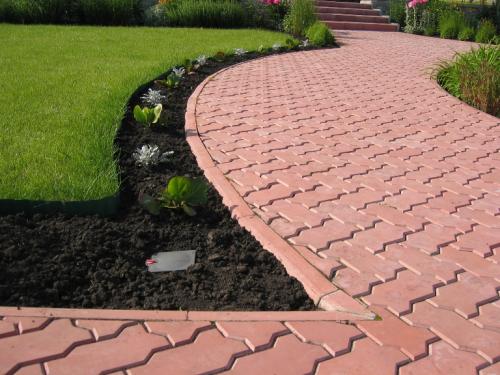
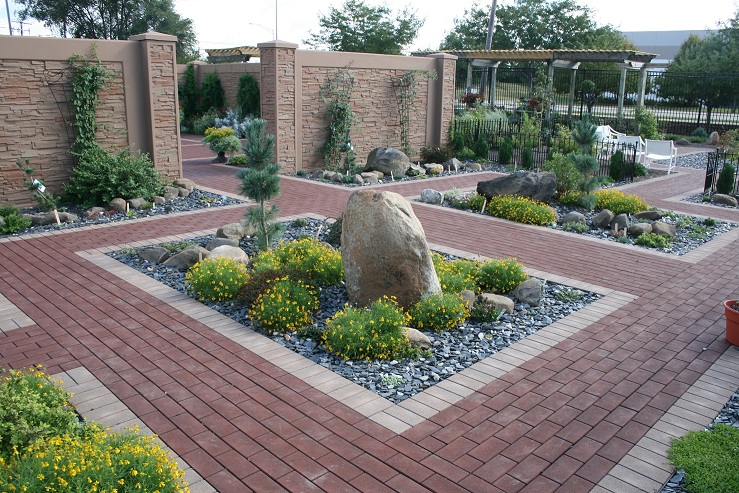
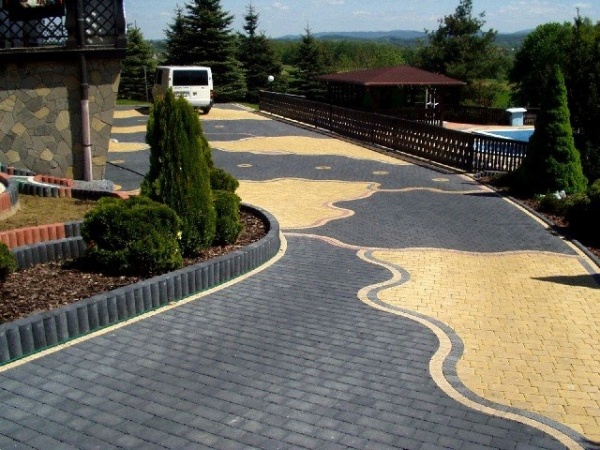
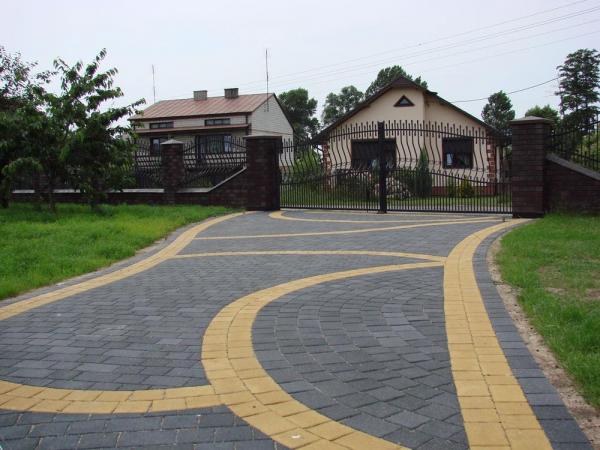
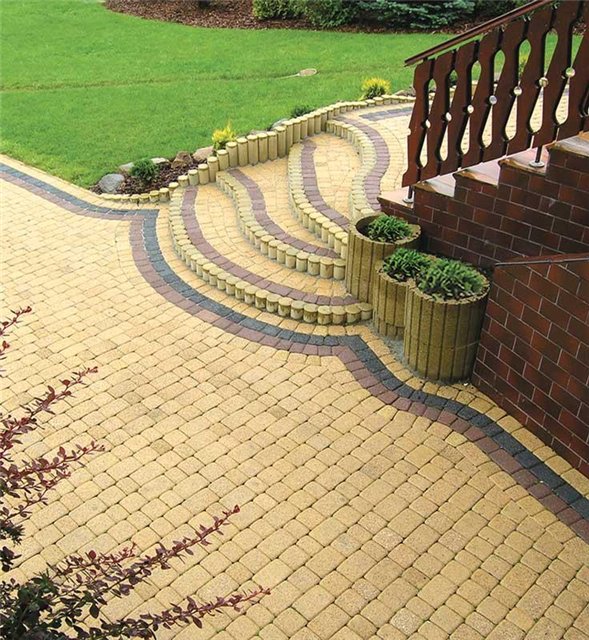
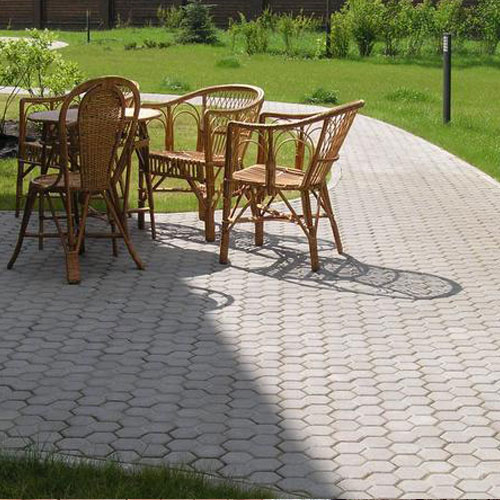
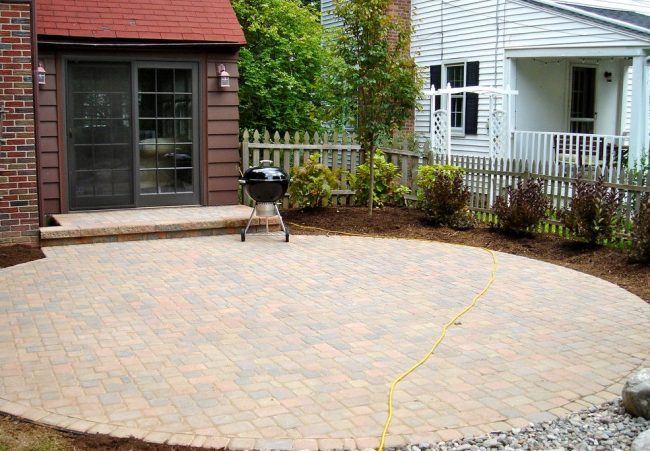
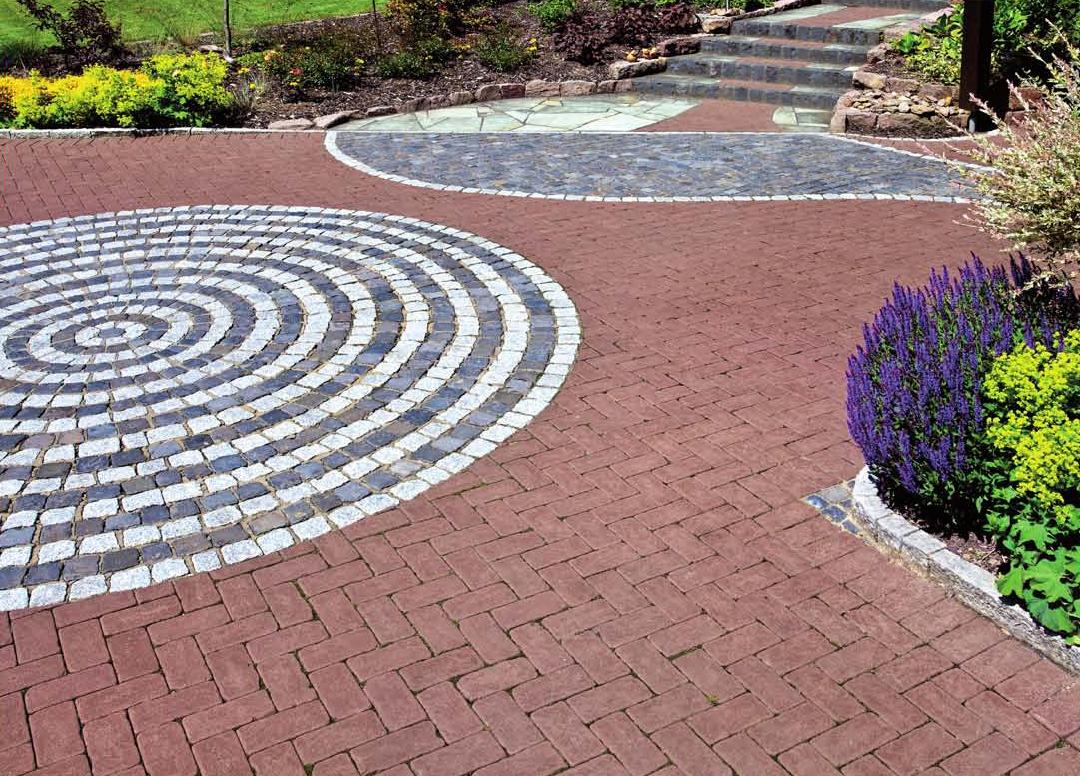
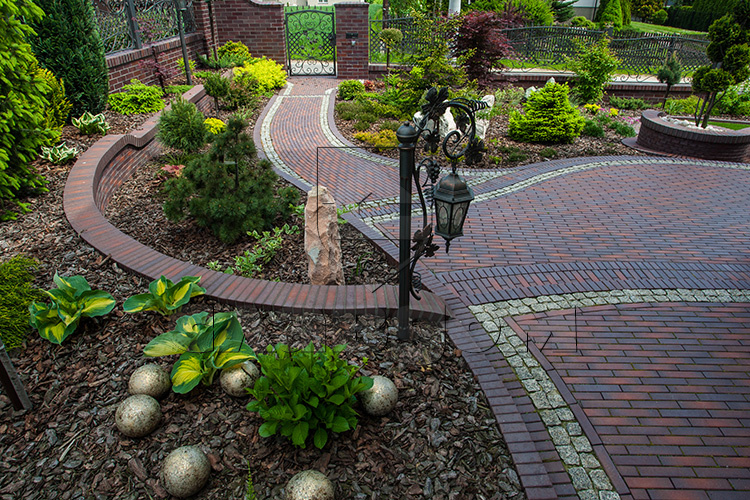
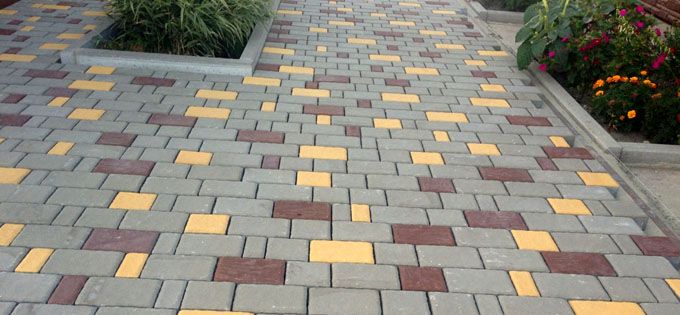
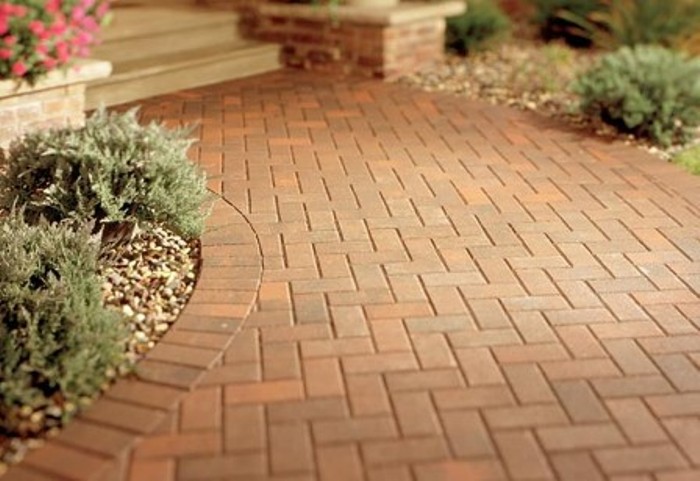
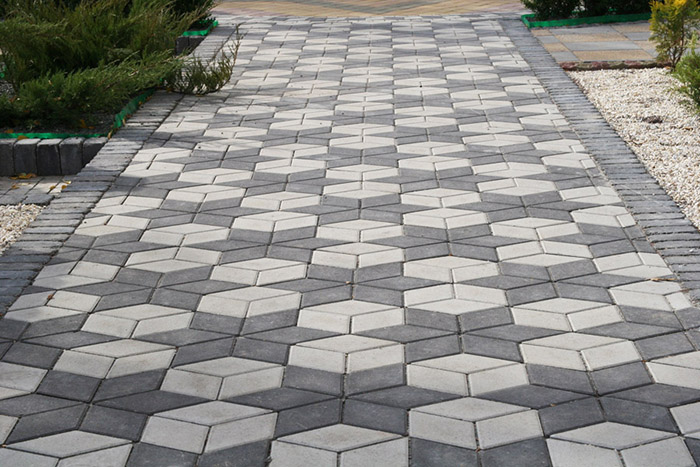
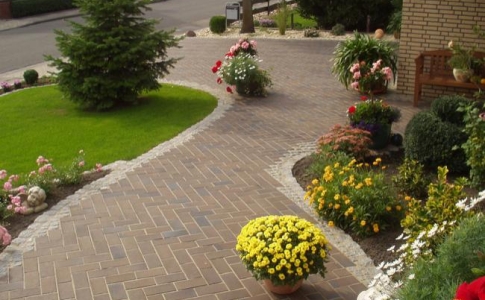
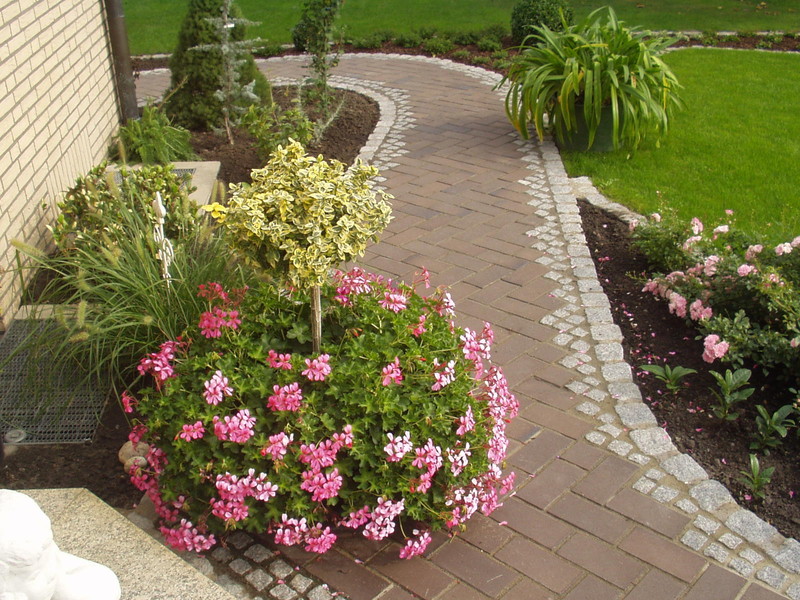
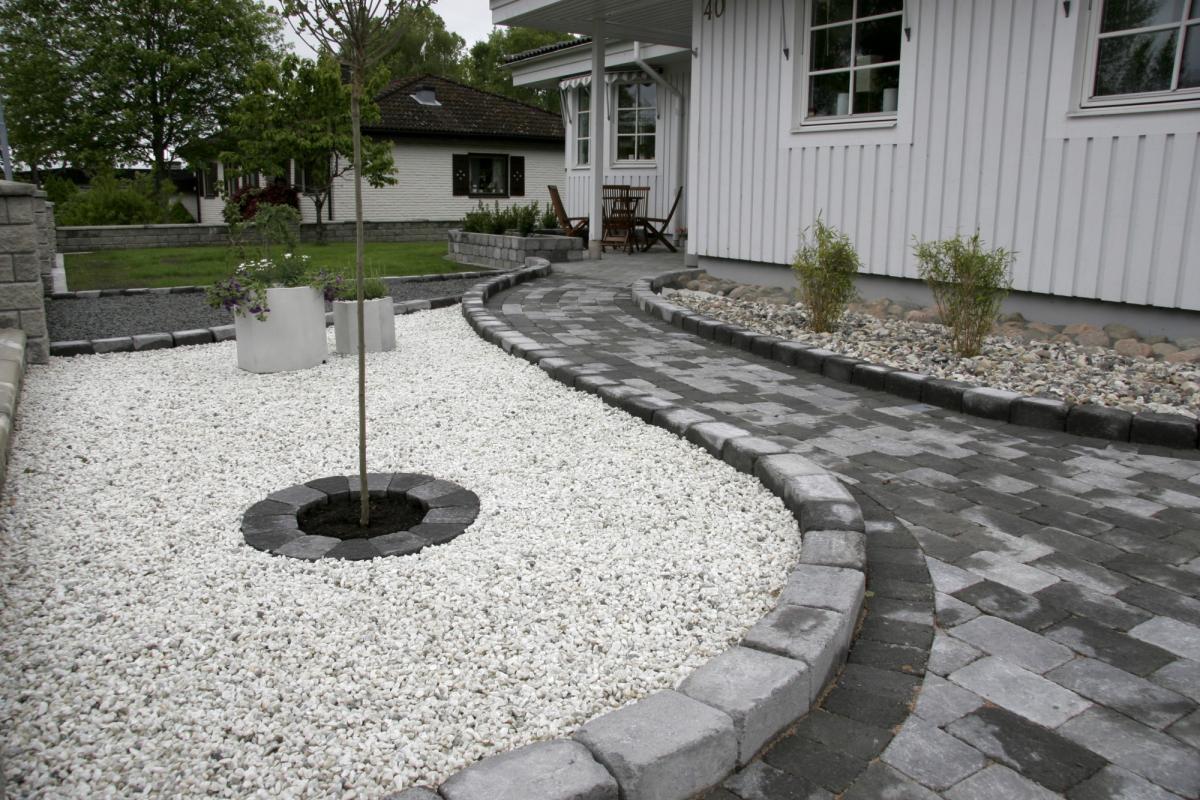
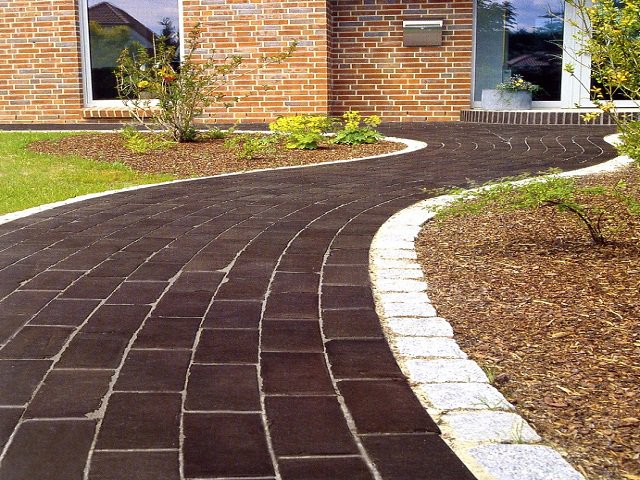
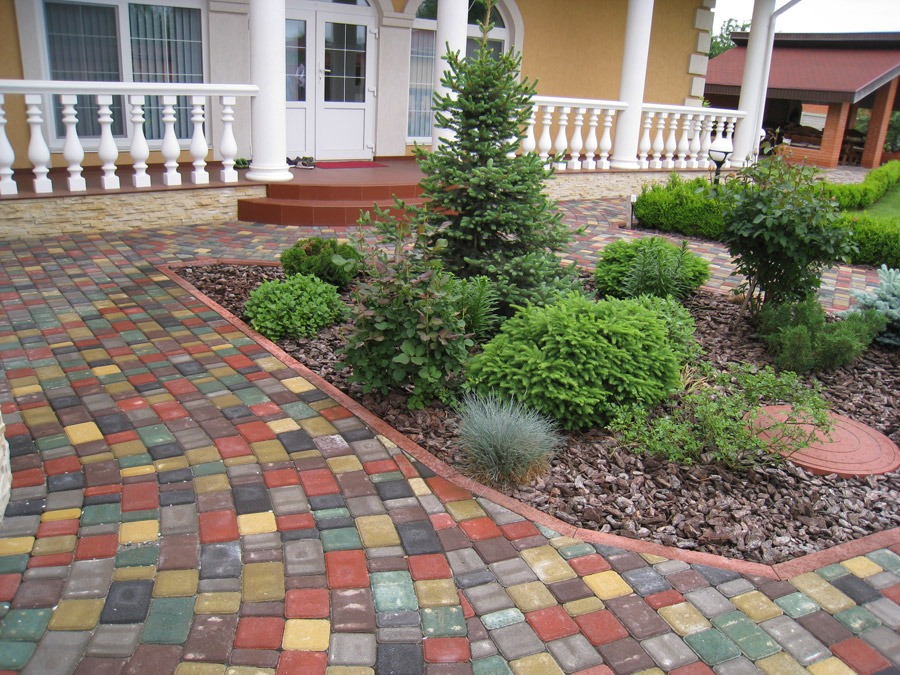
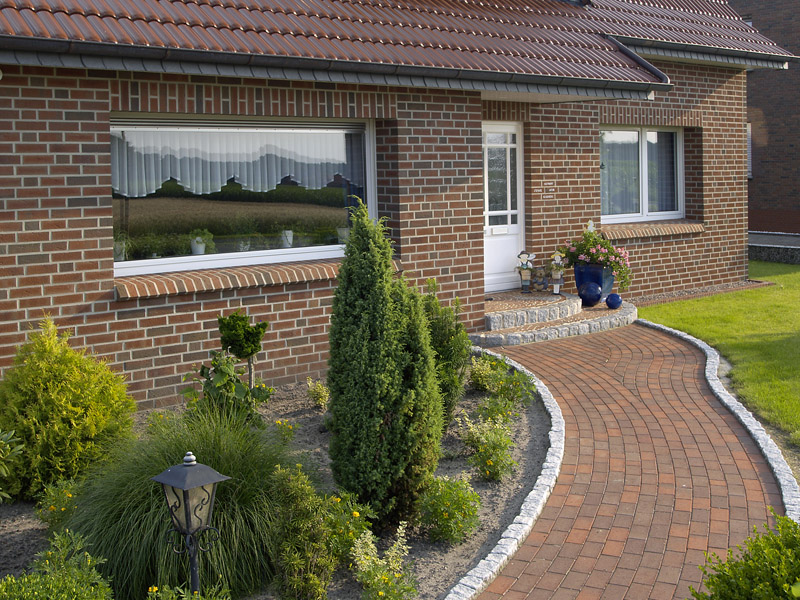
There are several ways to lay tiles. For beginners, it is better to work according to a simplified scheme, when two colors alternate in a certain order. More advanced in the construction business can try to create real masterpieces by laying out intricate patterns from tiles. It is possible to pave a yard or garden alleys with a material of the usual rectangular shape. Despite the simplicity of form, laying paving slabs can be successful in color combinations. It is easy to lay out an interesting composition from multi-colored elements. For more original compositions, it is better to choose tiles in a figured design.
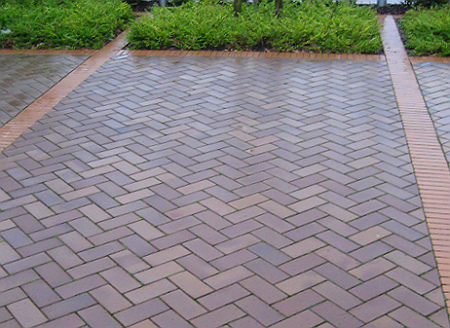
herringbone
This is one of the most affordable ways to do-it-yourself artistic tile laying. The pattern is obtained by paving the elements at the chosen angle. The latter can be equal to 45o or 90o. The options for the Christmas tree include wickerwork. In this case, the tiles are alternated in longitudinal and transverse laying.
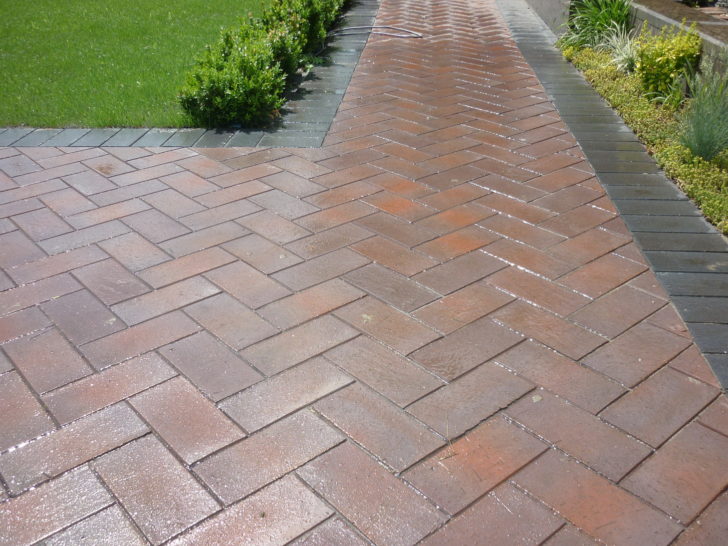
Paving slabs laid herringbone
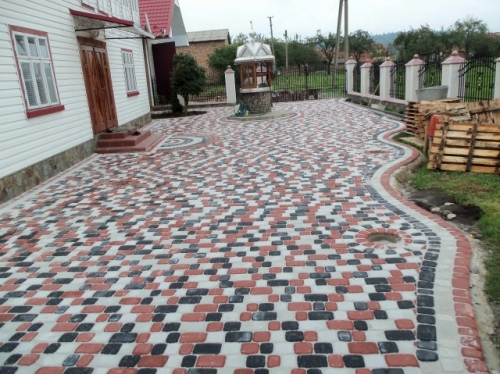
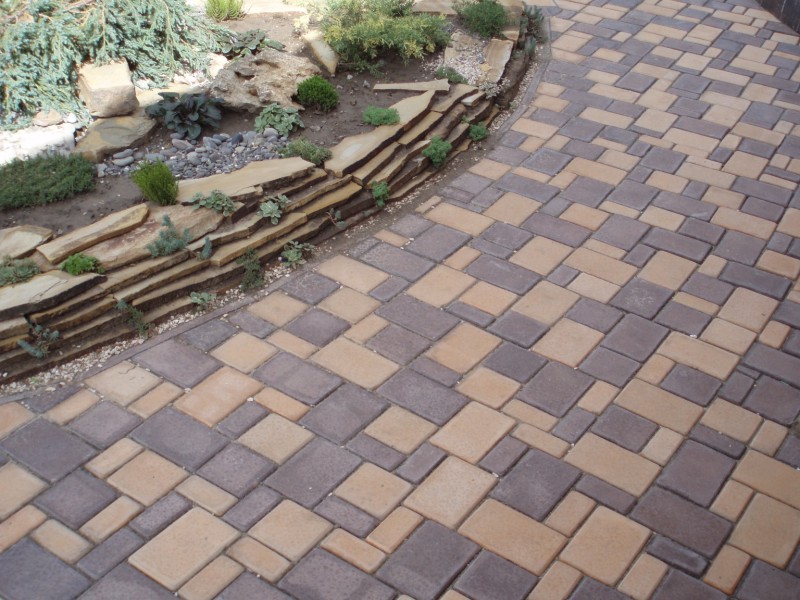
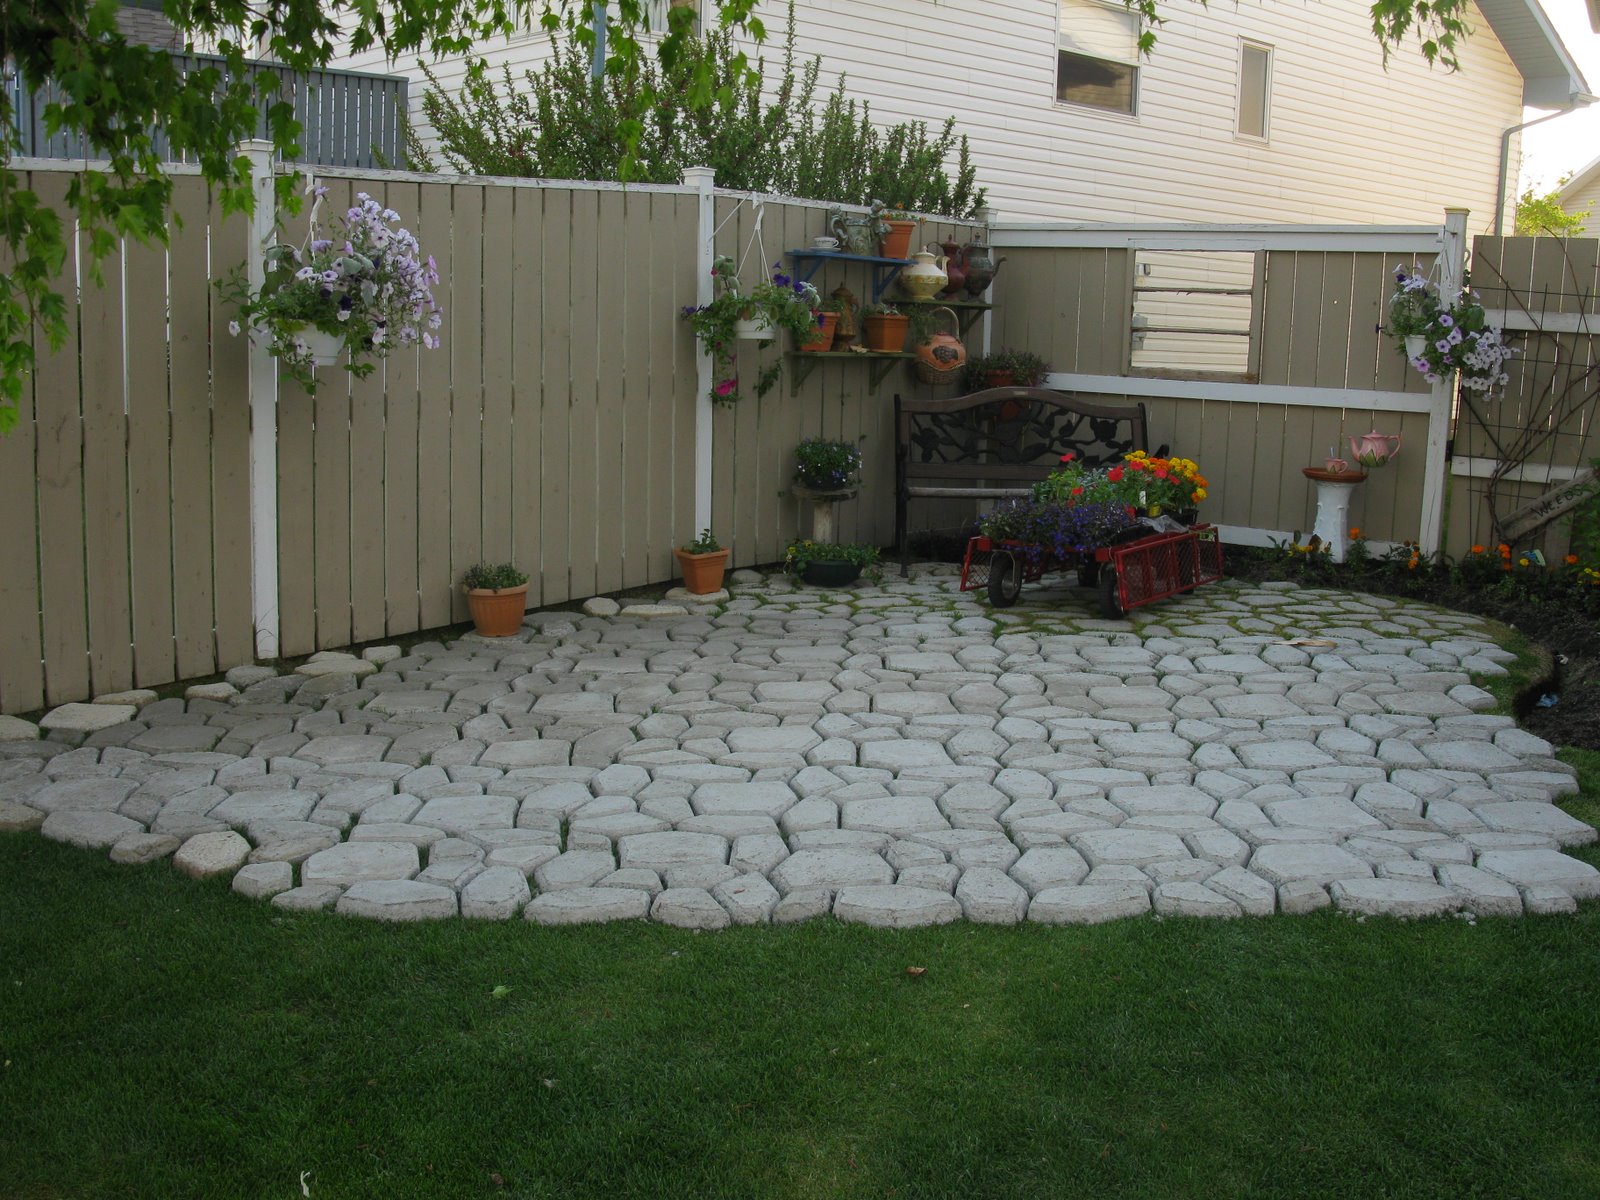
Chaotic variant
Random tile mix will also look quite nice in a garden design. Creating a chaotic pattern is also easy. It is enough to purchase consumables in a variety of shapes and colors, and simply lay out the available elements in random order. The result is usually very impressive.
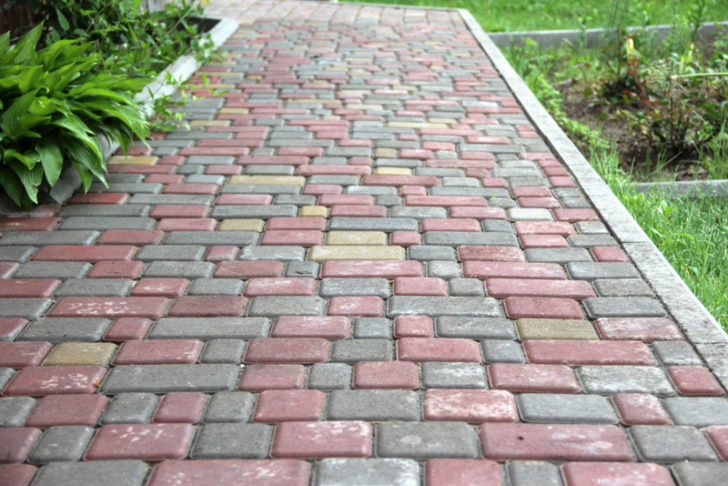
Chaotic way of laying
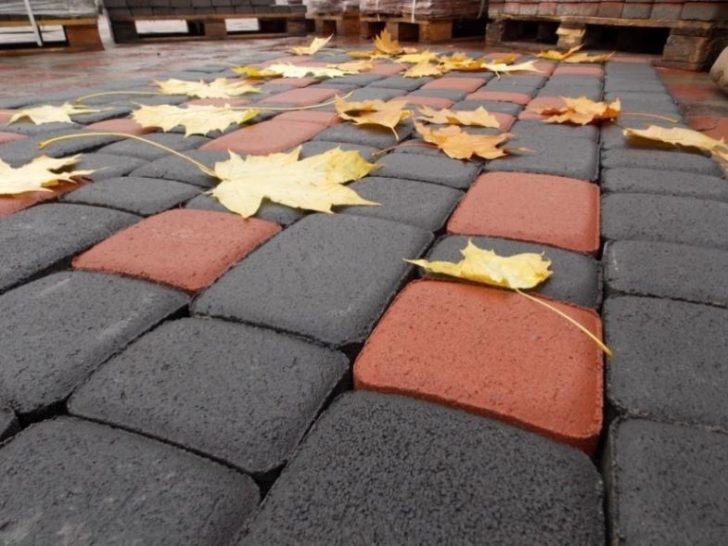
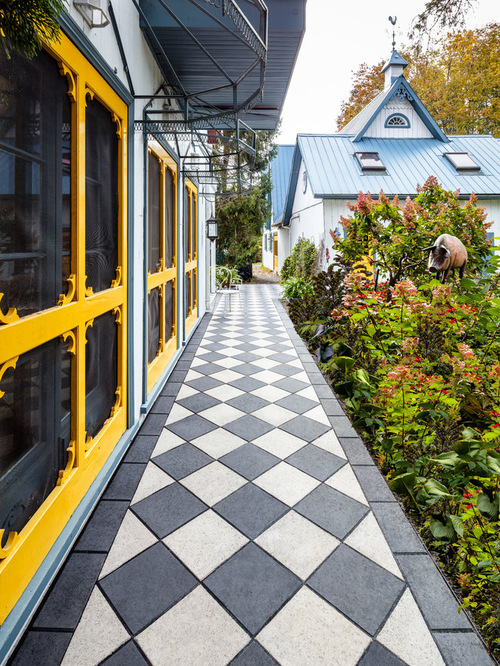
Chess way
Checkerboard tile laying is a variant of courtyard decor, which even a child can embody with his own hands. It is simple, yet quite effective. For work, you can take both square and rectangular tiles, only in the latter case, to create cells, the elements will need to be laid in pairs.
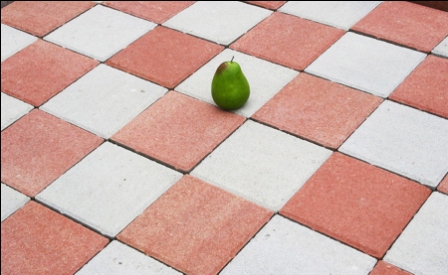
Laying tiles in a checkerboard pattern
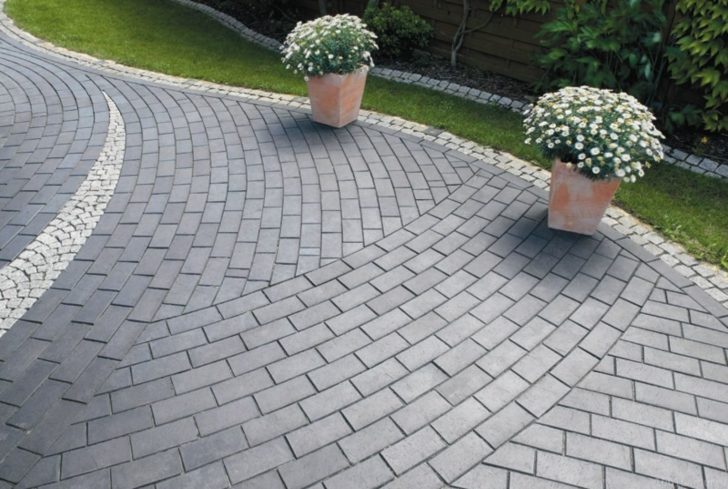
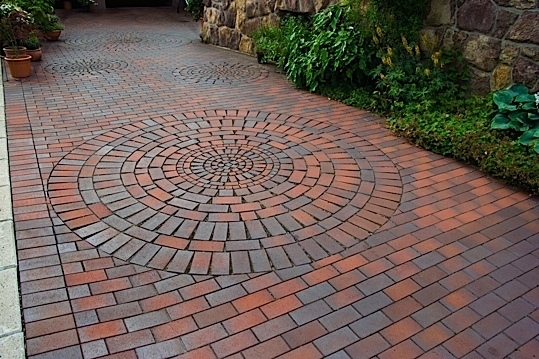
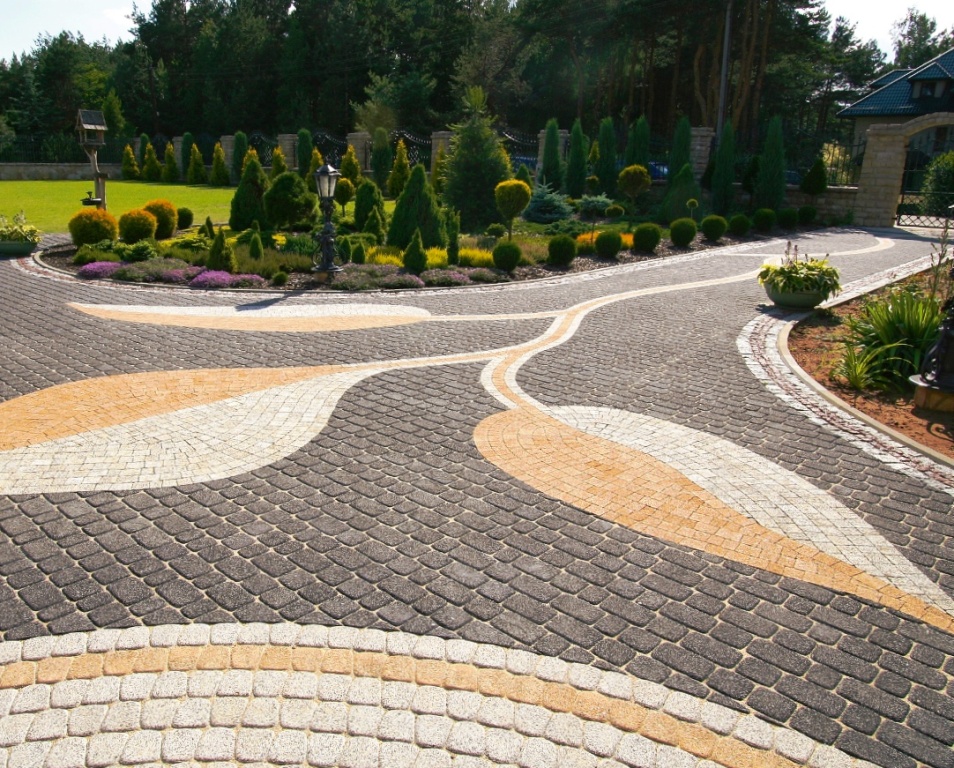
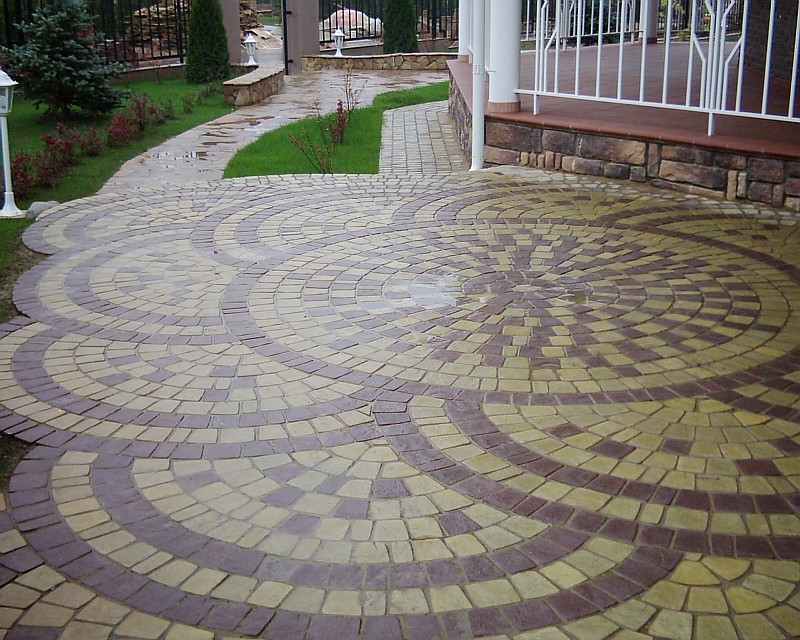
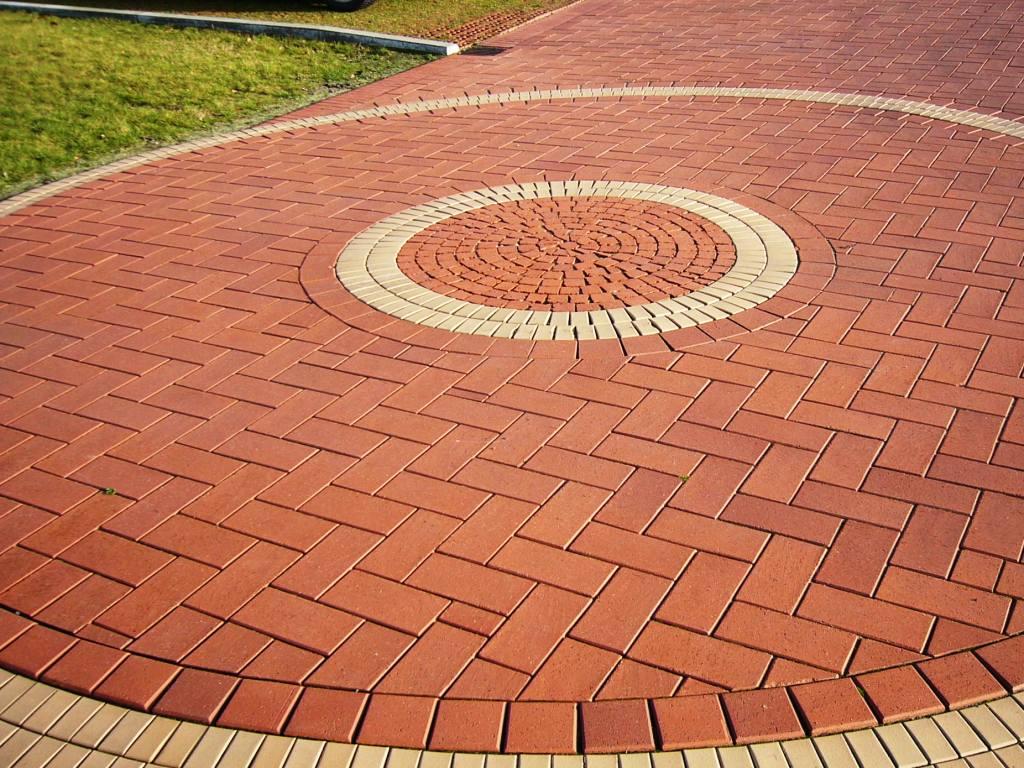
Snail
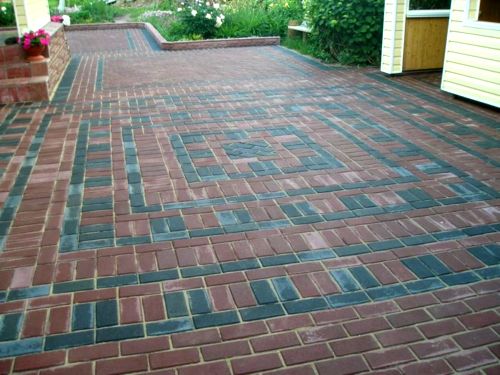
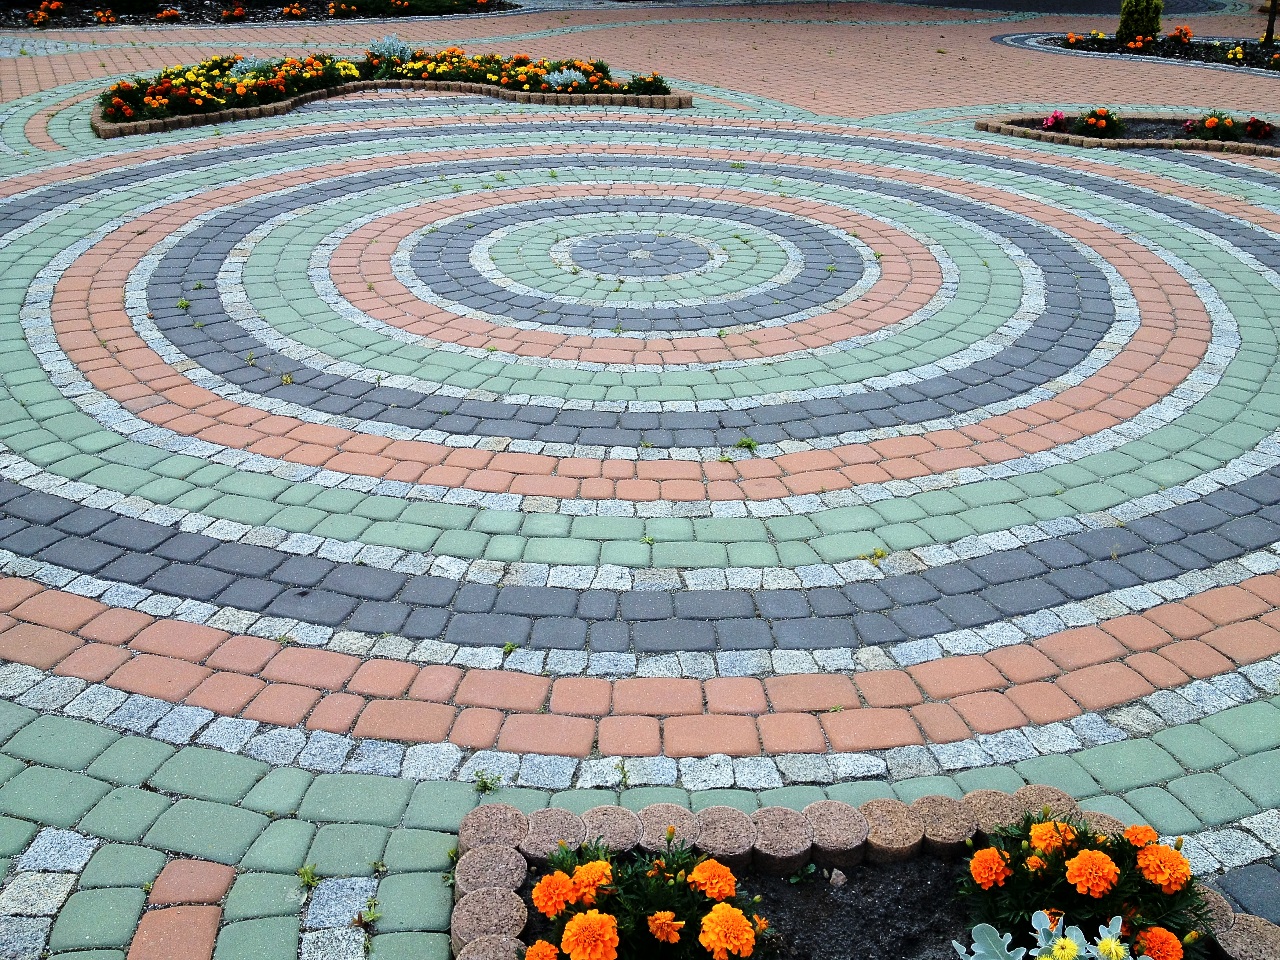
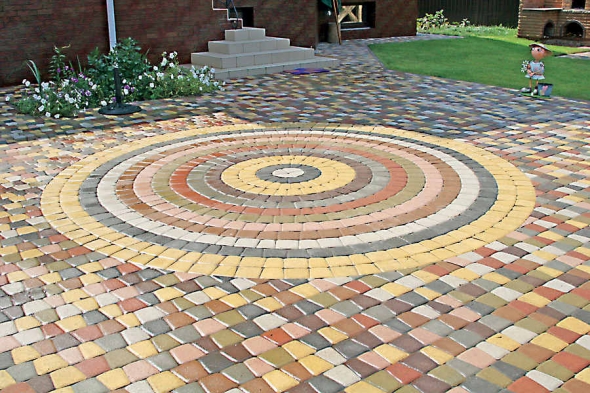
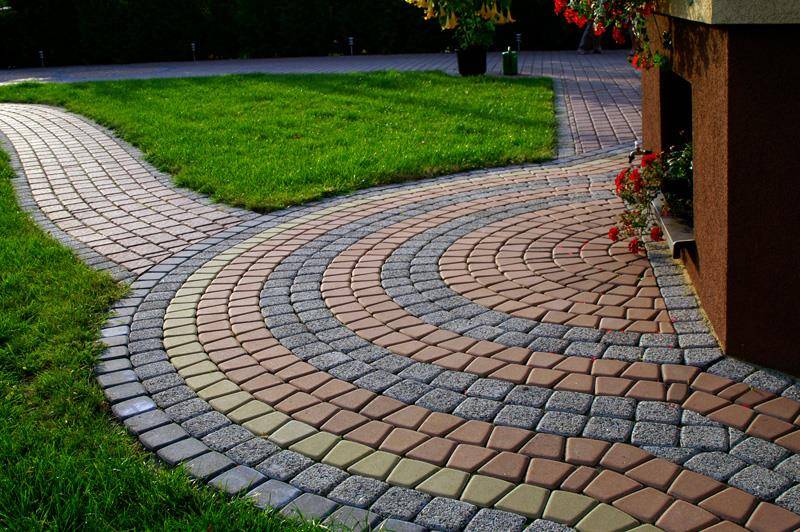
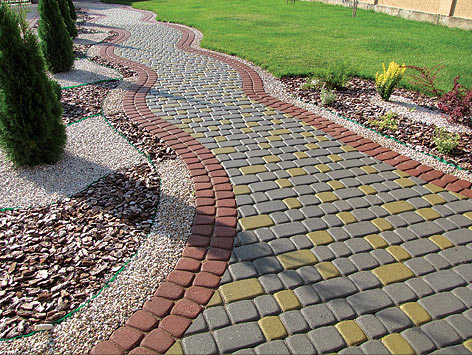
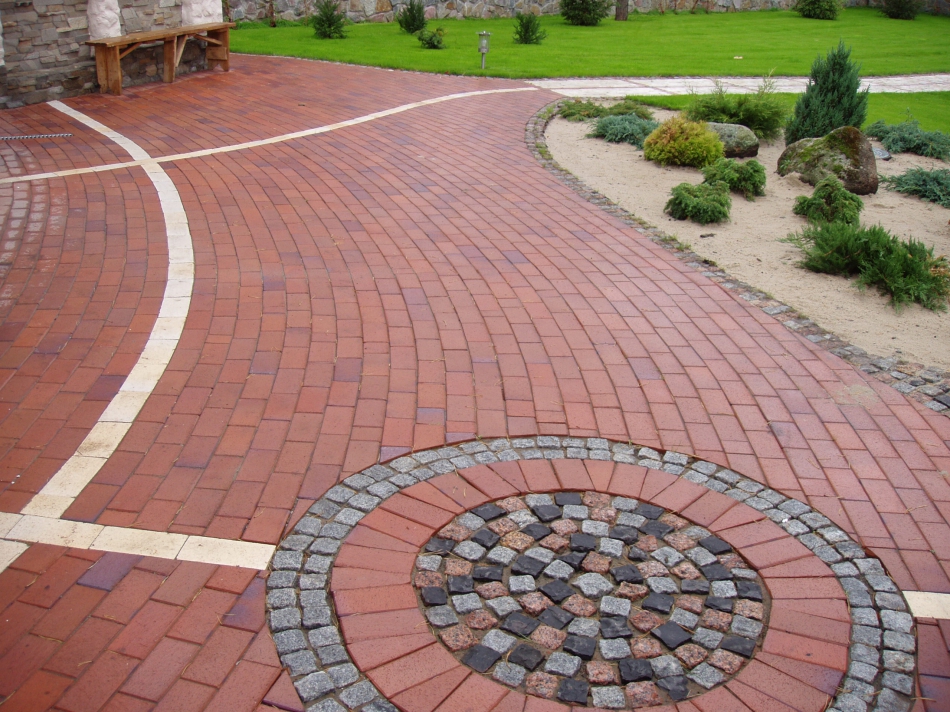
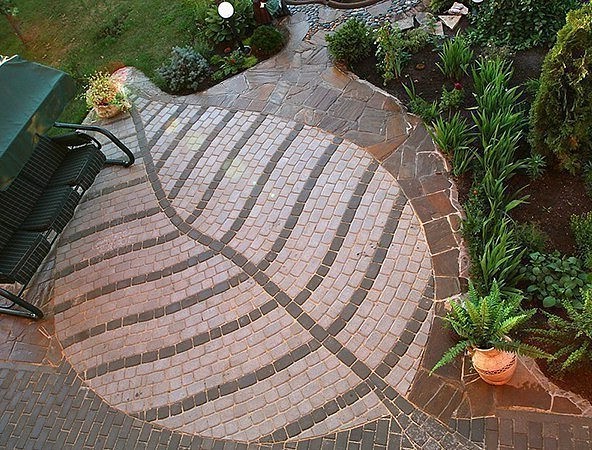
The circular laying pattern is the pinnacle of building and “pavement” craftsmanship. In this way, you can beautifully arrange a relaxation corner in the garden or a platform in front of the house. Creative individuals in creating circular patterns manage to achieve amazing results. Paving slabs laid by a specialist will look great both from a normal angle and from a height.
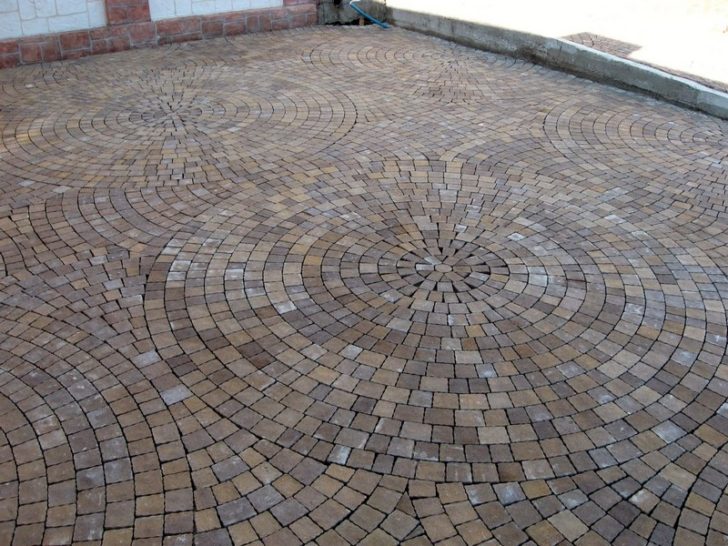
Circular laying of paving slabs
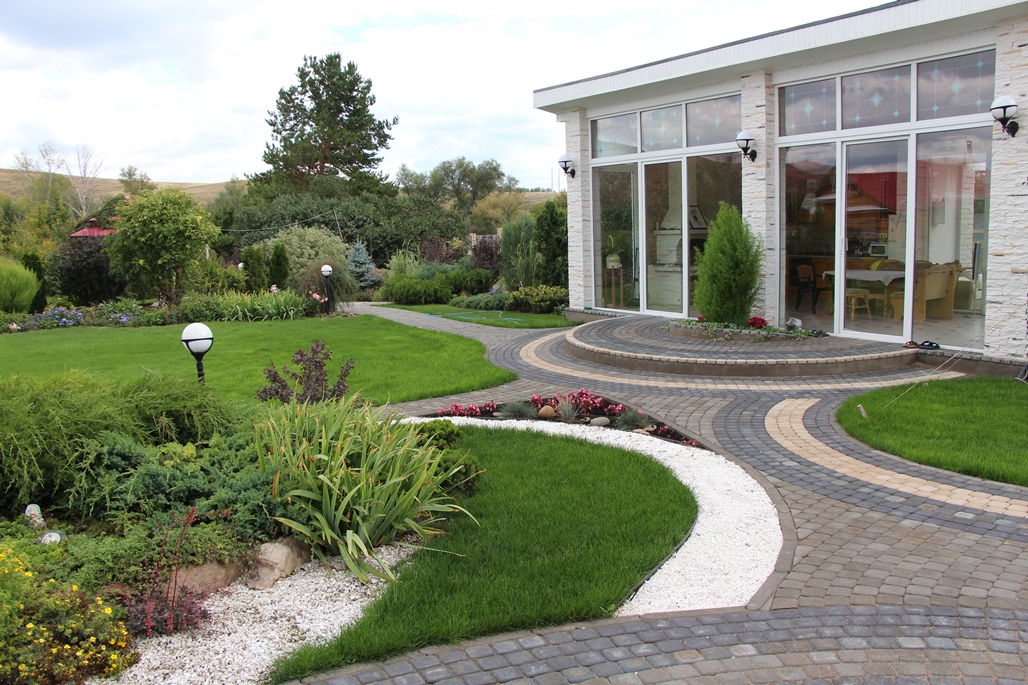
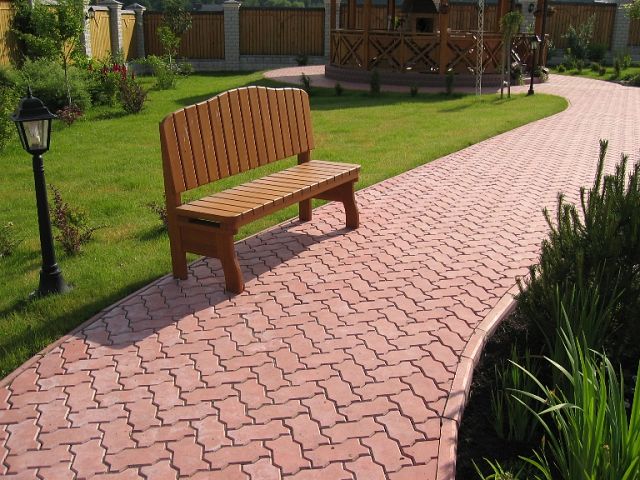
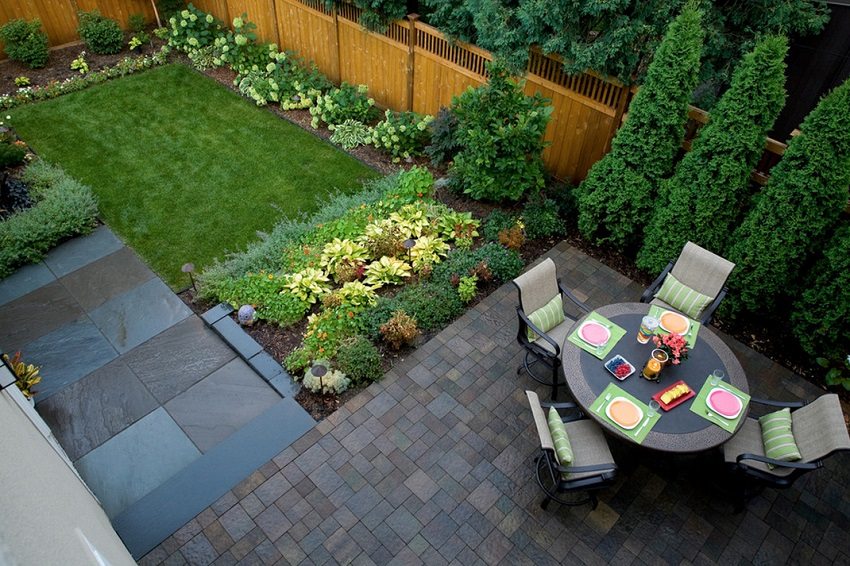
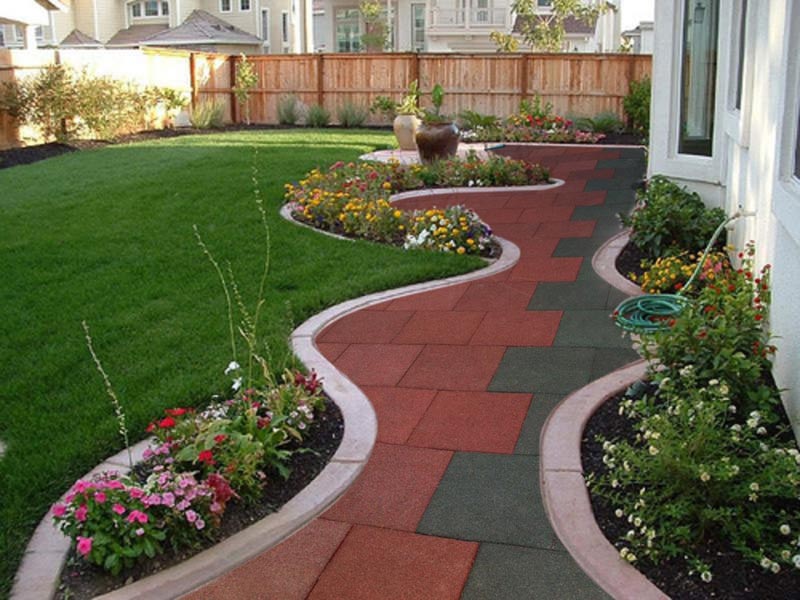
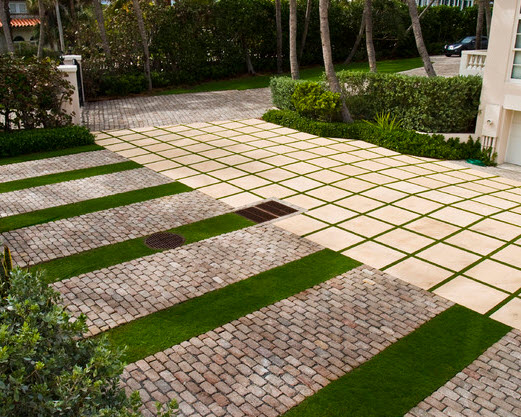
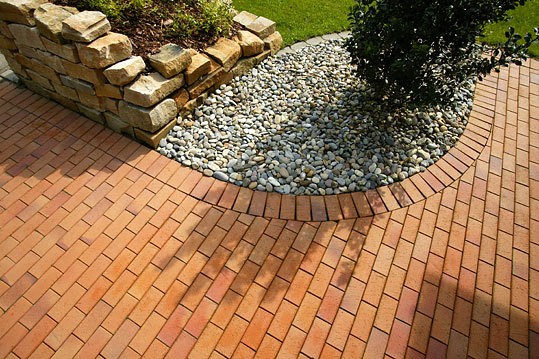
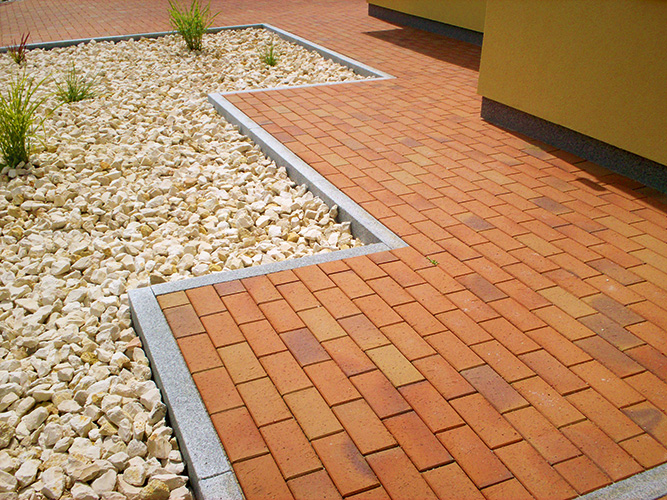
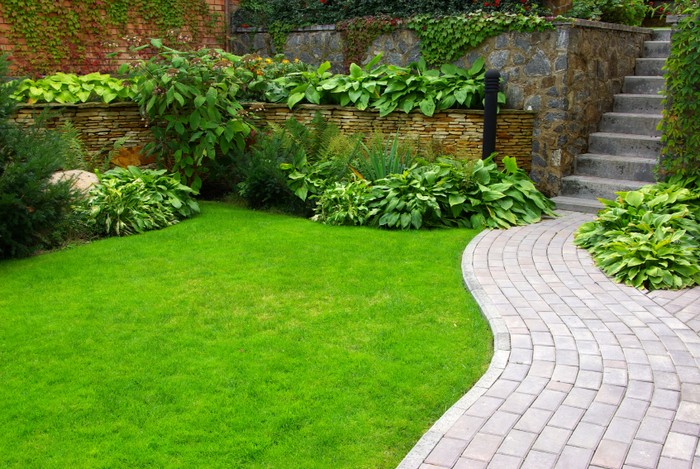
Lawn combination
In paving courtyard areas, especially those intended for recreation, it is worth combining paving slab laying areas with green lawns. This technique will help add aesthetics to the territory and not upset the delicate balance between civilization and nature.
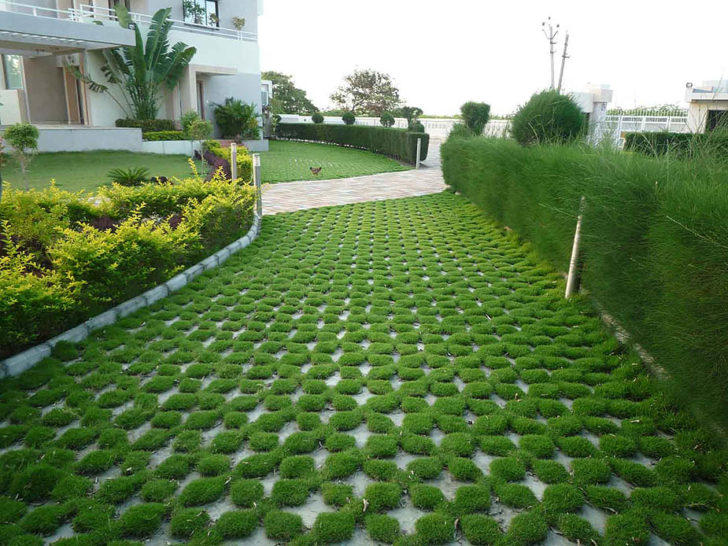
Combination of paving slabs and lawn
Care of paving slabs
“Ice can be removed with special reagents suitable for processing paving slabs”
Like any surface, tile tracks also need some care. If in summer the main enemies of paved areas are dust and dirt, which are easily swept and washed away, then in winter it becomes much more difficult to take care of them. Icy and snow-covered paths cannot be cleared by brute force. Ice is not forcibly chipped from them. Snow is removed with a plastic or wooden snow shovel.

Cleaning paving slabs in winter
You can remove frost with special reagents suitable for processing paving slabs. Salt in this case is a bad helper. It corrodes the decorative layer of the material and leads to loss of color. You can take care of your paved areas ahead of time, and treat the laying of tiles with a water repellent. The composition forms a protective film that will not allow ice to adhere to it. As a result, the ice crust will itself move away from the site and it will only be necessary to clean it off to the side. Also, such solutions prevent the appearance of mold and bacterial lesions on the tile, and also prevent the formation of efflorescence.
Water repellent for paving slabs will create a protective film
Conclusion
Paving slabs are practical, inexpensive and open space for creativity. It can be very successfully used in the decoration of the territory of a suburban area, using it as an independent decorating element or logically fitting the paving into the design composition. Making your yard beautiful is not difficult, the main thing is to have the desire to work on it with your own hands.
Photo gallery - paving slabs


Video