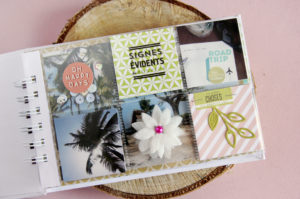
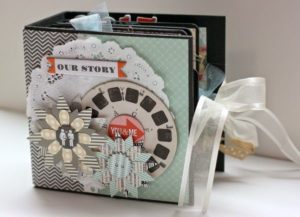
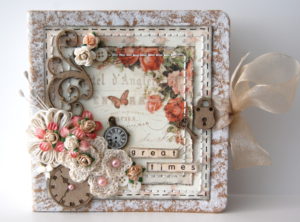
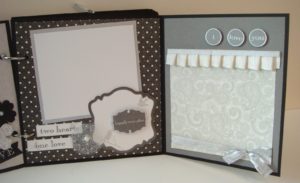
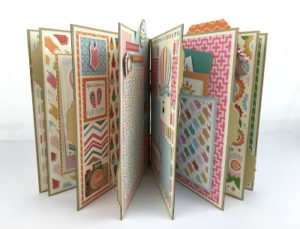
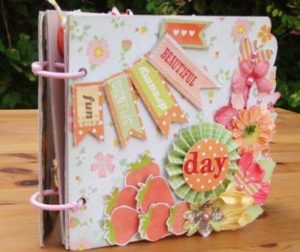
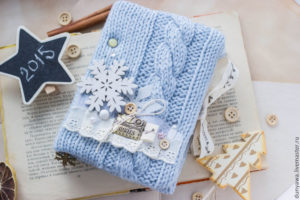
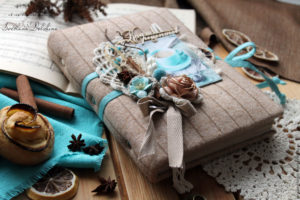
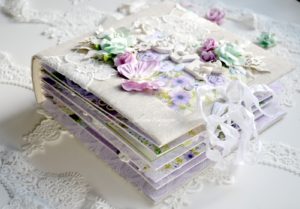
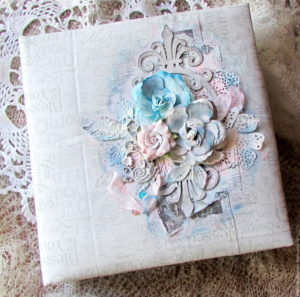
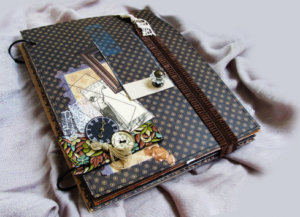
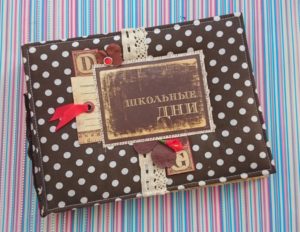
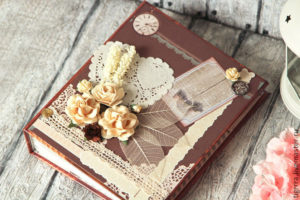
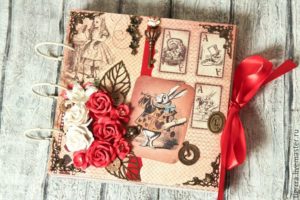
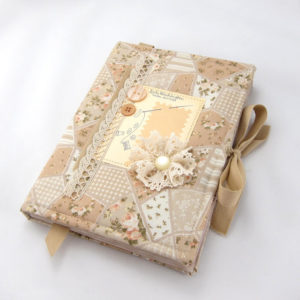
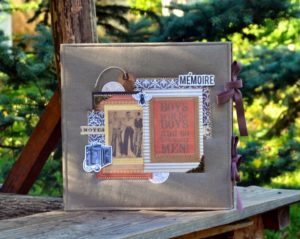
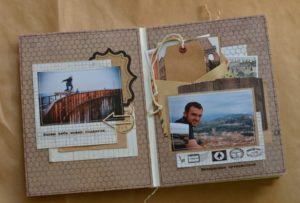
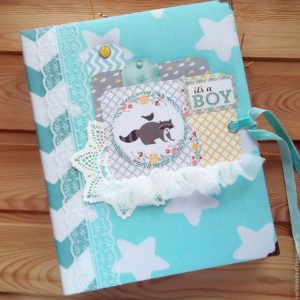
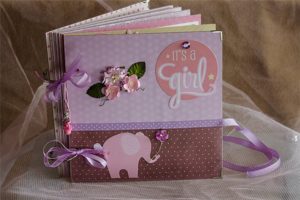
Photography is a unique thing. It's not just a picture, it's a whole segment of life. When looking at a picture, memory raises a whole heap of memories from the depths.
You can spend more than one pleasant evening looking at a photo album. You can never expect such warmth and impressions from electronic versions of photo collections. In addition, if the gadget breaks down, the pictures can be irretrievably lost. Isn't this a good reason to continue the traditions of our ancestors and make a photo album with your own hands?
Why own, if you can buy ready-made options? Lots of arguments:
1. Because it will be unique.
2. It can be made in various styles and themes.
3. A piece of your soul will fall into it.
4. And simply because it is an interesting activity.
Interested? Let's look at creating a photo album with your own hands step by step.
back to index ↑Scrapbooking Basics
Like any business scrapbooking needs advance planning. The problem is that it is not enough for a photo album to have an aesthetic appearance, it needs to carry a certain semantic load. To fulfill all the conditions, you need to find the best way to implement the idea. And here it is better to stick to already proven techniques and stylistic ideas for designing photo albums.
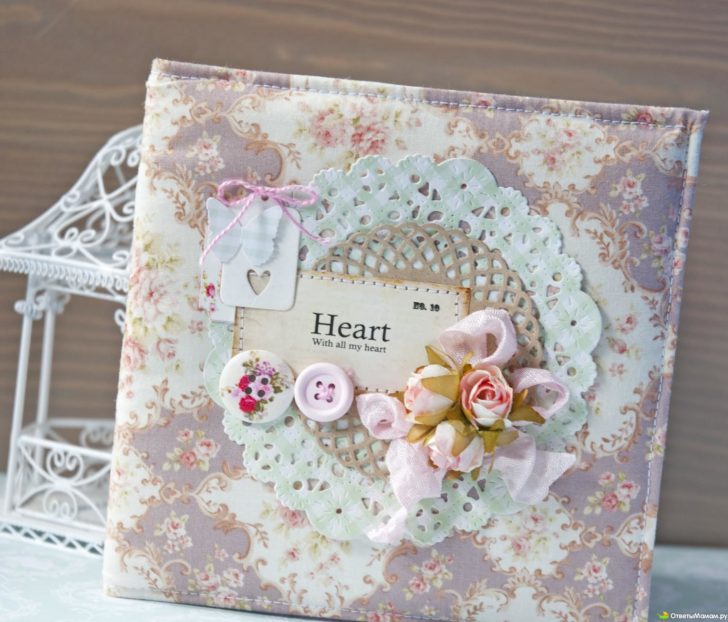
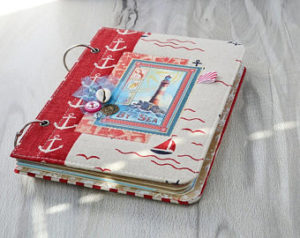
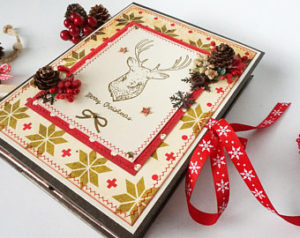
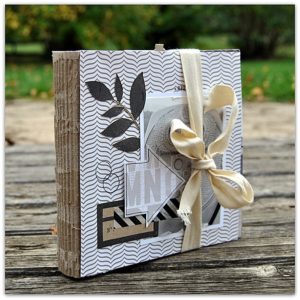
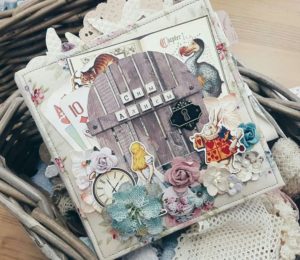
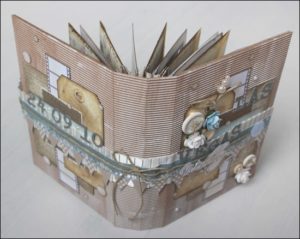
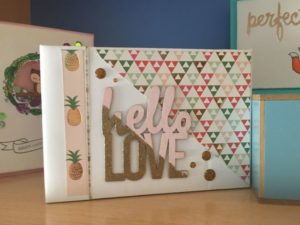
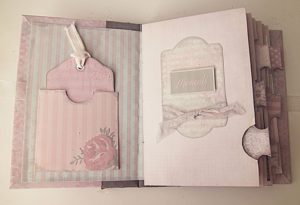
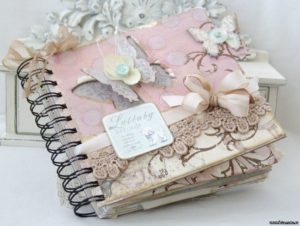
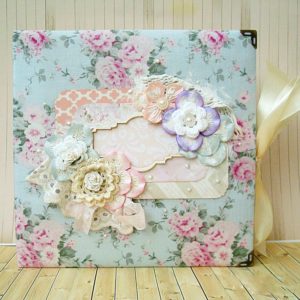
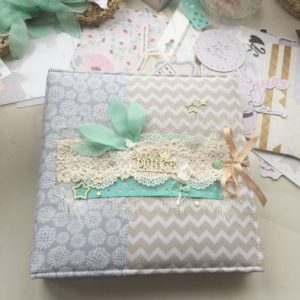
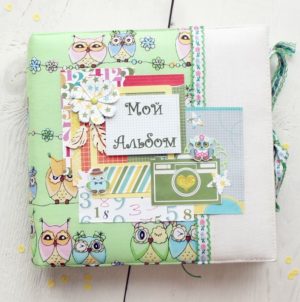
DIY photo album
It should be noted that scrapbooking is not a cheap hobby, so before you go to buy consumables, you need to think about for a future masterpiece:
- plot;
- composition;
- design style;
- implementation technique.
Plot
It is the plot that will give the idea of \u200b\u200bhow to make a photo album with your own hands. The design of the product will directly depend on the subject. The photo album can be family and gift.
The first category is devoted to the family and the events taking place in it. The second one is more specific and is often made for a specific event, for example, a friend's anniversary, a group trip, etc.
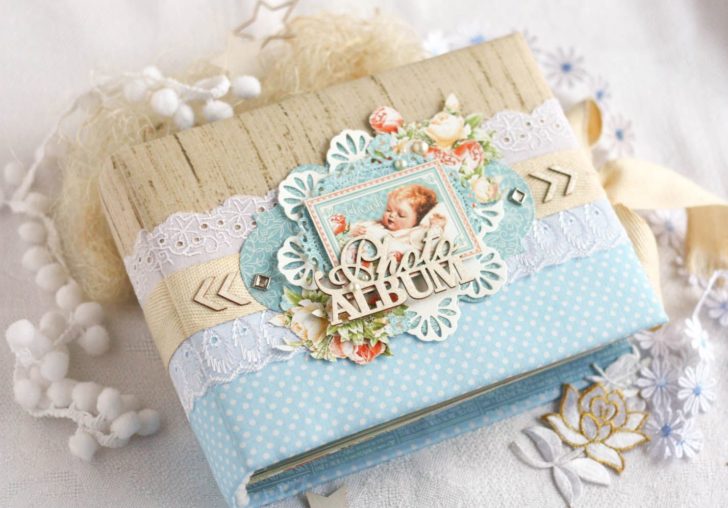
The design of the photo album directly depends on the subject
Composition
For a do-it-yourself photo album, page design ideas must be correctly positioned. The photos themselves and the design elements should appear in visual unity. Here it is important to determine the semantic center of the composition and, in relation to it, select accents or decorations for the page. The subject of the image will help you choose a title and maybe even make a short description of the picture.

All pages of the photo album must be made in the same style.
Stylistic orientation
“Creating a photo album with your own hands, you are free to choose any style of its design”
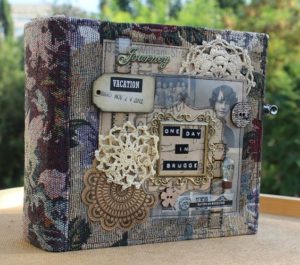
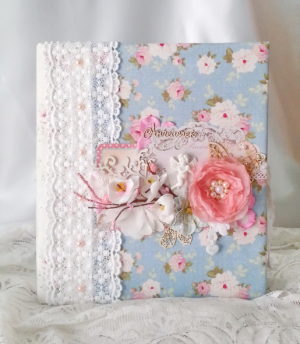
Fans of opulent decor should focus on the American vision of a photo book. Connoisseurs of antiquity and lovers of immersing themselves in the days of the past will surely stop at shabby chic or vintage. Adherents of minimalism can take a closer look at the European style and one of the most popular ideas for designing photo albums - “clean and simple”.
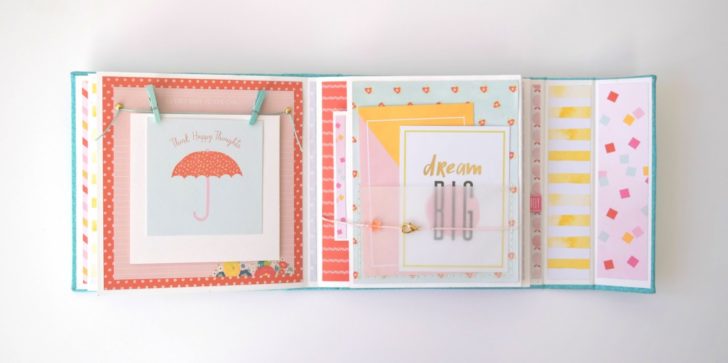
Making a photo album in the style of "clean and simple".
Creating a photo album with your own hands, you are free to choose any style of its design.Other design options can be used, as long as they can present the theme of the album from the best side.
Technique
There are many options on how to make a photo album with your own hands. Implementation of ideas helps to carry out:
- stamping;
- decoupage;
- journaling;
- cropping;
- distressing.
There are about a hundred more entertaining techniques that allow you to create magnificent copies of photo albums.
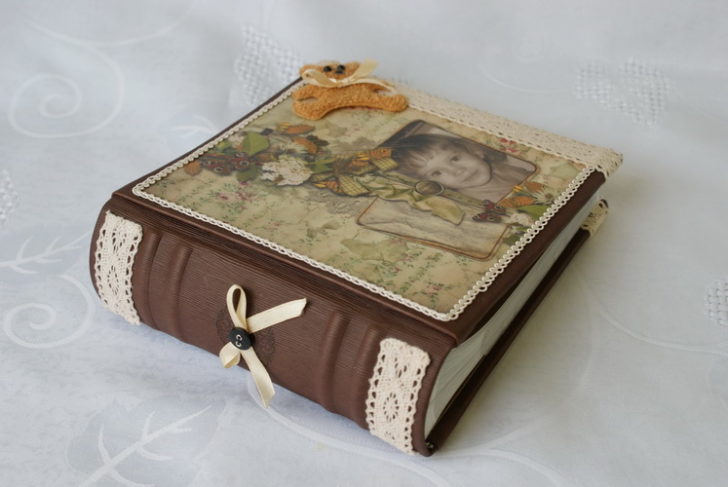
Decoupage technique in photo album decor
The presented methods are distinguished by the relative ease of implementation. So stamping provides for the use of applicators and all kinds of prints. In decoupage, plot drawings and ornaments are used. In cropping, they work with the photo itself. It is cut so that only key moments are preserved. Journaling is characterized by supplementing images with original descriptions. Distressing is based on the aging of paper.
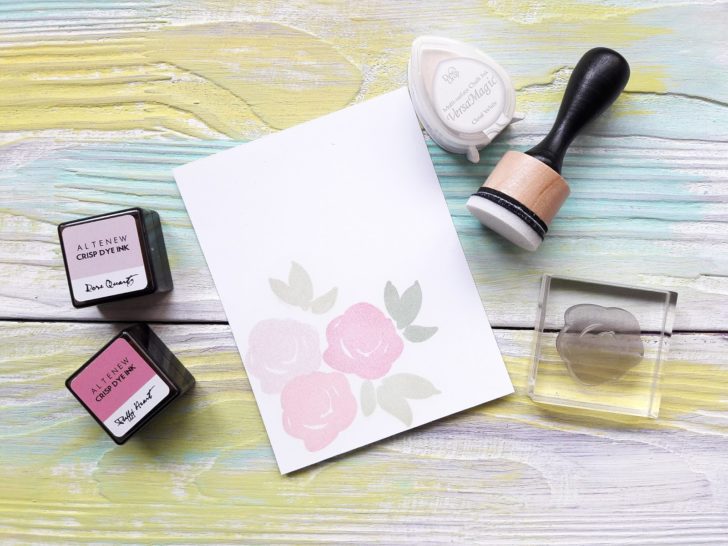
Stamping uses a wide variety of imprints.
DIY photo album: step by step
Stage I
In fact, it is preparation for work. At this stage, we focus on the selection of tools and the purchase of materials. What will be required?
Materials:
- thick (500 g / sq; m) cardboard;
- scrap paper;
- notebook;
- synthetic winterizer;
- adhesive fabric;
- ribbons.
Tools:
- awl;
- ruler;
- needle;
- mock-up knife;
- pencil.
Stage II
We sit down to plan the implementation of the ideas of designing a photo album with our own hands. The result will not disappoint if you clearly articulate what you want to see in the end. This is where the notebook comes into play. It is desirable that it be similar in size to the future original. It will become a kind of template for work. On its pages, you can experiment with the arrangement of pictures and decor elements. The most successful options are fixed.

Sketch of the location of pictures and decor elements
Stage III
Let's start creating a photo album with our own hands by assembling the spines for the pages. To do this, you can use a less thick photo cardboard. Strips corresponding to the height of the sheets are cut from it. Band width may vary. On average, the indicator rarely exceeds 3 cm.
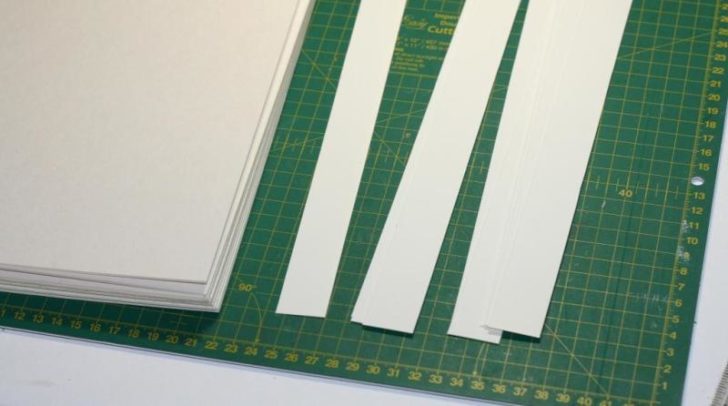
Stripes corresponding to sheets of height
Using a ruler, find the center of the narrow part. We set aside 2 mm on both sides of it if the landscape pages have convex decorations and 1 mm each in other cases. In the same way, we act on the opposite side. We connect the outlines with a ruler and draw a strip not with a pencil, but with a writing pen. This photo album design idea will help you bend the sheet strictly along the given lines. We cut off the corners of the workpiece. Now you can lay sheets in them and fix them with glue. The extreme sheets should not have "partners". The free part of the spine will be required for another.
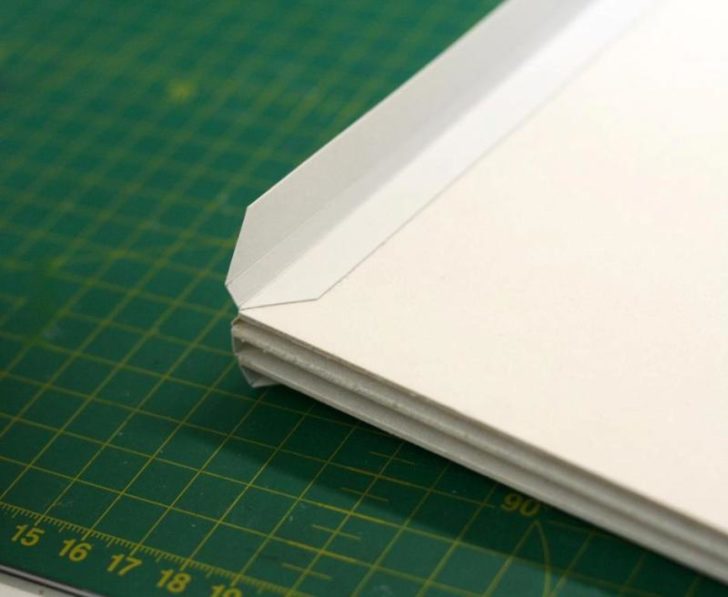
Fix the leaves with glue
Stage IV
Page finishing. Their decor begins with pasting with scrap paper. Pick the right colors and create a general background, on which the rest of the composition will be located later. The decor for a self-assembled photo album can be:
- applications;
- vinyl stickers;
- newspaper clippings;
- beautiful cords;
- tapes;
- lace;
- beads.
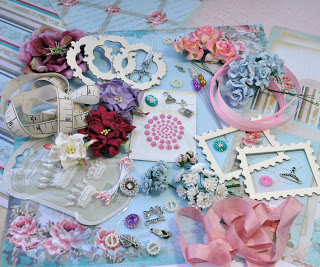
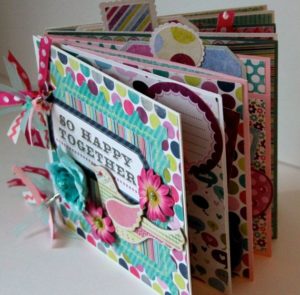
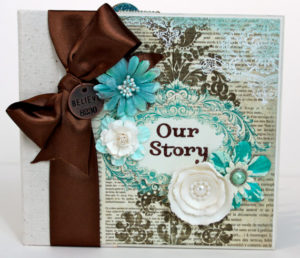
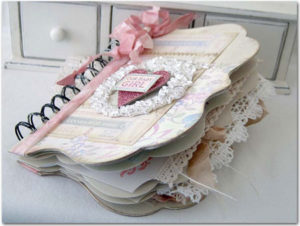
Decorative materials for photo album design
In general, everything that draws your imagination. In the case of an abundance of volumetric details, they should be evenly placed on the pages, then the sheets do not deform, and the product as a whole does not lose its shape. This is another reason to work on a photo album with your own hands step by step.
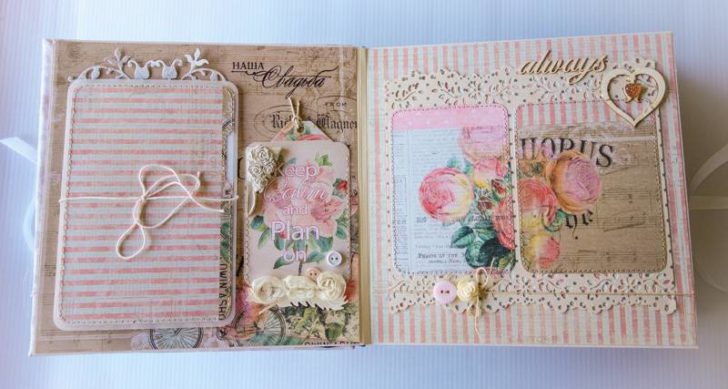
Arrange the decor evenly on the pages
Stage V
We make binding and fasten the cover. We collect the sheets glued into the roots into a book and glue the first with a piece of bandage, gauze or adhesive fabric, so that one and a half centimeters of free matter remains along the edges of the binding.
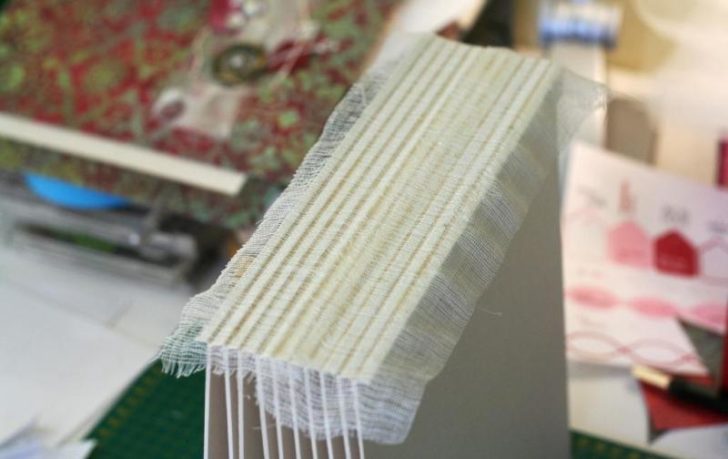
Glue the spine with gauze
From cotton tape with finished edges, cut out two strips of the same length as the width of the binding. We bend the rest of the gauze and glue them exactly along the edge.This photo album design idea will help to hide the flaws in the assembly of the end of the cover and will become an additional fixation for the sheets, preventing them from coming off.
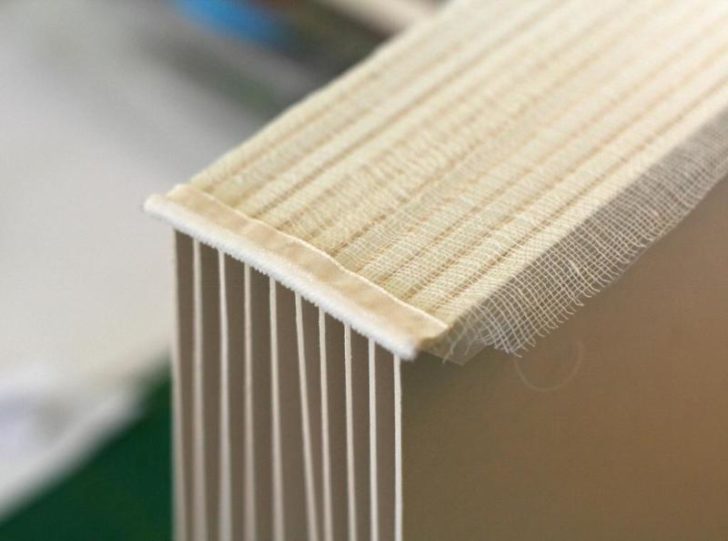
Glue two strips around the edge
While the gauze dries, work directly on the spine for binding. If the paper for work is not too thick, then the part can be made as a team. You will have to cut out two components: one strictly according to the size of the binding, the second - with an allowance of 3 cm in width. We lay the smaller strip on top of the larger one so that uniform allowances remain on both sides. We mark the borders and glue the details.
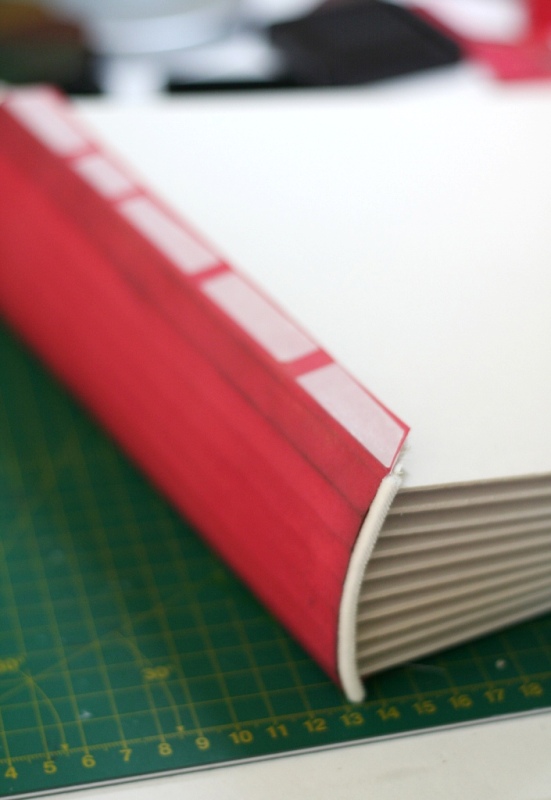
Binding spine
It would seem that everything? But at this stage there are secrets. They will help you make a high-quality photo album with your own hands, design ideas from scrapbooking professionals. What do they advise? A large thickness of the spine will prevent the album from opening. Can problems be avoided? Yes, if you draw longitudinal lines with a step distance of 1 cm along the inside of the spine with a sharp object (the same non-writing pen). This technique will allow the part to bend smoothly.
But the nuances of the topic “how to make a photo album with your own hands” do not end there.
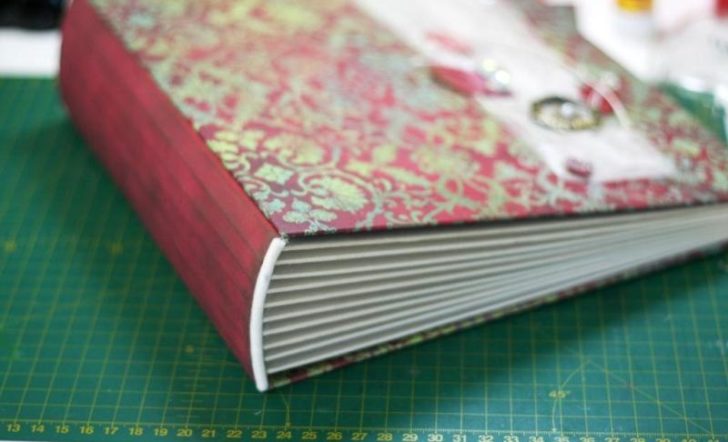
The spine is fixed under the cover
The spine must not be glued to the binding. It is fixed on the cover. The structures are allowed to dry, after which the sheets assembled on gauze are placed in it. We fix the free ends of the fabric and the part of the leaf spine, prudently left when assembling the photo album with our own hands, to the inside of the cover. It is better to make it transparent "Moment". It holds stronger and traces are removed easier. Streaks are simply erased with an eraser.
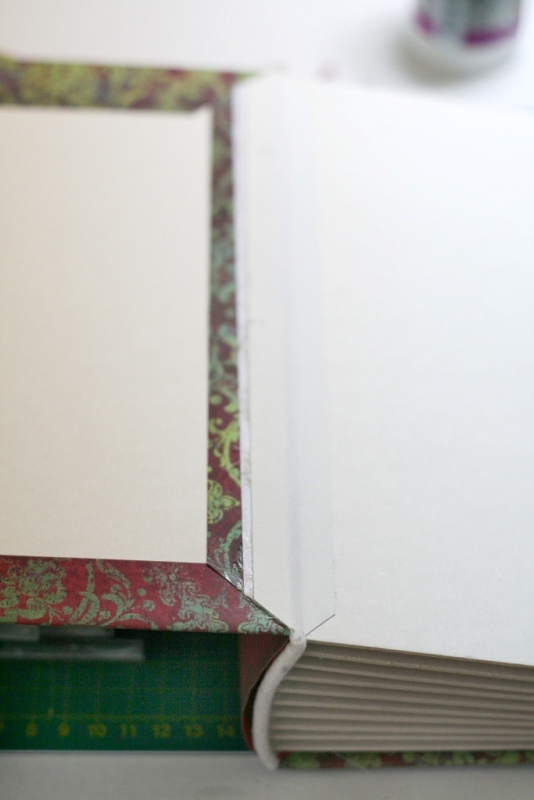
Inside cover
The creation of the photo album is completed. It remains to decorate the cover and fill it with content.
back to index ↑Thematic photo album design ideas
Pleasant memories require a beautiful cut. The selfie that has become fashionable allows you to make photo albums with your own hands for almost every occasion, but still more often they are created for more global reasons.
family chronicle
She can get the look of a full-fledged photobook. Its content will be not only interesting and memorable pictures, but also newspaper clippings, dear to the heart postcards, things closely related to family history. On the title page it is good to write a motto reflecting the creed of the clan.
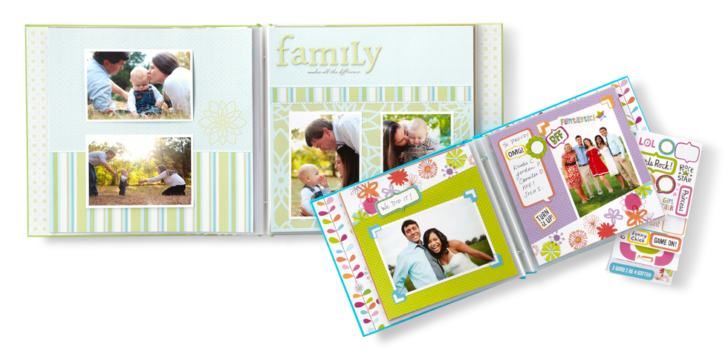
DIY family photo album
How to make a photo album about the family with your own hands? For example, in genealogical chronology. Dig into the family archive. There will surely be many pictures of ancestors that you remember and will be able to tell something to your descendants. These photos will form the first pages of the chronicle. History should continue up to the present day. In the future, your creativity can lay the foundation for a whole galaxy of similar photo albums.
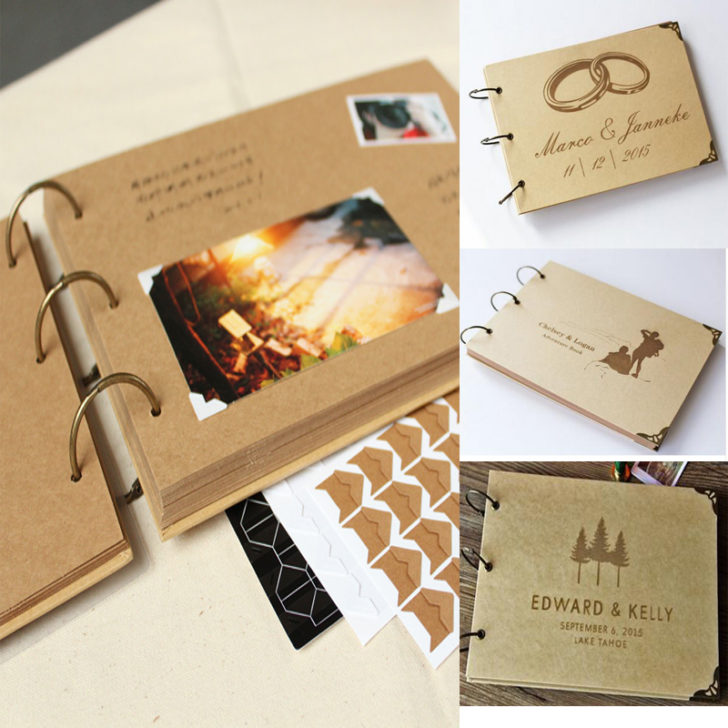
Make a series of family photo albums
If the family leads an active lifestyle and does not forget to record everything that happens in it on camera, then it will be difficult to fit everything into one album. In this case, it is worth breaking all the photos into thematic groups and trying to assemble a photo album with your own hands for each case.
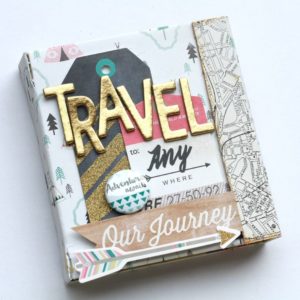
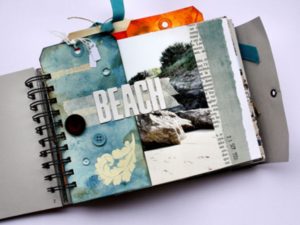
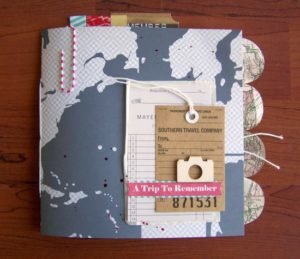
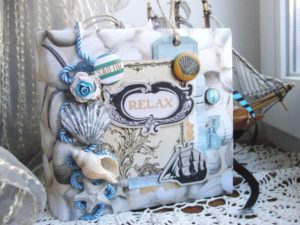
Love to travel - make a selection of pictures of the most memorable trips. An additional decor for such albums can be postcards depicting sightseeing places of countries or trophies obtained, like a dried leaf of an exotic plant. The epic of a sea holiday is perfectly decorated with sand, pebbles, shells from the beaches, gull feathers, twigs of algae.
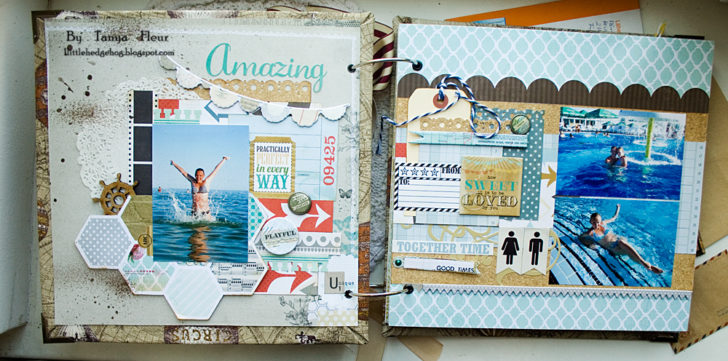
DIY photo album about travel
Do not be lazy to describe what is depicted on the pages. It will be interesting to read about your adventures to posterity.
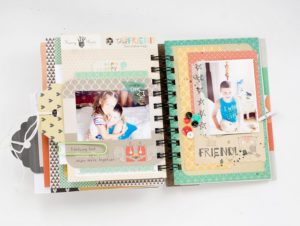
Start working on a photo album with your own hands, and design ideas will arise in your head. All relatives can be involved in the case. Give them a page and ask them to decorate it however you like. You can ask to compose a poem or write down a story from life, make a drawing with your own hands.In a family photo album, any illustration will be significant.

Make a photo album for the whole family
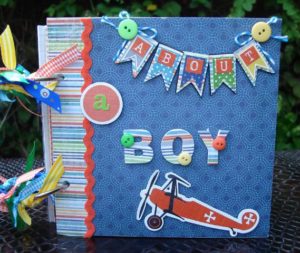
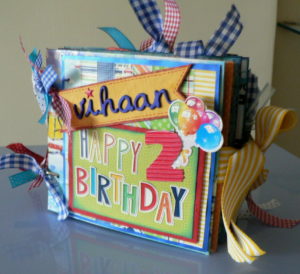
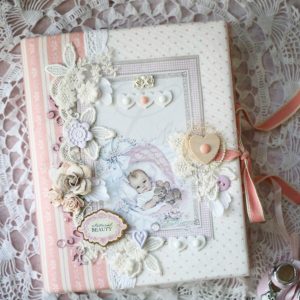
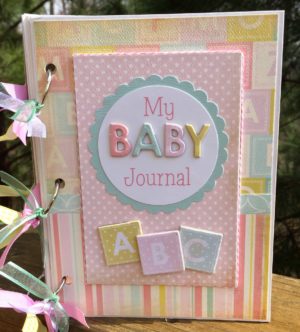
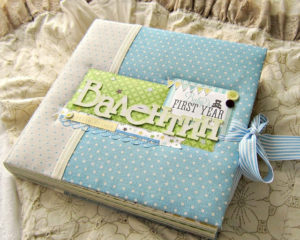
DIY children's photo album
“Do not think that the term for making a child’s photo album with your own hands will be limited to one day - it will be a long process”
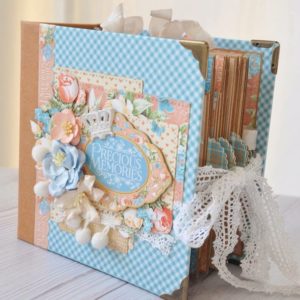
The appearance of a child is probably the most important event in the life of every family, overshadowing even the wedding, so the desire to perpetuate every minute of a child's life is quite natural. How to make a photo album of a child with your own hands so that what is reflected in it causes tenderness even years later? Pay attention to details and correctly plan the sequence of filling with photos. From a pile of pictures, try to select symbolic images that tell about a new milestone in a child's life.
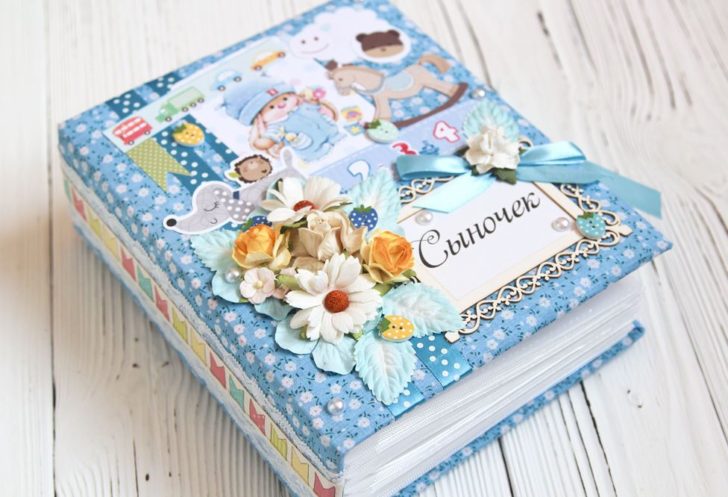
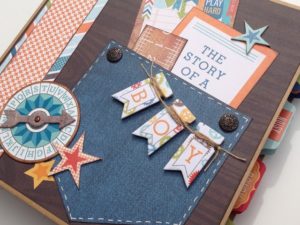
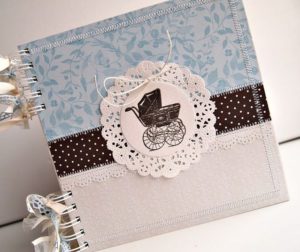
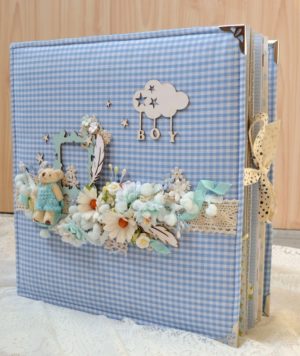
DIY children's photo album
You can start the story from afar. Let a photo of the last days of pregnancy appear on the first page. An excellent addition to them will be printouts of ultrasound. The logical continuation will be shots from the discharge photo session in the celebration hall of the maternity hospital. Followed by pictures with relatives. Later, they will be pasted into the photo album with their own hands: the first smile, the first tooth, the first independent breakfast, the first steps. For every mom, these events simply stick in her memory, and a desire is born to share her happiness with the whole world.
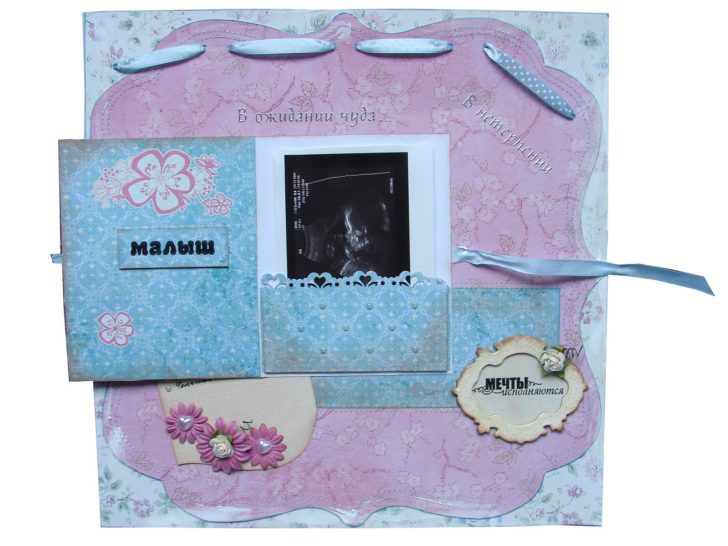
Ultrasound printouts are a great addition.
Ideas for designing photo albums for kids are a lot. They can be made a repository of children's relics by gluing inside a strand of the first hair, ribbons from a bonnet, a piece of a bow with which a blanket was tied. Over time, it will be possible to add children's drawings and crafts and greeting cards brought from the garden and school. Then they will be replaced by artifacts of achievements in the form of diplomas and awards.
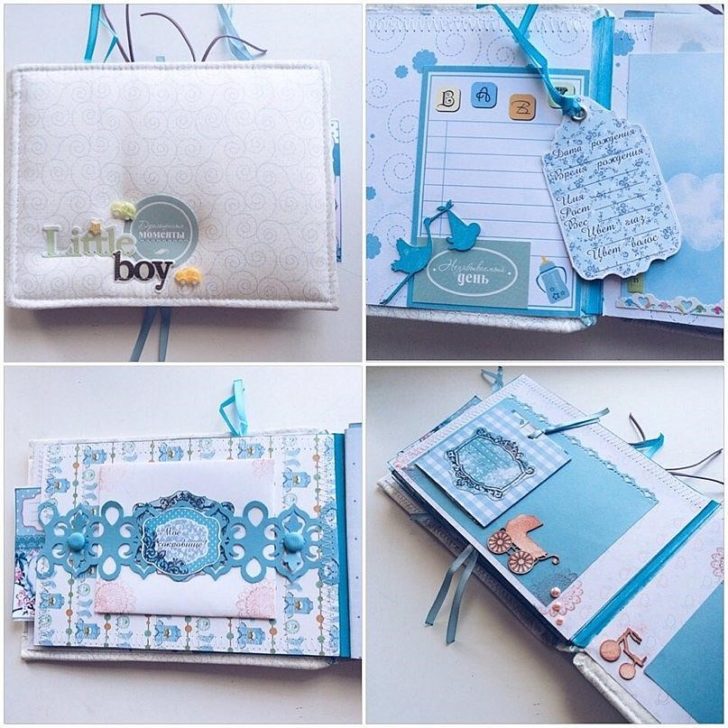
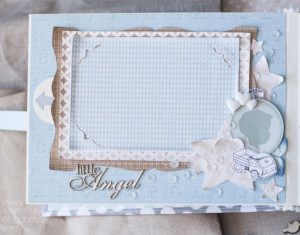
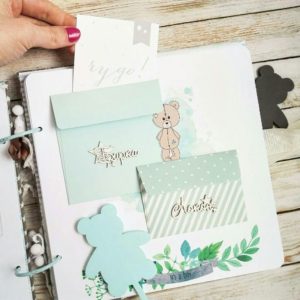
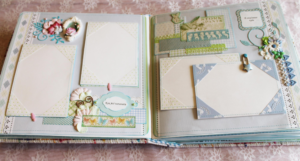
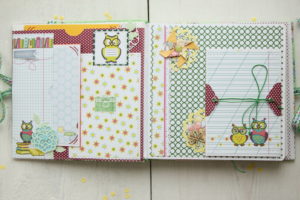
An example of the design of the pages of a children's photo album
Do not think that the term for making a child's photo album with your own hands will be limited to one day - it will be a long process. Replenishment of its contents will occur as the object grows.
One more thing. Children often delight us with pearls. Don't be lazy to record them in the same album. It will be a great occasion for fun years later and will decorate the pages well if it appears on them in color.
Wedding photoalbum
The wedding day is special for both newlyweds. Naturally, in the memory you want to save every moment of it. A huge number of pictures from the celebration will require system storage in a decent design. So how to make a DIY photo album as unusual as the event itself?
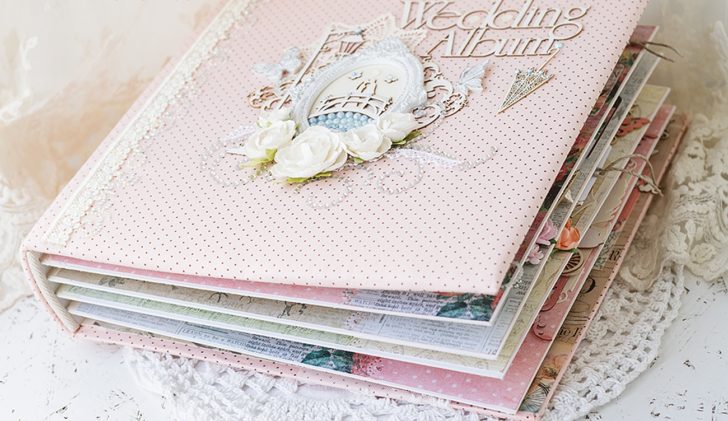
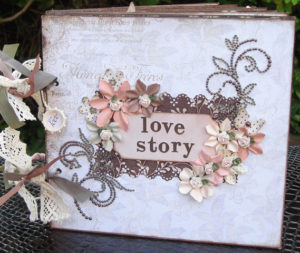
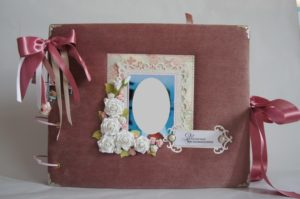
DIY wedding photo album
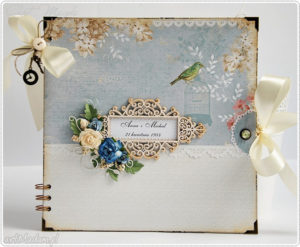
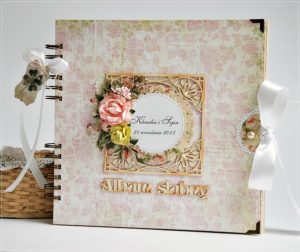
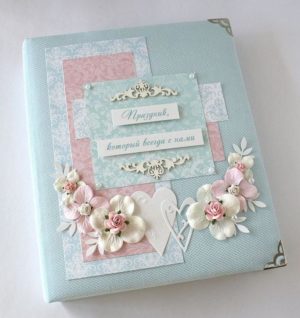
It is not trivial to decorate it. This will help the bride's accessories, lace, ribbons, elements of wedding paraphernalia. Photos can be decorated with dried flower buds from a young wedding bouquet. Over the years, such little things will become incredibly valuable and touching. Here are some more photo album design ideas.
1. Recreate the historical accuracy of the wedding celebration by grouping photos according to the chronology of its course.
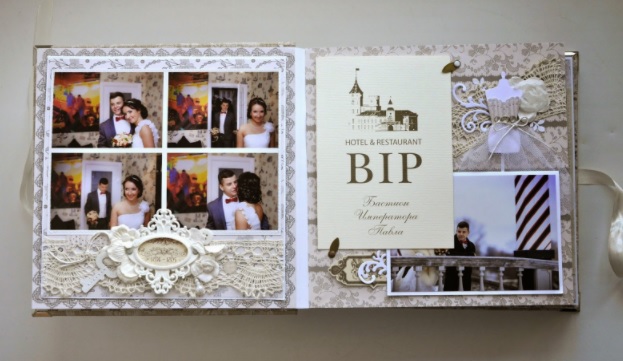
Recreate the chronology of events on album pages
2. Do not be afraid to put so-called reportage and staged pictures in the album. They can be quite funny.
3. Try to give the design of the photo album a specific stylistic direction. It can be retro or something more modern.
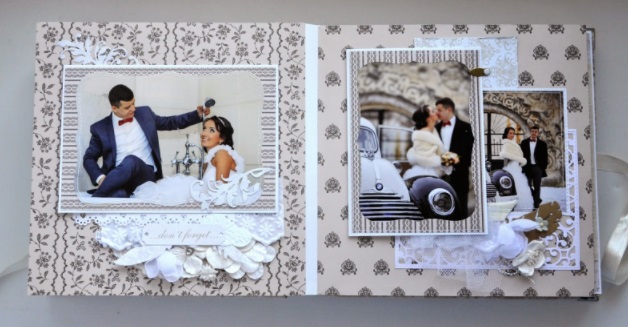
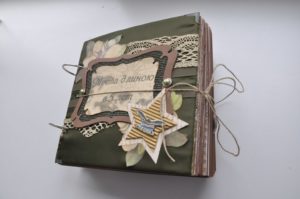
Give the album a general stylistic direction
4. Select personal pages for the portraits of the heroes of the occasion and VIP guests.
5. When making a photo album with your own hands, supplement it with images of landscapes that served as the backdrop for the wedding event.
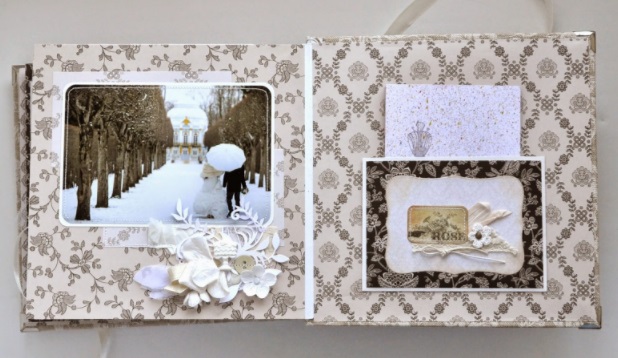
Complete the album with images of landscapes
6. Multi-colored pages in the album will look original.
7. Bet on the originality of the pictures themselves. Let them be highlighted in sepia or decorated to look like a painting. Dilute your color shots with black and white.
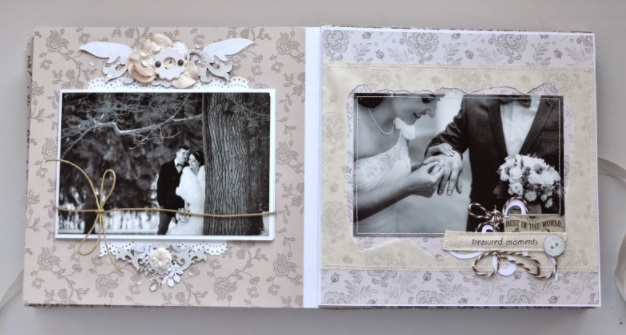
Dilute your color shots with black and white.
8. In the wedding album, you can use several photos of the newlyweds taken on the eve of the wedding, as well as telling about the ups and downs of preparing for it.
9. Separate the official part and the party. Thus, you will have two albums with photos at once.
10. A photo collage of small format pictures is also interesting.
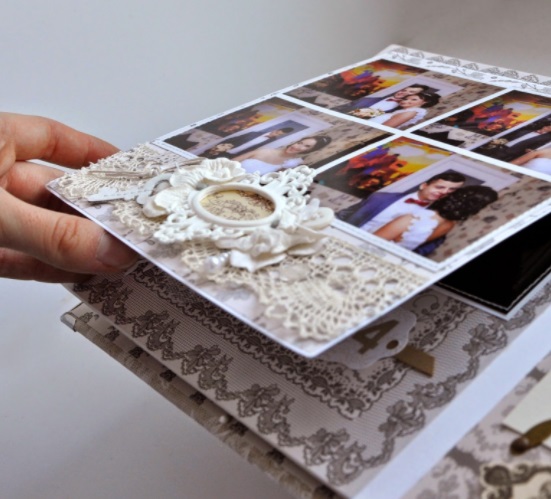
Photo collage of small format photos
The design ideas used when creating a photo album with your own hands can cause some imbalance in the perception of compositions due to the congestion of frames by the actors. When placing close-up group shots in a self-made photo album, try to place them on a spread so that the eyes of the guests captured on them are directed in one direction. Then there will be no impression that they are looking at each other. Also, the spread is not perceived in the best way, literally “littered” with small photos. Use a compositional approach to their location, dilute the pictures with texts and decorative elements. Let your design talents make a splash!
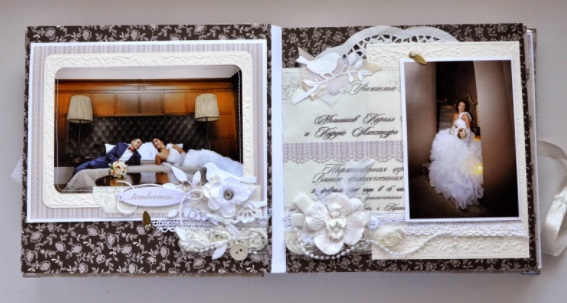
Spice up your shots with text and decor
Conclusion
The proposed options for creating and filling photo albums are just the tip of the iceberg called scrapbooking. Knowinghow to make a photo album, you will ensure that it excites memories of bygone days and helps to bring loved ones closer together.
Photo gallery - do-it-yourself photo album
Video
