The design of flower pots, especially the inexpensive segment, is rarely highly decorative. Building them on the windowsill gives rise to a rather dull spectacle, the impression of which cannot be corrected even by the lush greenery of the plants living in them. But what to do if the budget does not allow you to buy something more decent, but you really want to maintain the atmosphere of comfort and celebration? Try to ennoble flower pots with your own hands.
You can transform existing flowerpots in a variety of ways. Use literally everything that is found in home bins: from shreds to cereals. Just a little imagination plus a little effort - and your home garden will sparkle with new colors!
Where to begin?
Do you think with the selection of consumables and the search for ideas for decorating flower pots? But why not look deeper into the problem? Is it worth it to spend money on an unsightly abode for flowers? Perhaps you can make the flowerpot itself at home? The advantages of such a hand-made are on the face. Firstly, you get a product of the required capacity, and secondly, you fill the atmosphere with 100% exclusive.
A handmade pot will become 100% exclusive
What and how to make a flower pot
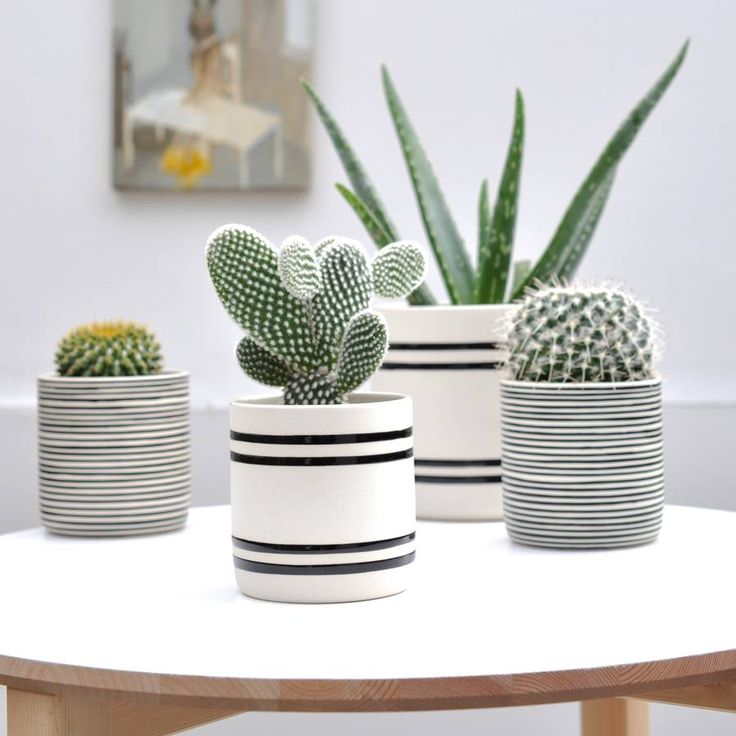
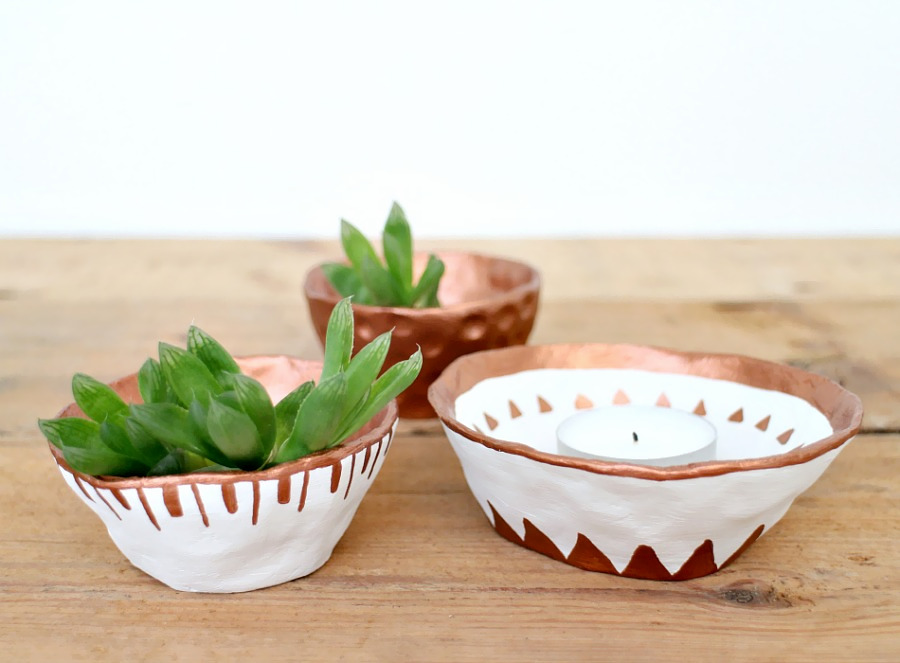
Polymer clay
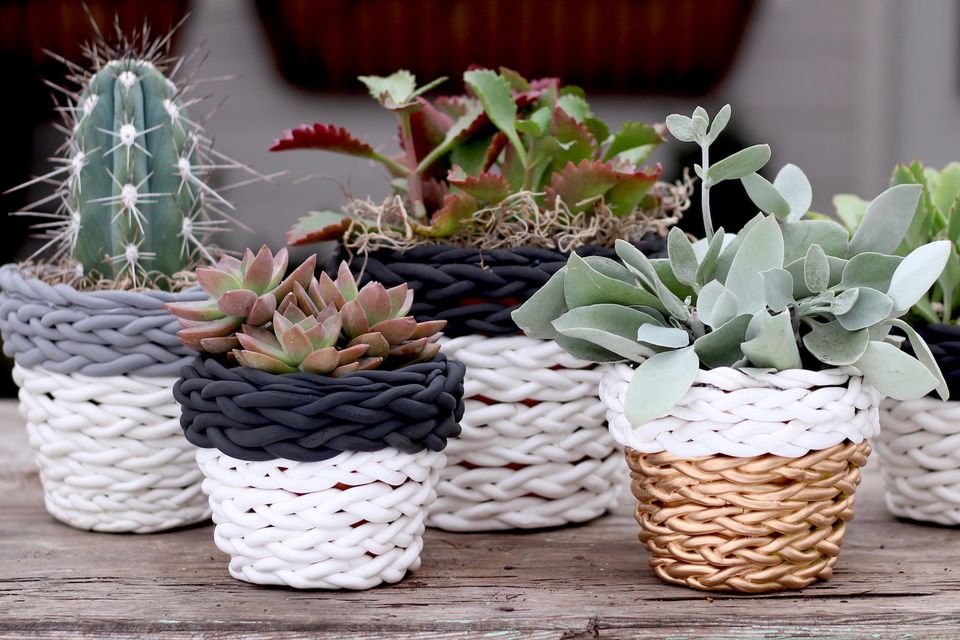
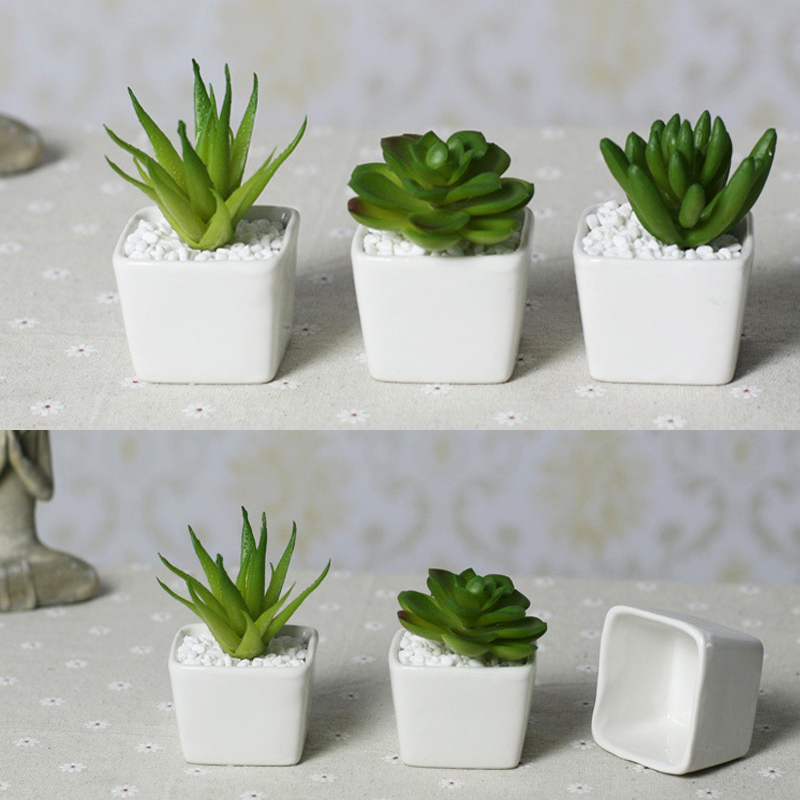
Mini-pots made from this material will be a great addition to a minimalist environment.
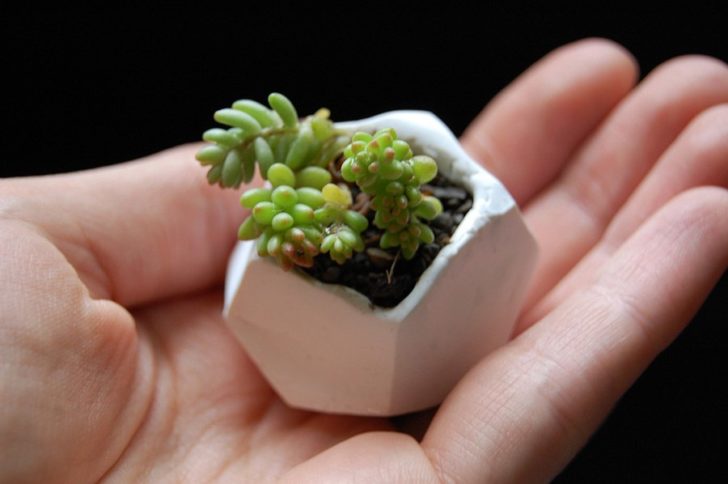
Polymer clay mini pots
To make them you will need:
- small spoon;
- knife;
- polymer clay;
- stove.
Modeling a flower pot with your own hands begins with kneading clay until soft. As soon as it becomes pliable enough, immediately form it into a ball.
The blank must be sent for 10 minutes to the freezer. The cold will harden the material a little and facilitate further work on the formation and decoration of the flower pot.
This will be followed by the stage of preparing the place for falling asleep the earth. To do this, using a spoon from our ball, you will need to select excess clay. When everything is ready, the workpiece is again sent to cool.
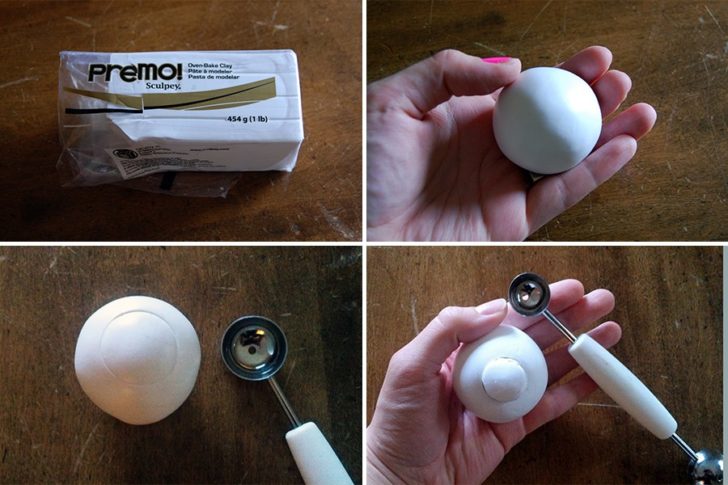
Shape the Clay into a Ball
The last step is to shape the outer surface of the flowerpot. It can be left with a round or sharp knife to align the walls to get a cube. Abstractionist ideas of modeling flower pots are interesting.
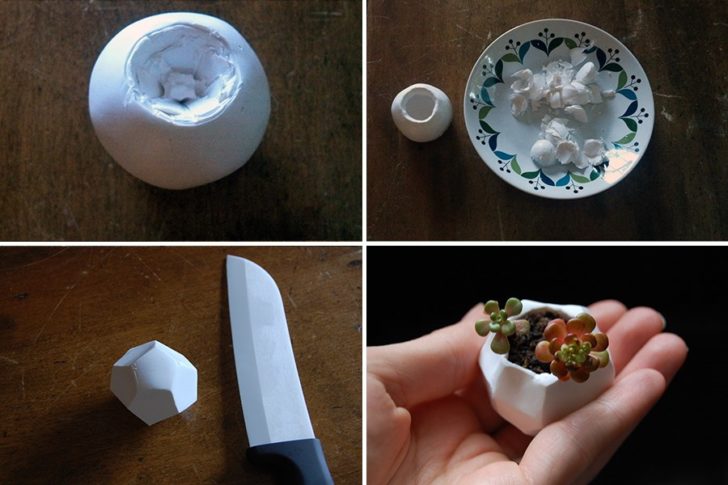
Make a notch and give the pot the desired shape
The finished product must be baked in the oven. Information about the temperature regime and the nuances of the process is available on the clay packaging. Whether or not to decorate pots for flowers molded by one's own hands is a rhetorical question. In principle, they will initially be good for their exclusivity, but this may not be enough for non-minimalist interiors. You will have to add attractiveness to flowerpots by painting, painting in different colors. You can do decoupage on a flower pot or use any other decor technique.
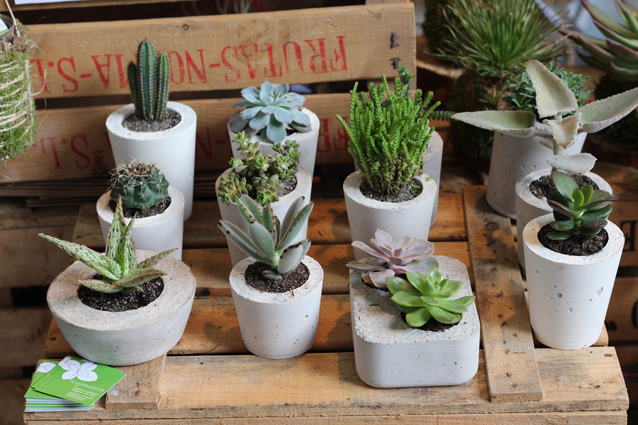
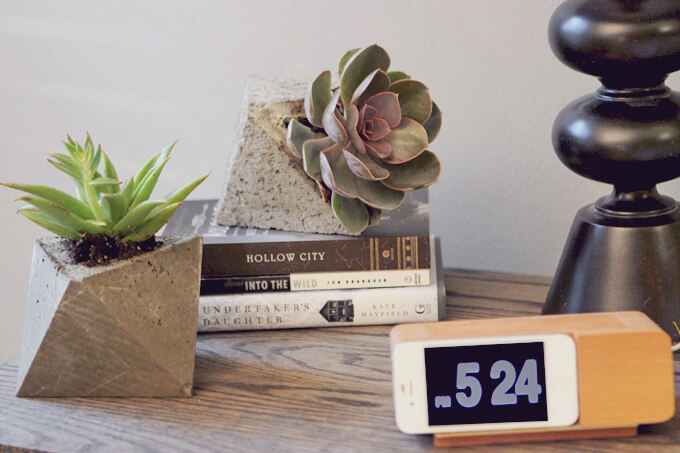
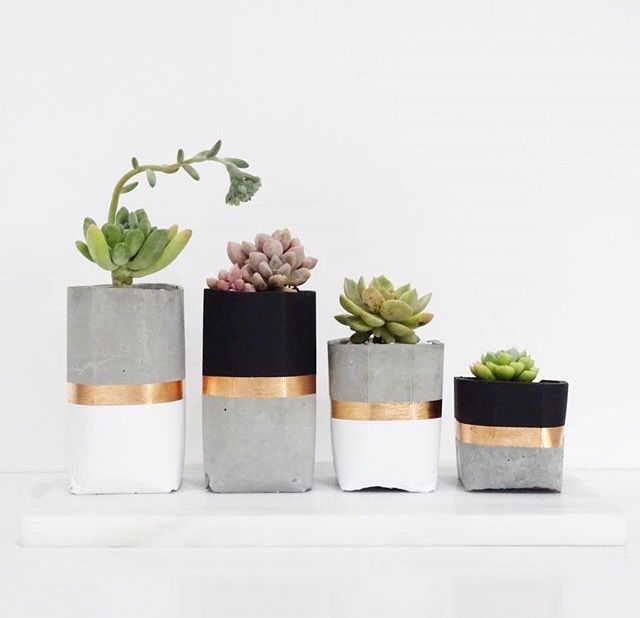
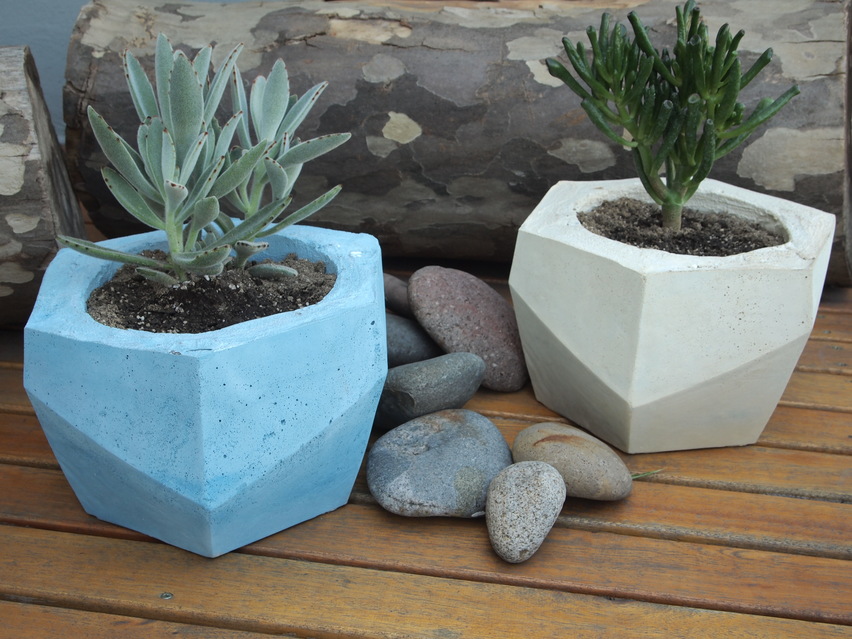
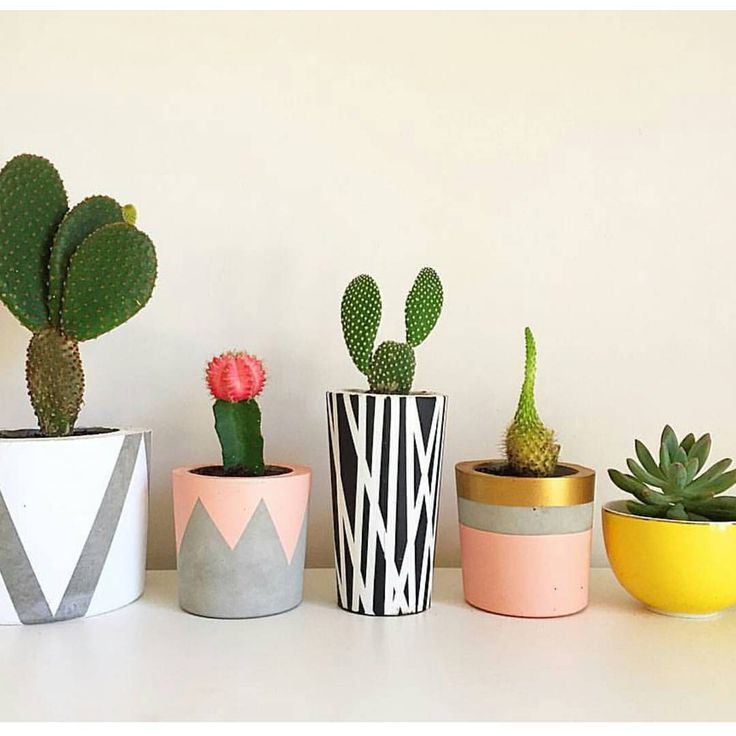
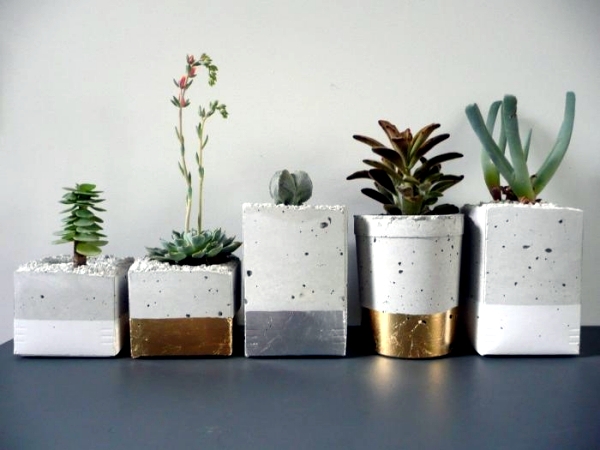
Cement
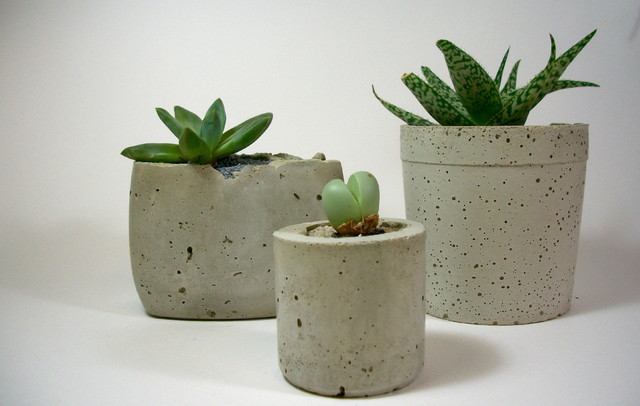
Cement flowerpots differ in the high durability and originality of design. They are welcome guests not only in home interiors, but also in open spaces of gardens.So how to make a flower pot from this material?
Depending on what size it is planned to make a product for it, either it will be necessary to assemble the formwork, or use plastic containers as it. Let's focus on making a small accessory.
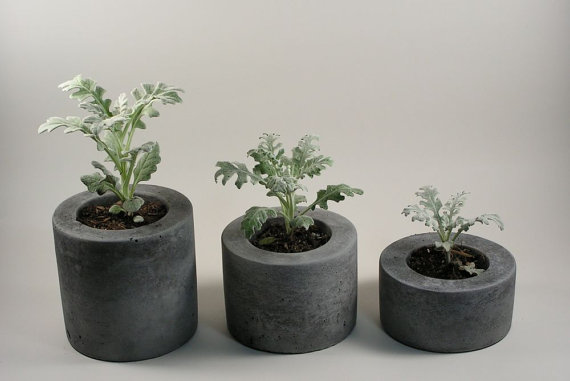
Cement flower pots
At a plastic bottle of 5 liters, we cut off the neck so as to get a rectangular or square blank. Lubricate its inner surface with oil. We mix the cement mortar and pour it into the resulting container. We also lubricate the two-liter plastic bottle with oil, but already on the outside and immerse it in the center in the poured portion of the solution.
When making flower pots with your own hands using this technology, you need to take into account that the smaller the inserted core, the thicker the walls of the finished product will be and, naturally, its weight will be greater. Therefore, when making voluminous flowerpots for the garden, it is better to collect the formwork for them immediately in the places designated for location.
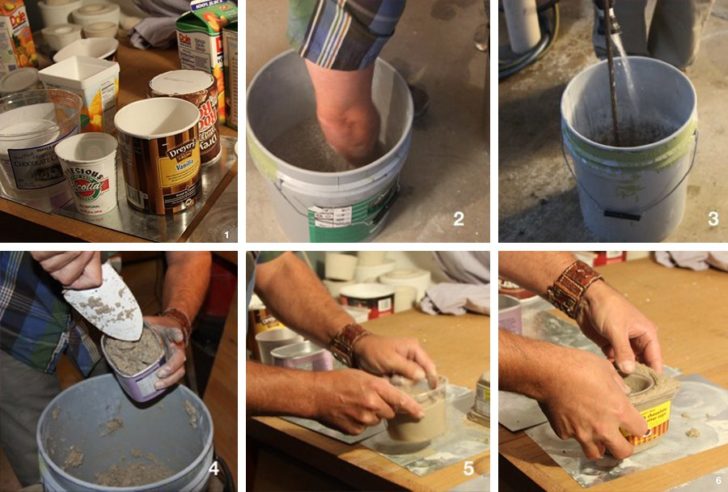
The process of making a flower slide from cement
When the cement sets and sets (usually takes 2 days), the plastic parts are removed. If the inner bottle can be simply removed, then the outer part will need to be cut off.
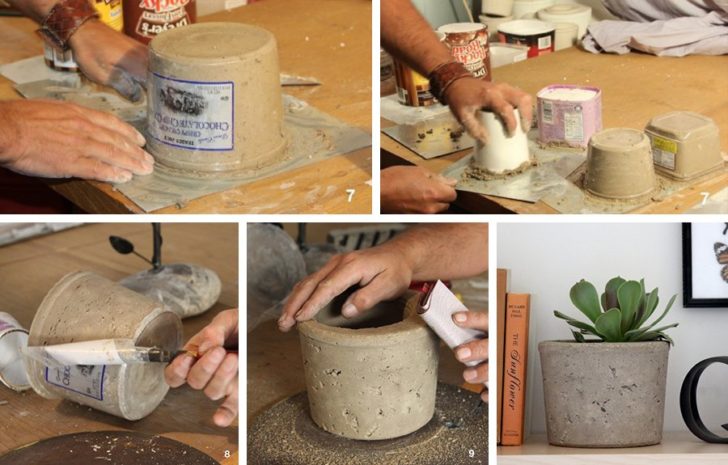
The final stage of making a flower pot
Decorating flower pots is often done with acrylic paints, although other design options are not excluded.
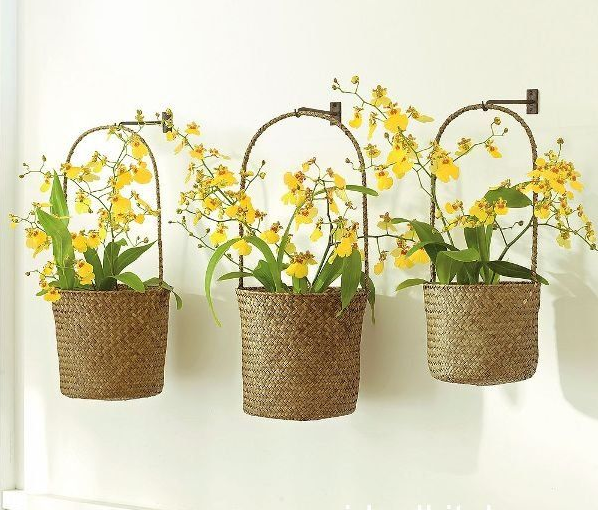
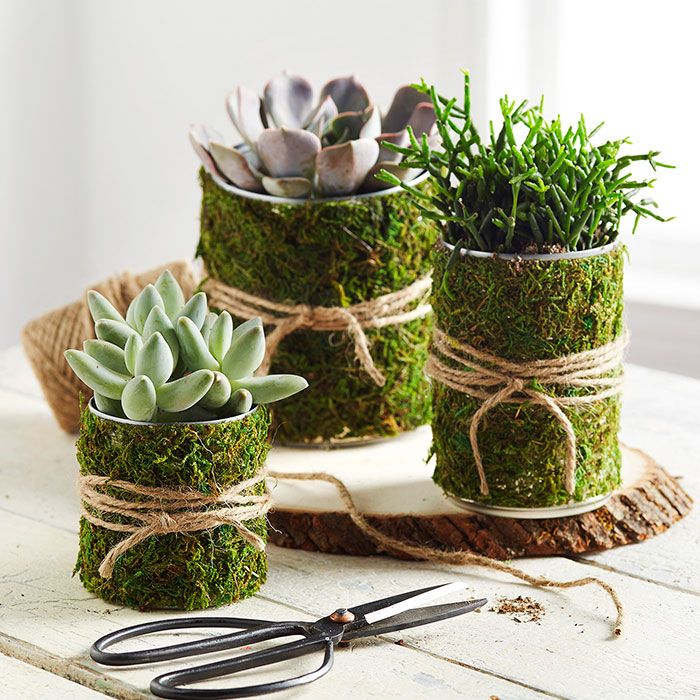
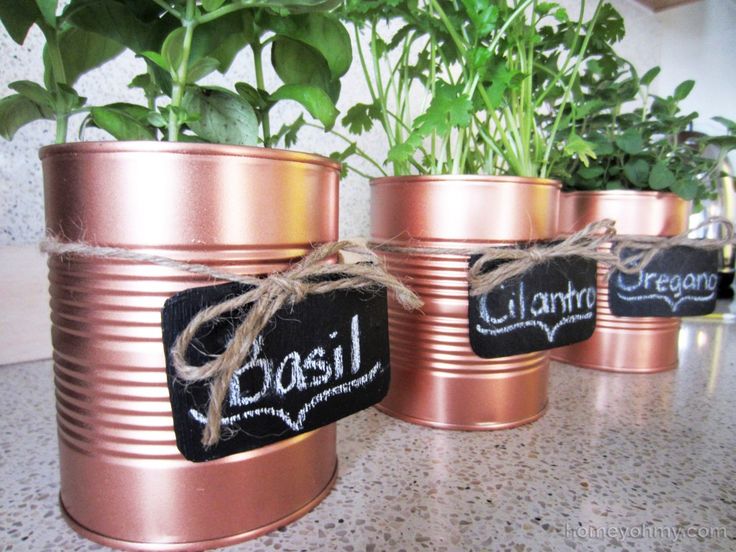
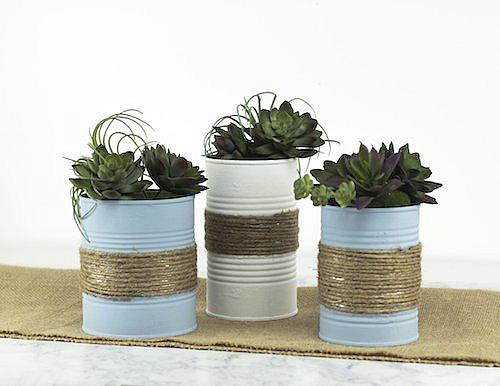
rods
Another original answer to the question of how to make a flower pot. A flowerpot woven from twigs will appeal to fans of eco-style. The process of weaving for the uninitiated cannot be called easy, but the effort expended will be rewarded at its true worth.
If weaving something like a basket or a bird's nest is beyond your power, look for an easier option. How do you, for example, such an idea of \u200b\u200bweaving flower pots, like simply tying them with rods? This is where almost everyone can try their hand.
In addition to the supply of even twigs, you need to prepare:
- a skein of twine;
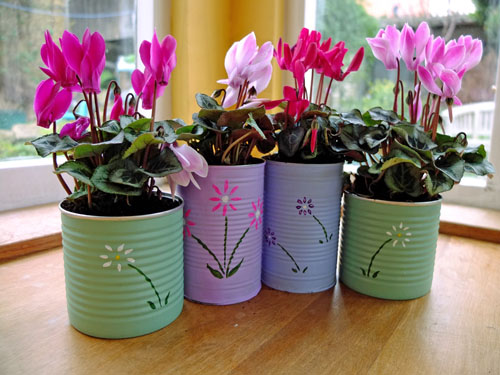
- a piece of burlap;
- tin cylindrical can;
- glue.
Attach one of the twigs in the base jar and cut it to its height, making a slight allowance. According to the resulting blank, it will be necessary to cut off the rest of the branches.
Further, work on a flower pot with your own hands will continue the actual weaving process. Lay the twigs in one row and begin to tie them together with a dense thread so that you get a canvas like a mat.
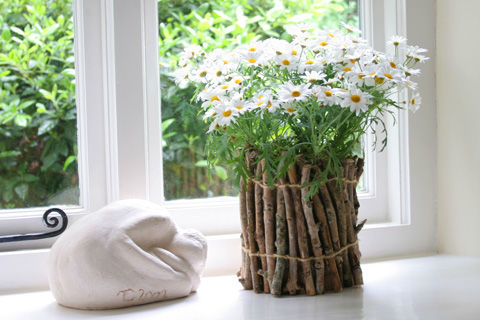
A wicker flower pot is not difficult to make with your own hands
The cylindrical base is pasted over with burlap. After drying, the jar is wrapped in a mat, which is fixed with several turns of twine. You can add picturesque product. The simplest do-it-yourself decor for flower pots is made with colored jute cord, which is used to replace twine.
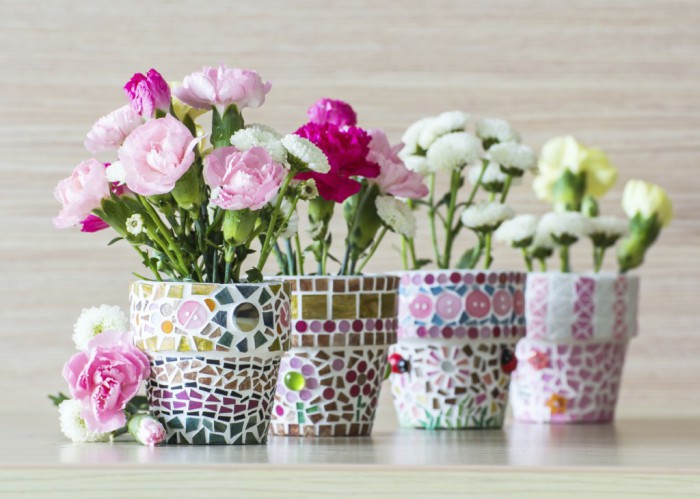
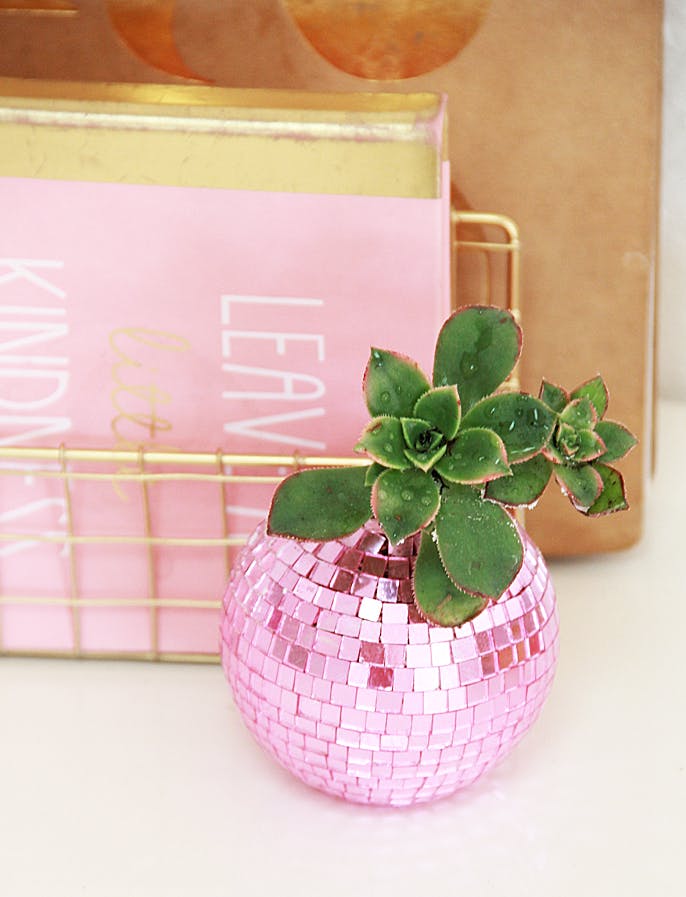
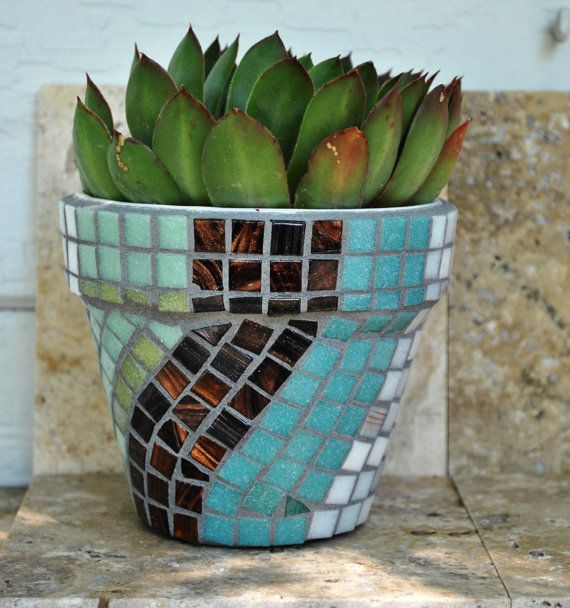
mosaic flowerpot
“In the mosaic technique, you can decorate both a small flower pot and a bulky garden flowerpot”
Incredibly aesthetic product. Mosaic elements can be shards of broken dishes, colored glass, small pebbles and so on.
In mosaic technique, you can decorate both a small flower pot and a bulky garden flowerpot. To create a masterpiece, you will need: mounting mesh, plaster mortar, tile grout, tin base. The role of the latter can be a tin can or a whole bucket.
DIY mosaic flower pot
So, how to make a mosaic-type flower pot.
The tin is covered with a layer of plaster and wrapped with a piece of mesh so that it “drowns” in it. The field for creative activity is ready. You can start laying out a mosaic pattern. When everything is ready, the product should be left to dry. The final touch of decorating flower pots of this type will be the masking of voids between the masonry elements with grout. Excess mixture is removed with a soft cloth.

Mask the voids between the masonry elements with grout
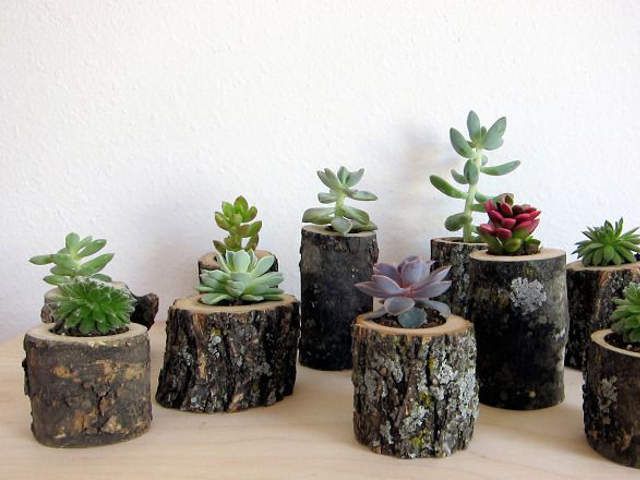
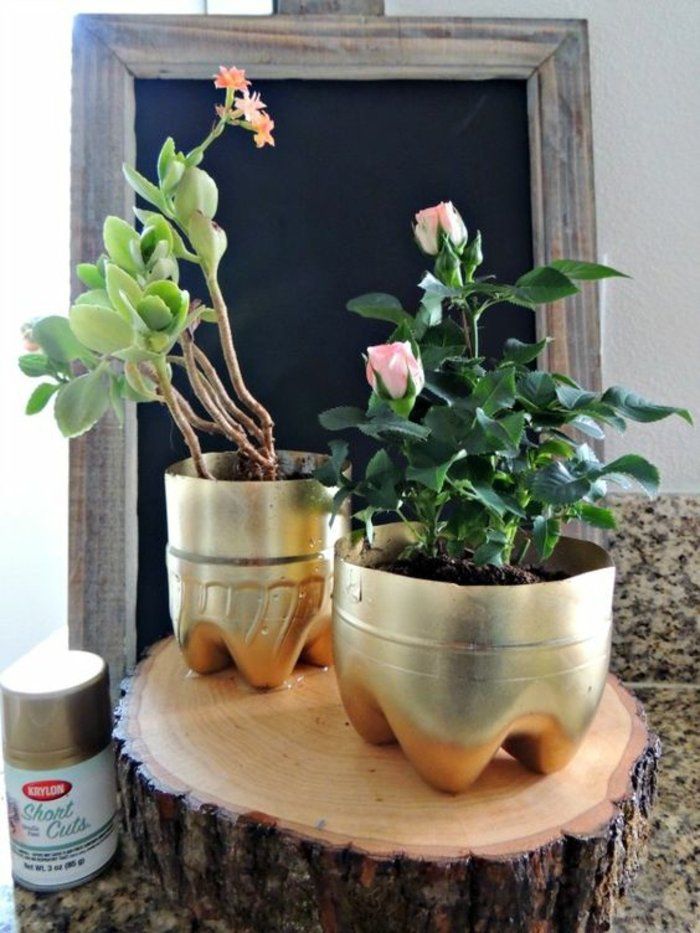
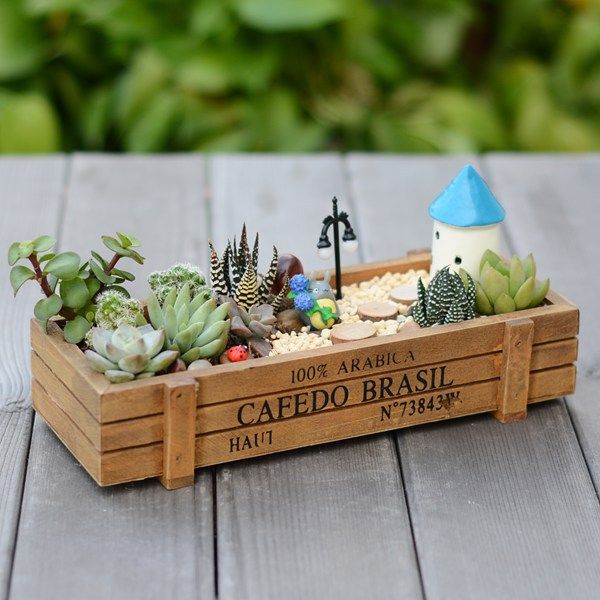
Tree
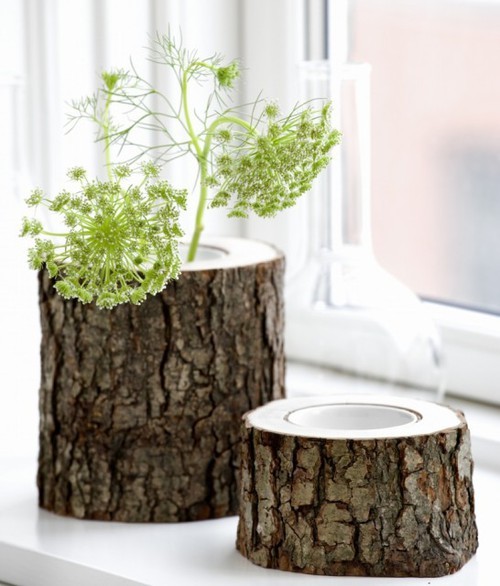
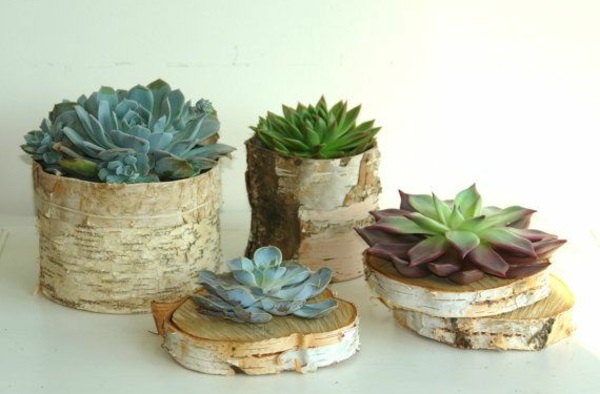
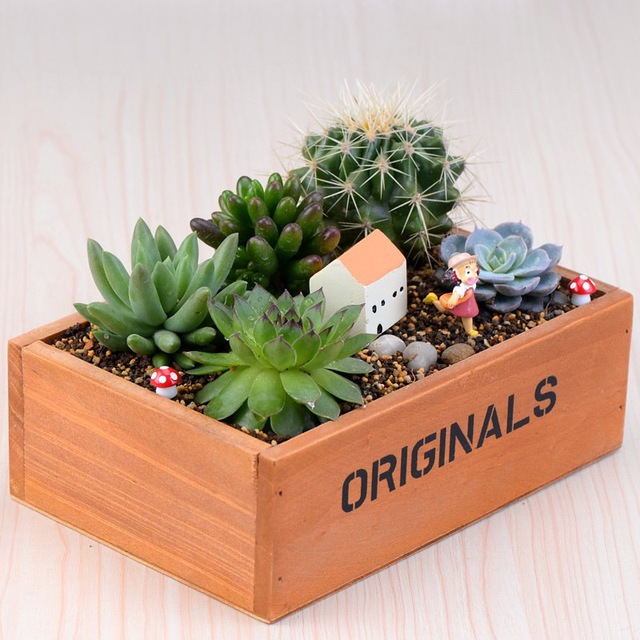
Just a unique floor pot can be obtained from a piece of simple wood. For work, both a stump and thick branches or pieces of logs are suitable.
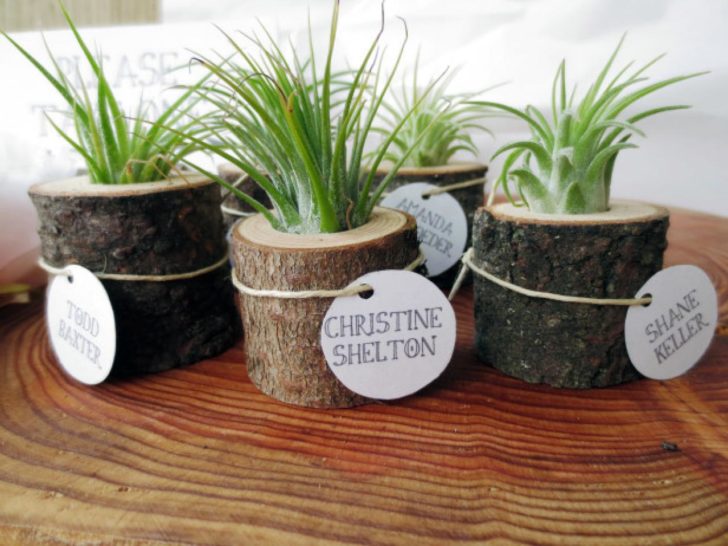
Wooden flower pots
The very idea of creating flower pots is simple, like all ingenious. To obtain a flower house, a core is removed from a wooden blank. The resulting hole is cleaned and thoroughly polished.
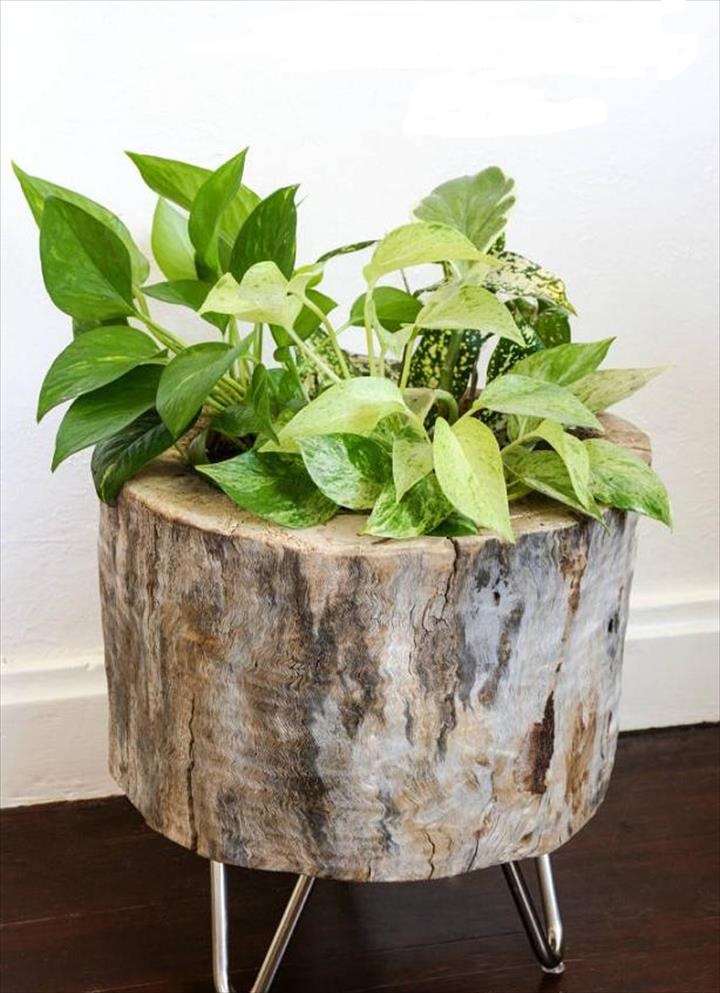
The original outdoor stump pot
Even removing the bark can become a decor for flower pots with your own hands. A layer of varnish will help to emphasize and fix the natural beauty.
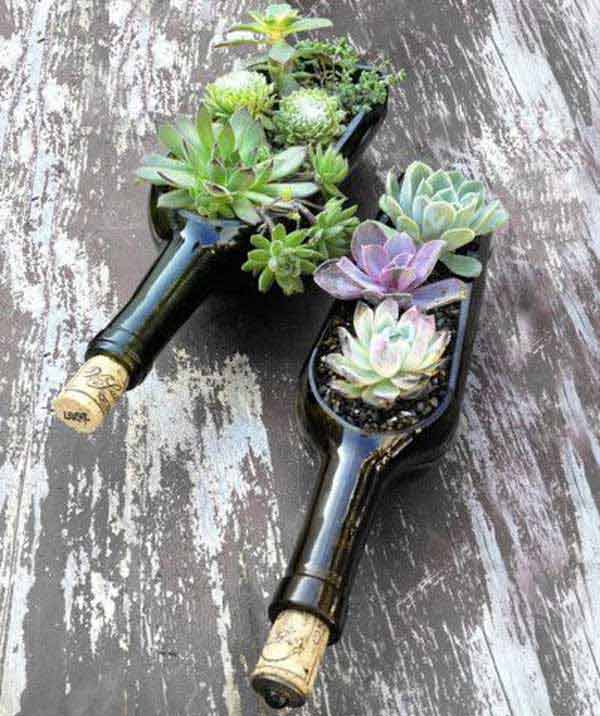
Coconut
The material for work will be its shell. It will make an excellent container for succulents and those plants that do not need frequent watering. In such a flowerpot it is good to keep ampelous plants.
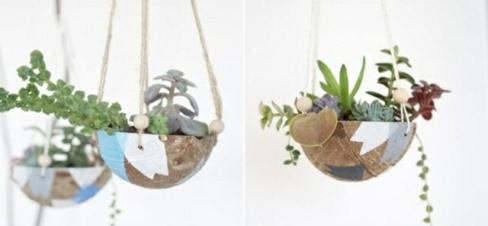
Flowerpot for ampelous plants from coconut
Making coconut flowerpots is not difficult. The nut is cut in half, the pulp is removed from it. In the lower part, several drainage holes are made with a drill. A pair of holes is also made on both sides of the halves of the shell. They will be required to thread the chains or cord, on which the structure will subsequently be hung.
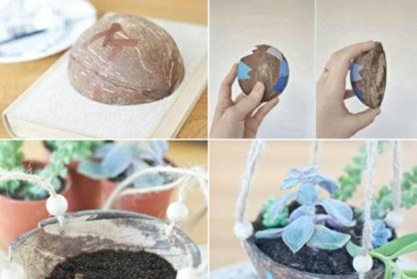
Making coconut flowerpots is not a laborious process.
How to decorate a flower pot - decide for yourself, but, as practice shows, such flowerpots are usually left in their original form. They are very exotic even without additional decorations.
Felt
DIY flower pots can be created from felt. By the way, today such products are in trend. They can be given a variety of shapes. A felt nest is created by stitching the parts together.
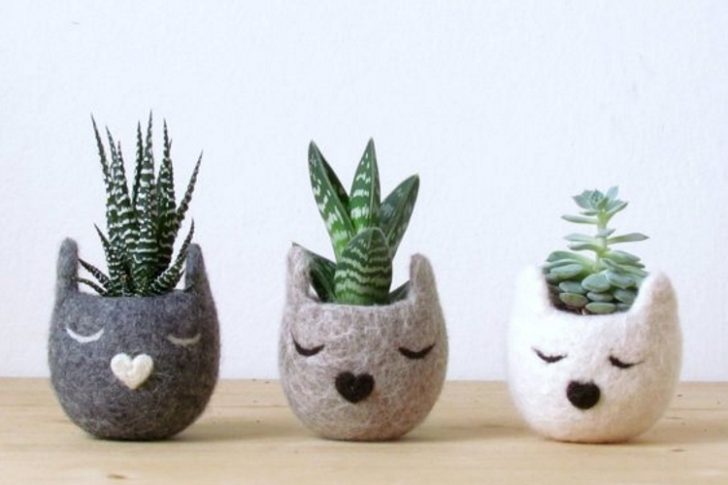
Funny felt flower pots
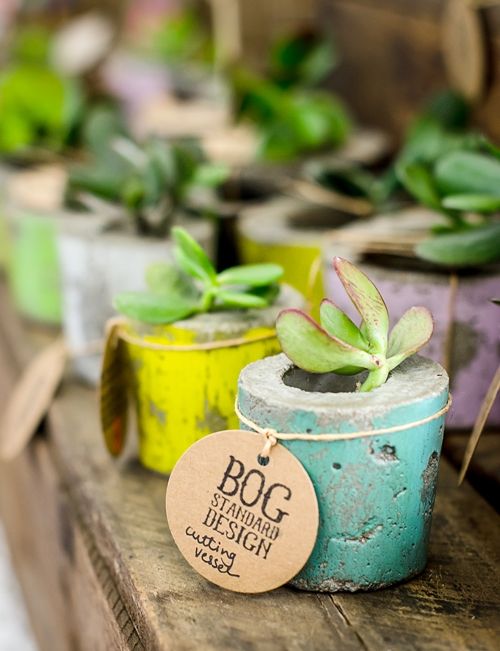
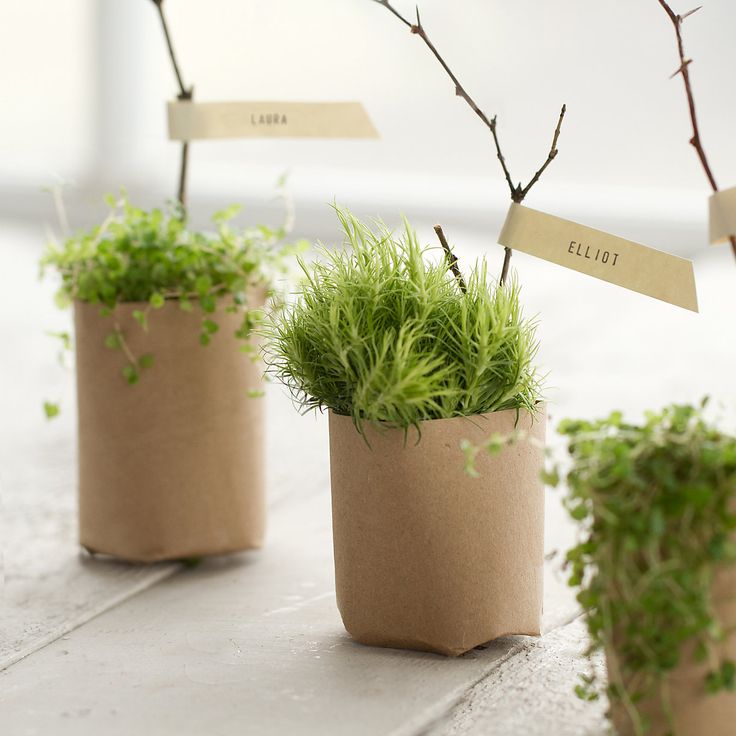
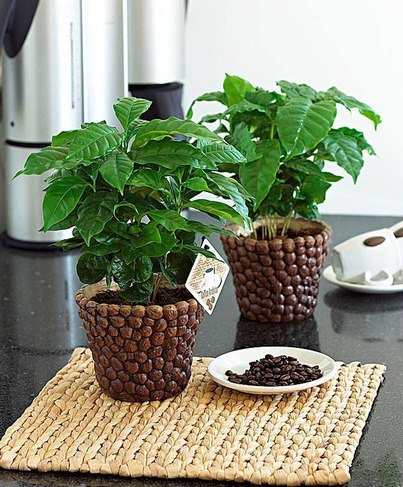
Wine corks
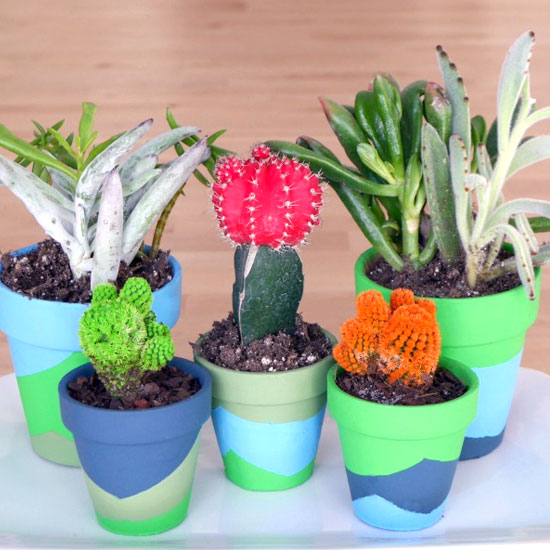
From them you can make a whole mini-garden of cacti. In principle, cork pots are suitable for seedlings of any slow-growing type of vegetation. We were looking for non-standard ideas for flower pots - please! Take the cork, choose the core with a knife, fill it with soil and the mini-pot is ready.
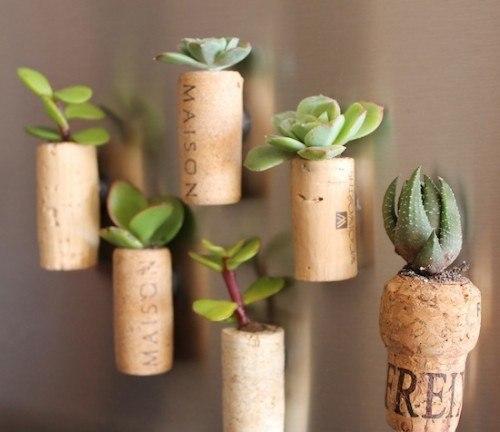
Mini garden of succulents in traffic jams
The beauty is that such a pot can be attached anywhere, even on the refrigerator. To do this, you just need to stick a powerful magnet to it.
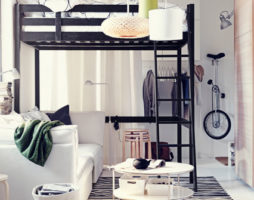
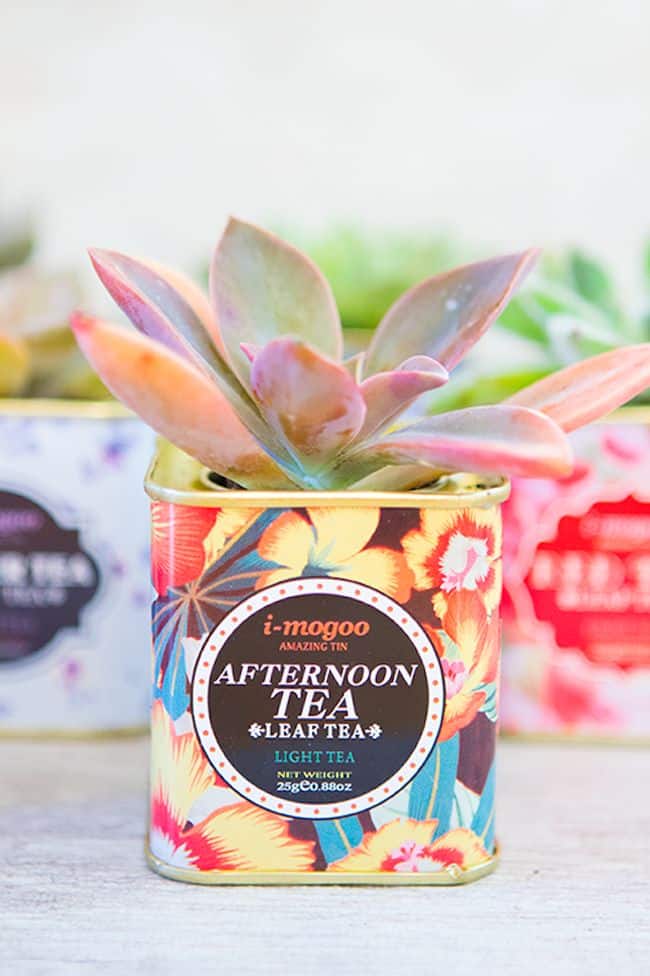
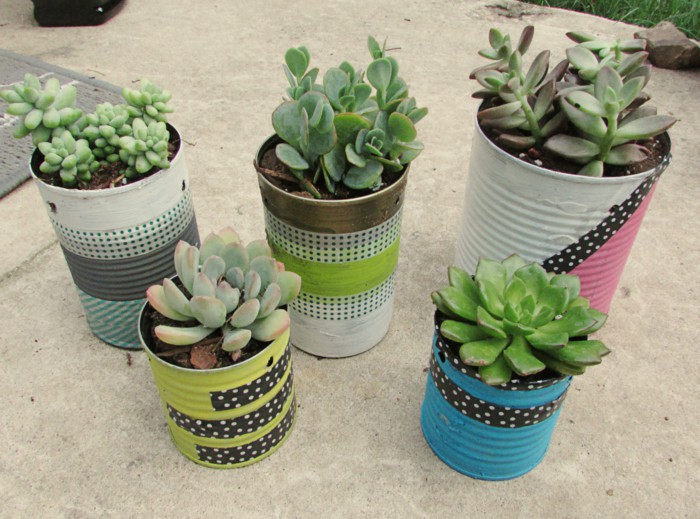
Flower pots from improvised materials
“If you don’t want or don’t know how to make a flower pot yourself, but you still want to have a colorful greenhouse, plant flowers in a dish”
You can build interesting decorative pots from anything. Feel free to use old computer or vinyl discs, ceramic tiles, mirror trimmings.
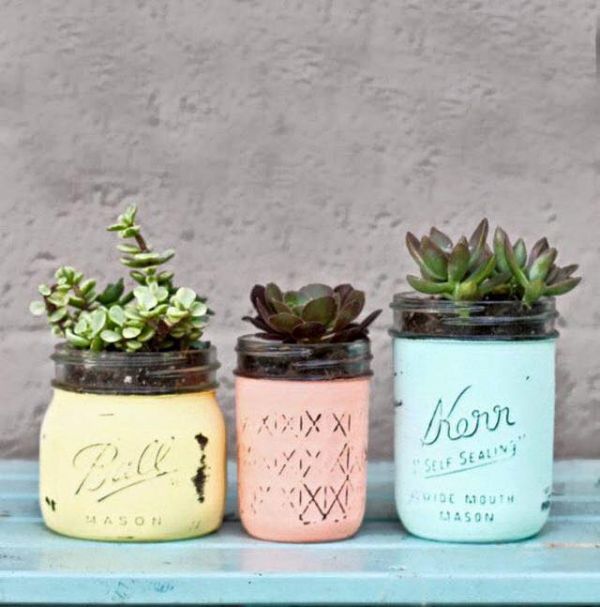
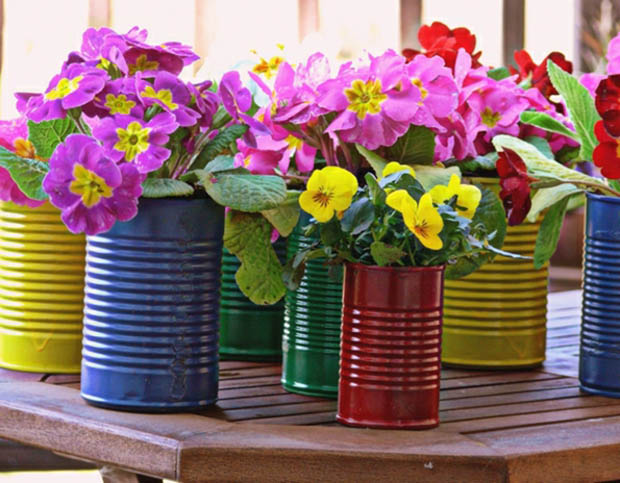
If you don’t want or don’t know how to make a flower pot yourself, but you still want to have a colorful greenhouse, plant flowers in a bowl. Suitable porcelain cups, teapots, clay containers. Such flower arrangements will enliven the country style, will be a great addition to Provence.
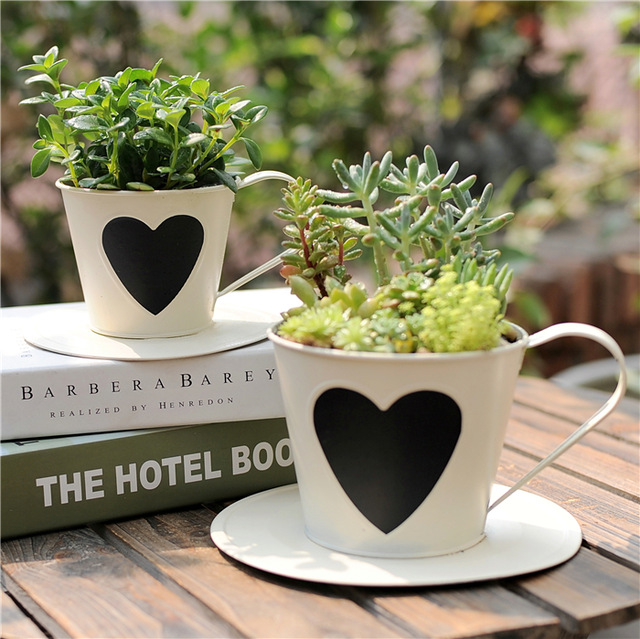
Flowers in cups will enliven any interior
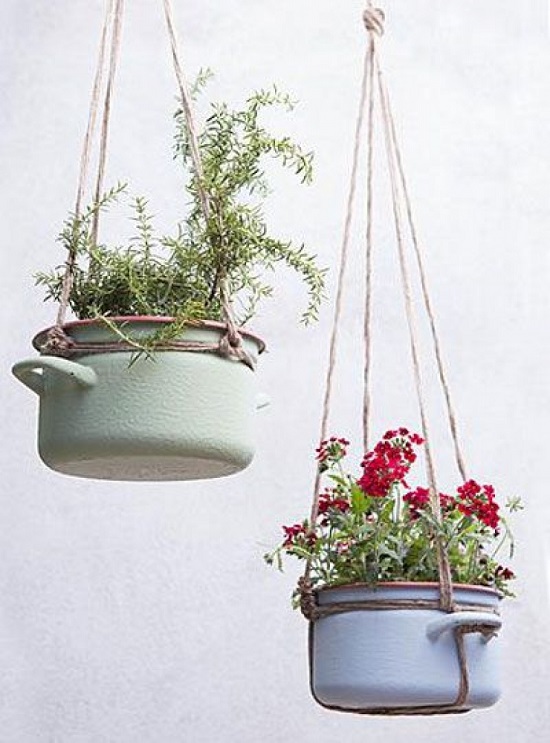
You can also plant plants in enameled pots, but they will have to be decorated, since in their original form this option is suitable for furnishing only a country house. Decoupage will look most spectacular on a flower pot-pan.
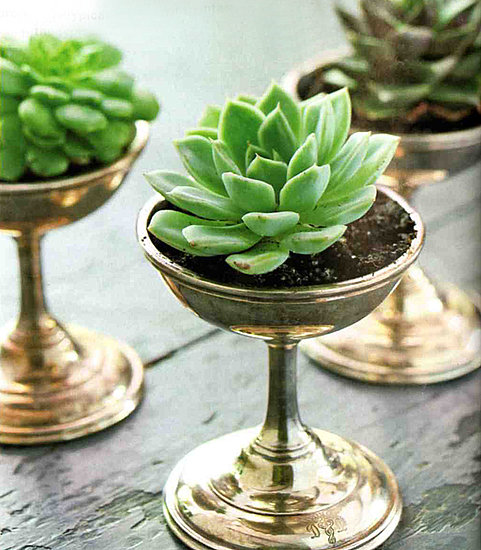
Look for an unusual pot for bonsai - adapt a salad bowl for this role. All that needs to be done in this case, carefully, so as not to split the glass or plastic, drill drainage holes in the bottom of the dish.
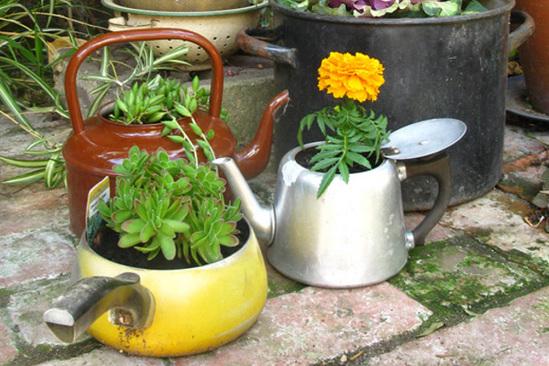
Flower pots for giving from improvised materials
From what they just do not try to create flower pots with their own hands! Sometimes even cosmetic bags come into play. Take a look around. Surely there are several items that are quite capable of becoming a great home for your green friends.
back to index ↑How to decorate flower pots with your own hands
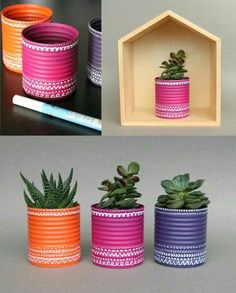
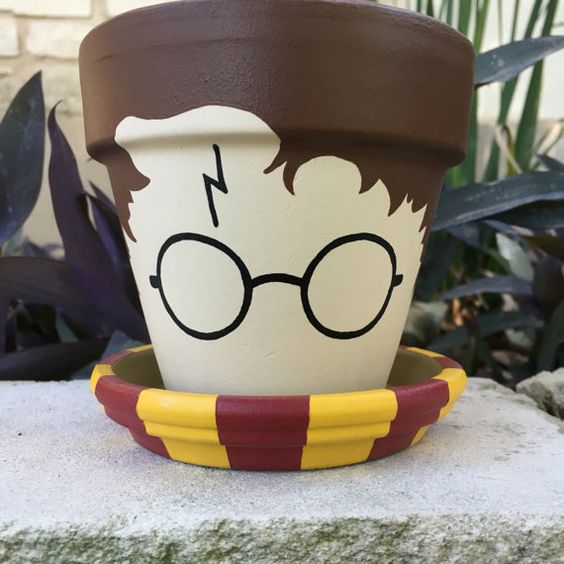
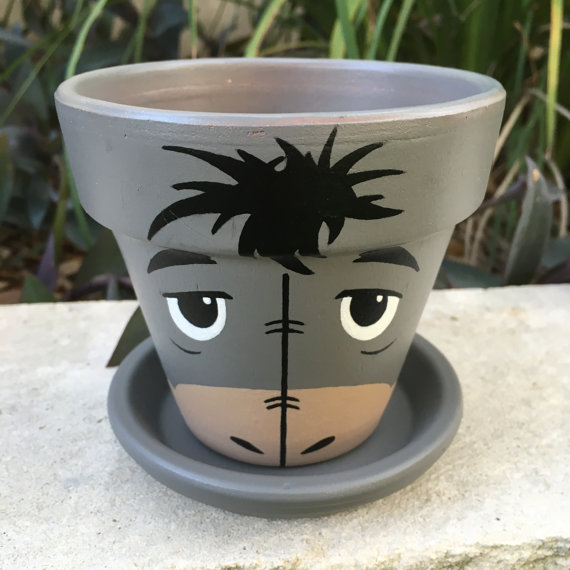
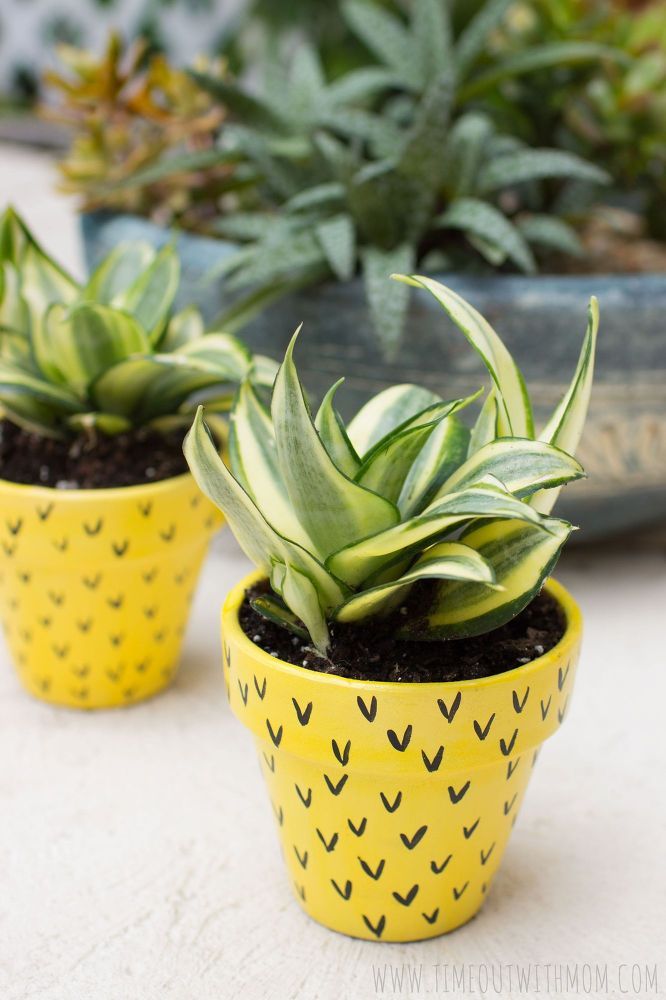
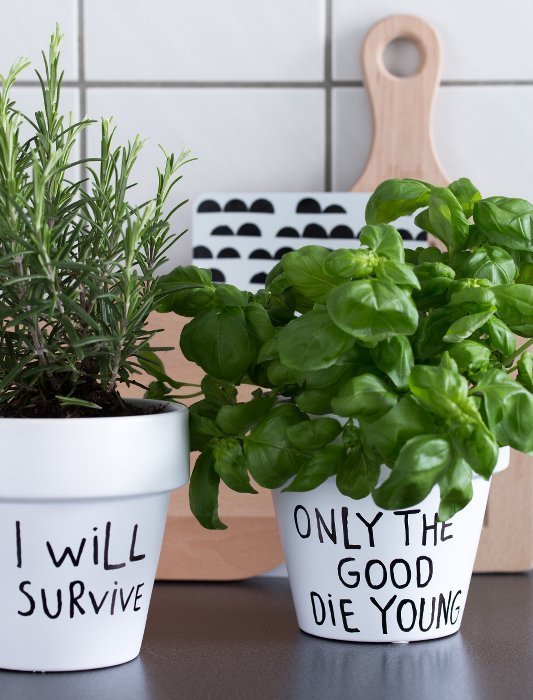
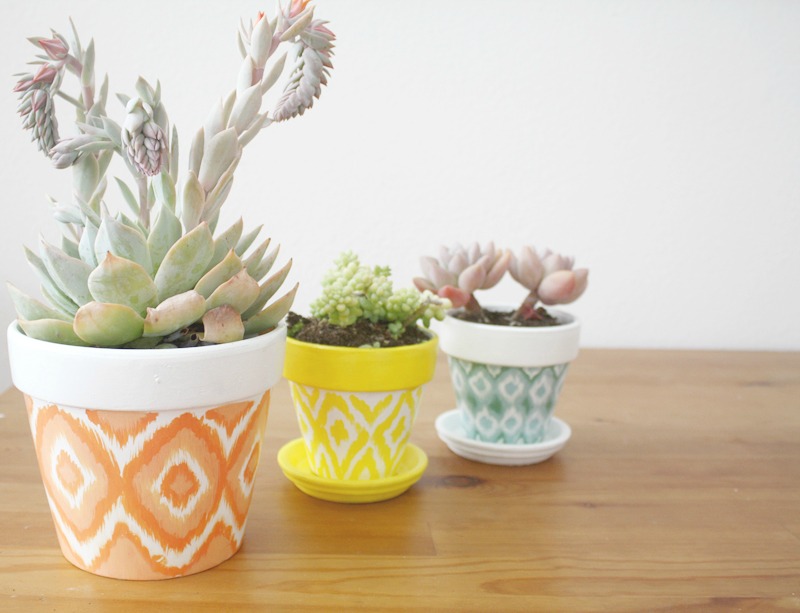
You can get a flower pot with a pretty design in everyday life without making it from scratch.Give new life to old flowerpots in the house or take simple purchased products as a basis.
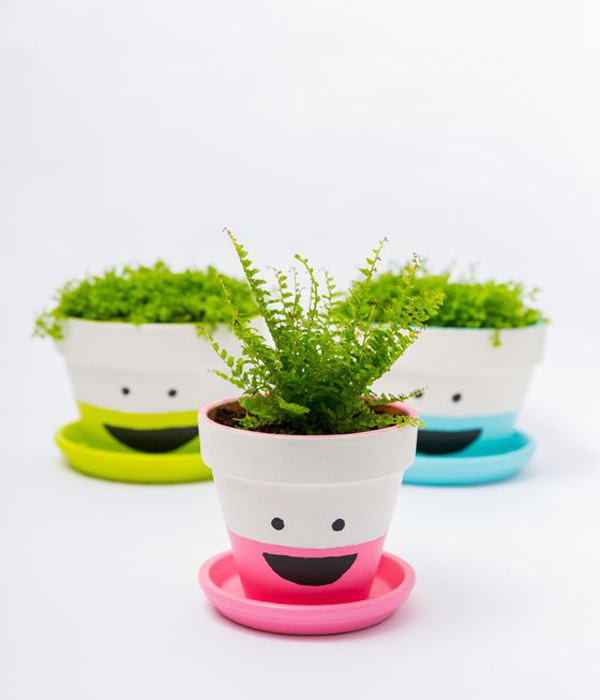
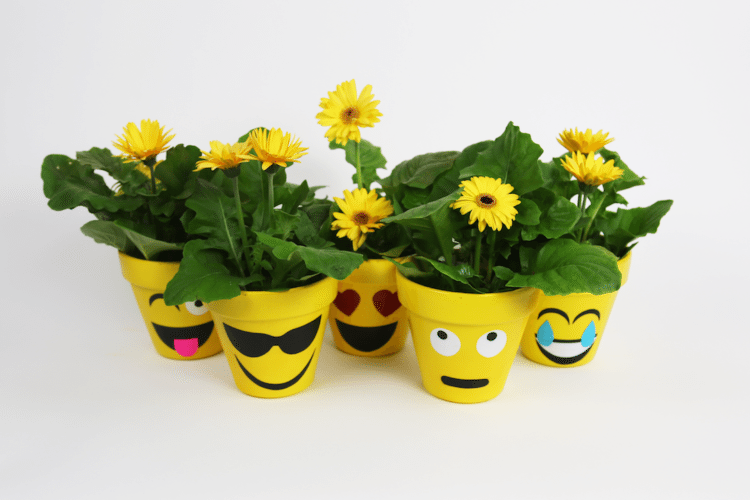
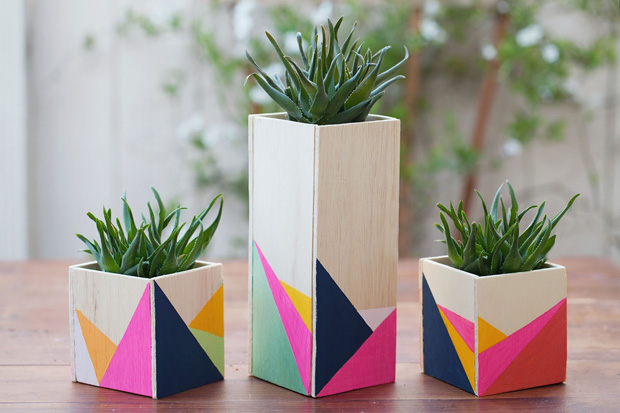
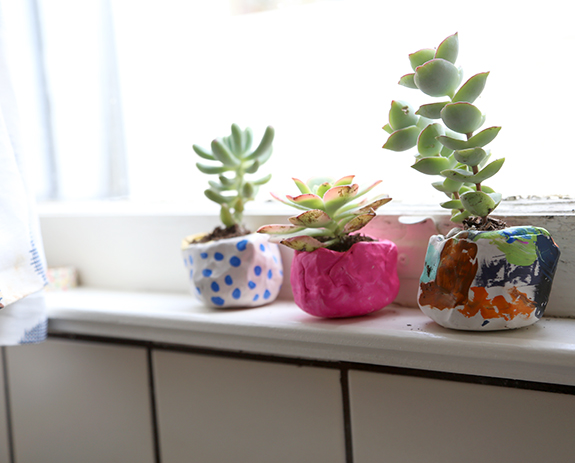
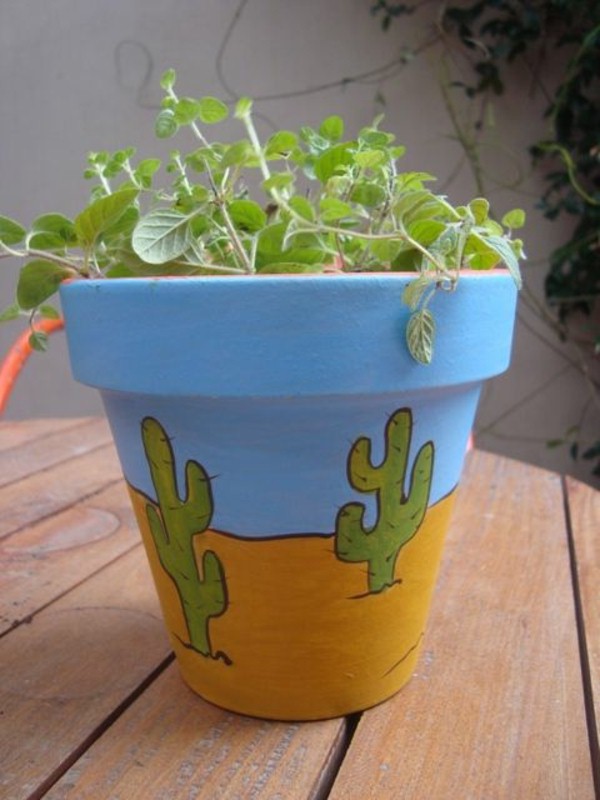
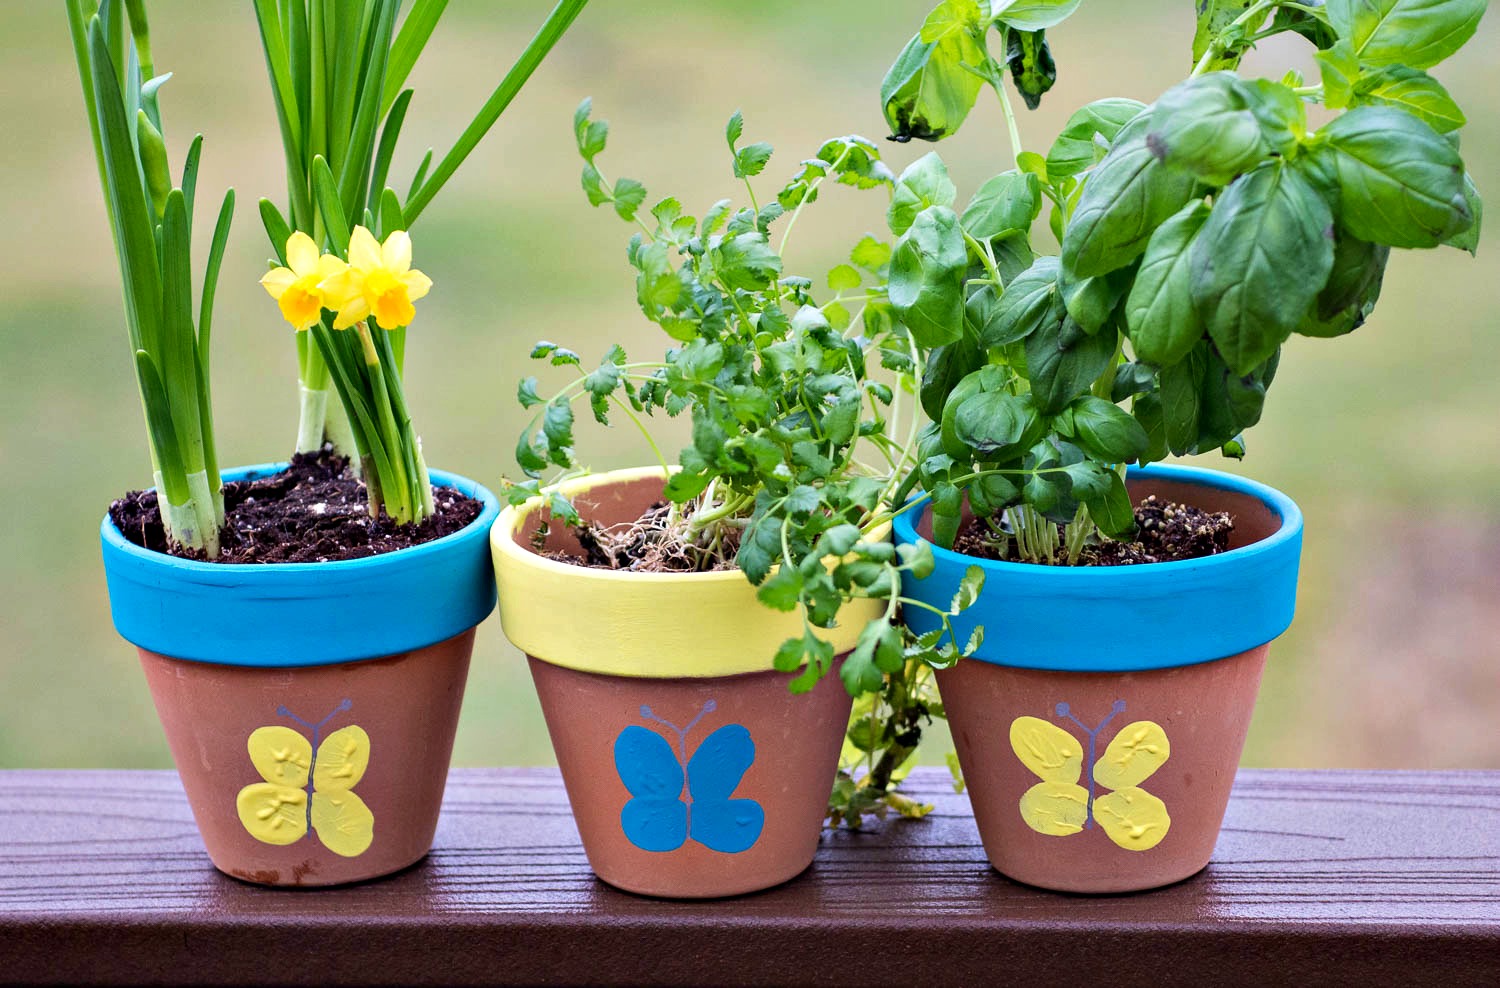
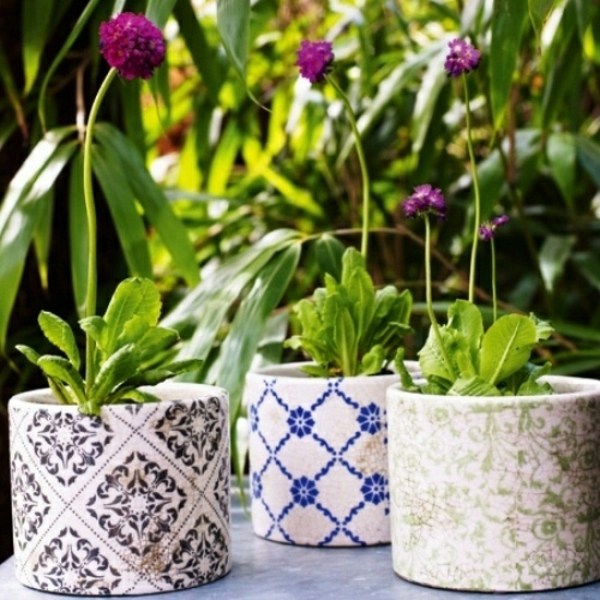
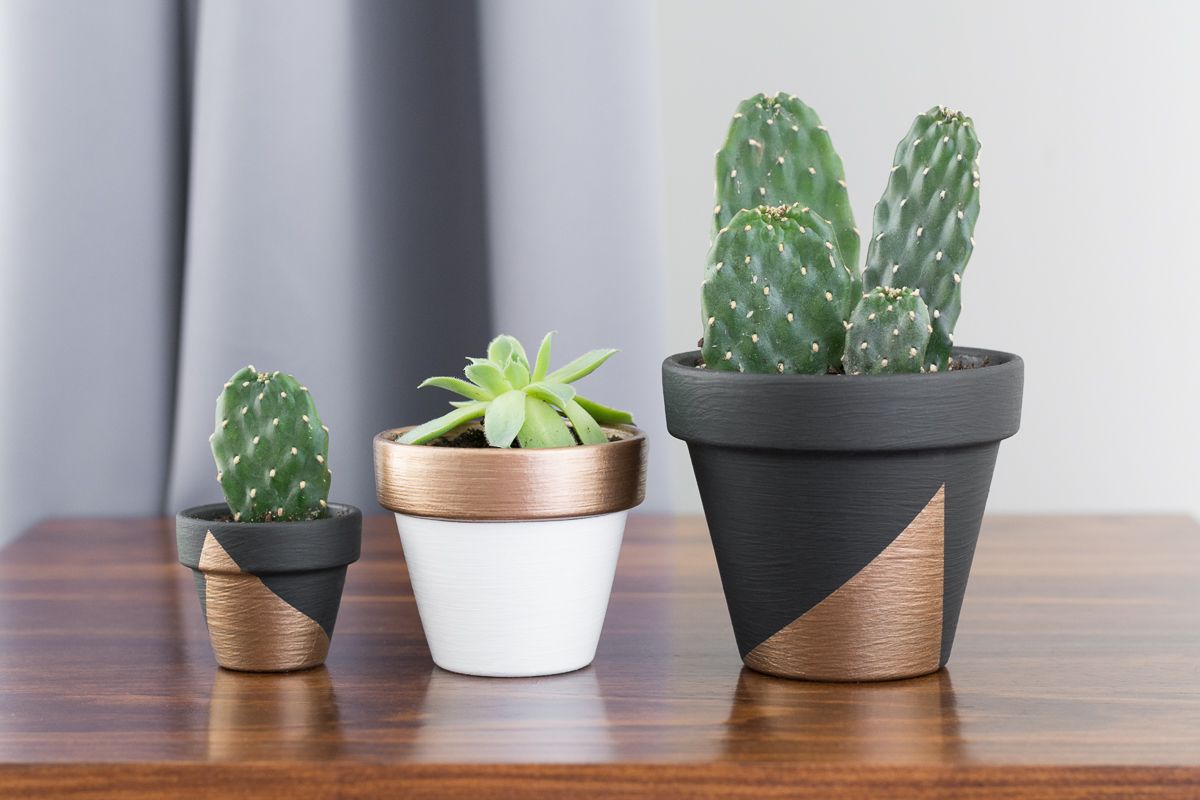
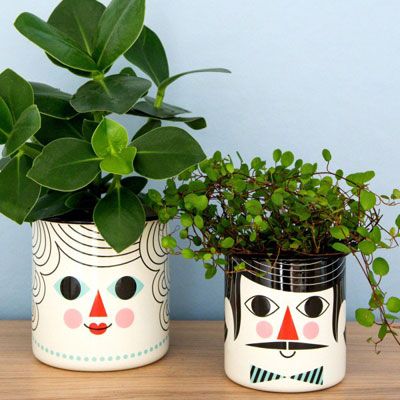
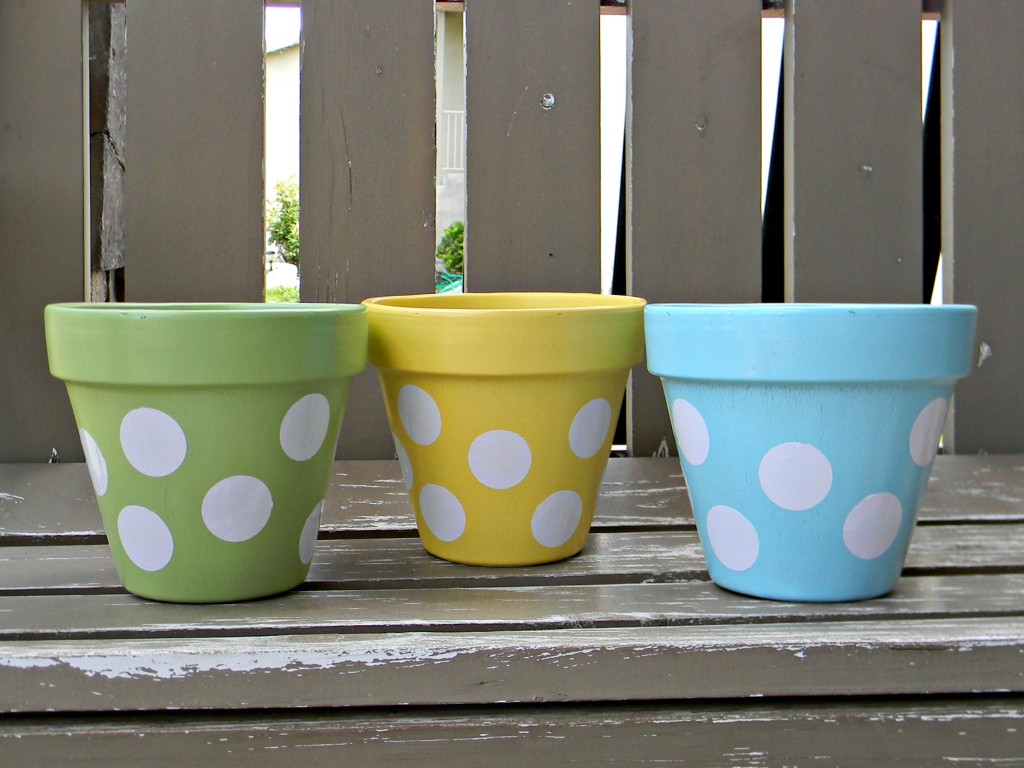
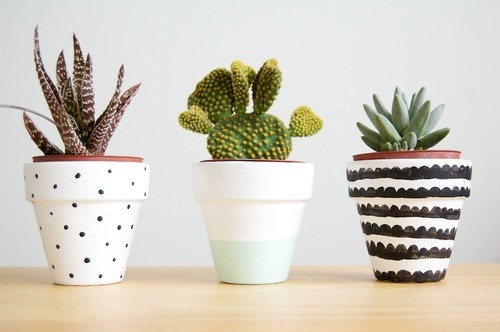
A real designer thing can be done by painting clay with acrylic. Such work on decorating flower pots is performed by children with pleasure. The drawings, cute in their immediacy, are guaranteed to please the eye.
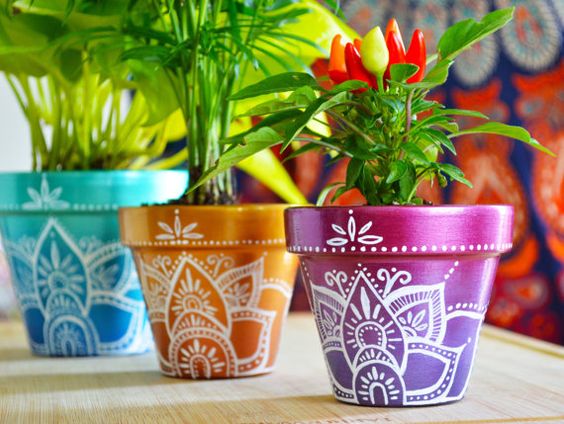
Painted clay pots are guaranteed to please the eye
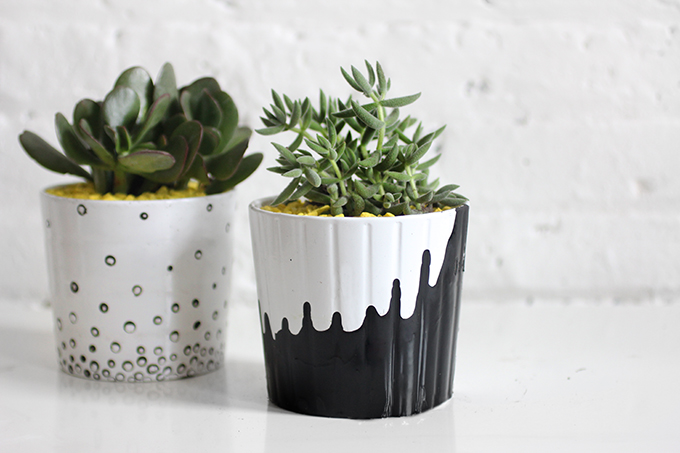
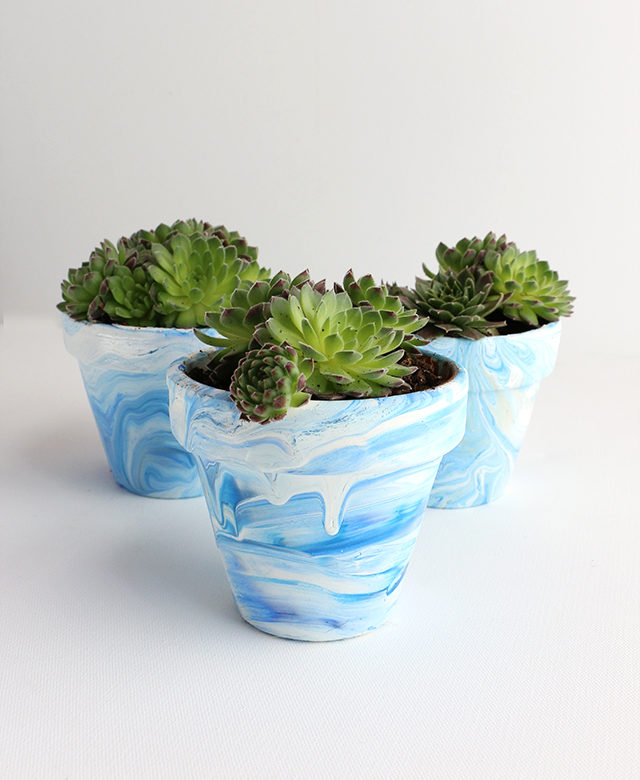
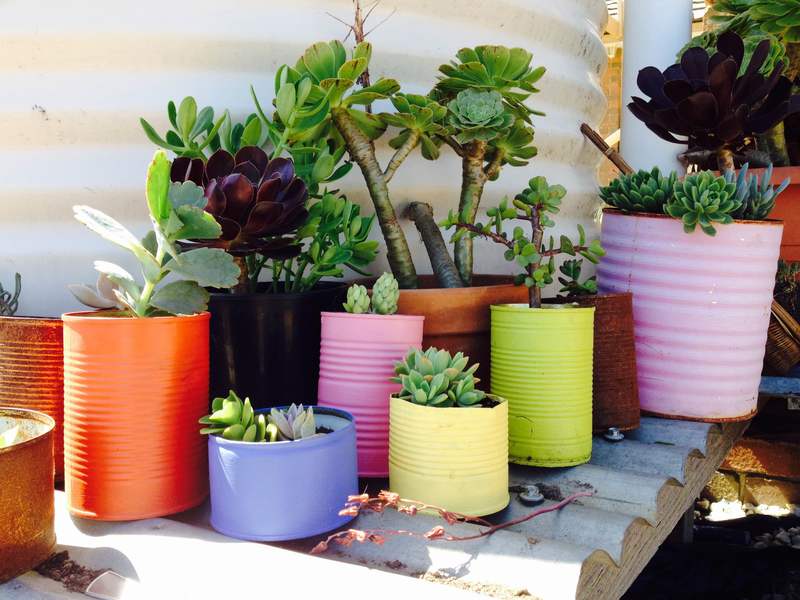
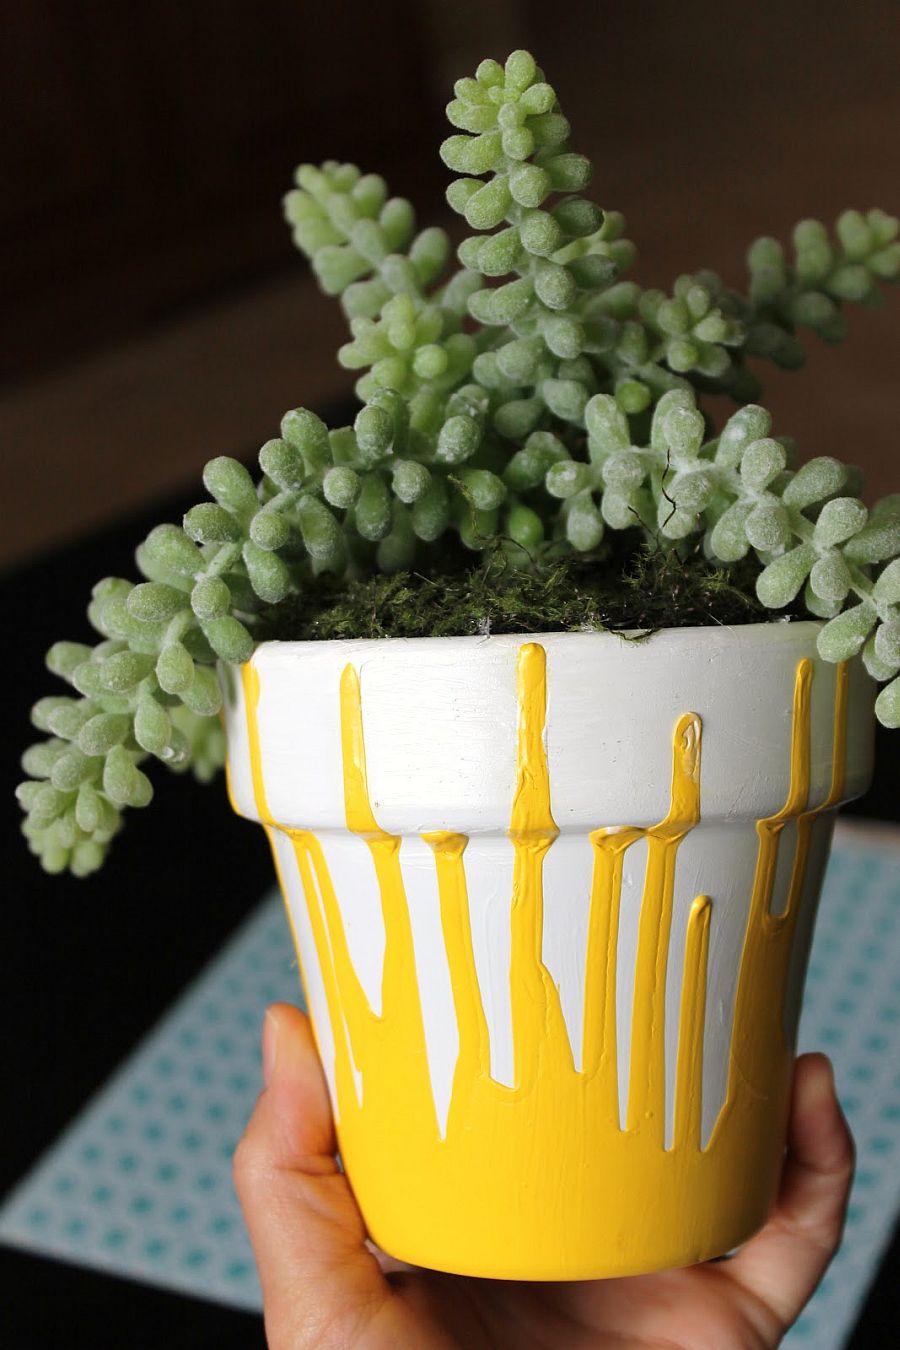
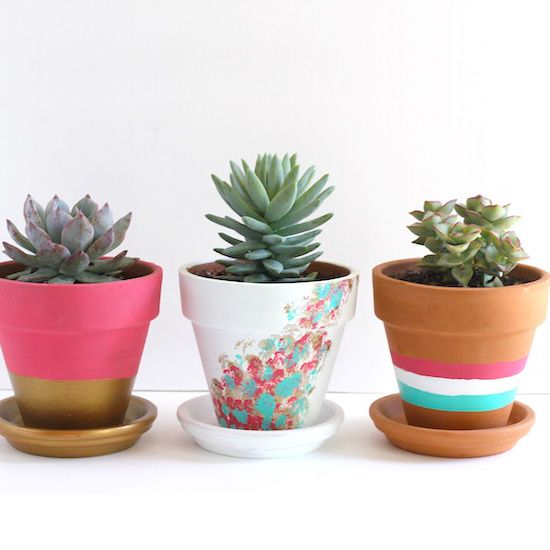
Very interesting results are obtained by painting flowerpots with nail polish.
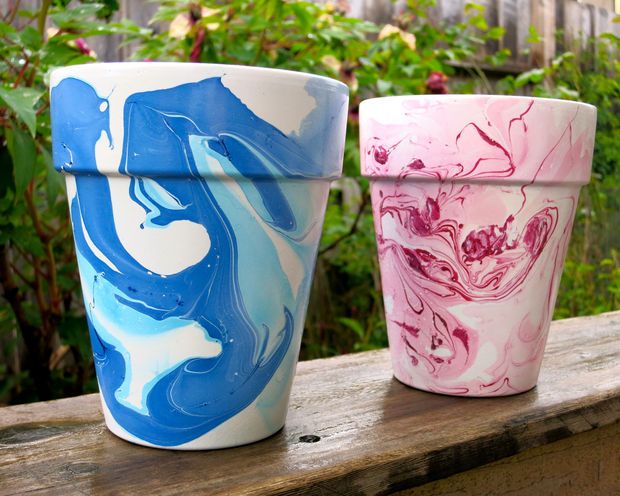
Painting flowerpots with nail polish
Several bottles, perhaps even of different colors, are poured into a bucket filled with water, after which the pots are carefully immersed in the resulting composition.
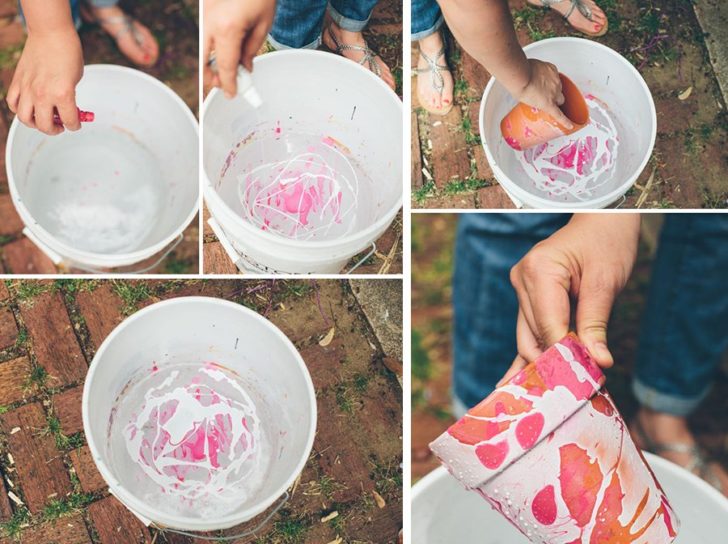
Decor pot with nail polish
Paints are great, but how else to decorate a flower pot?
Nautical Decor Projects
The most popular direction in these projects is the theme "sea-beach-sand". Colored pebbles, all kinds of shells brought from the next vacation will help to realize the pictures. A sketch of the plot can be recreated on paper or developed during the calculation itself. The combination of shells and stones is the simplest.
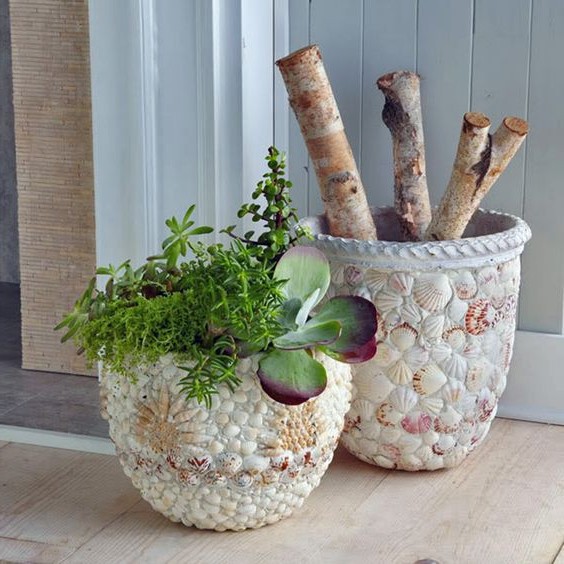
Flower pots in a marine style
The elements are fixed to the pot with glue of the "Moment" type. Before you start decorating flower pots with your own hands, all decorating elements must be degreased. The company of pebble shells can be made up of fragments of saucers and cups. In the course of work, it is important to bring out a pleasant tint range. Here you will need a lot of artistic taste.
Shells are fixed to the pot with glue
After the decor is completed, you should look at the result and decide whether there is a need to work with the resulting voids. For example, tint them or fill them with sand.
The voids between the elements are filled with a mixture of PVA, water and cement. The solution should have the consistency of sour cream.
There are more ideas on how to make a flower pot as attractive as possible. Paints can be added to the working solution. So, when working in the wave zone, the voids should be filled with turquoise filler, while the shores are more characteristic of yellow.
Apply decorative composition with a brush. If excess gets on pebbles or shells, they must be immediately removed by removing with a soft cloth.

Flower pot decor with sea sand
You can work on additional decoration of flower pots in a different way. The gaps between the shells are smeared with glue. The bowl of the flowerpot is slightly tilted and sprinkled with beautiful coarse sand (possibly also colored). The final touch will be the opening of the entire workspace with varnish. It can be both manicure formulations and hair spray. In addition to additional fixation, the pattern will acquire a spectacular shine.
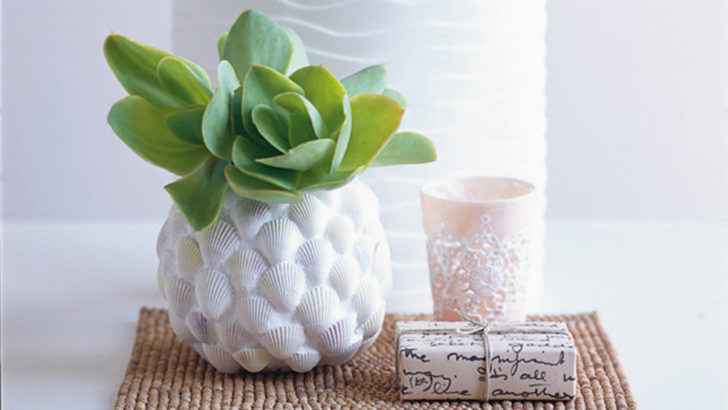
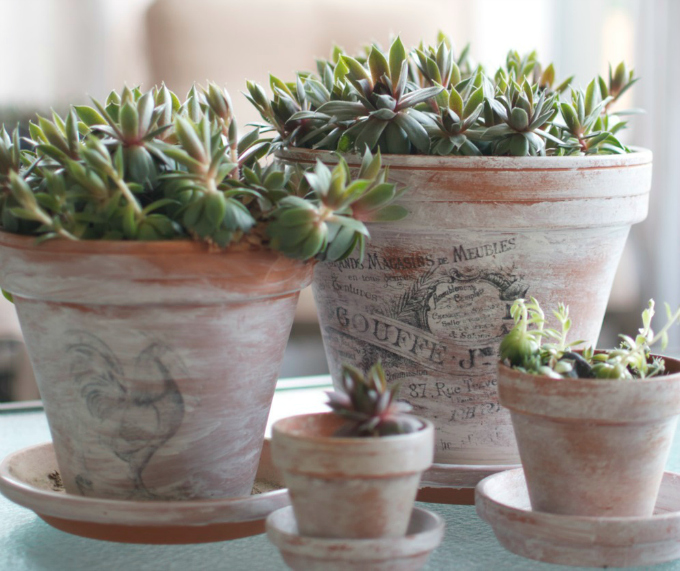
Decoupage on a flower pot
The most extensive space for the implementation of ideas for decorating flower pots. We will conduct a master class on a cheap plastic planter.
We prepare decoupage napkins with a beautiful pattern, white acrylic paint, glue, acrylic varnish, a flat brush with synthetic bristles.
So that the colors of the picture from the napkin do not fade when they hit the pot, the latter must be primed with white paint, and this should be done in several layers.
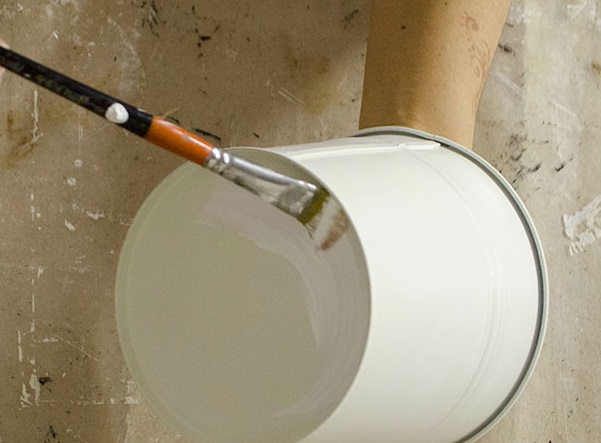
We cover the surface of the pot with white soil
Remove the top layer from the decoupage napkin. The drawing is transferred to the potted surface and fixed to it with an adhesive solution. How to decorate a flower pot without creases and creases? It's easy: when applying a tissue paper, try to accurately repeat the shape of the base. Do not be afraid to tear the paper where it is clearly needed. Wrap the excess decoupage cloth inside the flowerpot or simply tear them off.
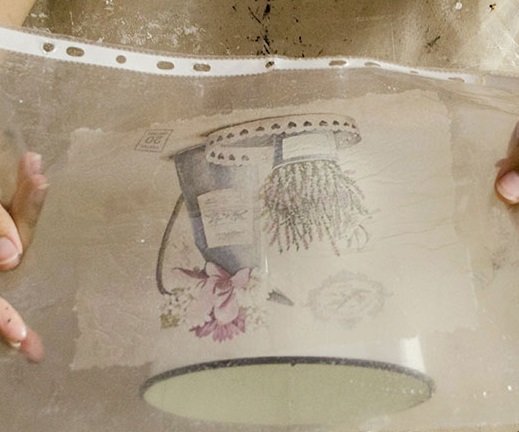
Apply tissue paper to the pot
If the drawing lies strictly under the edging, you can make an additional decoration of flower pots with your own hands, ennobling them with a gilded rim. This is done with a special wax paste. It is applied directly with a finger, carefully blending.
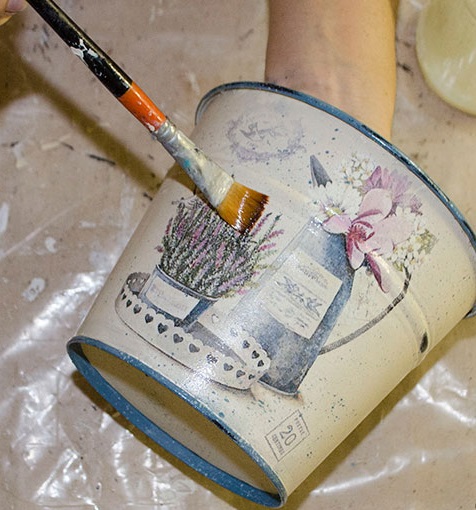
Cover the pot with acrylic varnish
After your creation dries, cover it with acrylic varnish. Decoupage on the flower pot is complete.
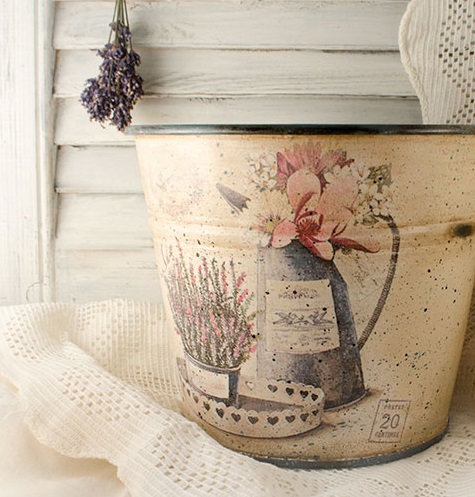
Decoupage flower pot decor
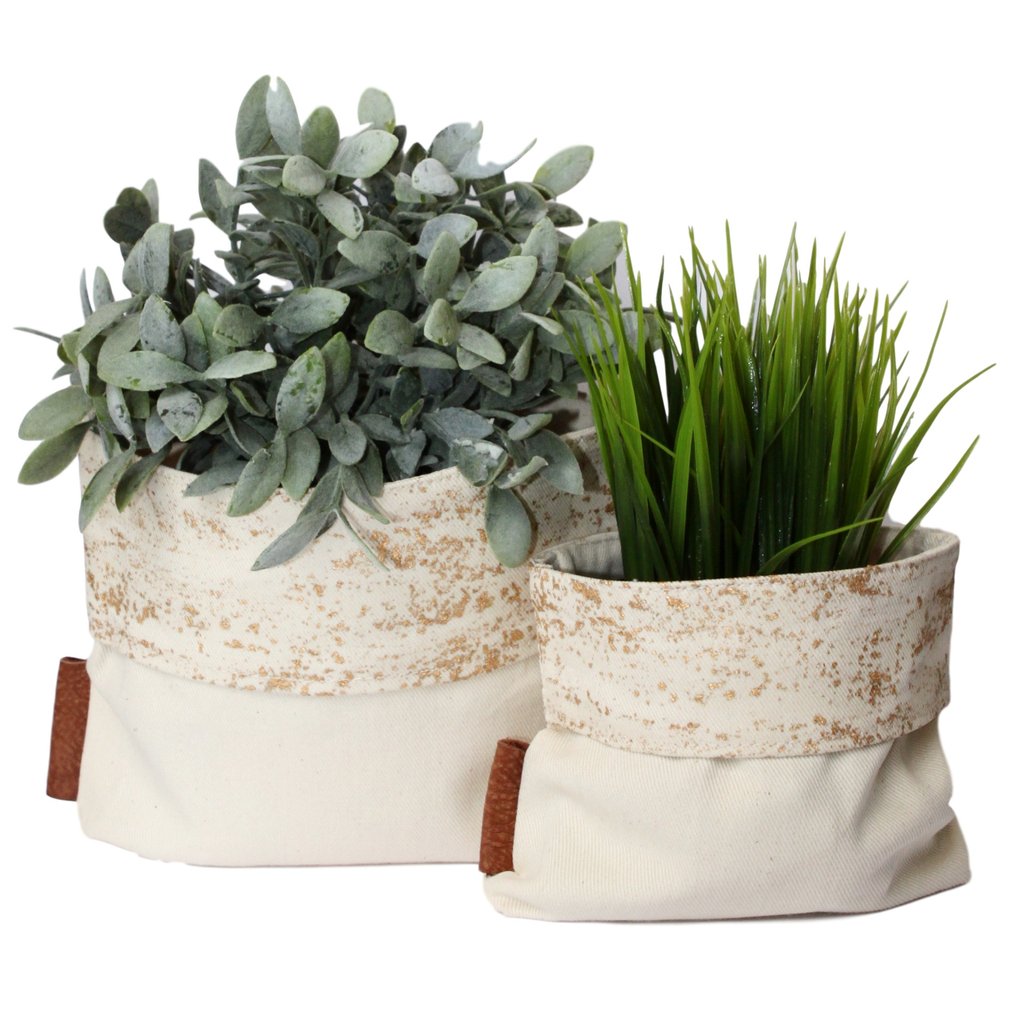
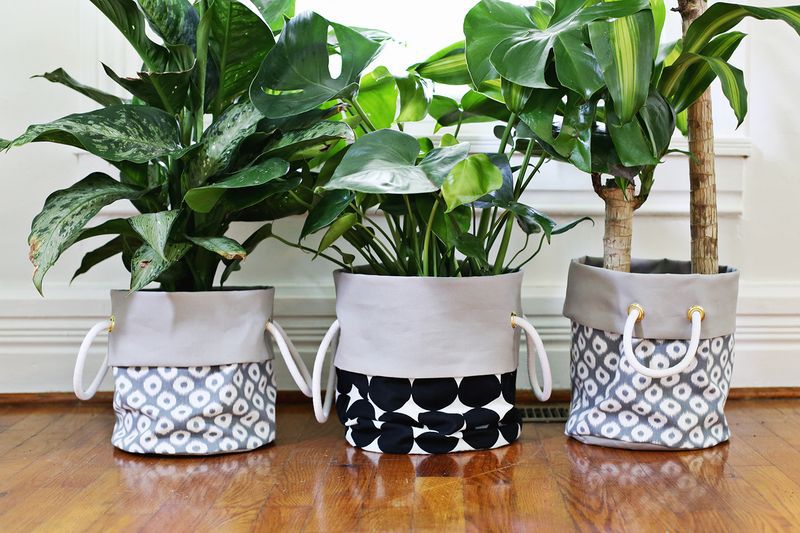
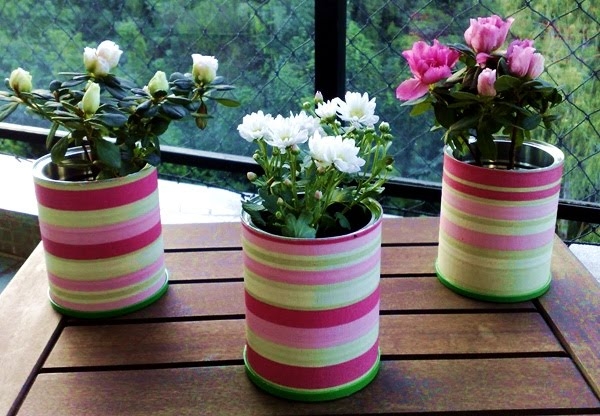
Textiles in the decoration of flowerpots
This is such a fertile theme for decorating flower pots with your own hands that it would be simply unfair to bypass it.
You can decorate flowerpots with scraps of fabric, all kinds of cords, threads, and even your own things. The bulk of the decorative elements are fixed to the pots with adhesives. It makes sense to additionally decorate planters tied into the fabric with bows, ribbons, lace elements, appliqués, yarn braids, buttons, etc.
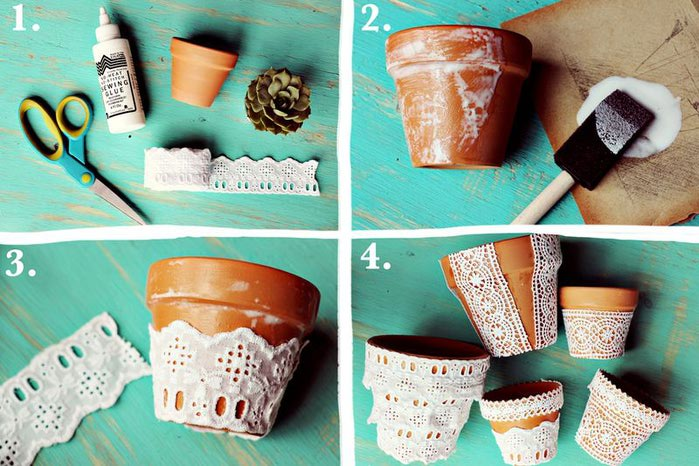
Decorating flower pots with lace
Decorating flower pots for knitters will not be a problem. It will not be difficult for them to “dress” flowerpots in pretty cases. Such a design will look very homely, which will certainly affect the surrounding atmosphere.
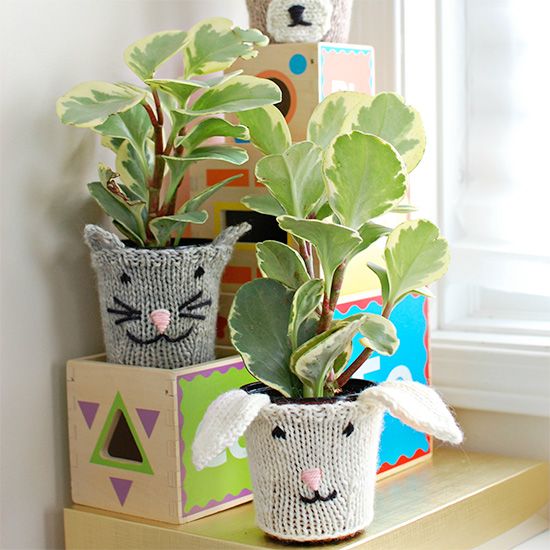
Knitted flowerpots look very homely
Old mittens, bright socks can be used as an original decoration. To decorate plant houses with them, just put them on them.
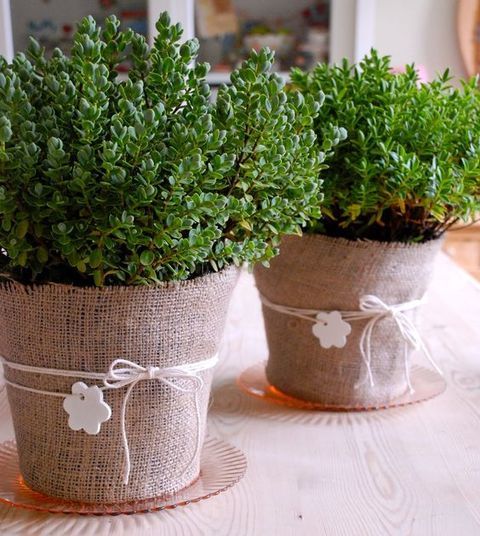
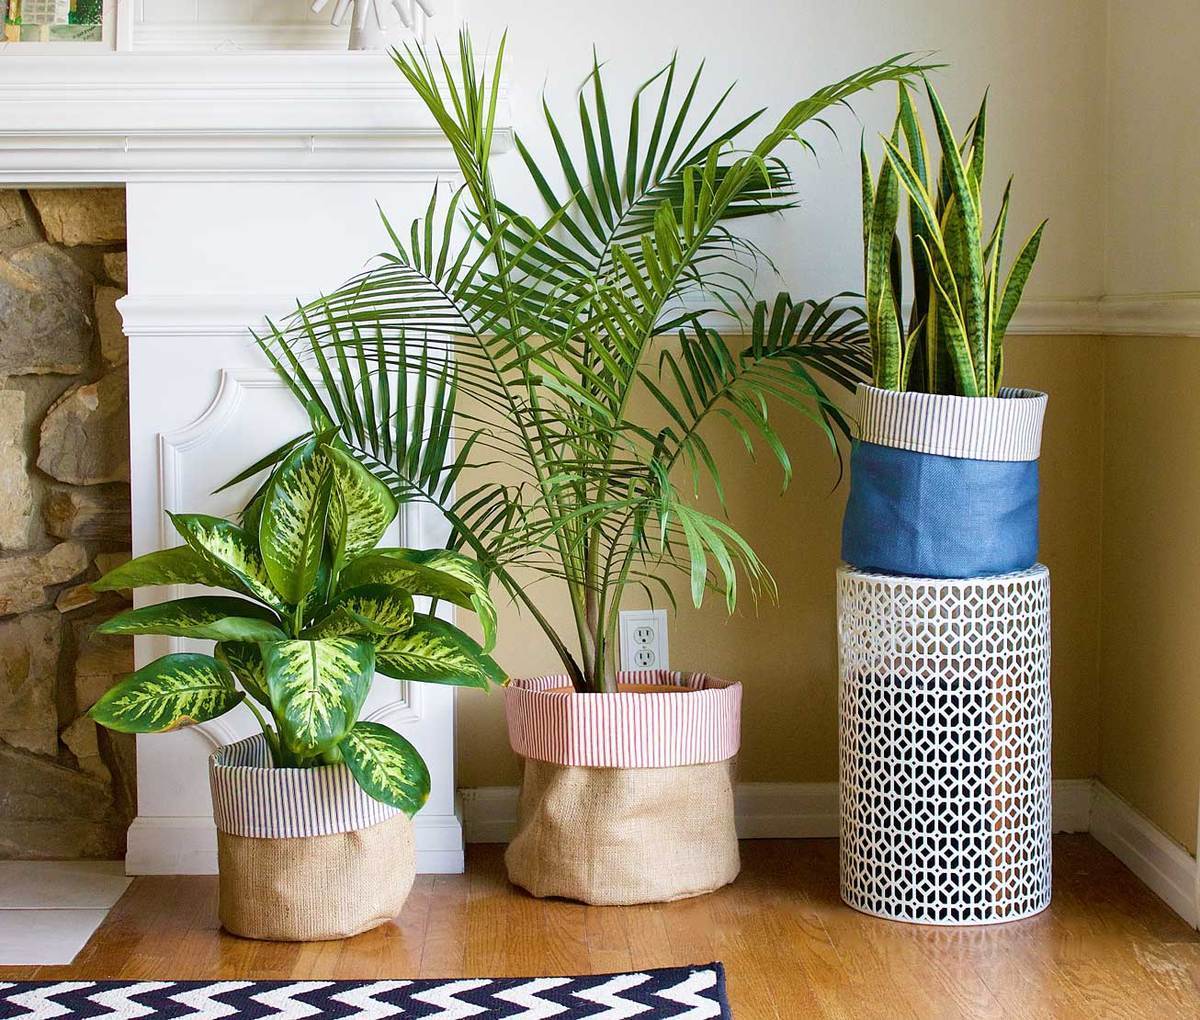
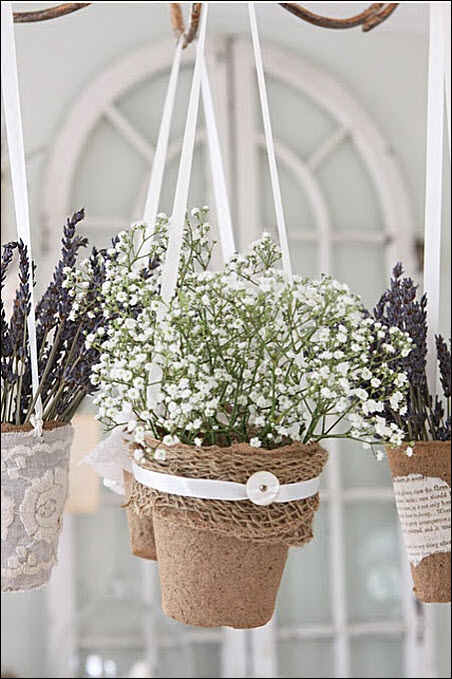
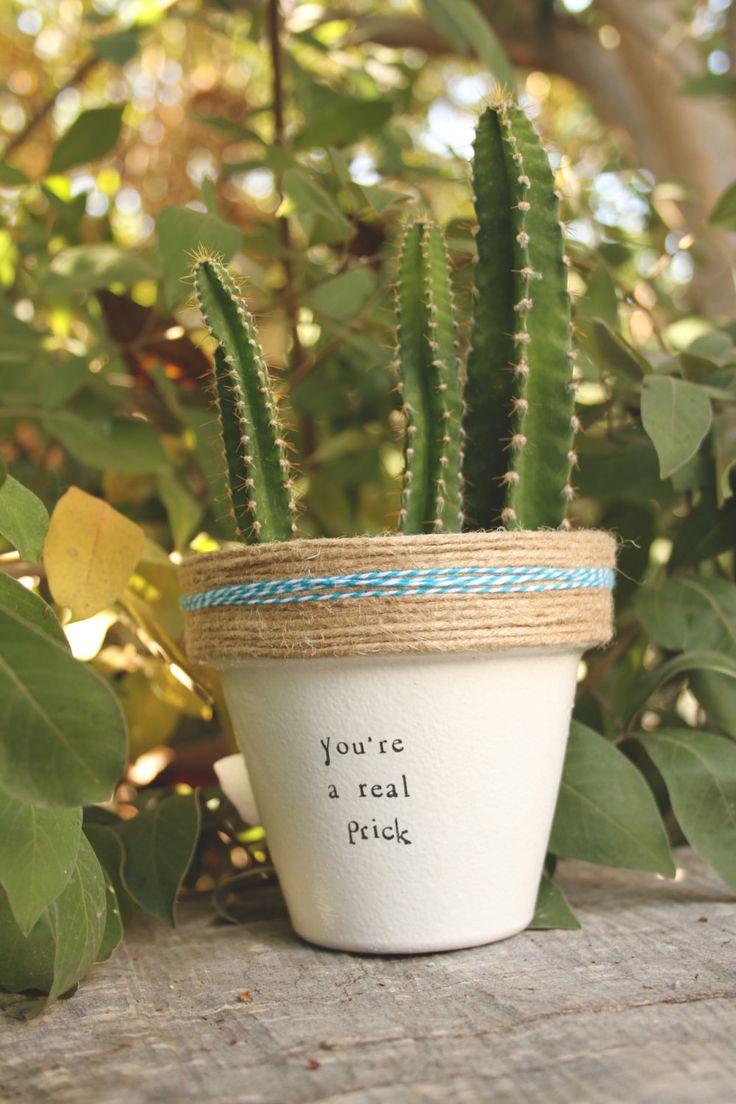
Are there geraniums in the house? Decorate the flowerpot under it in a rustic style. Any hostess can make such a decor for flower pots with their own hands. Stocking up on burlap, buttons and twine, let's get to work. Wrap the flowerpot with burlap so that its crumbling edges are hidden under it. Fix the fabric on the pot with a rope tie and sew on several different-sized wooden buttons. Everything is ready. The pot can be returned to the windowsill.
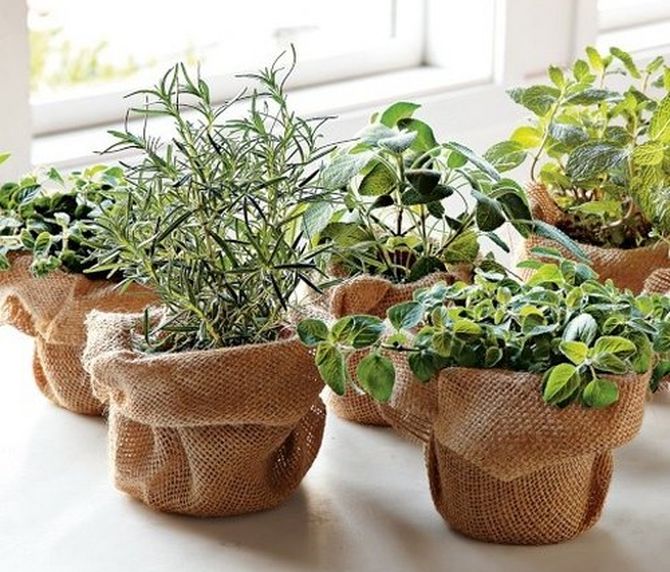
DIY burlap flower pot decor
Ideas for decorating flower pots with pencils
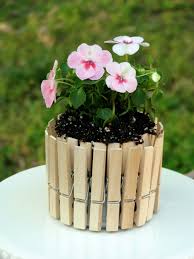
Do you think that you will be offered to paint a flowerpot on a layer of paint? Not at all! The meaning of the decor is somewhat different. The flower pot will not be painted, but pasted over with pencils. Over them, you can tie a decorative cord or use a satin bow in the design. Monochromatic simple pencils with an elastic band at the end look very interesting in such a composition.
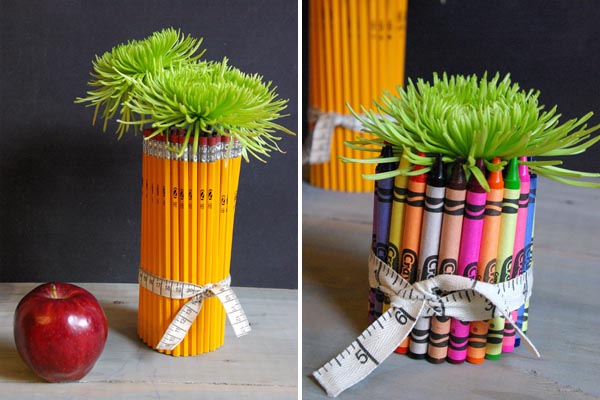
DIY flower pot from pencils
Decor with cereals
Suddenly? But do-it-yourself flower pots can be beautifully decorated with millet and buckwheat, rice and barley.
Toilet paper is used to prepare the base. It is torn into pieces and glued to the surface of the flowerpot, forming folds with a wooden stick, which are sprinkled with cereals. After the layer dries well, the surface is painted with acrylic paints.
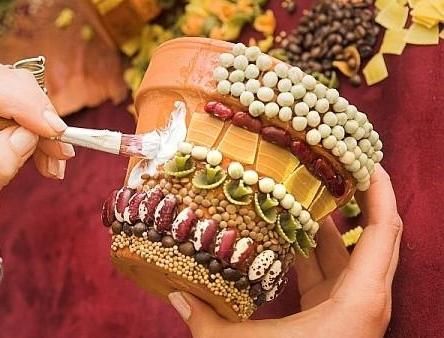
You can decorate a flower pot with cereals
The next step in the restoration of the flowerpot will be the application of acrylic gold. This is done with a sponge, blotting movements. We dry the product again and open everything with varnish.
back to index ↑Conclusion
ideas,how to decorate a flower pot, the human mind is ready to generate tirelessly. Perhaps you already have some interesting design projects that you can't wait to implement. Do not hold back your impulses - let your home be filled with comfort!
Photo gallery - do-it-yourself flower pot


Video