Children need adequate space. And also - in adventure and magic. So they need a wigwam!
- How to make an authentic wigwam for children with your own hands in just an hour?
- Frame installation
- Wigwam upholstery without sewing
- How to sew a sustainable wigwam for kids
- How to sew a mattress in a wigwam for children
- Highlight: do-it-yourself decor for a wigwam
- Teepee in the interior of the children's room
- Get to work!
- Photo gallery - do-it-yourself wigwam for children
- Video
This is the case when fashion agreed with a dream. Because, firstly, everyone dreams of a hut in childhood (and a wigwam is essentially a hut), and almost everyone made it from everything that came to hand - bedspreads, chairs, curtains, pillows. Because, secondly, wigwam is very fashionable. In any interior catalog, on YouTube and in social networks, pictures with cute wigwams flicker.

Everyone dreams of a wigwam in childhood
So, children's dreams coincided with mother's (father's) ideas about a fashionable interior and it was decided to buy a wigwam for the child. There are a lot of offers - from needlewomen, from fashion stores, from design workshops. Inexpensive or insanely expensive, rustic, bohemian, glamorous… Stop! No need to rush shopping.
Because thirdly: you can make a children's wigwam with your own hands! A great way to spend time together and usefully, to prove to your child that parents are just magicians, and that he himself is the designer and owner of the best wigwam in the world.

Do-it-yourself wigwam for children is easy to make
How to make an authentic wigwam for children with your own hands in just an hour?
Let's not forget that a wigwam is an Indian dwelling made of animal skin, linen, sticks and ropes. Leaving aside the skins of buffaloes, as an exotic material, we stock up on a linen, a curtain or a bright bedspread the size of ... about the size of a long sheet. You will also need structural parts and tools:
- The canvas is approximately - 1.5 m X 2.5 m.
- Rope (or strong braid) - 1-2 m.
- Sticks 1.2-1.7 m long - 3 pieces.
- Pencil.
- Scissors.
- Drill.
- Glue (it is convenient to use a glue gun).
- Threads and needle.
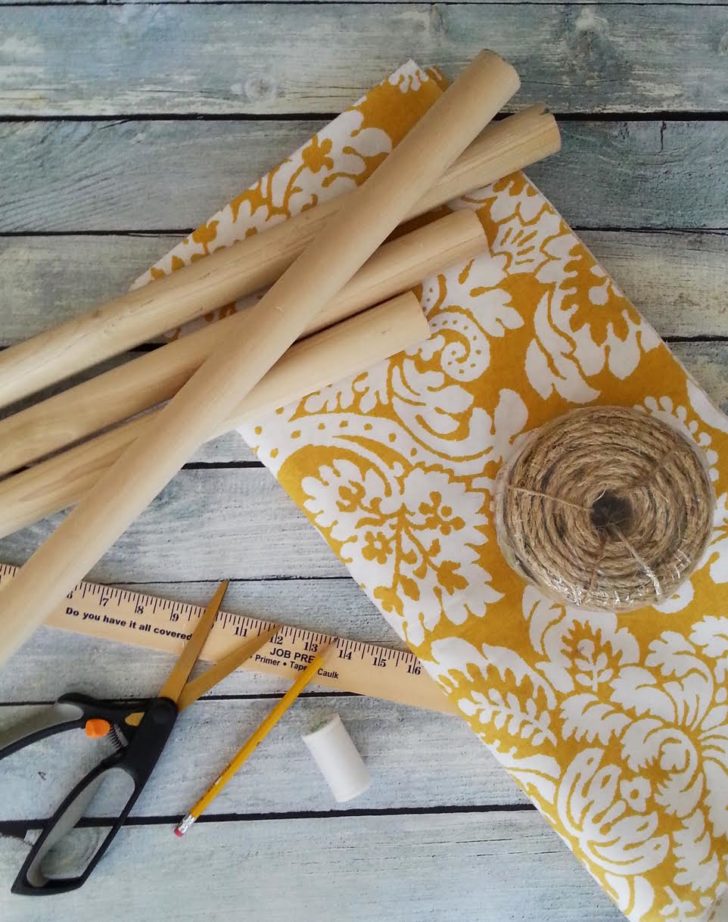
Tepee materials
Important! The structure should be stable, and the sticks should be light and without sharp ends (because the wigwam will still periodically fall, and it should not harm its owner).
Sticks should be light and without sharp ends.
A gap should be left in the upper part - so that the smoke of the fire comes out of it, on which the meat of a wild goat was fried, and during the day the sun glare played on the walls of the tent. If your child is not keen on stories about the Indians, tell him about the starry sky, a piece of which you can admire on a cool evening. Or just explain that ventilation is needed - it all depends on the children's and adult imagination.
Gather a wigwam with the whole family
A masterpiece must be created together. This is fundamentally important. Because only joint work, with crushing and smearing with glue, really unites the family and makes them fall in love with the wigwam, which will be made for children by their own hands.
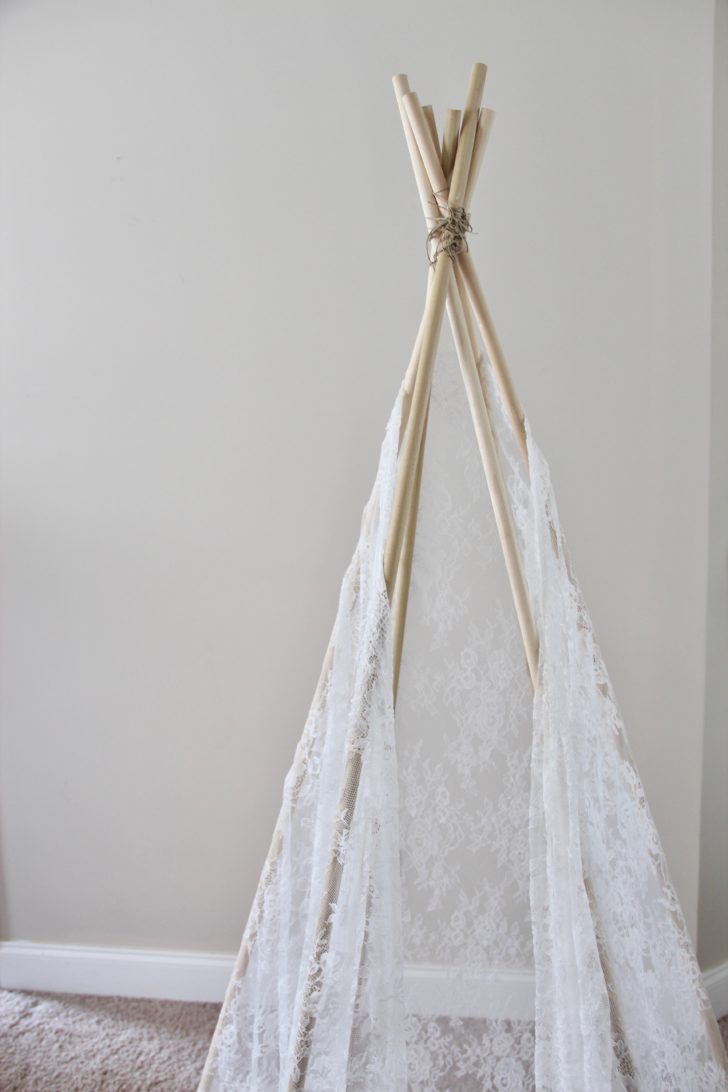
back to index ↑Frame installation
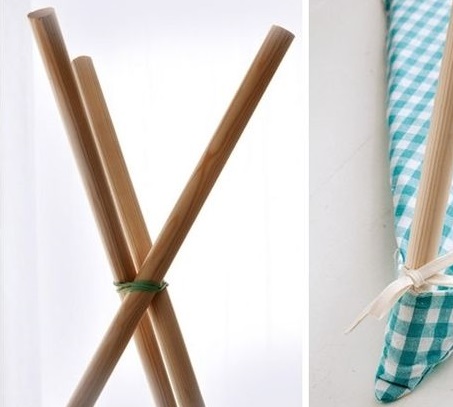
First you need a frame. It should not move apart, therefore it is required to fix the angle of inclination of the sticks.
Measure from the upper end of the sticks 20 cm, put a cross with a pencil.
Drill a hole on each stick at the mark.
Pull the cord (rope, ribbon) through all the holes.
Pull the cord through the holes
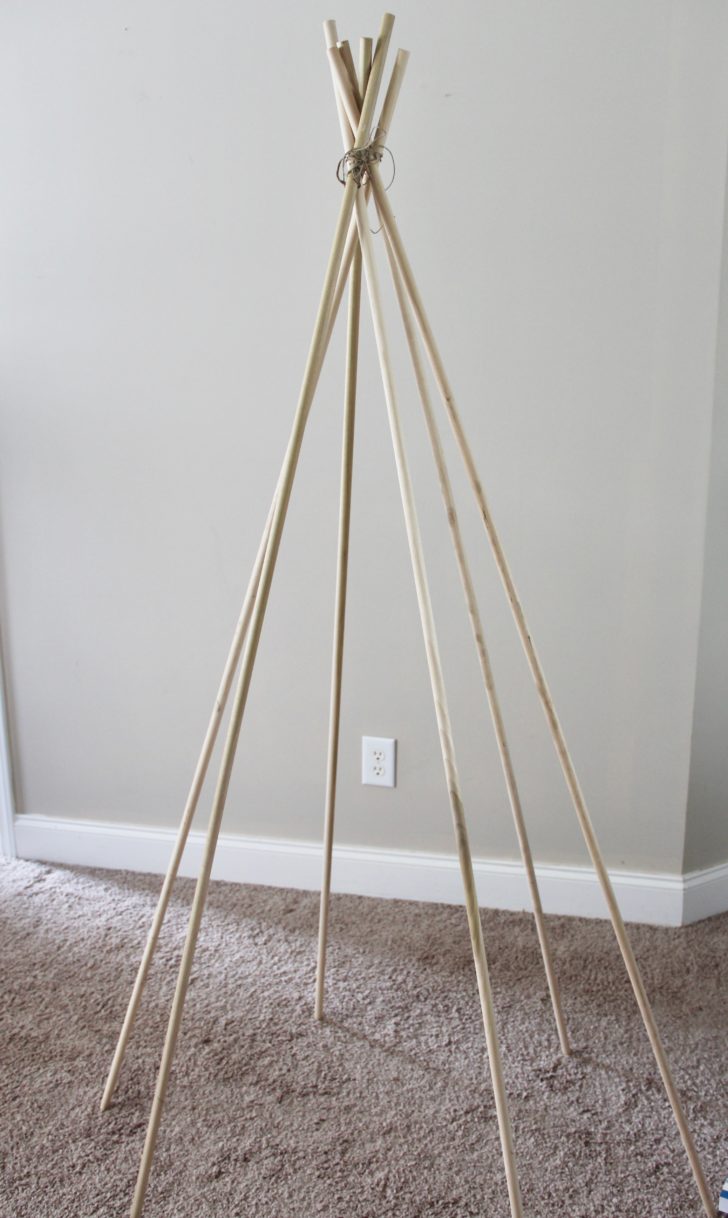
Give the frame the appearance of a regular pyramid.
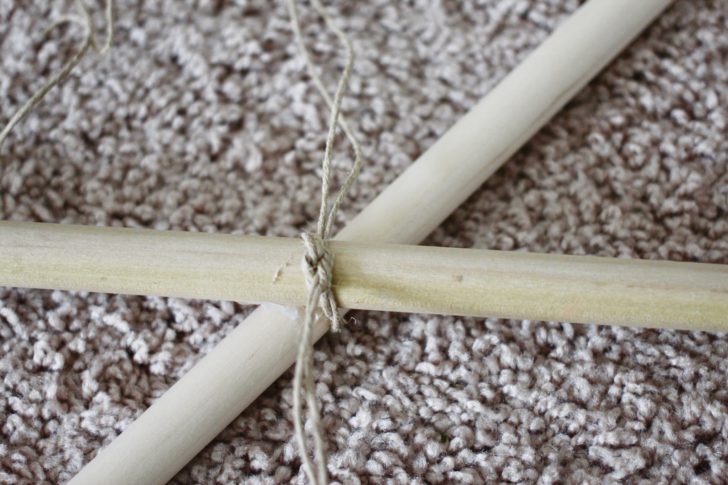
Tighten the rope by one knot and wrap it around the intersection of the sticks very tightly, in several turns. Dad's superpower will come in handy. All this time, mother and children must keep the legs of the wigwam in the right position - otherwise a rigid structure will not work.
Wrap the rope around the intersection of the sticks
Important: especially resourceful parents coat the points of contact of the sticks with glue.
You can leave the frame alone for 10-20 minutes so that the glue dries and dad rests.
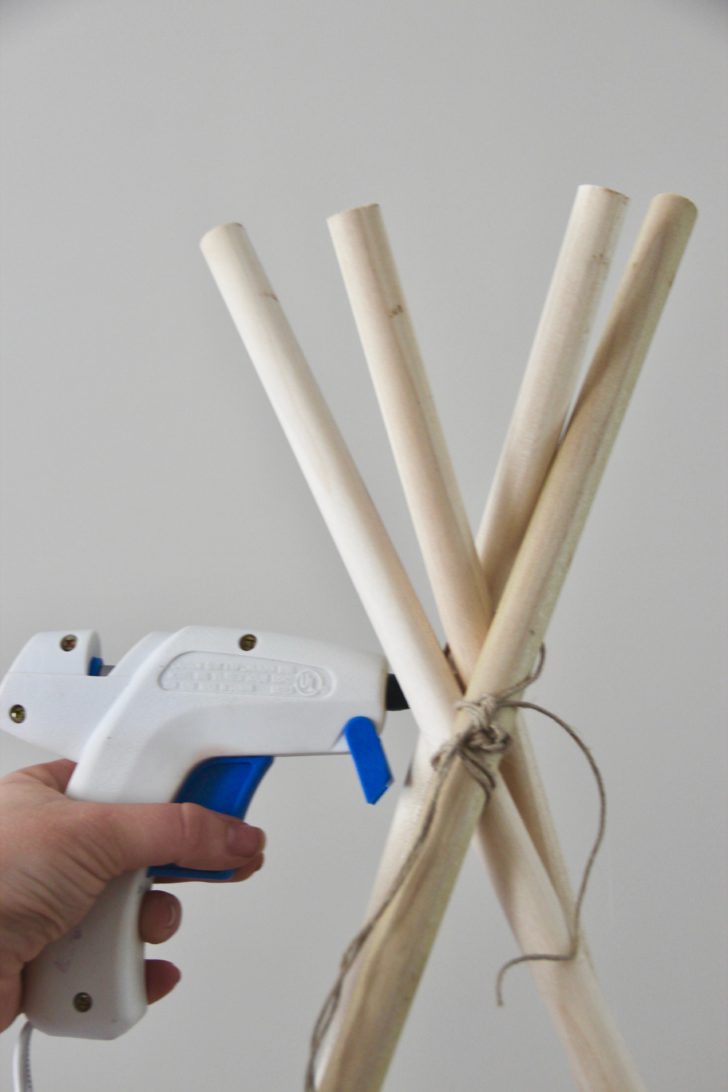
Spread glue on the contact points of the sticks
The next step is to stretch the skin on the frame. How to do it? Usually the best solution is also the simplest.
So, the starting position: the frame is ready and stands in such a way that it has two sides and one front, on which there will be an entrance.
back to index ↑Wigwam upholstery without sewing
The first way of tightening - it doesn’t get easier:
Bend the canvas to a width at which it hangs down to the floor on the sides, and at the top does not reach the line of the crosshairs of the sticks by 10-15 cm.
Throw it on the racks, while an overlap is formed above the entrance to the hut - it should not go onto the side walls, so the front of the canvas may need to be bent.
Throw the fabric over the racks
Mark the line of the upper edge of the fabric on the sticks with a pencil.
After fitting, move the canvas down (there are a lot of people on the construction site, someone will support it).
Lubricate wooden sticks with glue from the line of marks 15-20 cm down.
Attach the fabric along the upper marks, press it to the racks smeared with glue, let it dry.
Attach the fabric to the racks smeared with glue
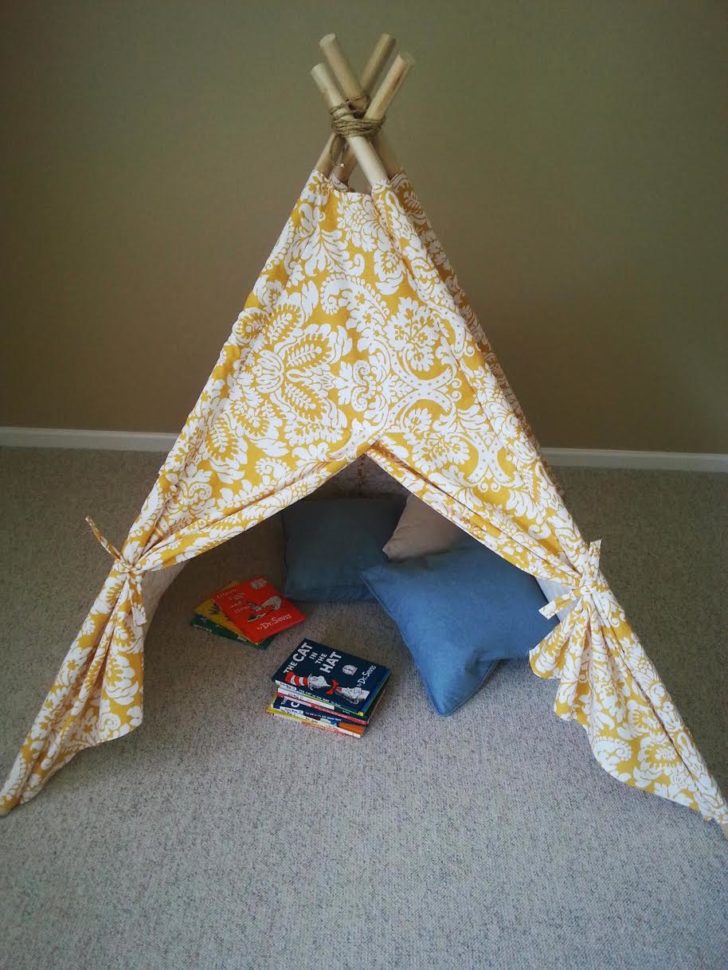
To form an entrance - sew pieces of braid (ropes) on the edge of the canvas and in the area of \u200b\u200bsticks so that you can open the entrance open, or close in a children's wigwam, which you just managed to do with your own hands.
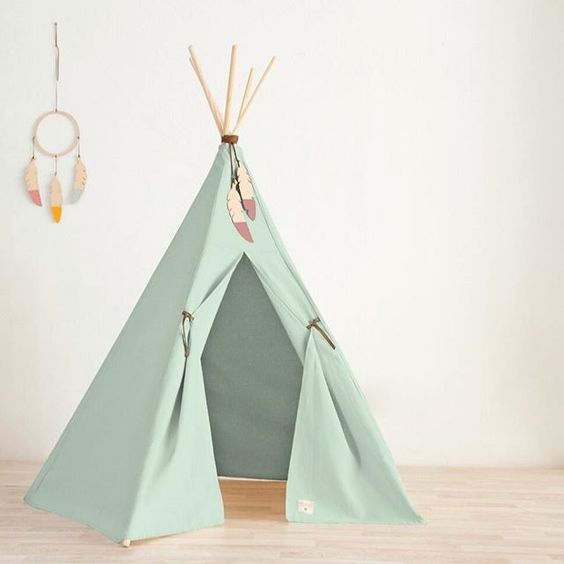
Wigwam for children with their own hands without sewing
How to sew a sustainable wigwam for kids
This method of covering is more difficult, but the wigwam will hold its shape better.
Measure the sides of the triangle walls.
Cut four pieces of fabric according to these dimensions, adding 7 cm on each side.
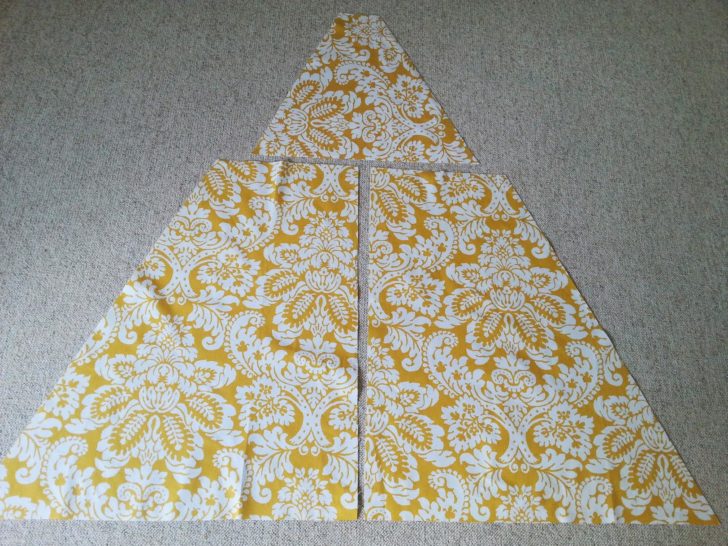
Cut to size triangles
Sew them together, leaving one side unsewn - this will be the back door. In total, you will get 3 seams with large allowances - 6-7 cm on each side
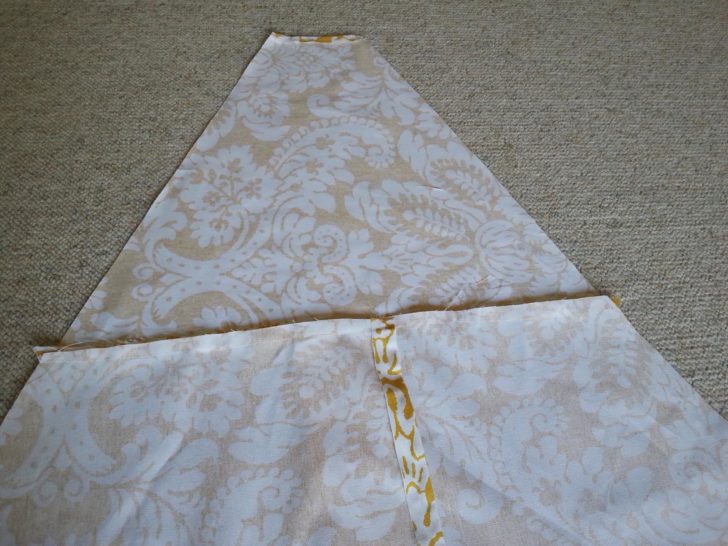
Sew them together
Sew the allowances along the edge so that you get a drawstring into which the stick is inserted.

Stitch the drawstrings into which the pali will be inserted
Cut off the top edge by 10-15 centimeters - this will be a hole "under the ceiling" of the tent. Process the edge - overcast or hem.
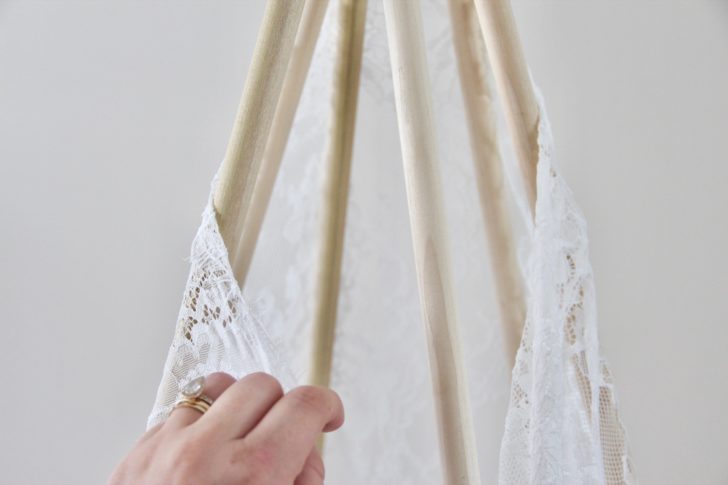
Stretch the tent from below on sticks. Attach to the top of the tree.
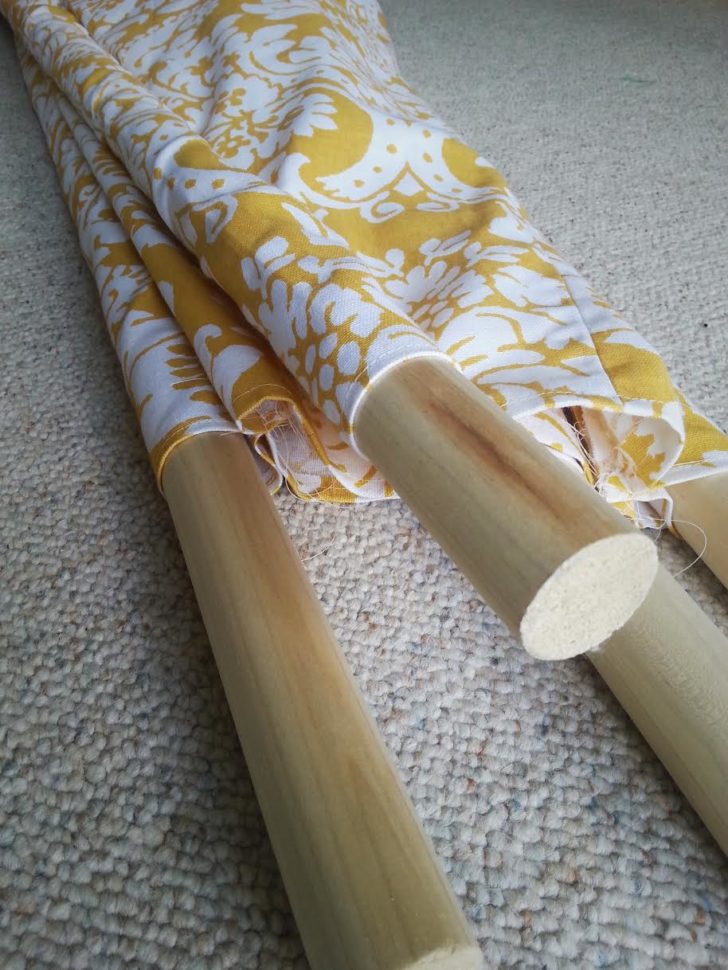
Pull the tent from below on sticks
The entrance to the wigwam is covered with two canvases, which can be thrown back on the racks or smelled, closing the entrance.
A small improvement noticeably strengthens the structure: just on the entry side, connect the two racks along the bottom with a braid (glue is needed). Attach it to the sticks as close to the floor as possible so that the child does not stumble. What does it give? Racks will not be able to disperse in different directions.
Sustainable wigwam for children with their own hands
How to sew a mattress in a wigwam for children
We advise you not to engage in a complex cut, but to sew a square mattress. You can use a large pillowcase. If you put a sheet of foam rubber 10-20 mm into it, then the frame will rise from above. If there is a flap of synthetic winterizer in the pillowcase, then the mattress will turn out soft and can be put inside the wigwam, turning the corners.
The mattress will make the wigwam warm and cozy
A mattress is a must - it closes the space, it is warm and cozy.With him, a wigwam, sewn for a child with his own hands, turns into a house, a nest, a cave, a secret shelter - according to the circumstances.
back to index ↑Highlight: do-it-yourself decor for a wigwam
How to decorate a new wigwam? First of all - a good choice of fabric. If it is not decorative enough, you can sew on or stick strips of textiles, braids, fringes on it.
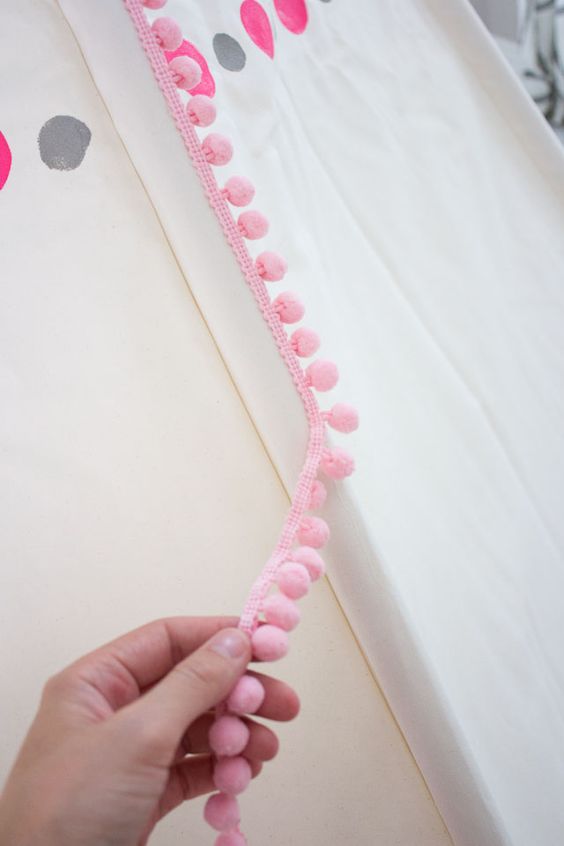
Decorate the edges of the wigwam with decorative tape
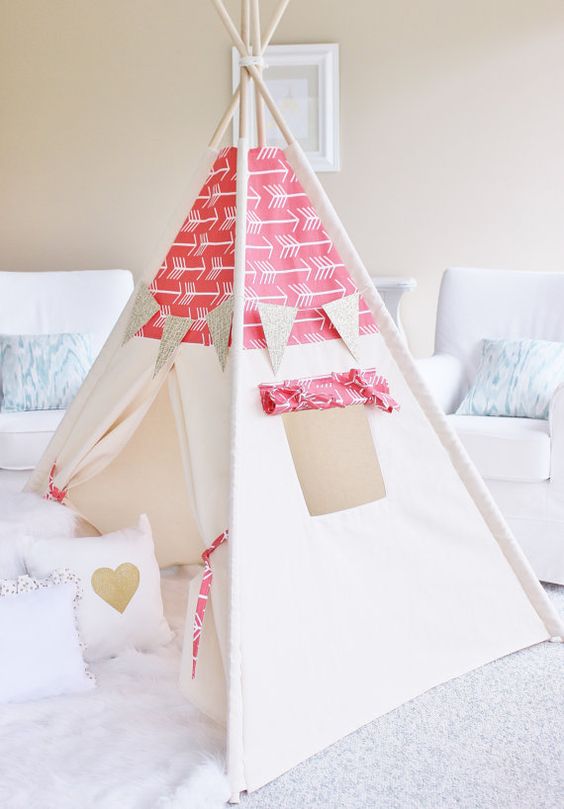
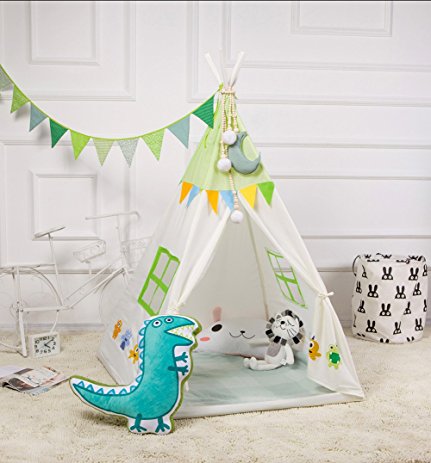
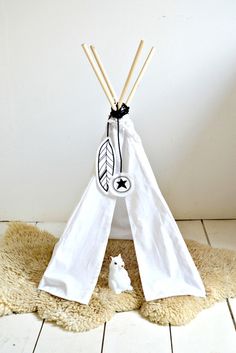
Three multi-colored paper flags can be hung on the upper ends of the sticks or a bunch of feathers can be hung on top.
Flags on the top ends of the sticks
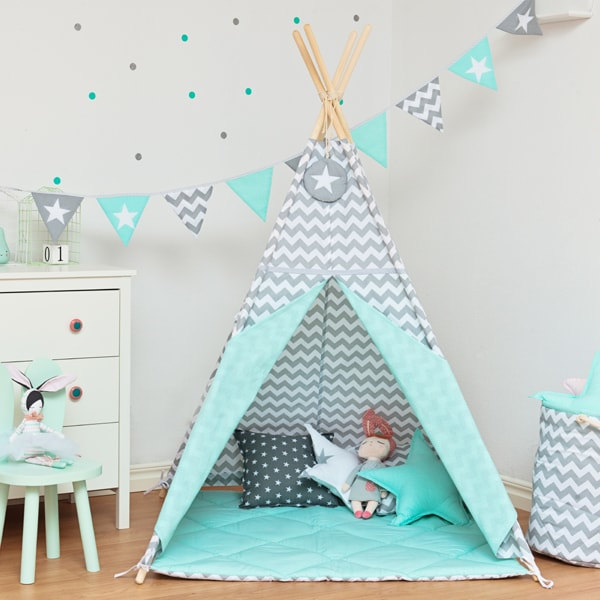
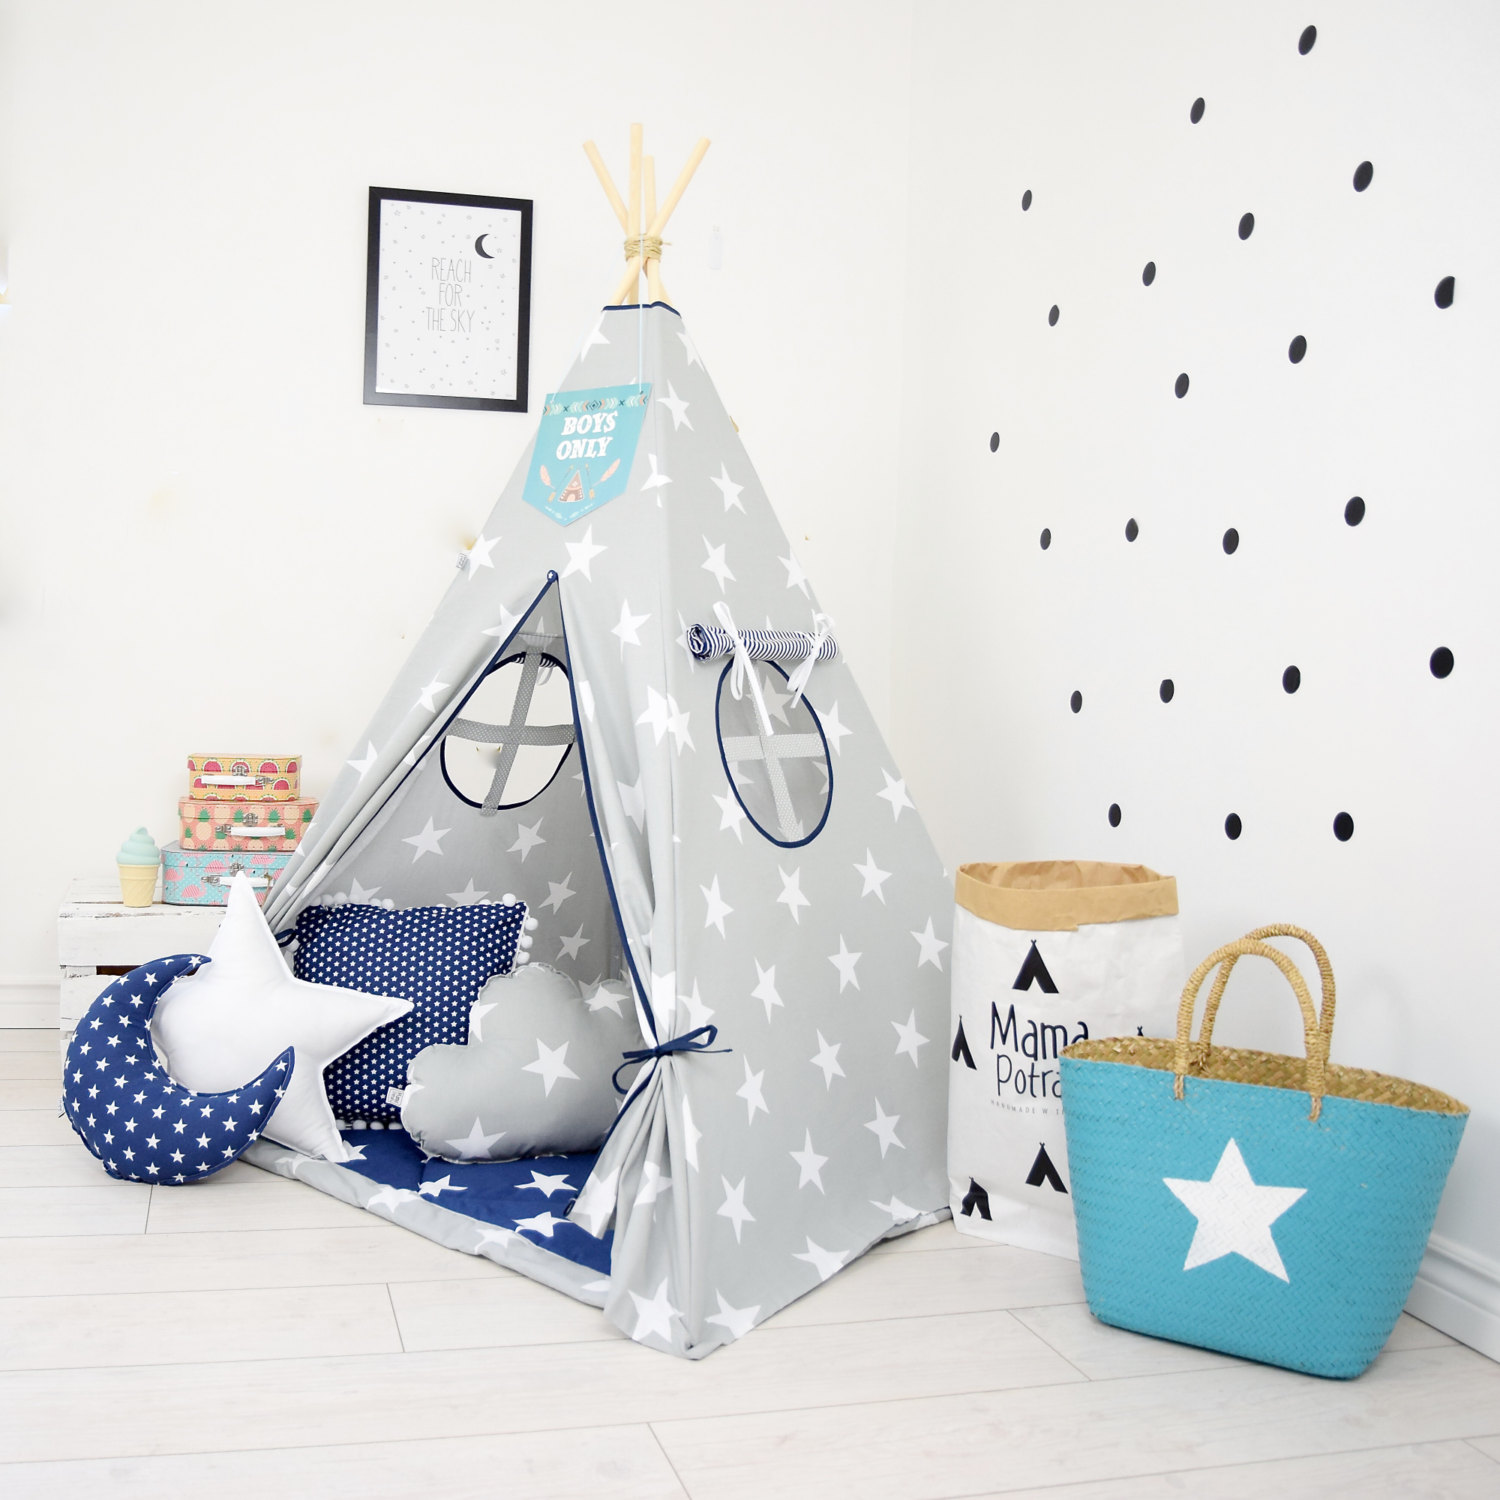
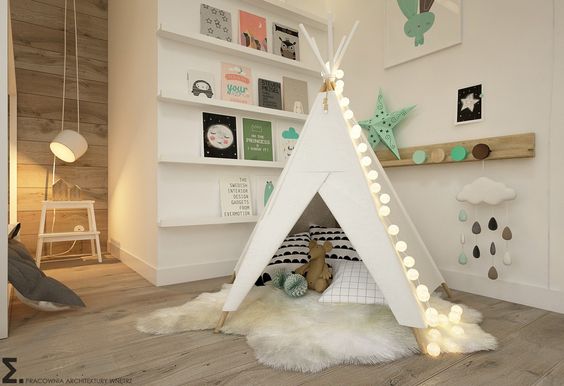
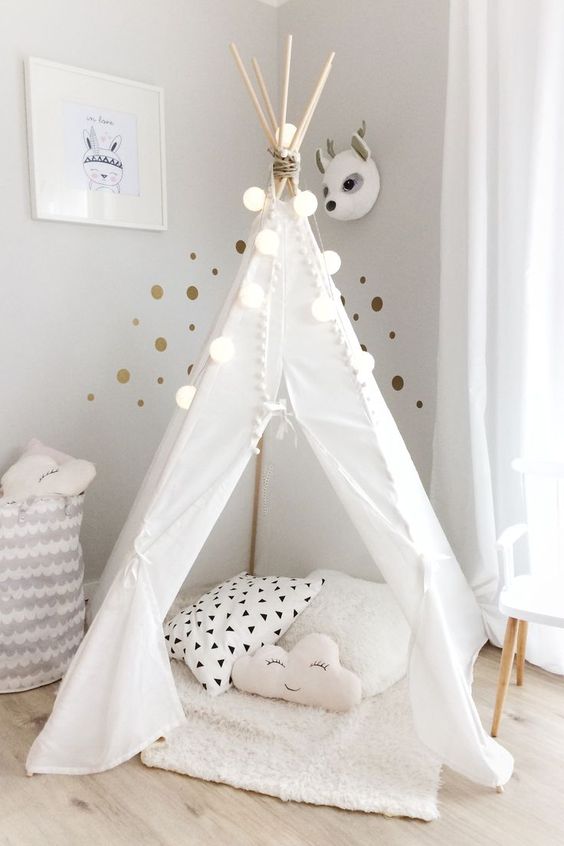
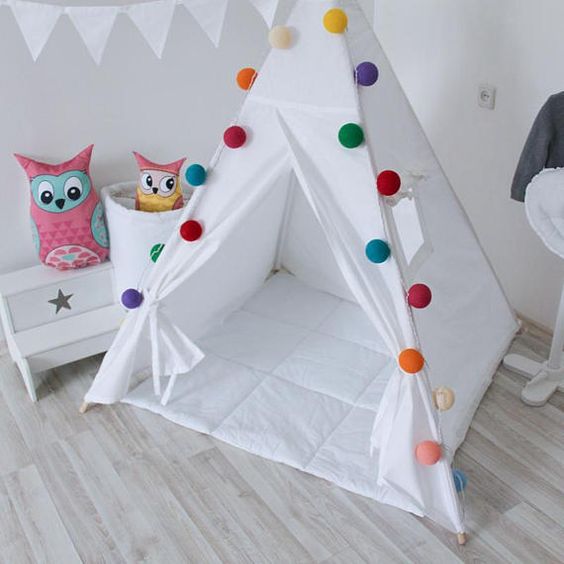
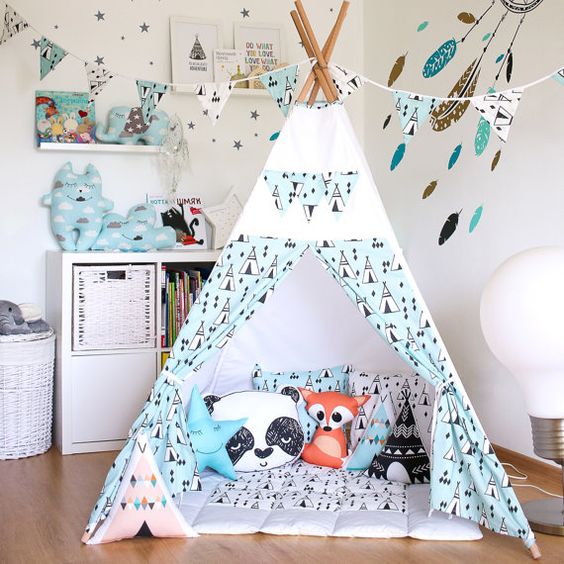
Garlands of multi-colored light bulbs turn the wigwam into a magical tent, the embodiment of a dream and a holiday.
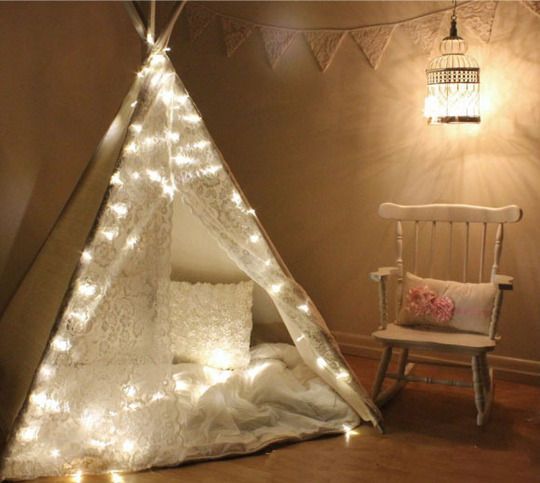
Garlands will turn the wigwam into a magical tent
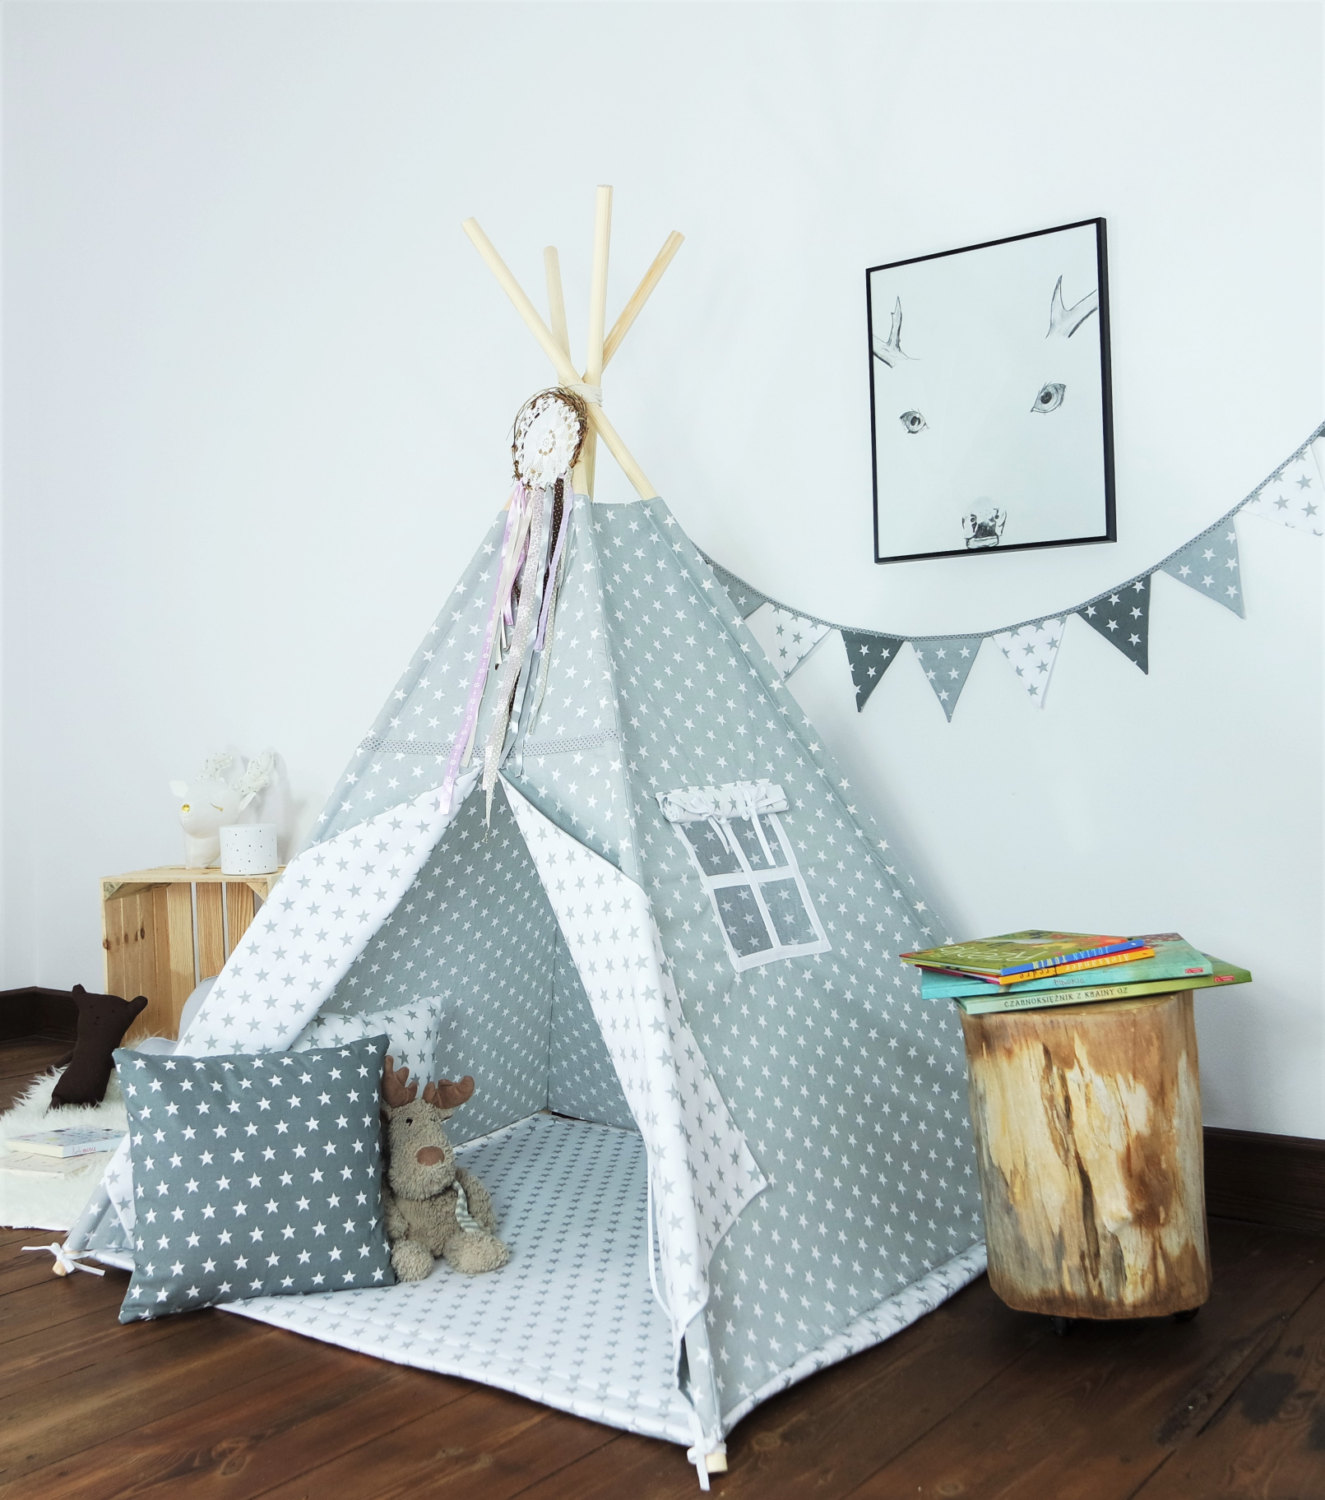
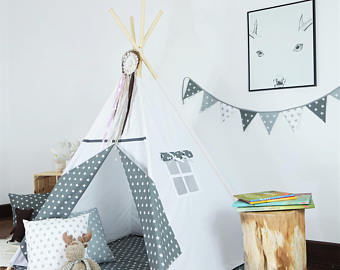
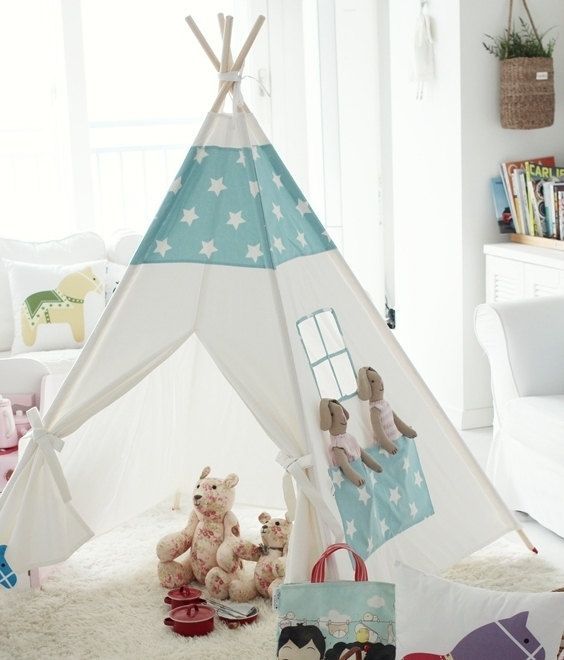
Sometimes a window is cut through the wall, but this is not necessary. In general, the process of decorating and improving the wigwam is endless - the child himself will be doing this for a long time. There is only one thing left for parents: not to interfere and sometimes help to embody new ideas.
You can cut a window in the wall
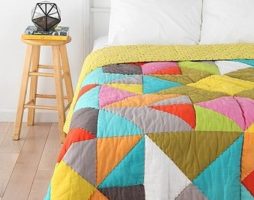
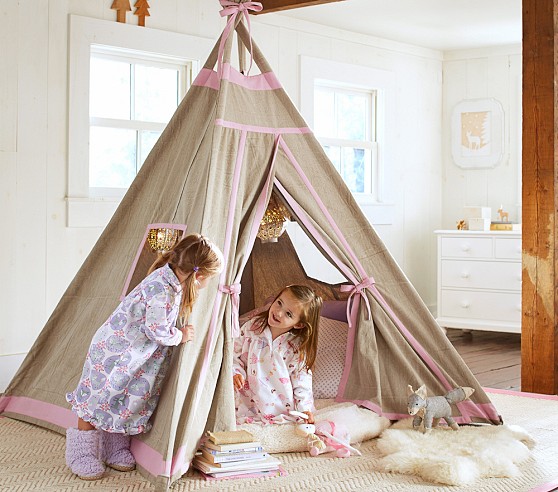
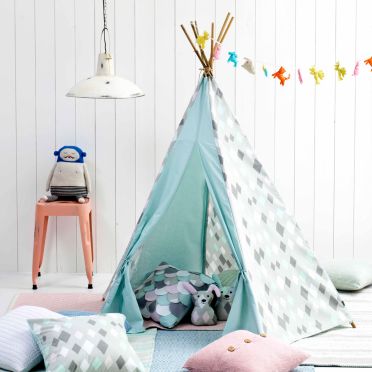
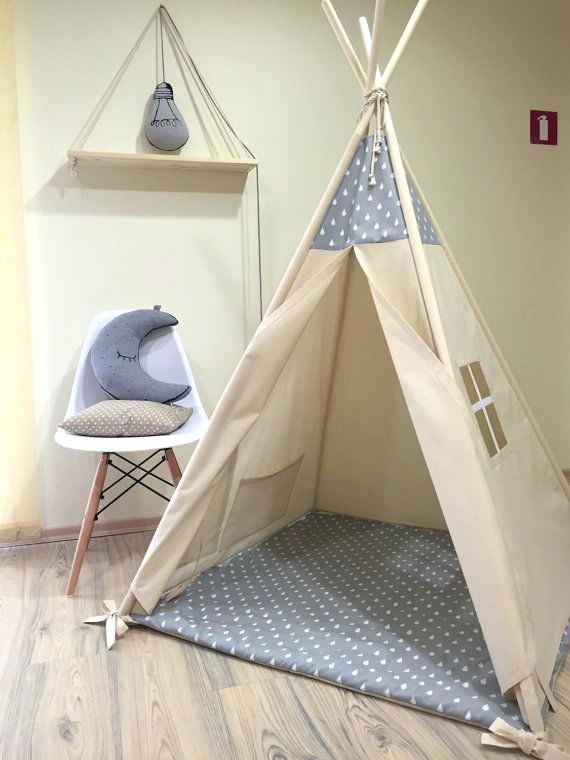
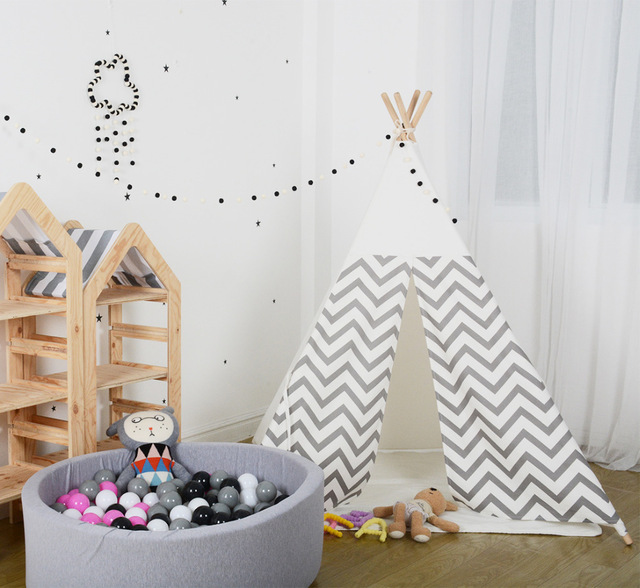
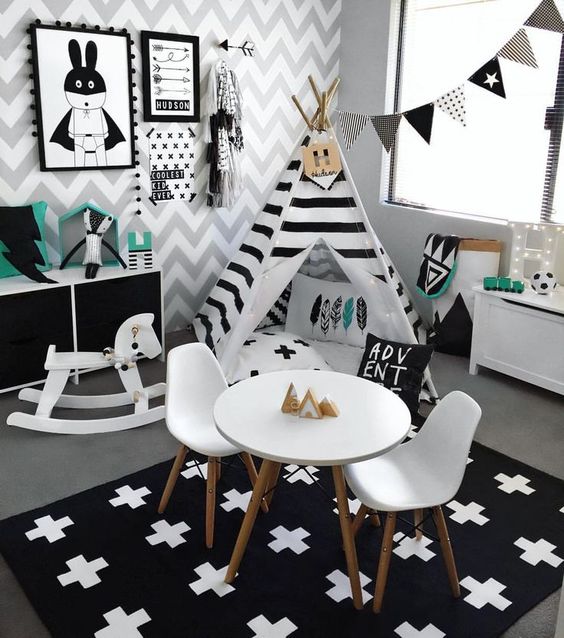
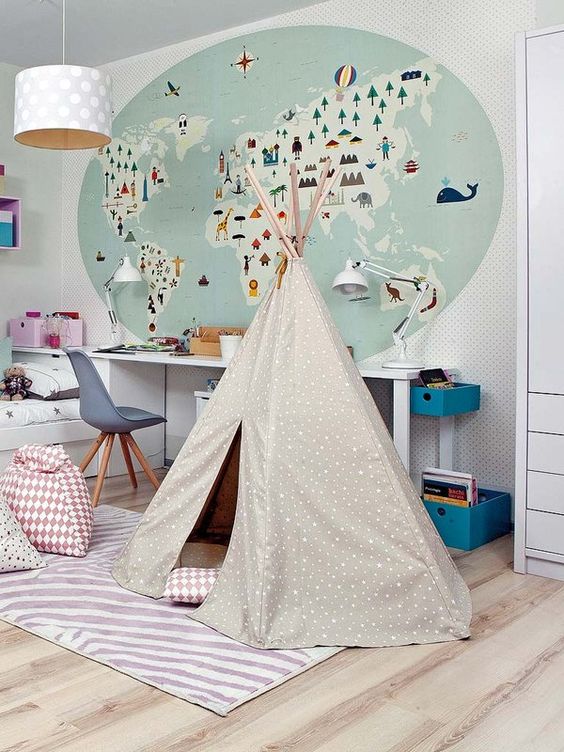
Teepee in the interior of the children's room
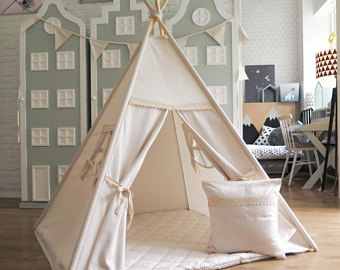
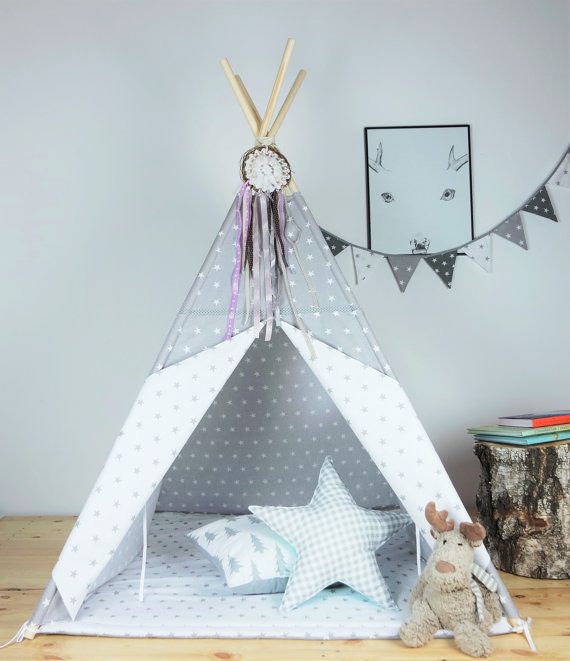
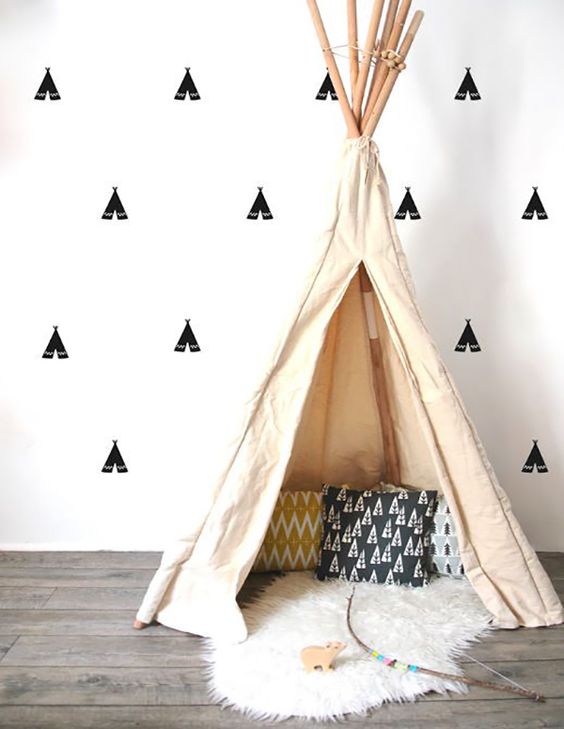
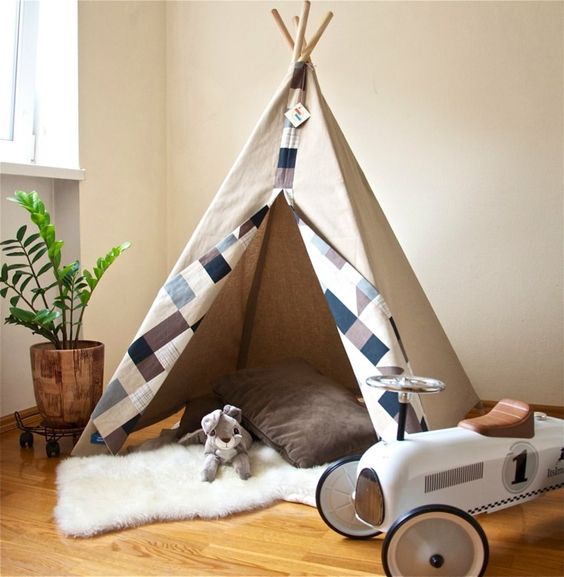
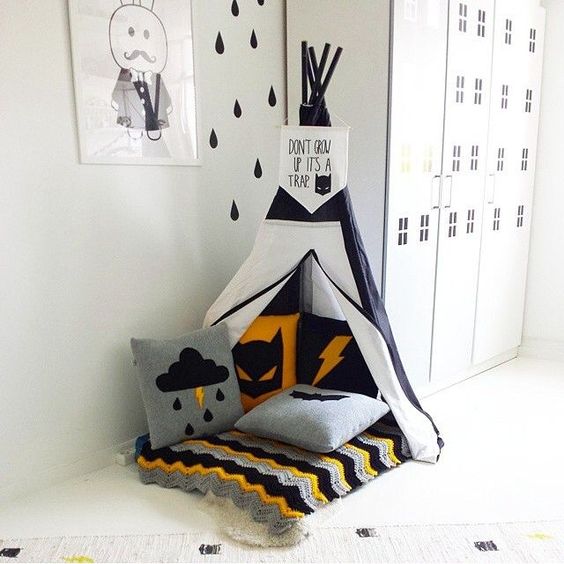
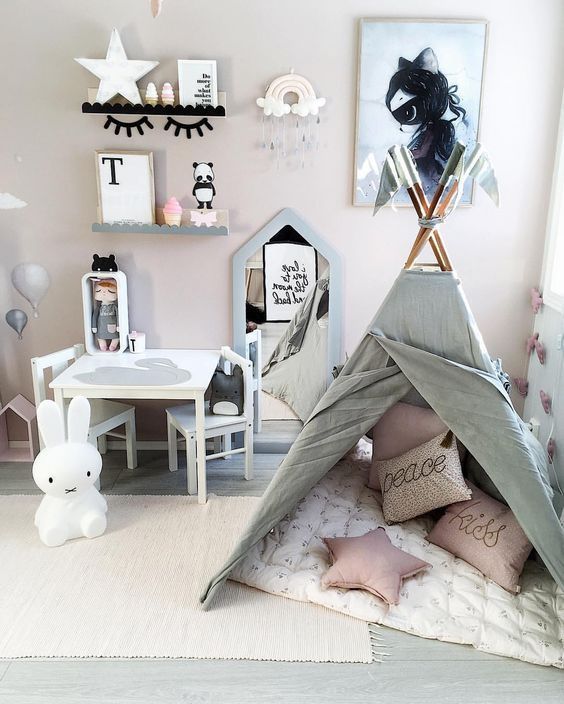
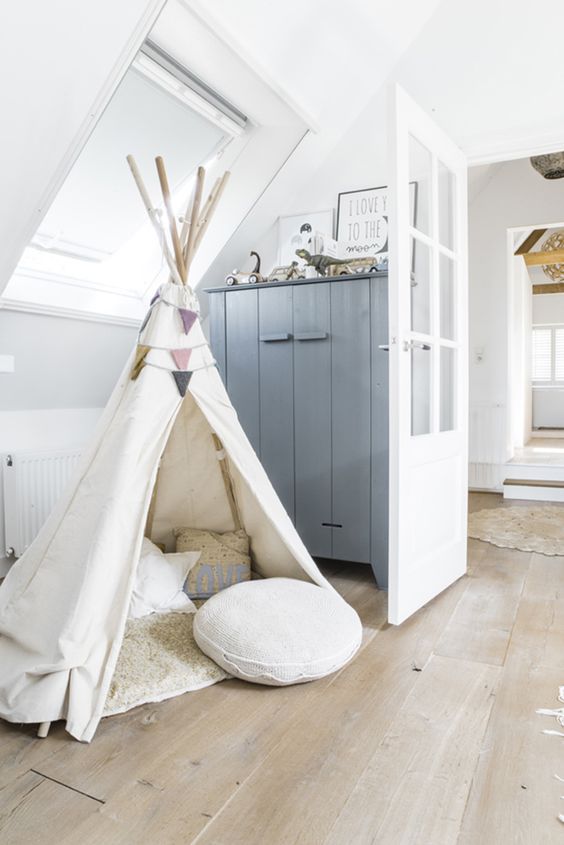
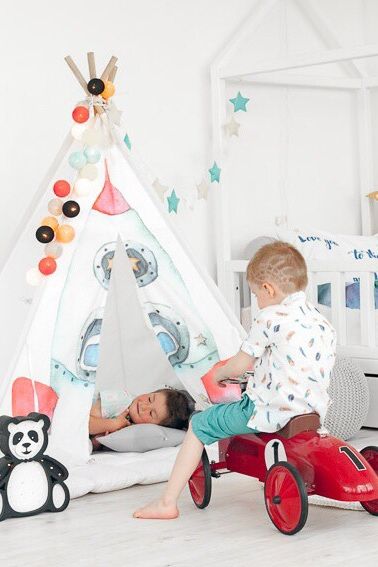
In the children's room, the wigwam will become a place of solitude for the child. It doesn’t matter if this room is for two children or for one, all the same, the baby needs a house that is proportionate to himself, and not to the world of adults. There, with a shaggy bear, you can keep secrets, and look at a book, and just fall asleep on a mattress.
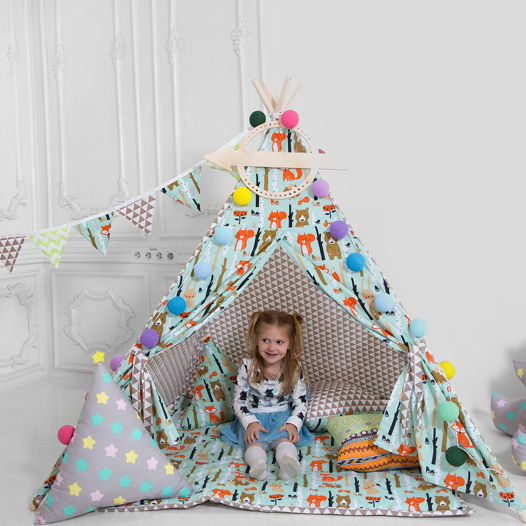
The wigwam will become a place of solitude for the child
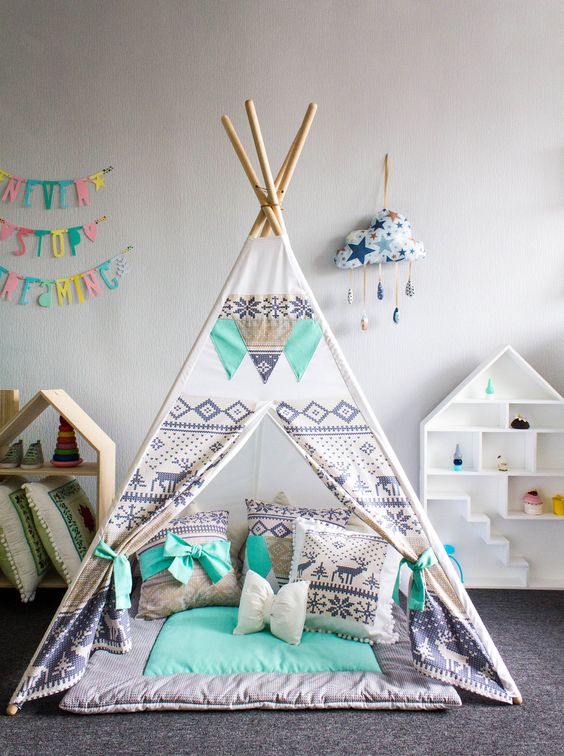
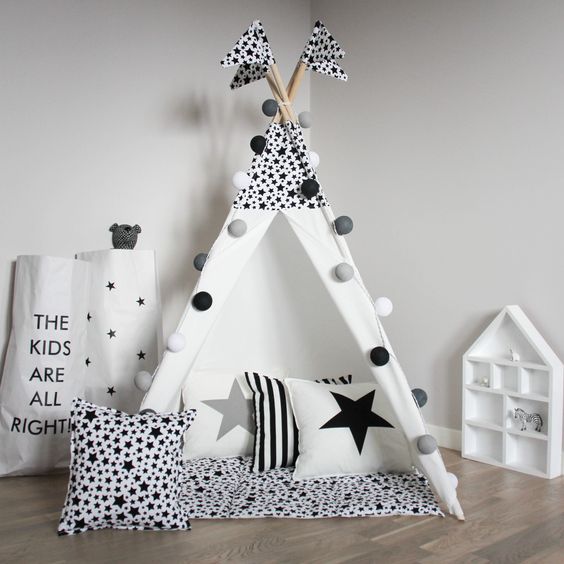
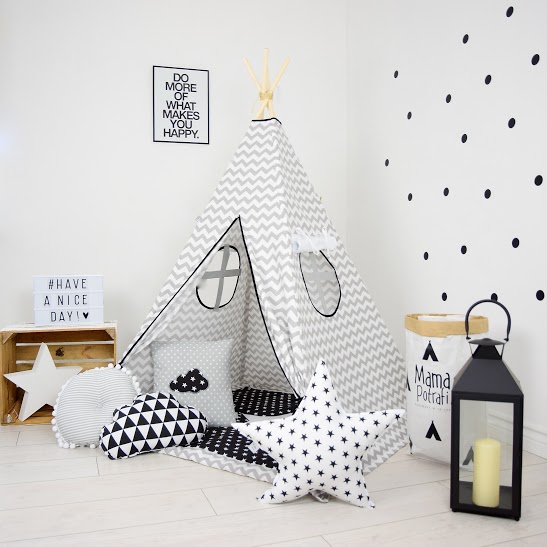
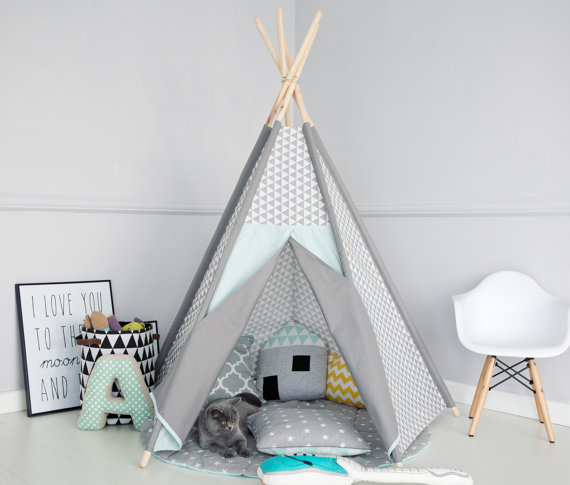
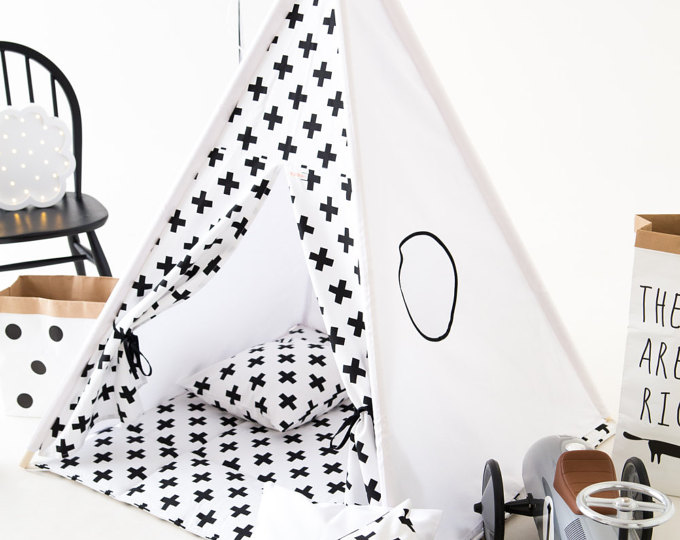
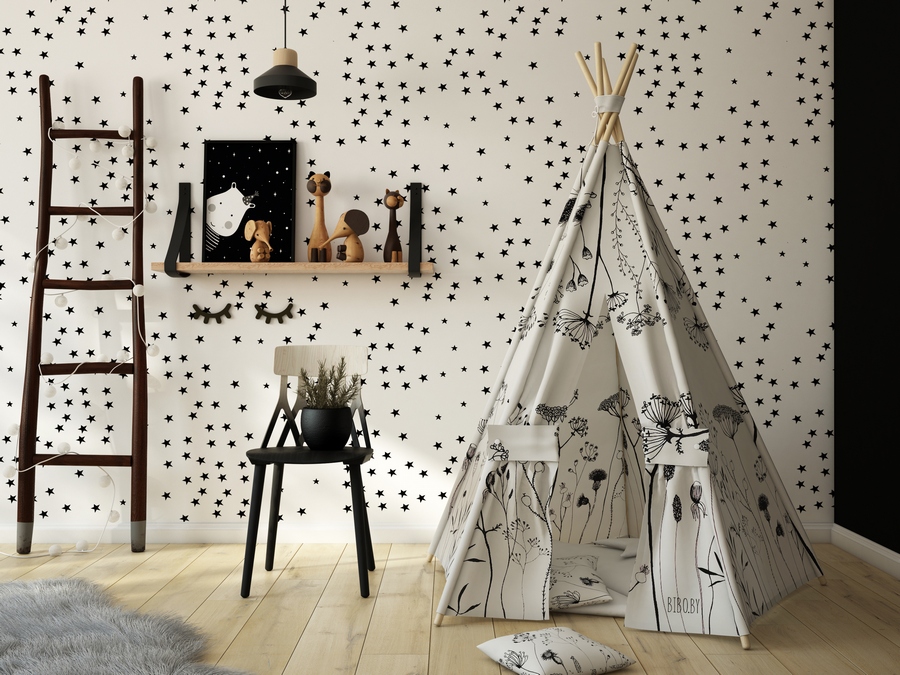
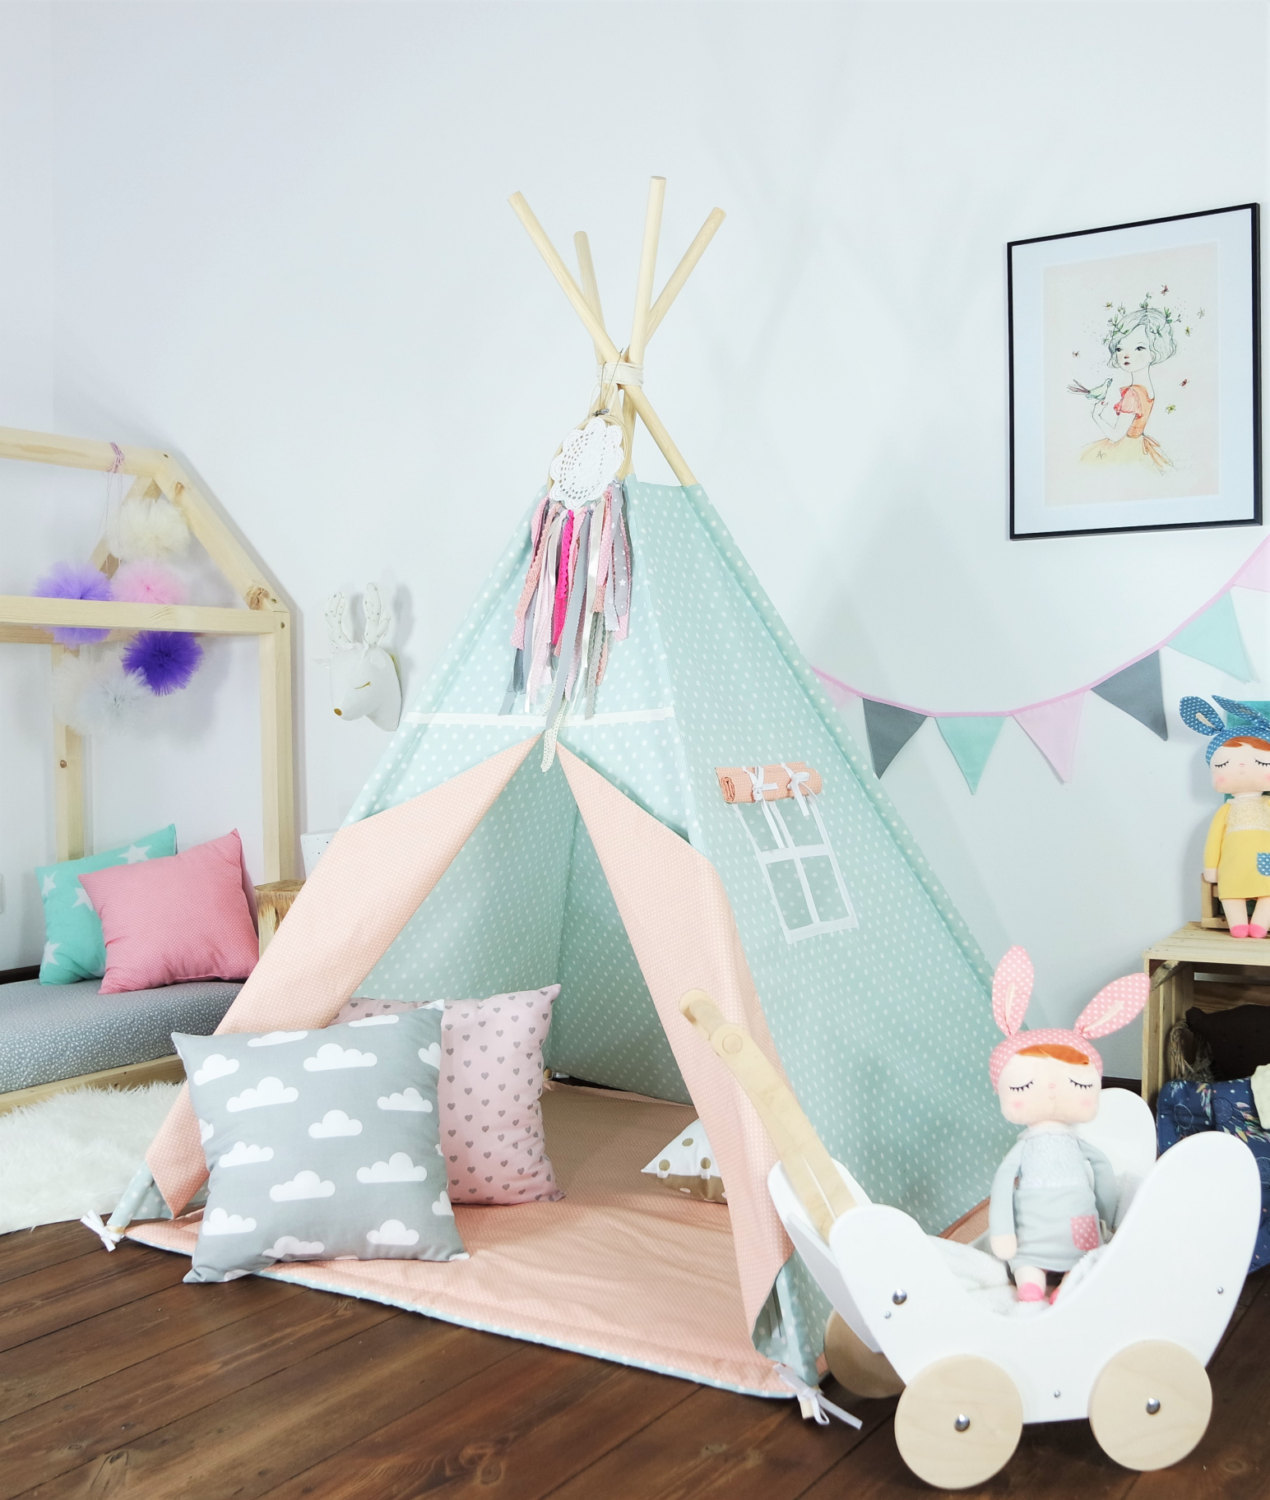
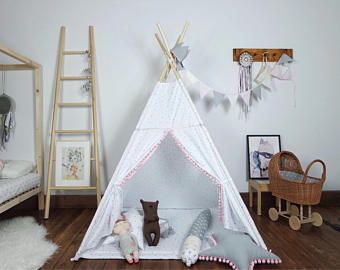
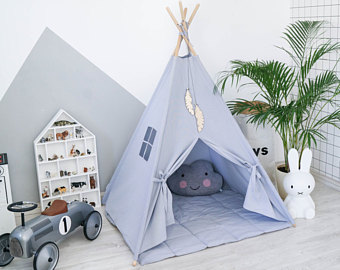
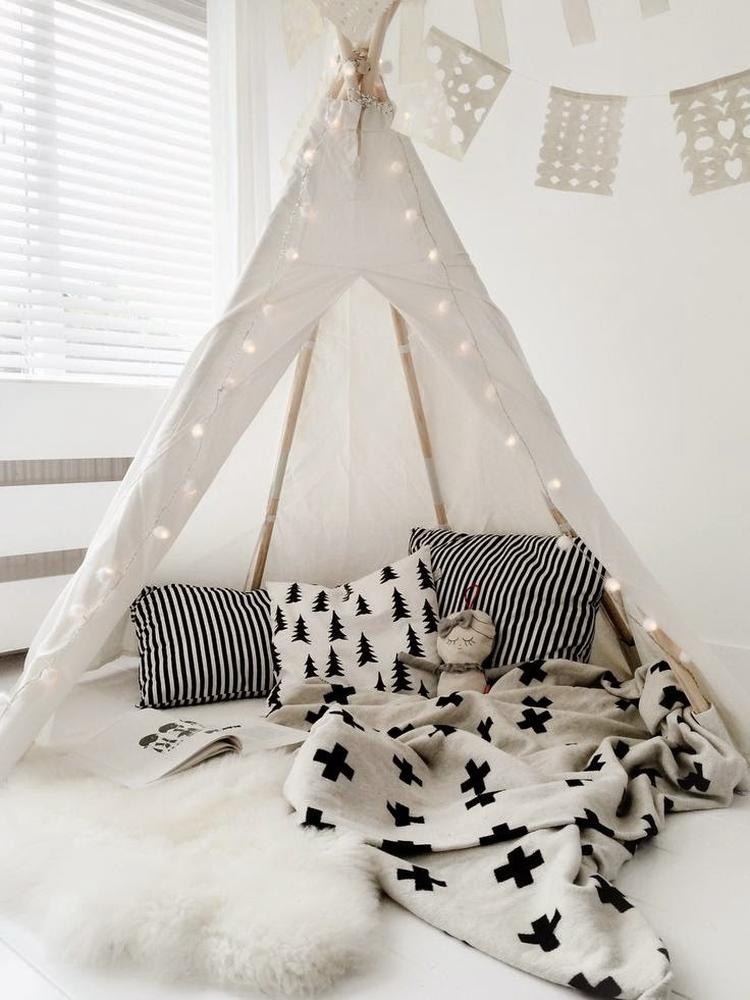
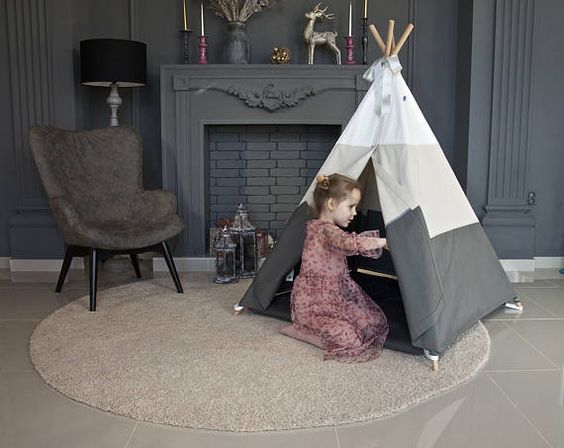
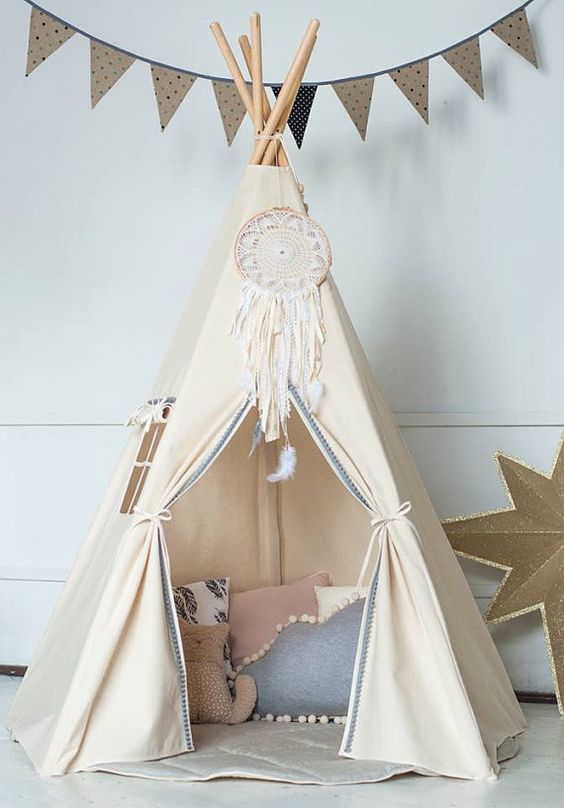
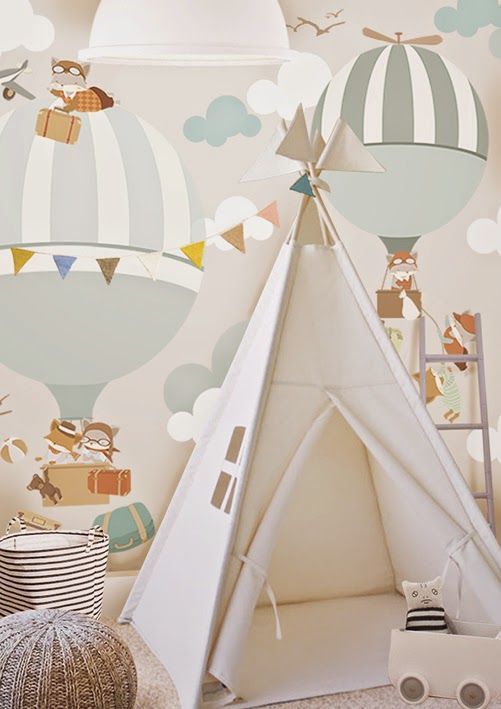
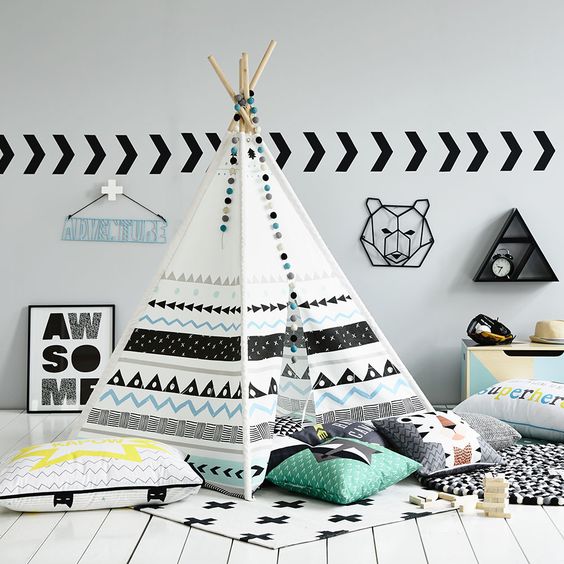
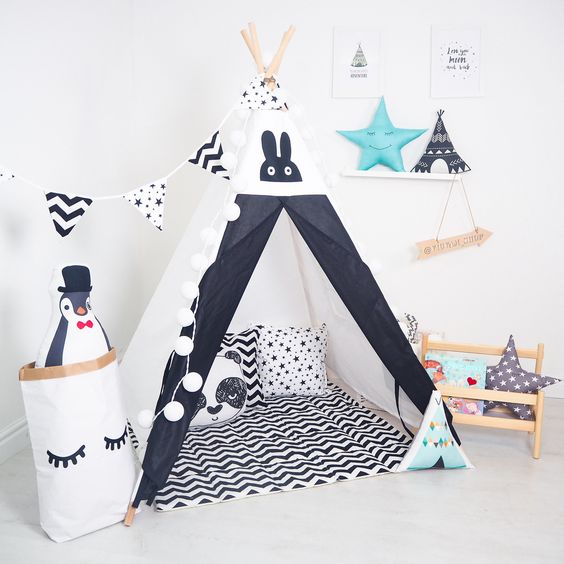
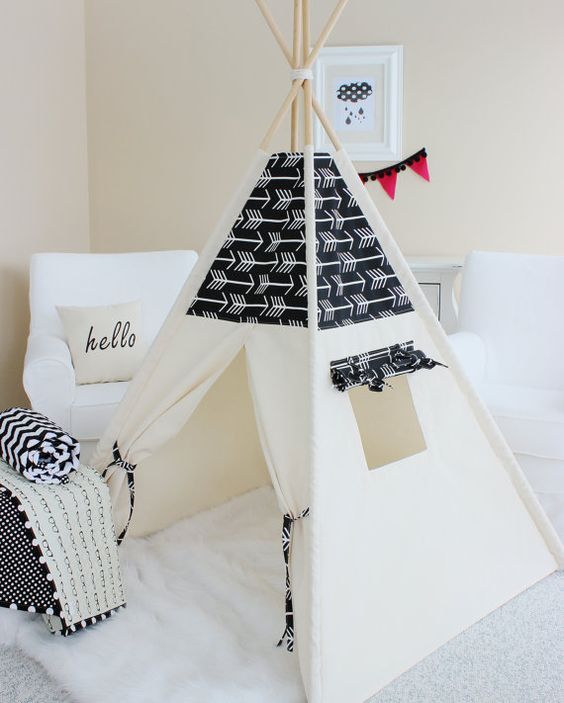
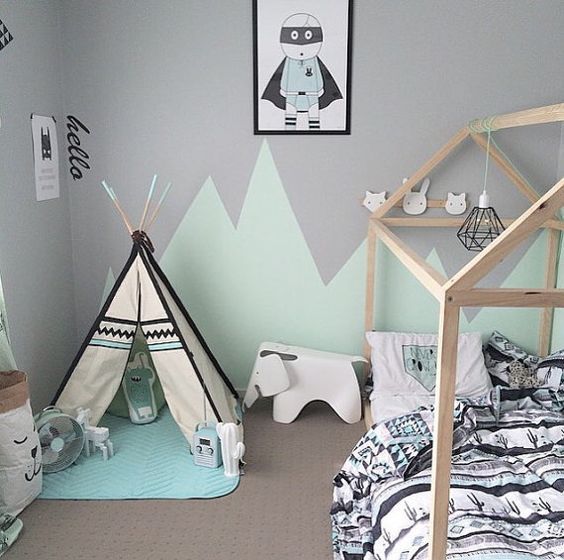
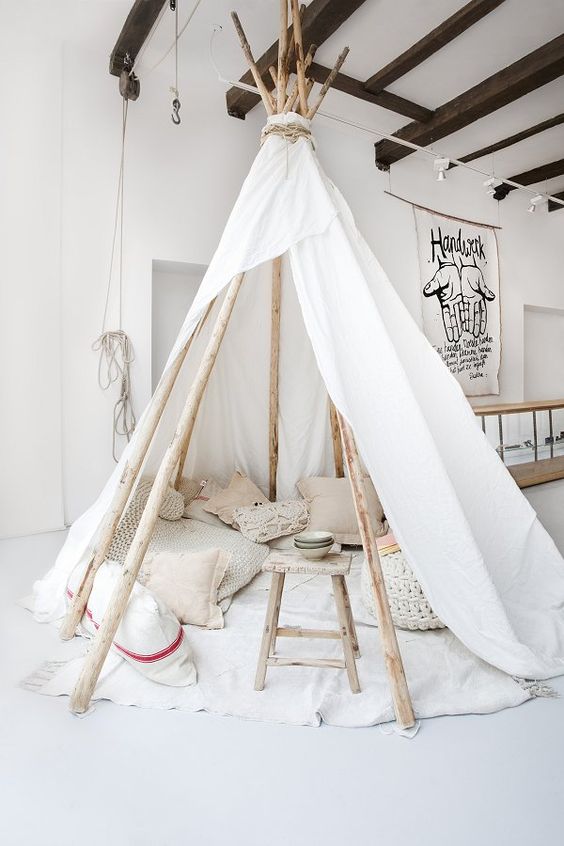
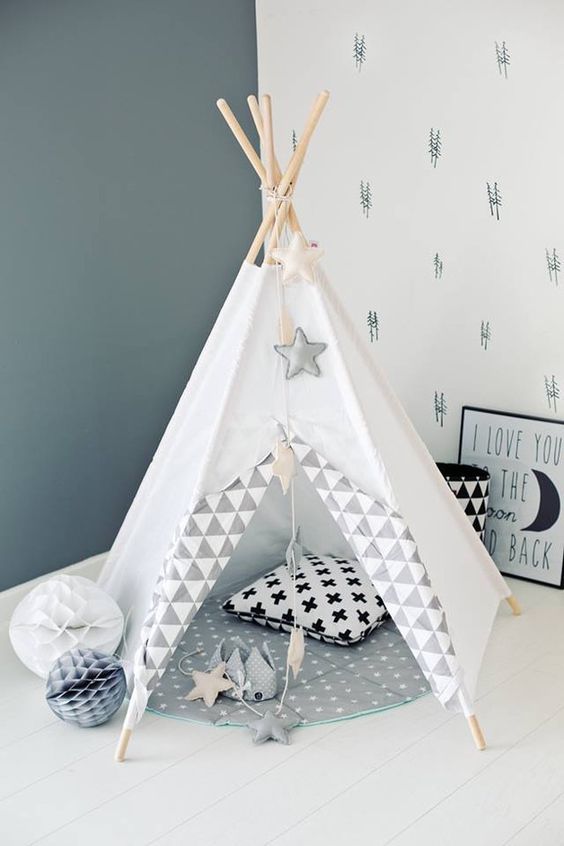
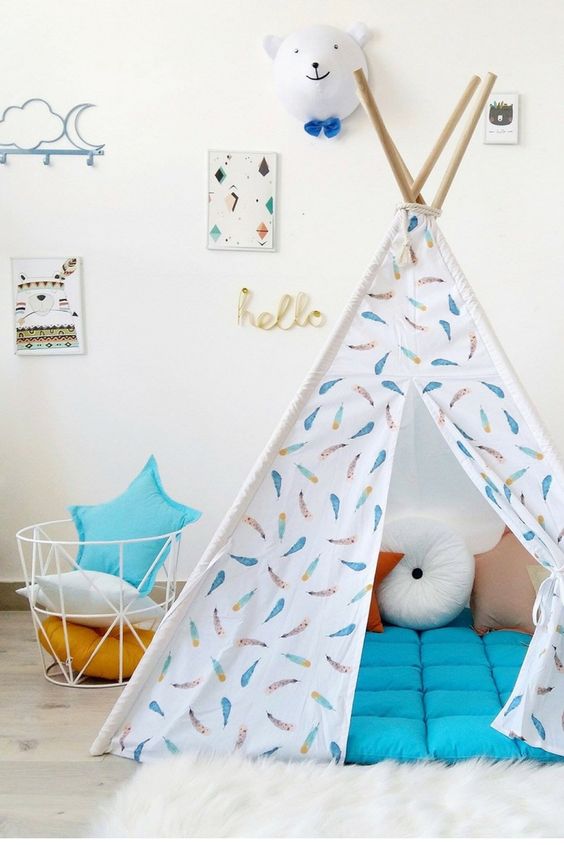
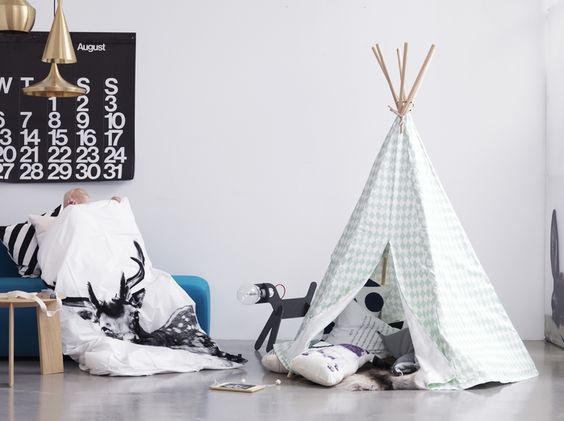
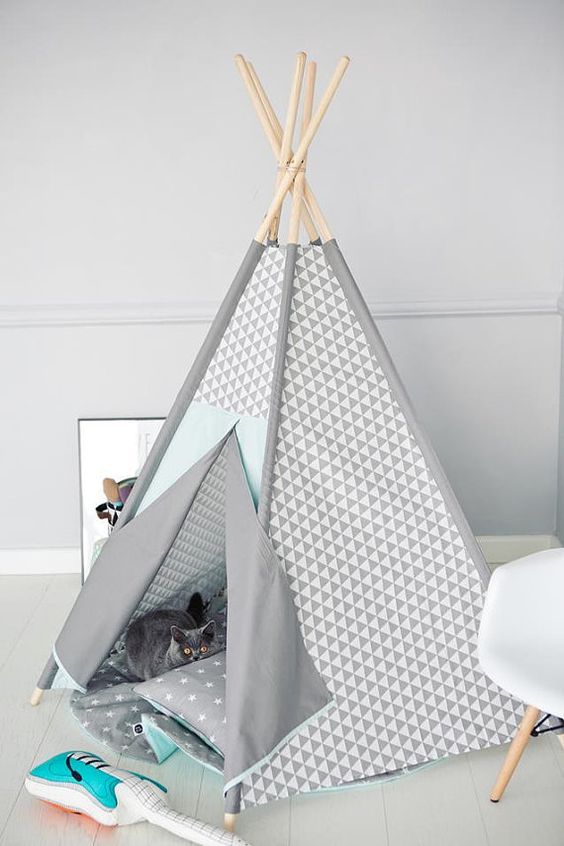
The wigwam fits into the classic Scandinavian interior like a native - it goes well with the light aesthetics of minimalism. Even the fabrics offered by Scandinavian designers come with appropriate prints: stylized Indian ornaments, snakes, corners, etc.
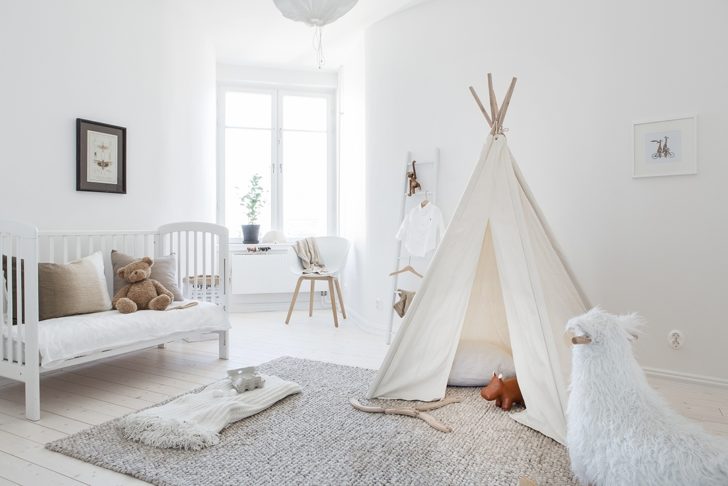
Wigwam in a Scandinavian interior
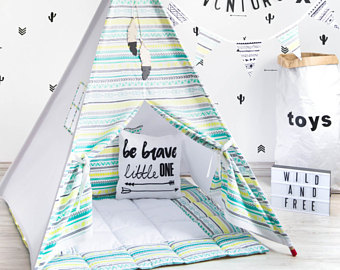
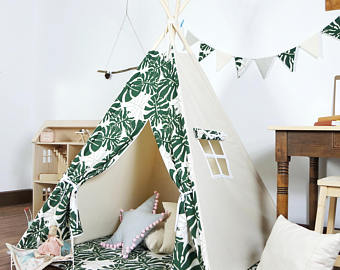
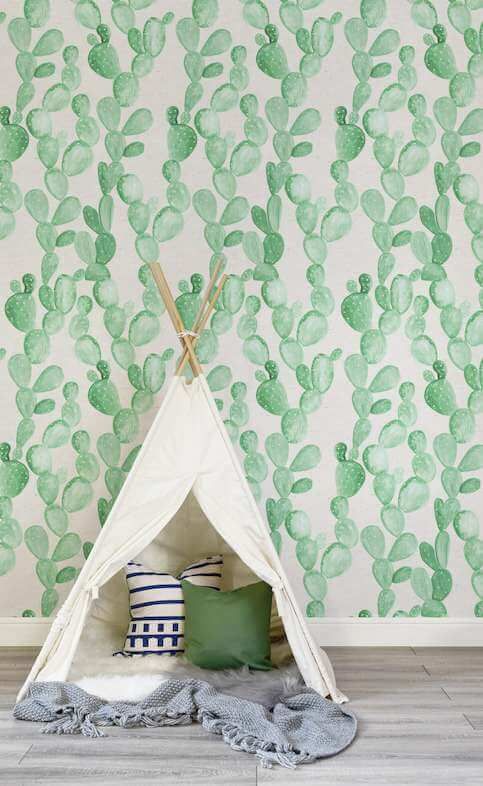
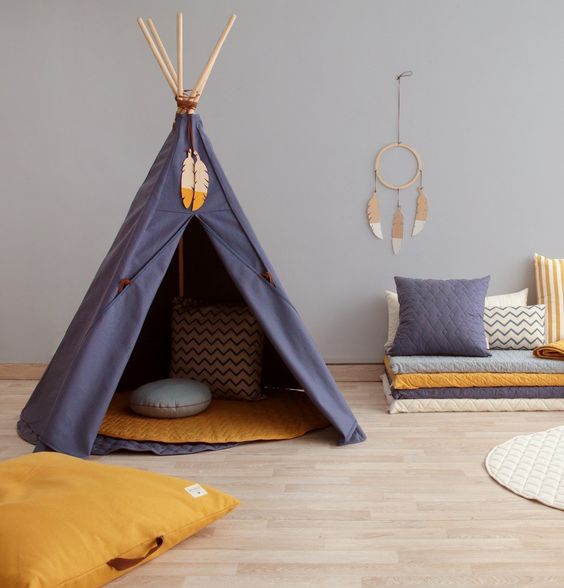
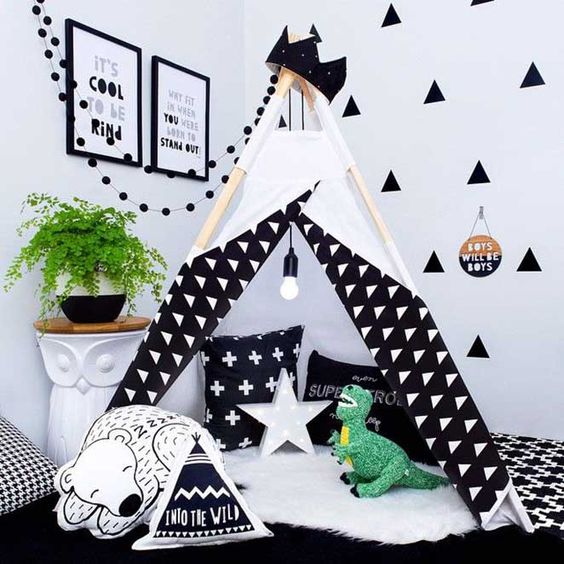
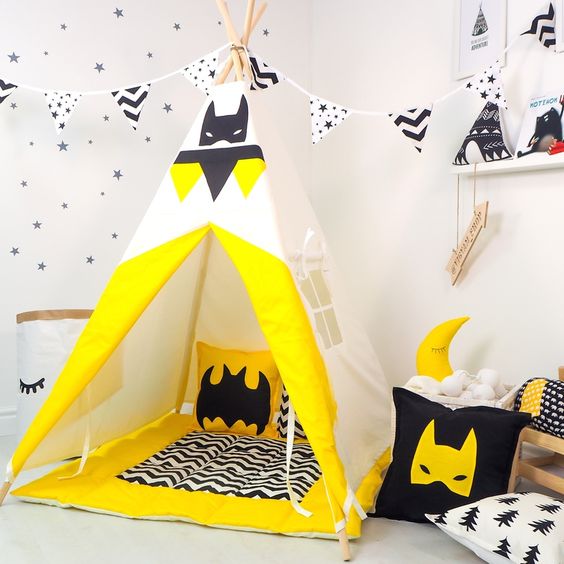
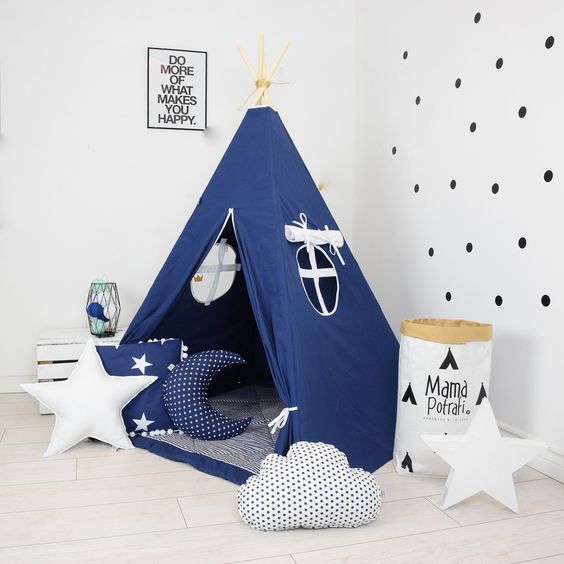
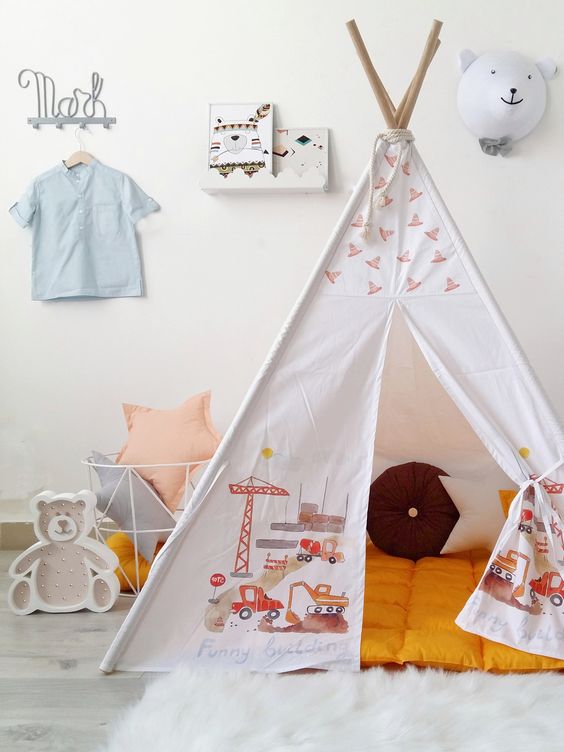
If the nursery for a boy is designed in a marine or ecological style, then you can use safari colors in the design of the wigwam, decorating it as a camping tent.
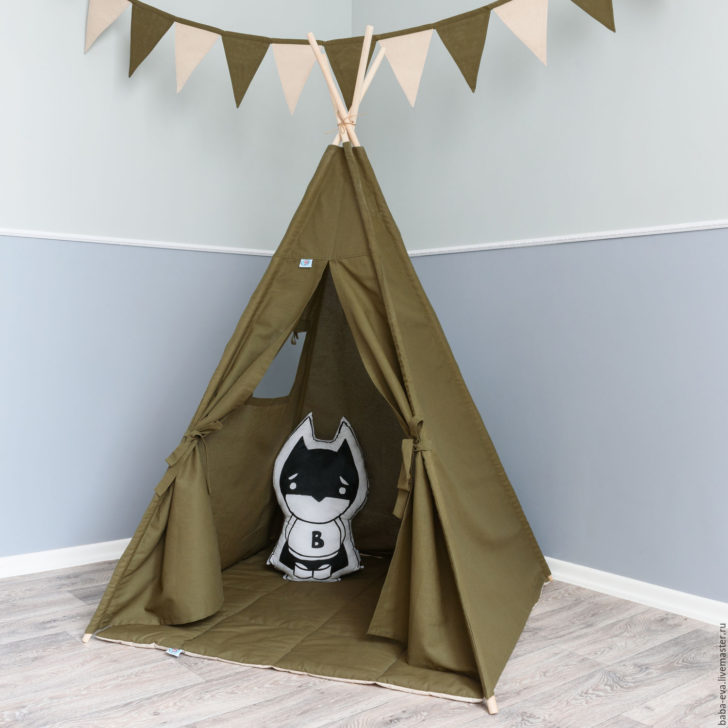
Teepee for a boy in khaki color
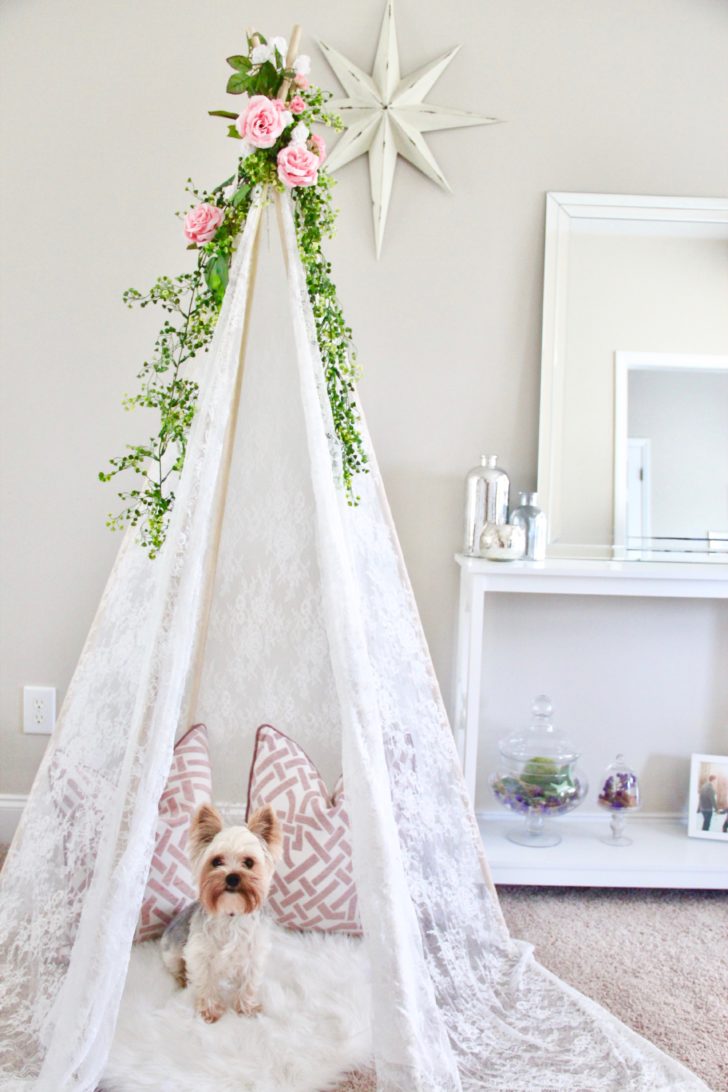
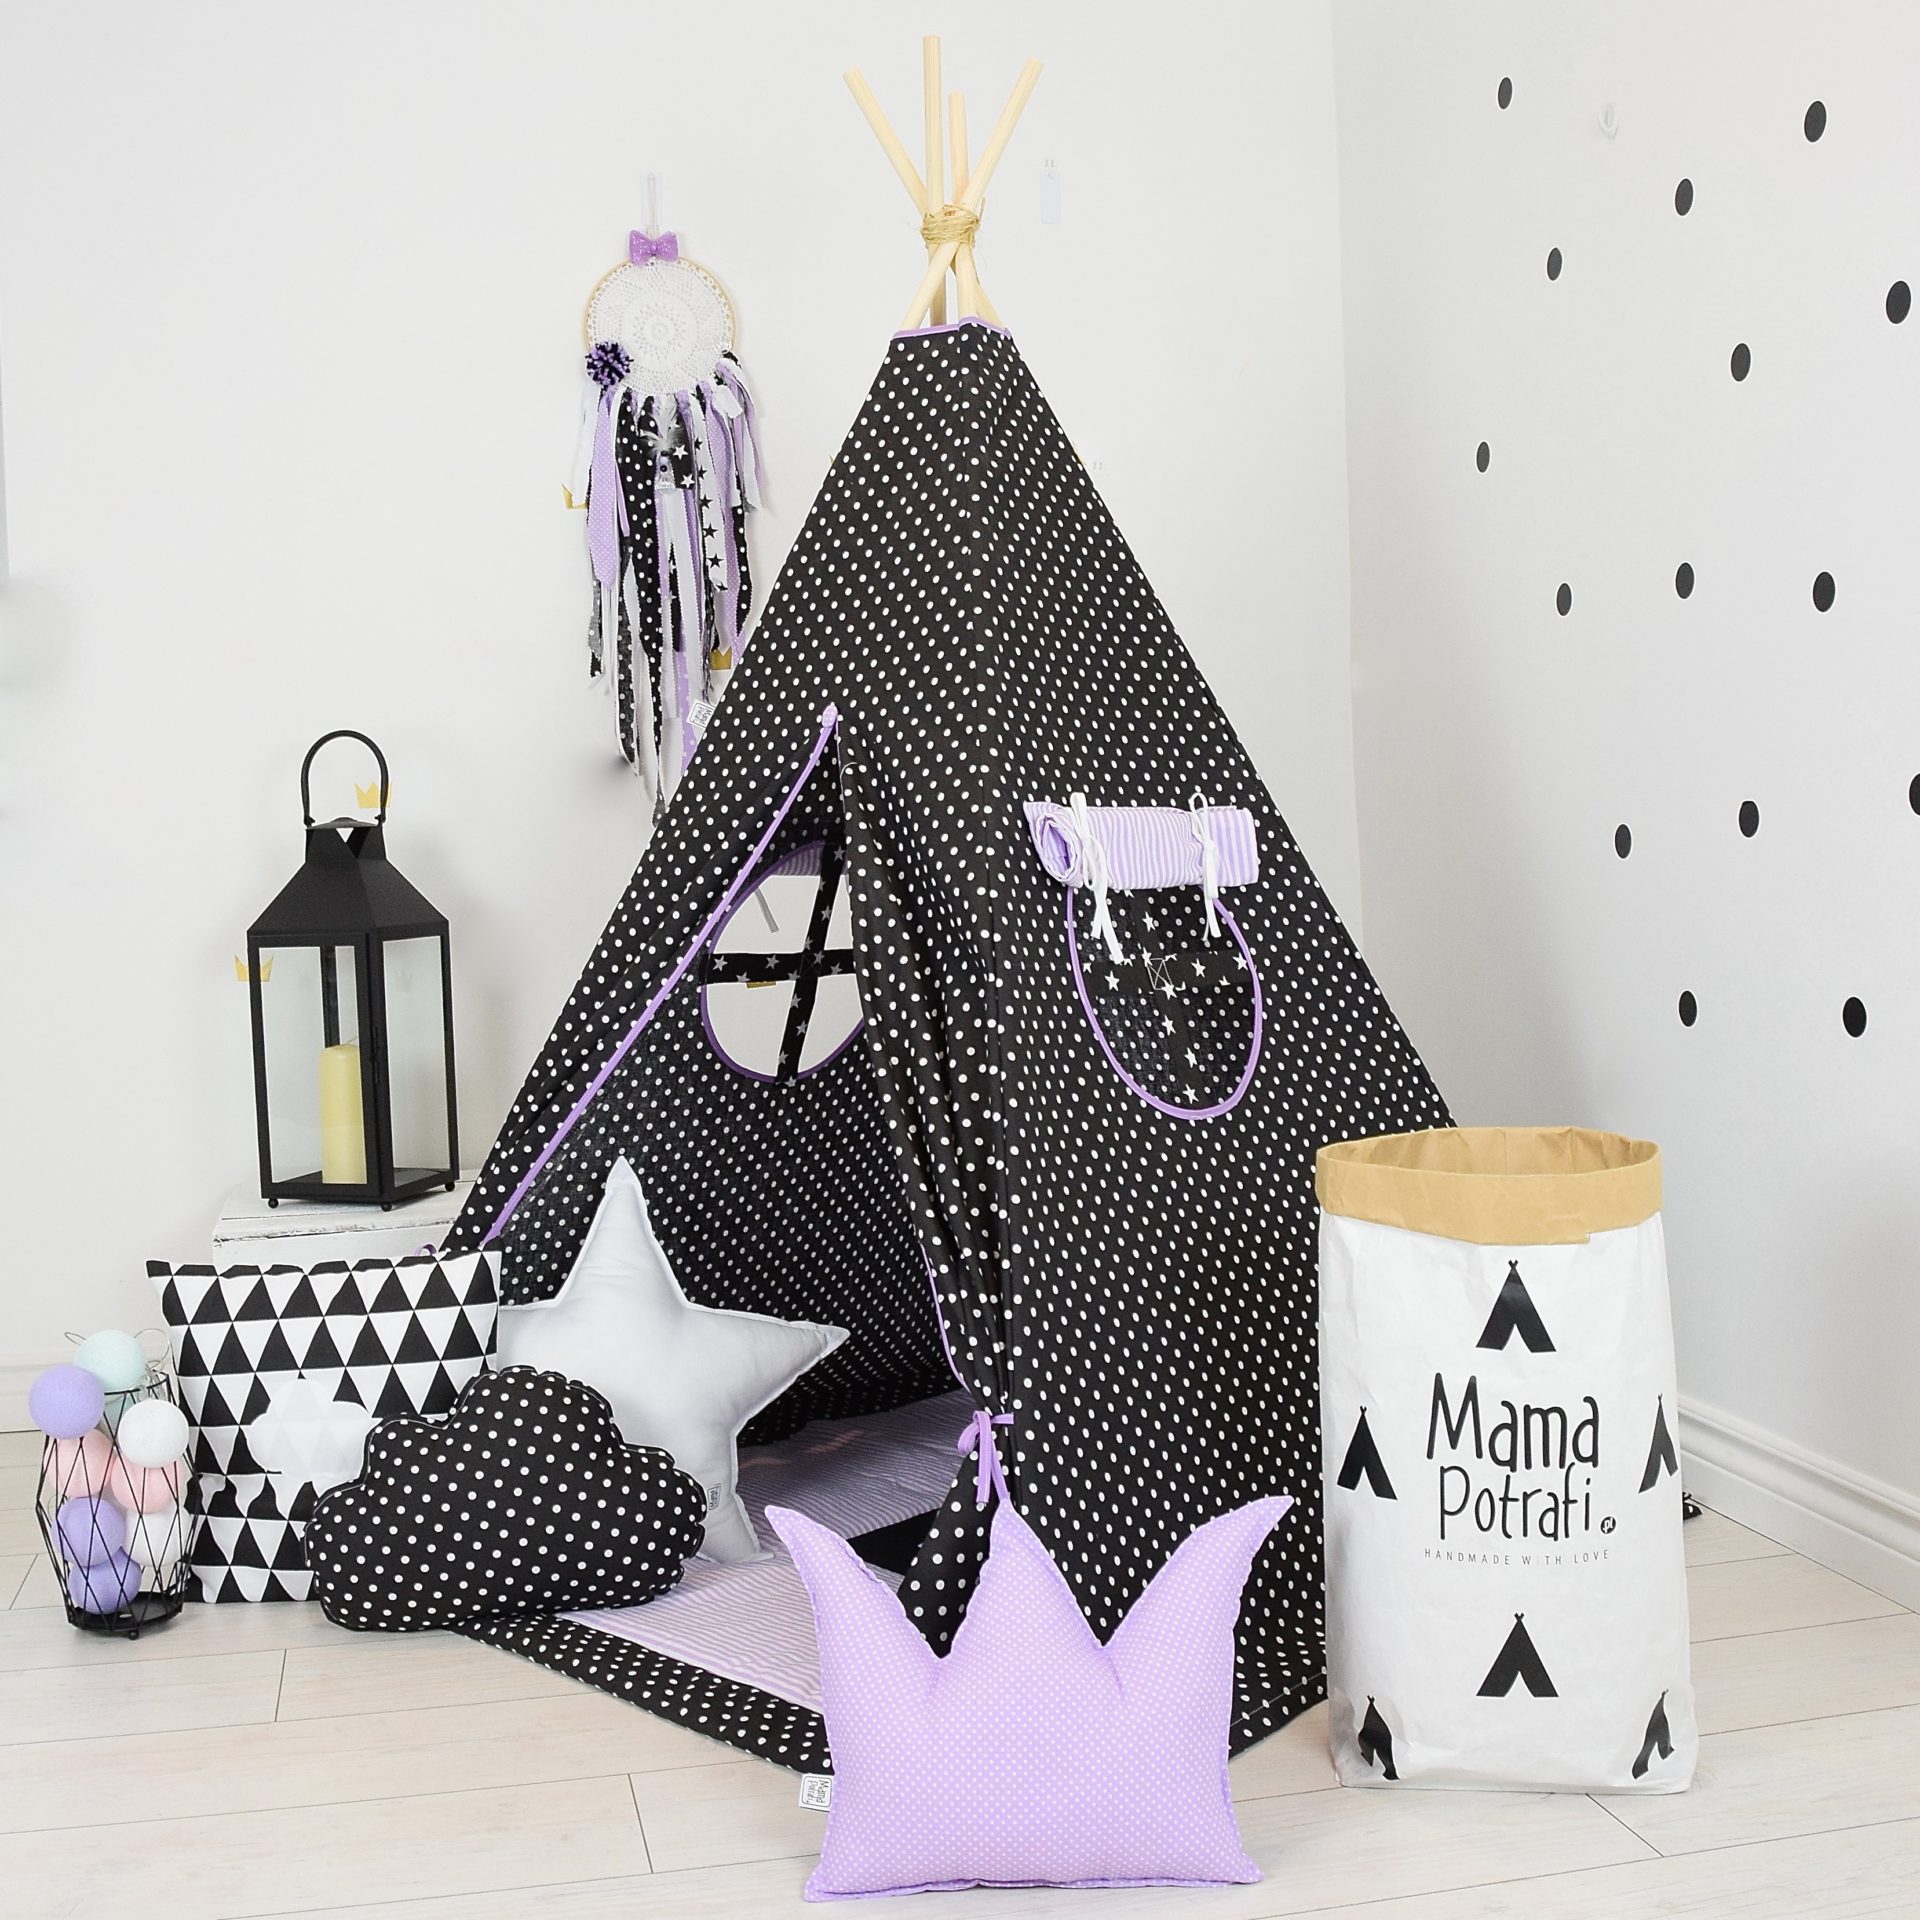
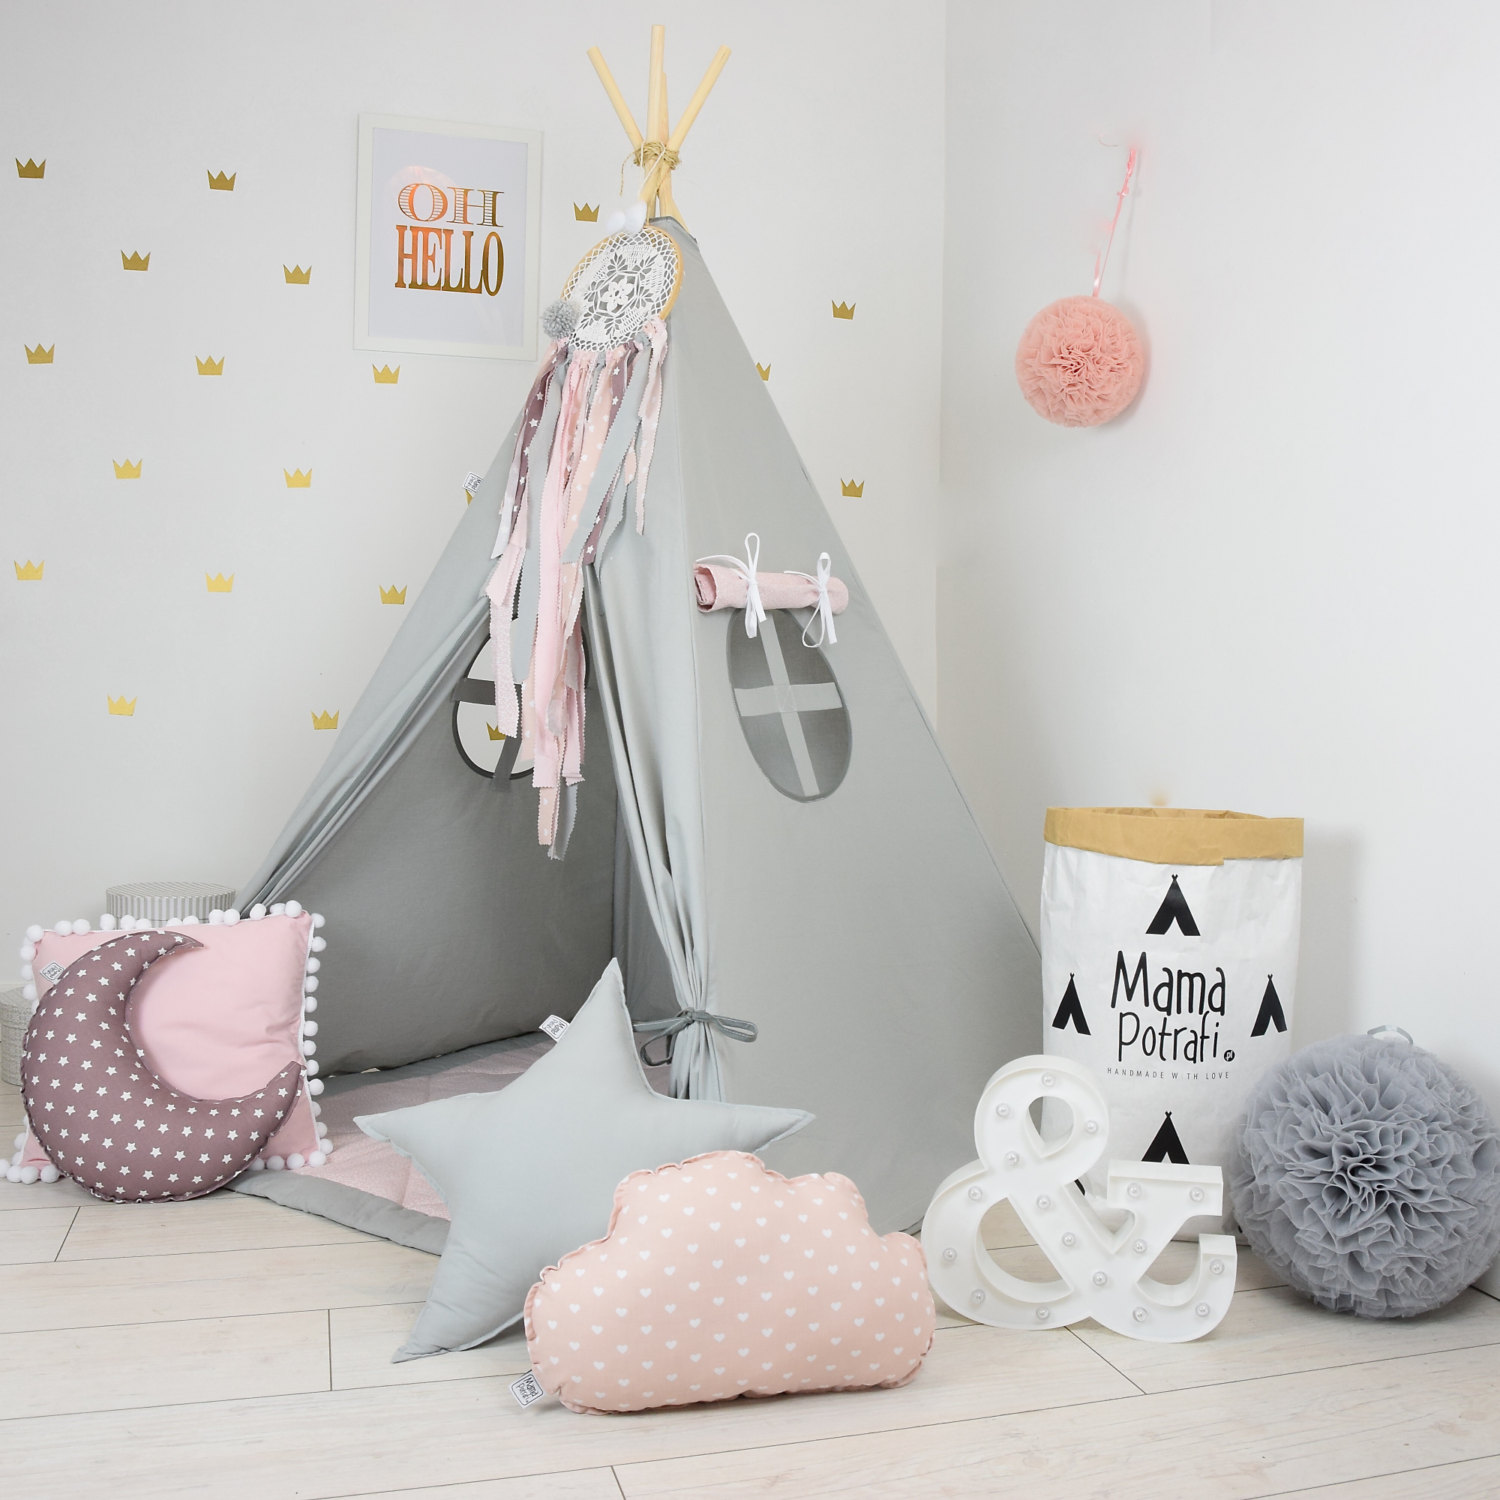
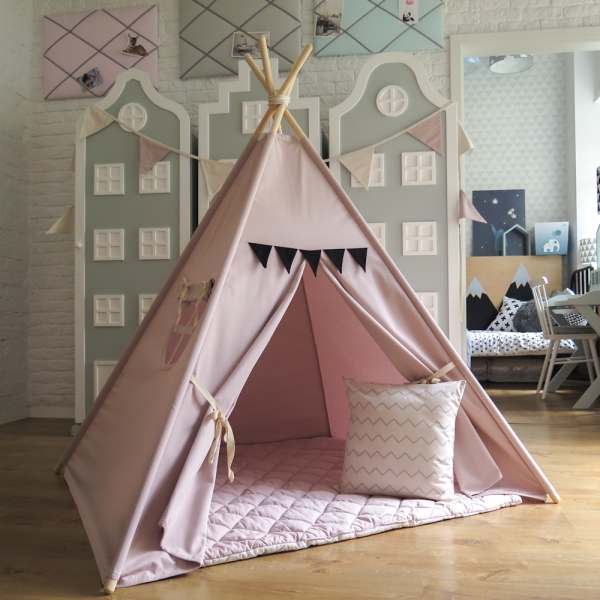
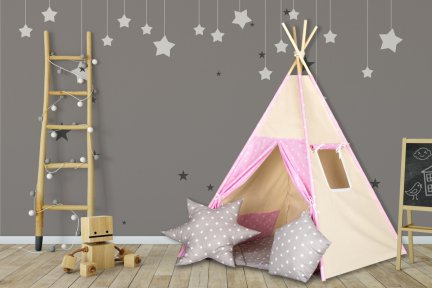
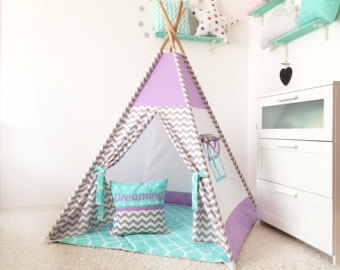
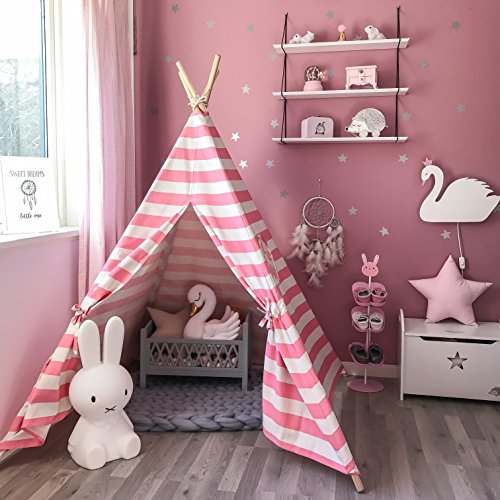
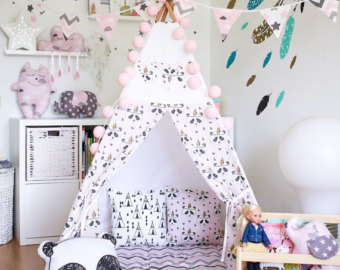
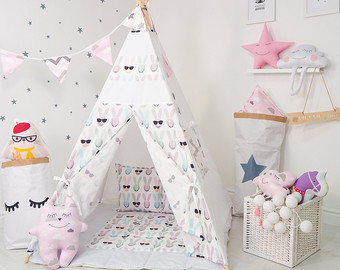
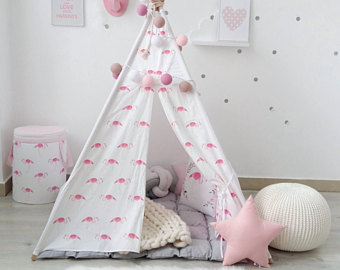
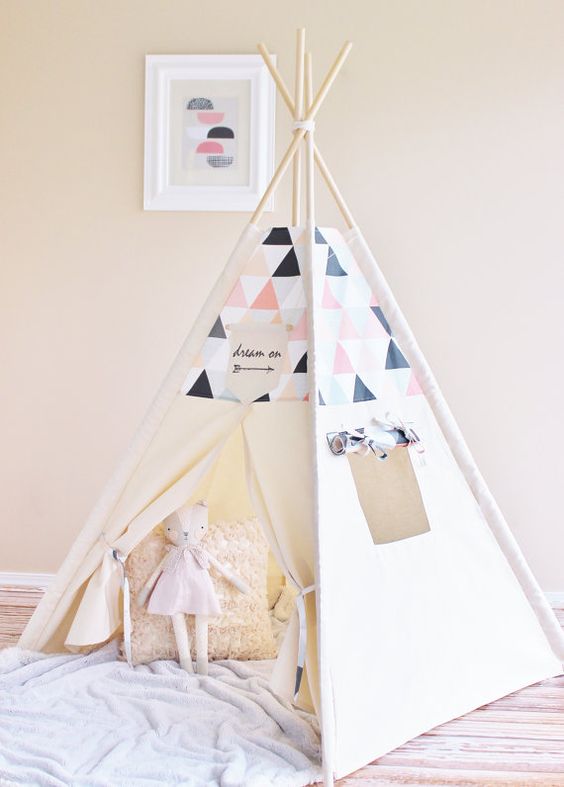
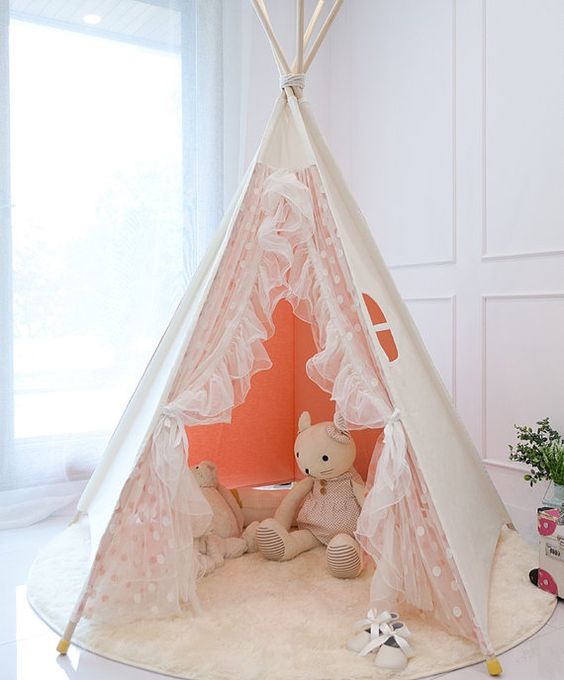
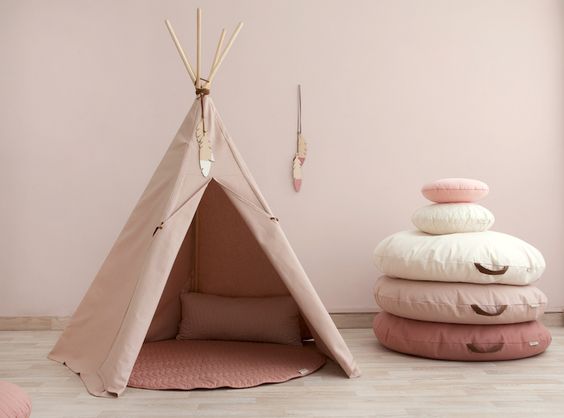
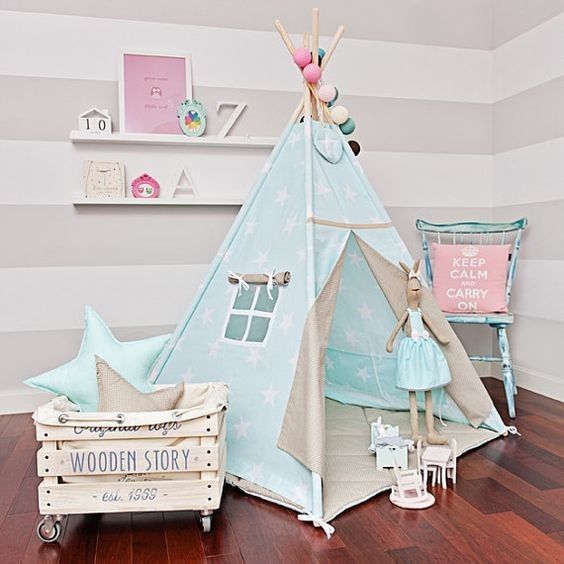
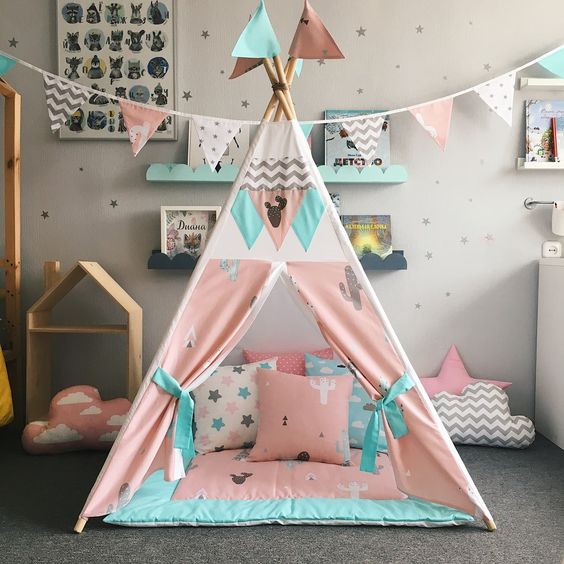
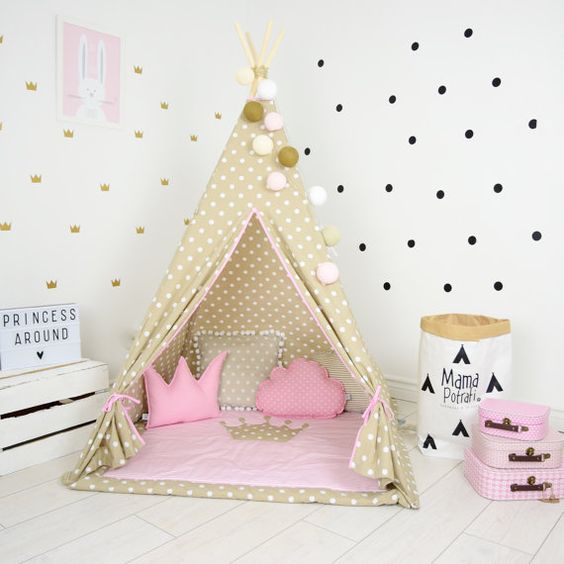
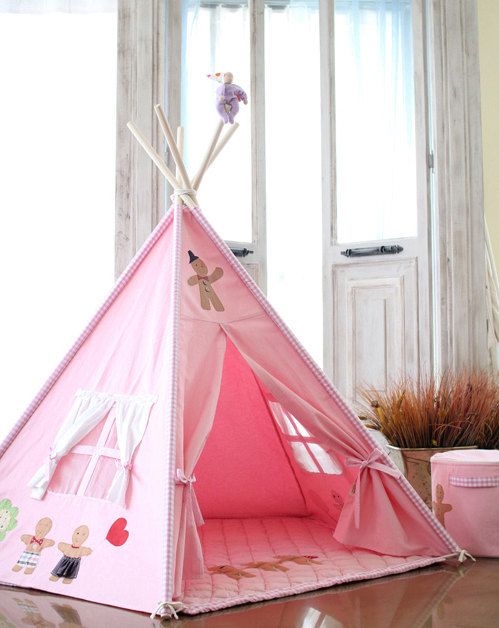
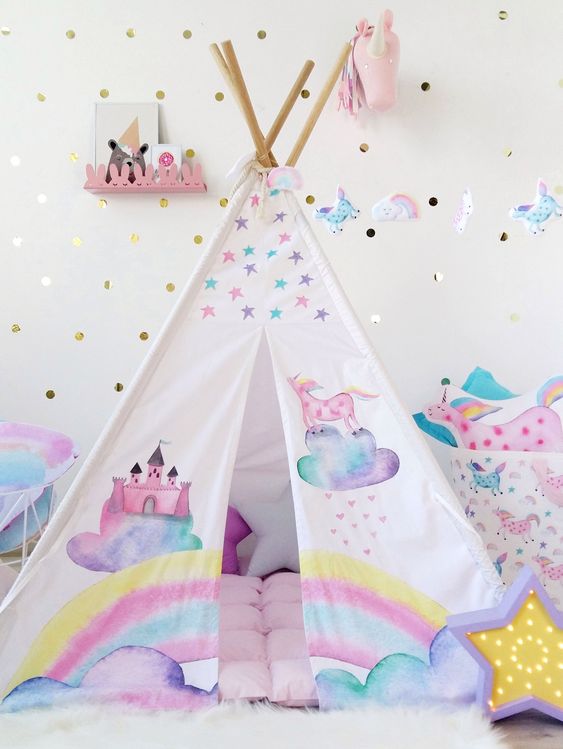
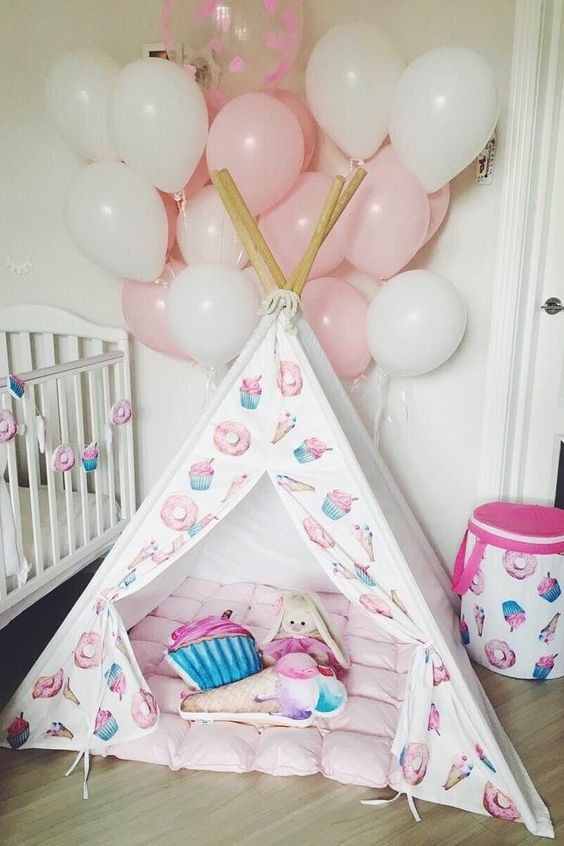
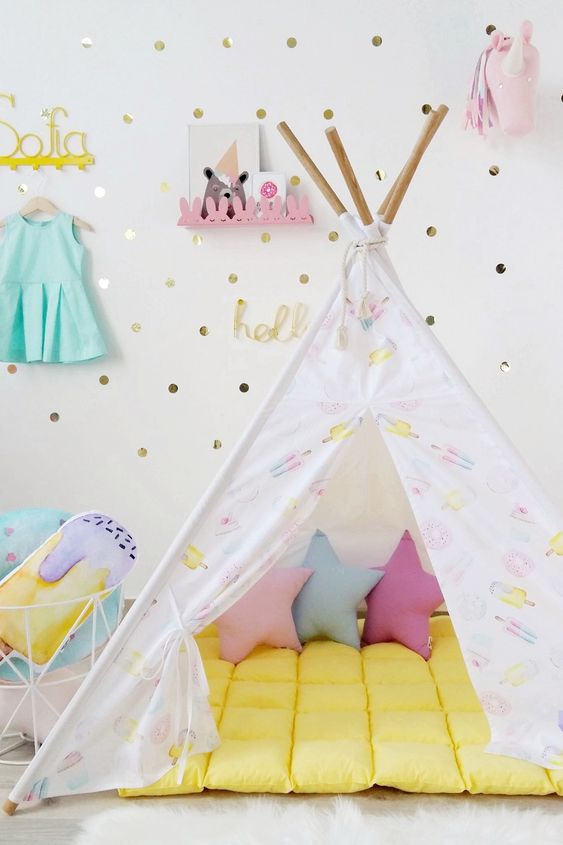
In a glamorous girl's bedroom, a wigwam can change beyond recognition, turning into a delicate tent. For him and fabrics, you can pick up silk, and decorate with ruffles, frills, and use all shades of pink. Why not? If you make a wigwam for a nursery with your own hands, then one that will take the child's breath away.
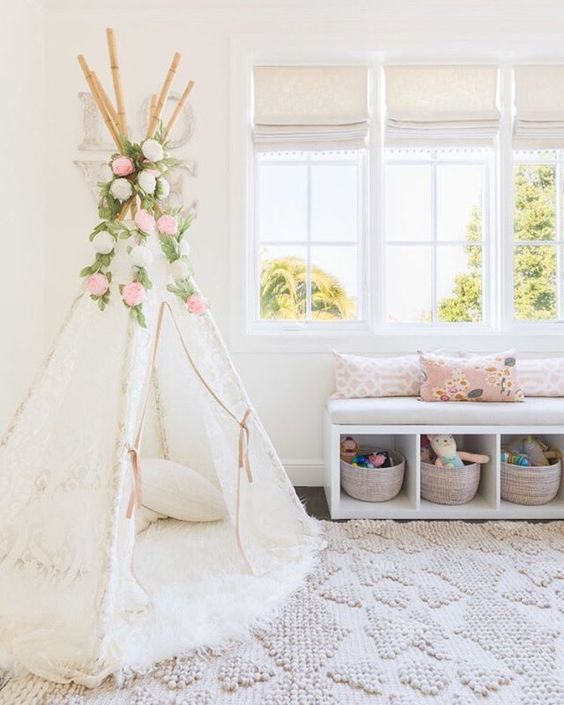
Delicate lace wigwam for girls
Get to work!
It takes longer to read the description of the master class and look at step-by-step photos than to get to work and make a wigwam for children with your own hands. Both the process and the result will bring incredible pleasure!
Photo gallery - do-it-yourself wigwam for children


Video