Decorating yourself and your home is in the blood of women. They began to do this from time immemorial, and nothing could stop them in this field, even limited resources. The appearance of glass beads became a real holiday, because it opened a new promising direction in needlework - beadwork.
Gizmos coming out of the hands of craftswomen amaze with their beauty. What the entertainers just don’t make, but today we will consider a specific topic: how to weave a tree from beads.
Do you think it's too complicated and beginners should try something simpler? You are right, but only partly. It will be boring for an adult woman to mess around with earrings or a children's bracelet, and there are plenty of options among beaded trees, which even ladies who have a very vague idea of hand-made can handle. So, let's get acquainted with beadwork closer.
Basics of technology
Weaving trees from beads for beginners starts with the search for a suitable scheme and the purchase of materials. Both can be easily found on the Internet without leaving home. Having looked into the catalog, you will be surprised not only by the color range of beads, but also by the variety of their shapes. Naturally, prices will also vary significantly. The reason for this is the texture of the material. Beads can be made from:
- plastic;
- ceramics;
- metal.
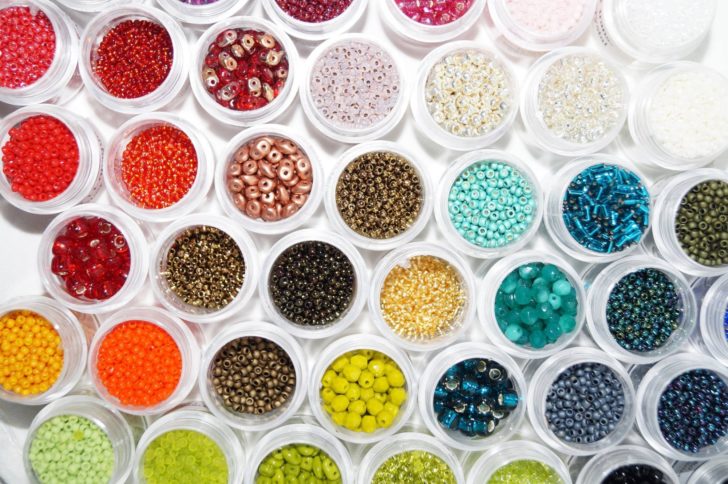
Beads are available in a wide range of colors
In addition to multi-colored beads of any quality, you will need to stock up on what to string them on, and special needles for ease of set. Do not risk immediately take on a global project? Practice on the little things. Weave a keychain for a bunch of keys or a decoration for a mobile phone.
How to weave?
There are several beading techniques:
- needle;
- volumetric parallel;
- flat parallel;
- hand weaving;
- French;
- monastic;
- looped;
- mosaic;
- mesh;
- brick stitch.
There are several beading techniques
For beginners in their careers in this field, it is recommended to use the usual stringing of elements on a thread. To obtain a pattern, you can alternate colors in a certain sequence. According to this principle, a variety of bracelets and other baubles are made.
Features of choosing the basis for stringing
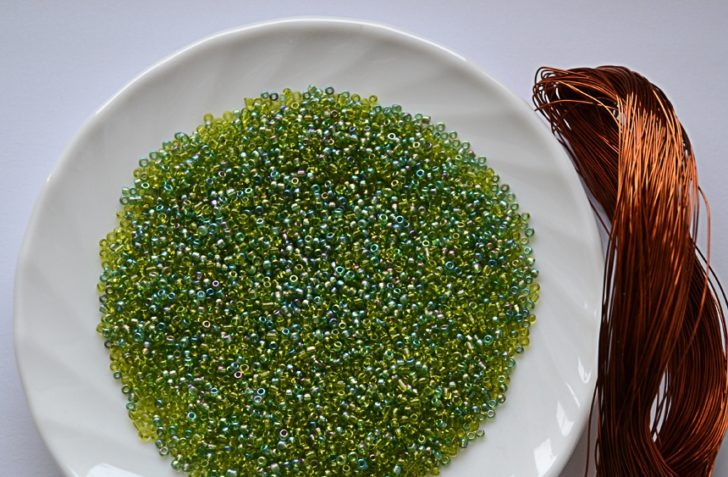
Beaded products are based on thread, fishing line, wire. According to the recommendations of MK, a beaded tree is woven using the latter, and here it is very important to choose its thickness correctly. Too thin wire will not withstand repeated twisting. Too thick - will not allow for high-quality twisting. The best option for experts is soft copper wire. Here are her skeins and we will harvest.
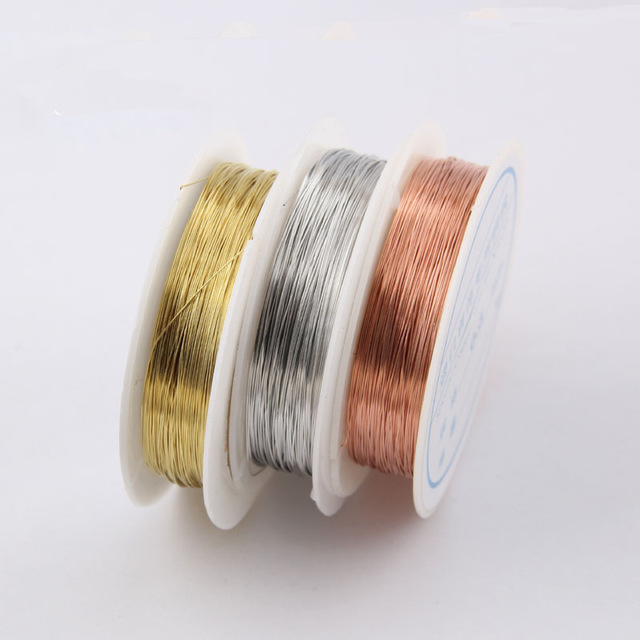
Soft copper wire for beading
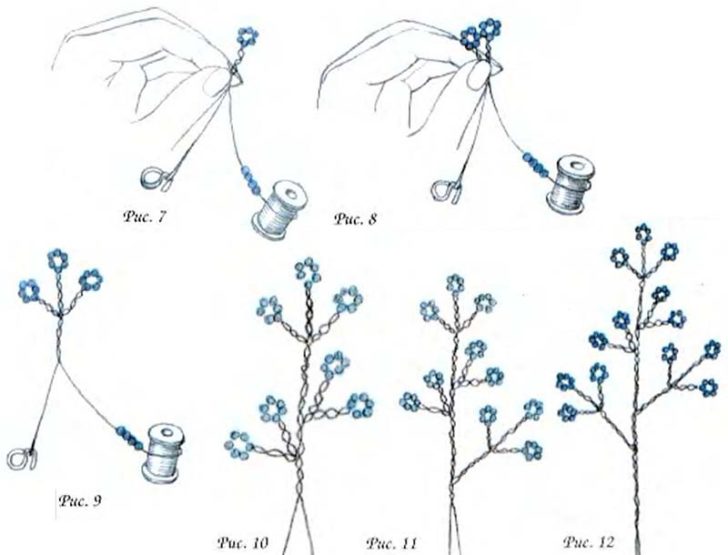
Schemes and their reading
Most beadwork is assembled according to specific patterns. However, for beginners, in order to create trees from beads, you should not dive into weaving patterns. There will be more use from video lessons than from parsing incomprehensible icons, which will take a lot of time to read, although it will be useful to get acquainted with the symbols in the future.
An example of a pattern for weaving a tree from beads
If you delve into the essence of what is drawn and written, it turns out that there is nothing supernatural in these tables. The numbers are the designation of the number of the row or element, the outgoing arrows indicate the direction of weaving. Several beads enclosed in one circle - a recommendation for connecting them in the next row into one element. It happens that in the diagram two arrows depart from one bead at once. This suggests that an appropriate number of elements must be added to it. Video programs will help to study all the subtleties in more detail.
To be comfortable
When beading on the table, cover your work surface with a linen napkin so that it is not slippery. This will save you from rolling randomly scattered tiny beads throughout the apartment.
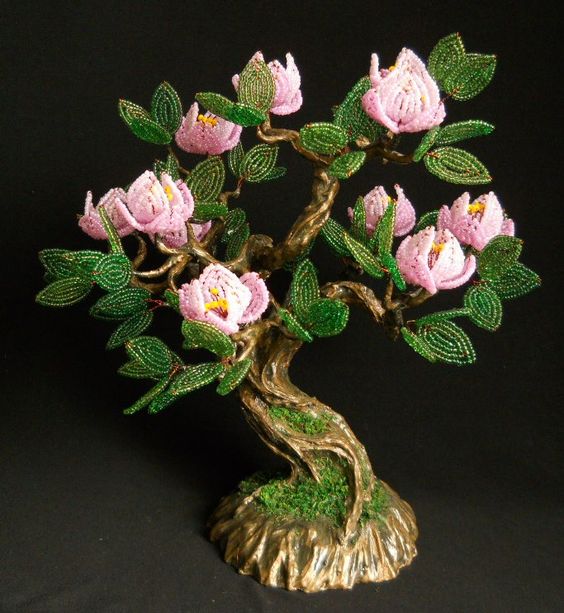
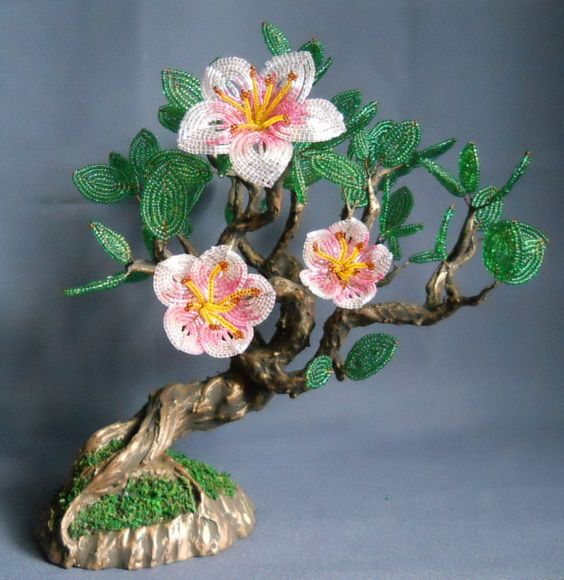
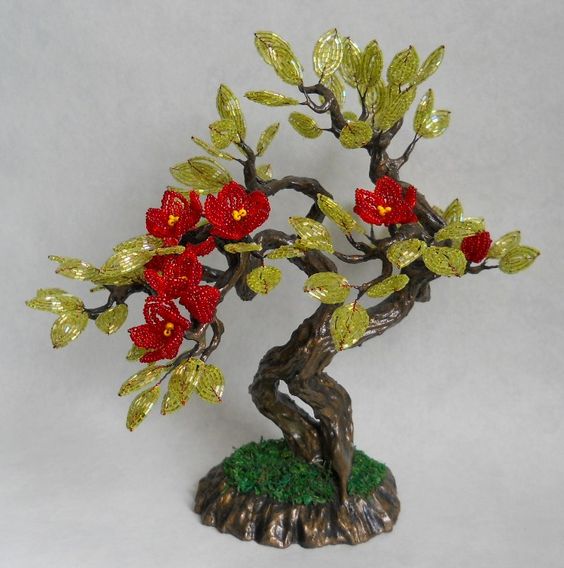
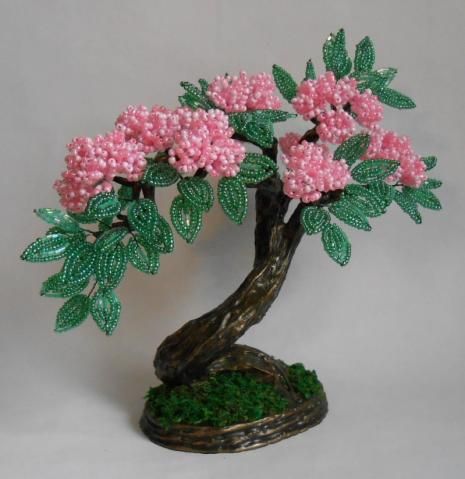
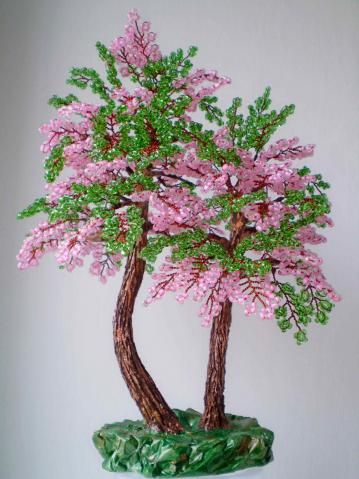
Several master classes: DIY beaded tree for beginners
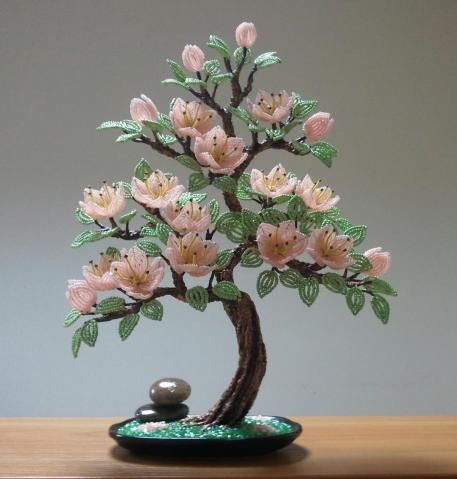
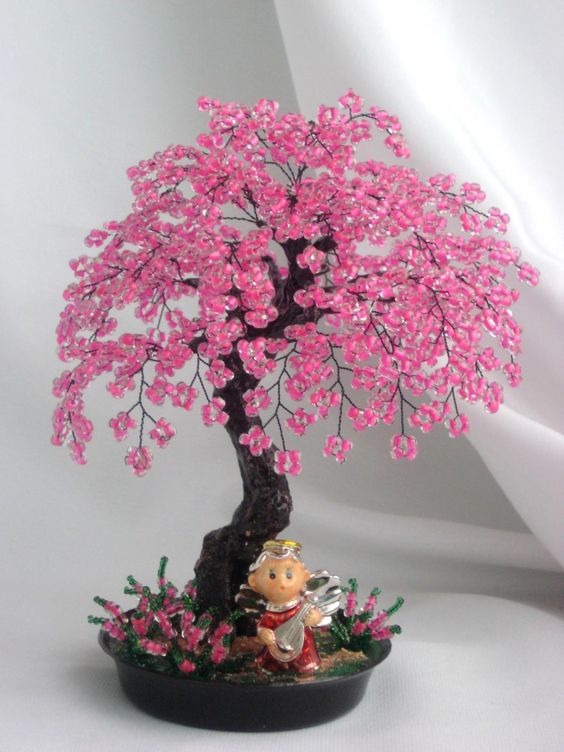
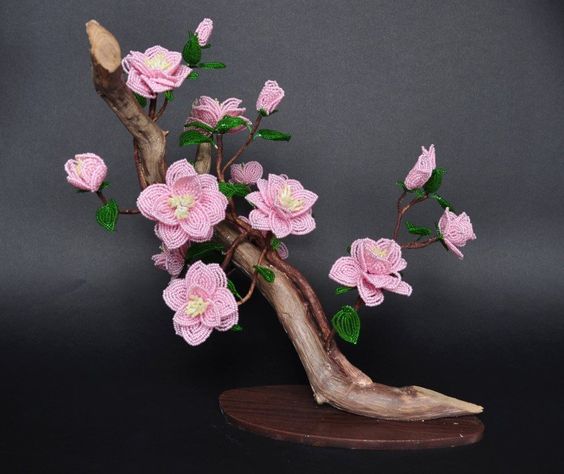
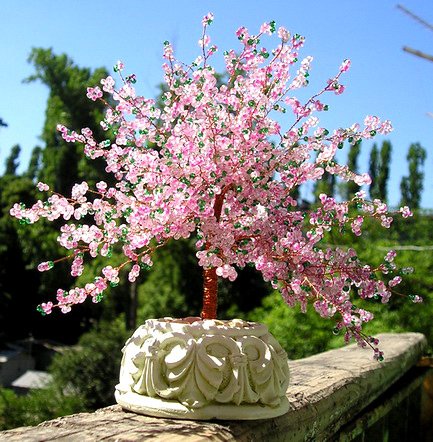
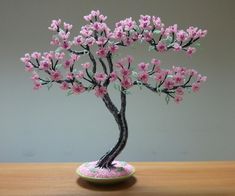
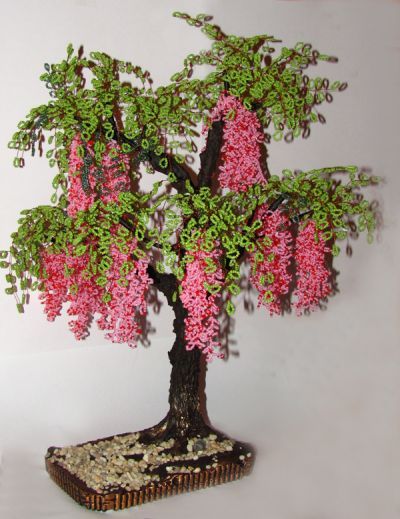
“The beaded sakura tree is the most suitable option for beginners, since the beads of the only soft pink color are used in the work”
Beading large crafts is not so much a complicated process as a laborious one. In the case of creating a tree, it is divided into several stages. The first one is preparatory. On it you will be engaged in the preparation of the necessary consumables. Next comes the actual work. Beads will need to be strung in a certain sequence on a wire, various loops are twisted from blanks, leaves, branches, flowers are formed, the trunk and crown are decorated. The fixation of the finished product in the stand will complete the work. Now in more detail about popular trends.
Training ground for beginners
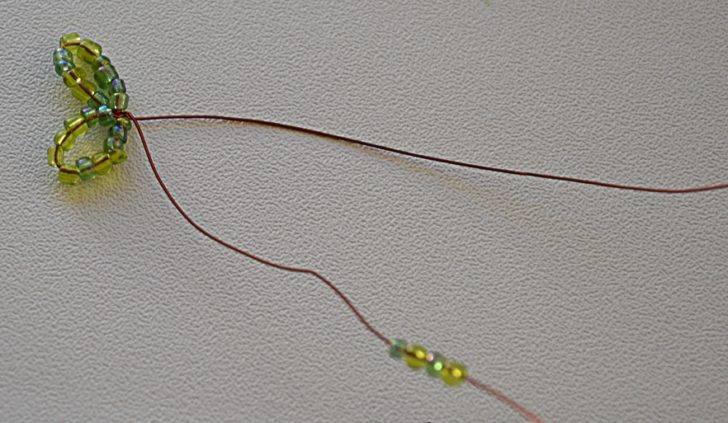
A beaded sakura tree is the most suitable option for beginners, since beads of a single soft pink color are used in the work. To create the first branch, you need a meter piece of wire. 7 beads are strung on it so that they are strictly in the middle of the base. Now you need to connect the ends of the wire under the extreme beads and twist them so that an element resembling a petal is formed. We spread the ends of the wire on different sides and, stepping back from the first petal 1 cm, repeat the above manipulation. Your branch should have 11 petals. Now we put both parts of the wire together and twist the petals in pairs. The result should be a real branch. For one sakura tree, 90 such branches are needed.
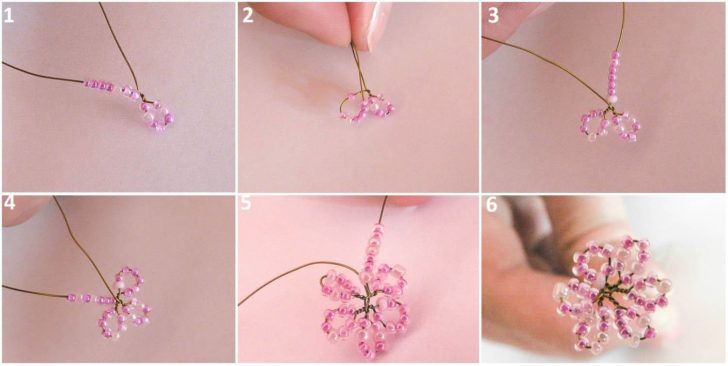
Weaving a flower from beads
We twist the blanks three together and braid the thick base with the resulting large branches, thus forming the trunk. For secure fixation, it is recommended to use adhesive tape.
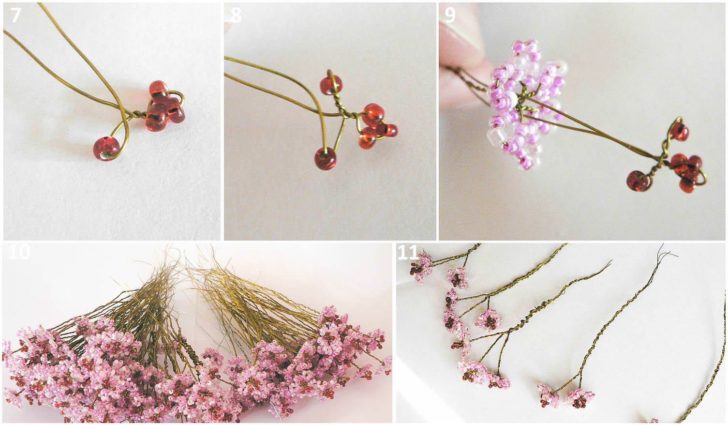
Finished sakura branches
It remains to put in a prepared form and pour plaster. The open parts of the trunk are also treated with the same solution. After the gypsum dries, pieces of moss can be laid out around the trunk, decorative stones or beads can be poured.
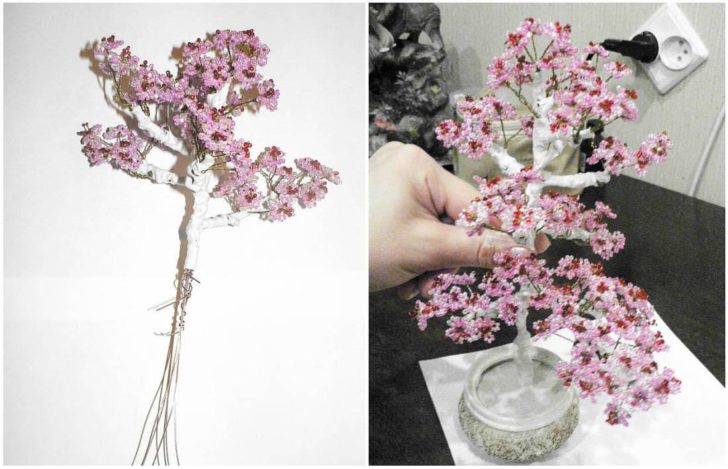
Finished beaded sakura tree
financial amulet
A beaded money tree is a welcome guest in any home. Even in such a symbolic form, it can save you from financial hardships and open access to new money channels. Try to triple the effectiveness of the gizmo by making it yourself. The invested energy will return to you a hundredfold.
Materials for beaded wood
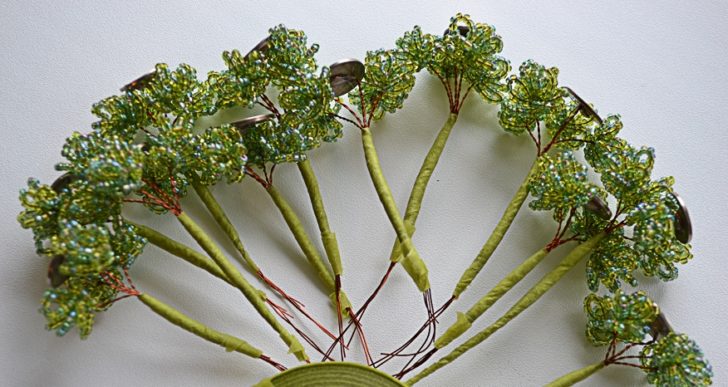
You will have to work with several shades of green beads at once, so you can’t do without the tips of professionals. Cut 70 cm of wire and string 7-8 beads on it. Wrap the loop, forming a petal. Next, you will need to make another 6 to 8 similar leaves lying close to each other. Twist the free ends of the wire. The first branch is ready. To assemble a small money tree from beads with your own hands, you will need 60 of these blanks.
Petals for the money tree
The second component of the exposure is made from a half-meter segment of the base.A loop is twisted in the center of the wire piece, to which a coin is glued. These branches need to be prepared 15 pieces.
Next, we assemble the branches. We take 4 bead blanks, one coin and weave together. We repeat the process 2 more times. We collect the resulting elements into a thick branch and wrap it with floral tape.
We collect the received elements into a thick branch
We attach all large branches to the stem rod and coat with plaster. The final touch will be to give the trunk and branches a natural color. It is more convenient to do this with acrylic paint.
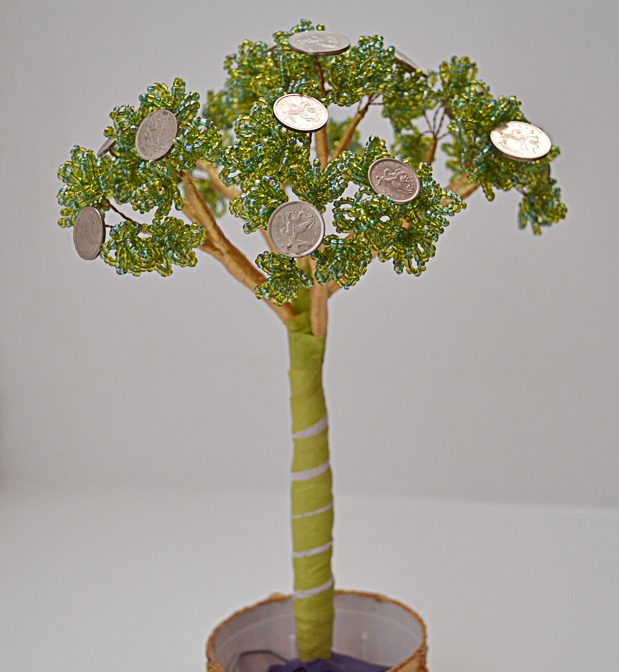
Finished beaded money tree
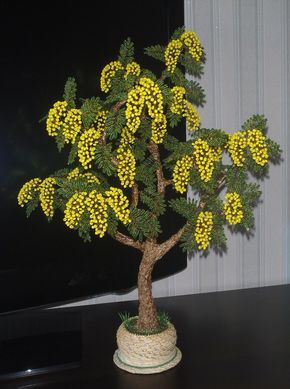
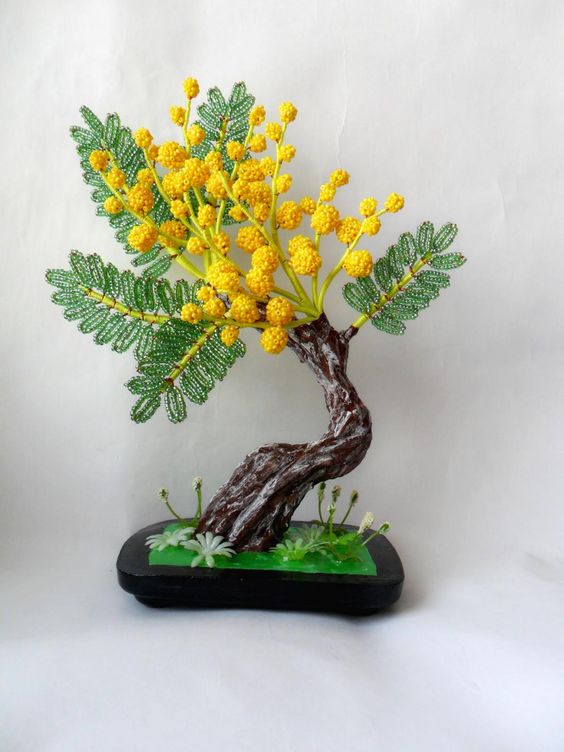
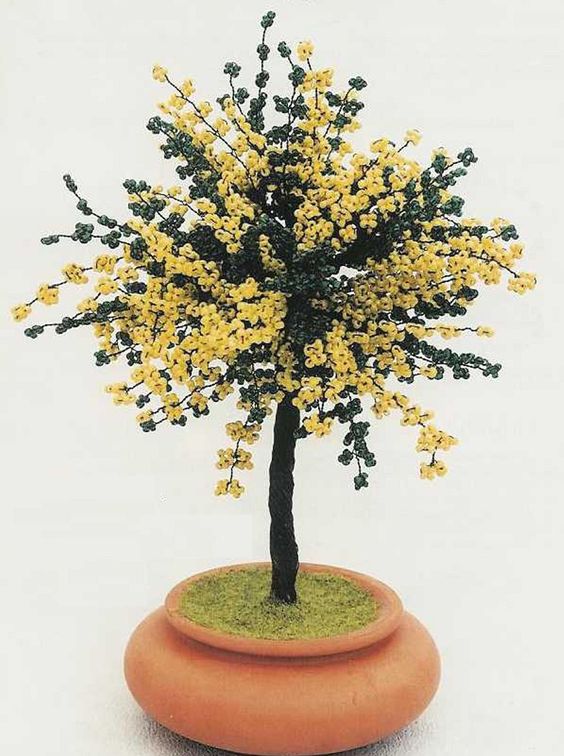
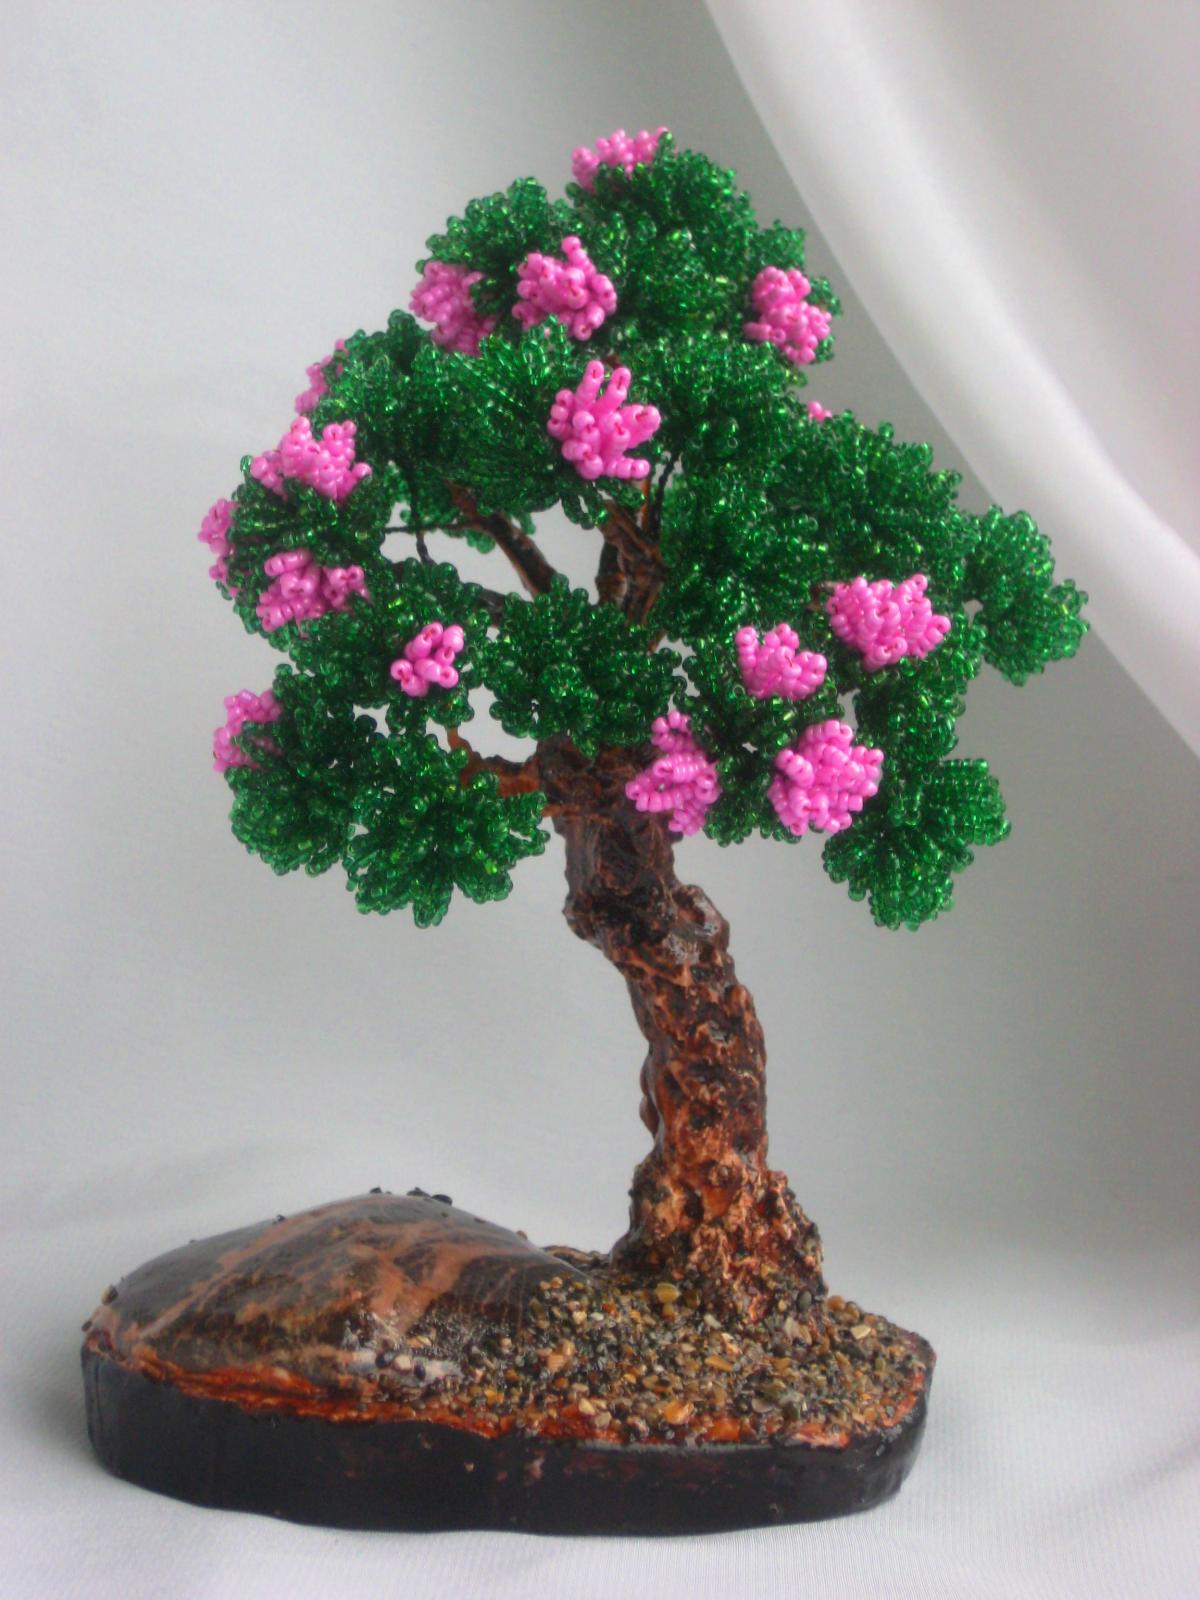
Beaded mimosa tree
Incredibly beautiful composition. The craft can be a great gift. Blooming mimosa is especially good. Here we will try to put it together.
Work begins with the formation of flowers. We cut off one and a half meters of wire and collect 8 beads on it initially. We do a twist. Further, without indents on each piece of wire, we collect another 5-6 flowers, which we subsequently intertwine in pairs.
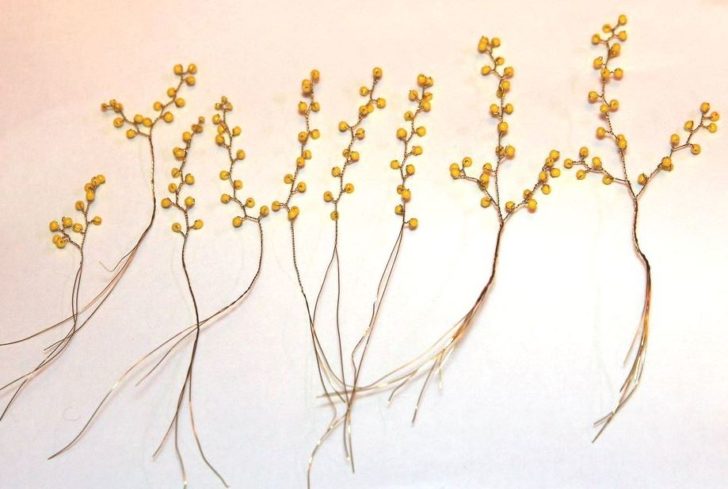
mimosa flower shaping
The second step will be weaving twigs with foliage. Here, not yellow, but green beads are already involved. Consumption per leaflet - 13 elements.
Weaving twigs with foliage
Then we act according to a familiar scenario: we collect large branches and attach them to the trunk. We carry out the final decor with paint. We choose a suitable stand and plant our tree in it. The work is done.
We collect branches and attach them to the trunk
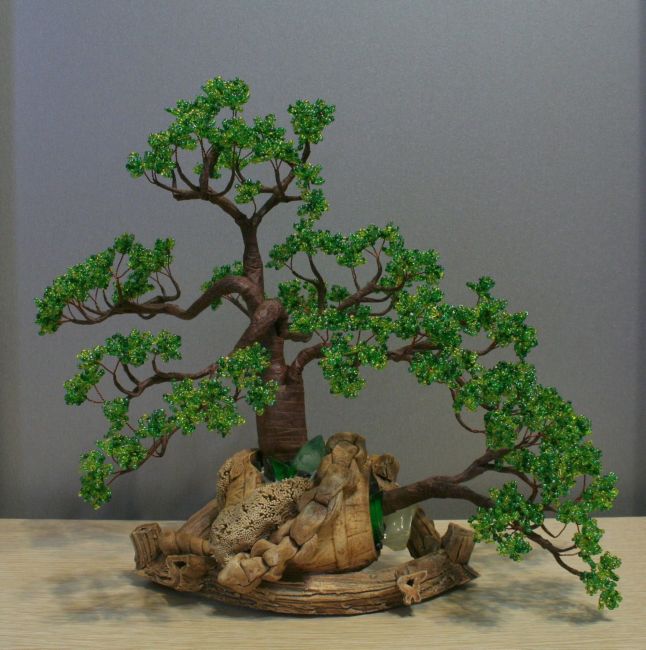
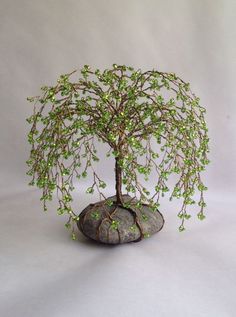
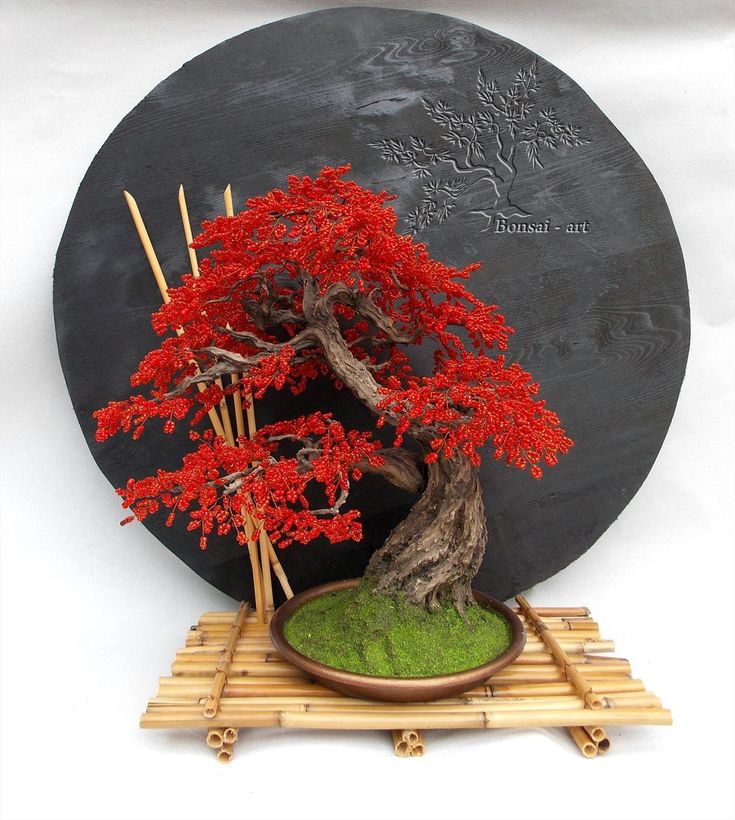
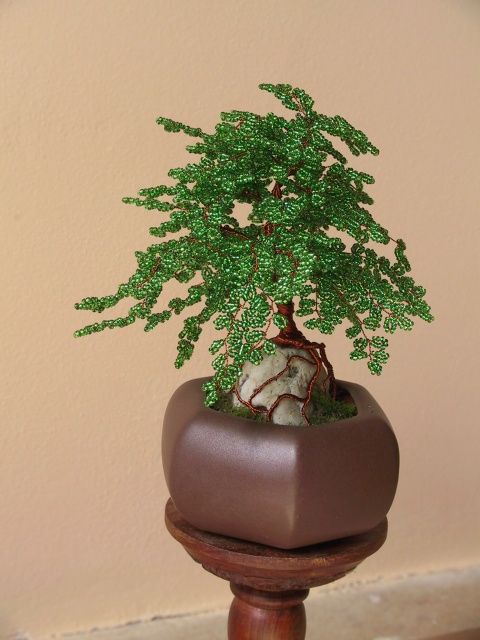
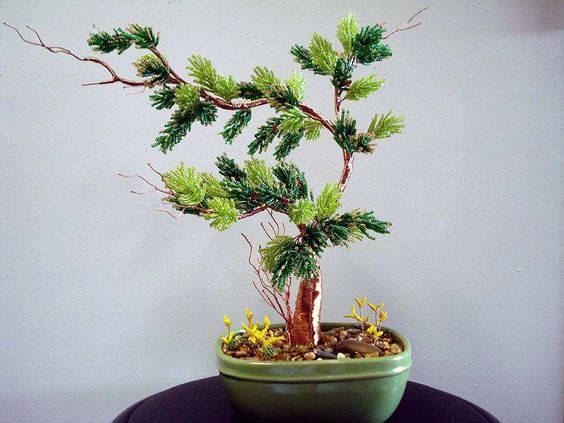
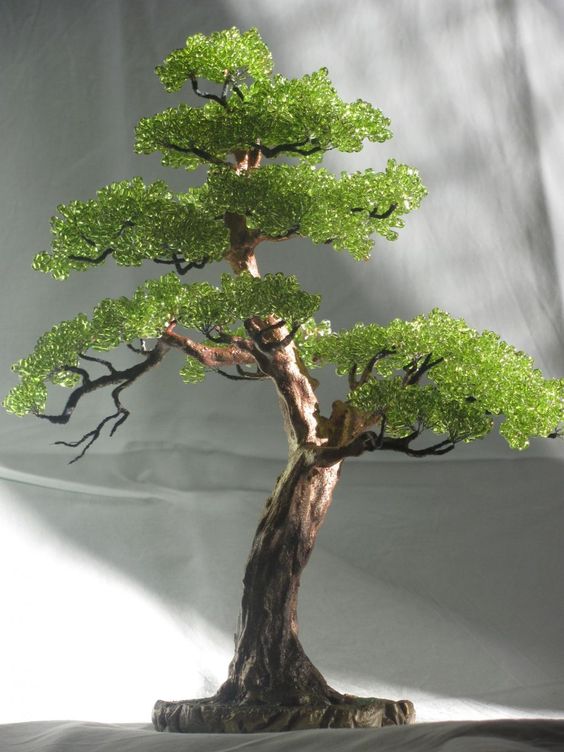
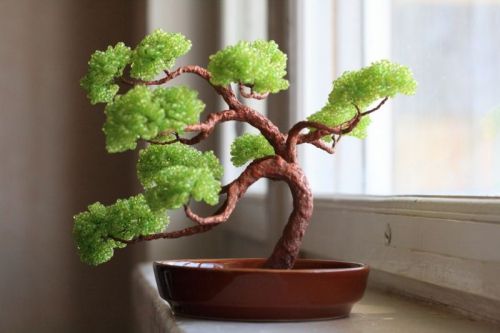
Tree of happiness from beads
Another magnificent creation of nature, taking care of the well-being of the home. For the uninitiated, we are talking about bonsai. You can recreate any kind of tree in dwarf form. The most popular, as practice shows, are conifers. The crown of the tree should be thick, so at least 8 leaves should be made on each piece of wire. More advanced in beading, you can play with shades.
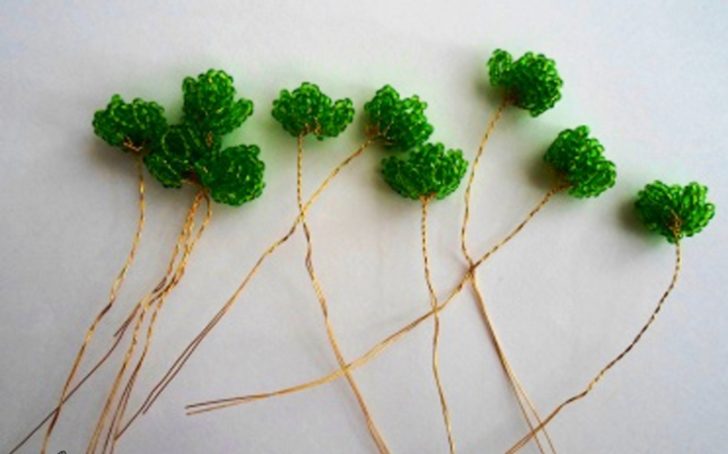
Twigs for a bonsai tree
After the required number of blanks is wound, we collect them in triplets and fasten them to the wire trunk, carefully wrapping them with masking tape. We decorate the unsightly trunk with paint and fix the tree in the selected stand.
Screw the required number of blanks
yin yang tree beaded
Unusual composition. Unlike other types of trees, a contrasting duet of beads is used in the creation of these. And the contrast will not be shades of green, but black and white. Branches are made according to the general principle. One leaf requires 8 beads. The step distance between the elements is 1-2 cm. For an ebony tree, you need to make 100 blank branches, for a white one - 70.
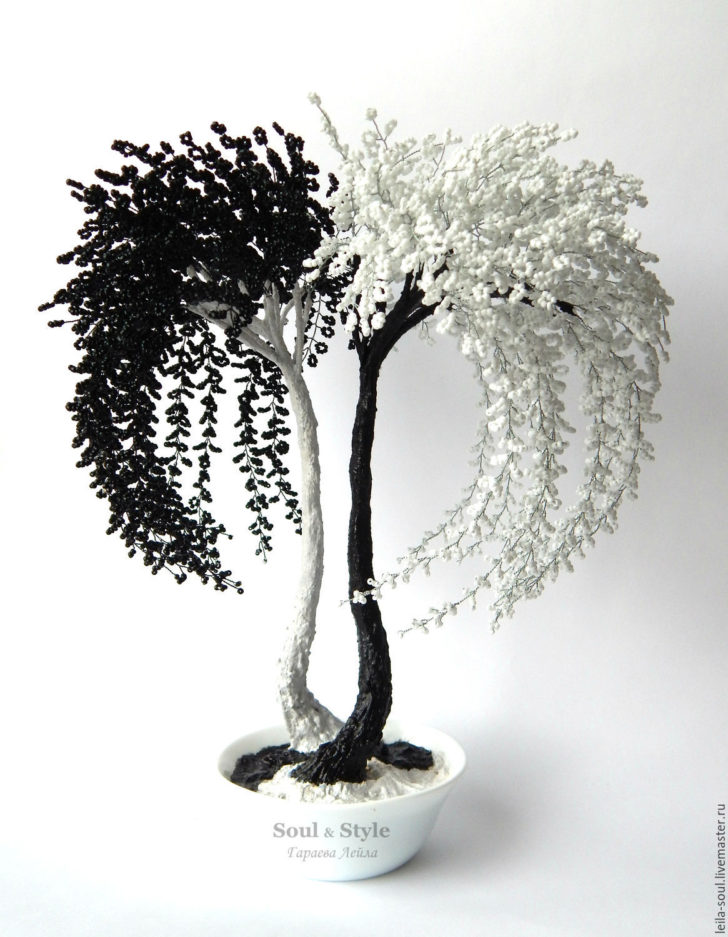
yin yang tree beaded
Small branches of the same color are wound onto a thicker wire base. The latter is bent in the shape of a semicircle and the lower ends are twisted together. The stem part is treated with plaster and fixed in a container. The protruding parts of ebony are painted black.
Beaded heart tree
The exposition can be presented in different interpretations. Most often, needlewomen tend to a two-color version of the tree. To make it beautifully playing with highlights, you need to use 2 shades of the selected colors.
In the standard way, create branches with seven petals, each of which is assembled from 5 beads of pink-crimson or blue-blue colors. The tree will sparkle with colors if you choose the right proportion of the ratio of shades. So there should be more dark beads than light ones. You can make a third of the branches, from the 19 required in each case, in pure crimson or blue. Further, single-color blanks are assembled in three pieces and assembled into larger branches.

Beaded heart tree
Collecting a tree of love from beads must begin with the creation of a foundation. A strong wire is bent in the shape of a heart. If the base seems thin to you, wrap it with masking tape.Next, you will need to wrap each half of the heart with floss threads of the corresponding color. Now you can attach the branches. They are placed at a distance of 1 cm from each other.
It remains to connect the lower ends of the base with adhesive tape and install the tree on a stand.
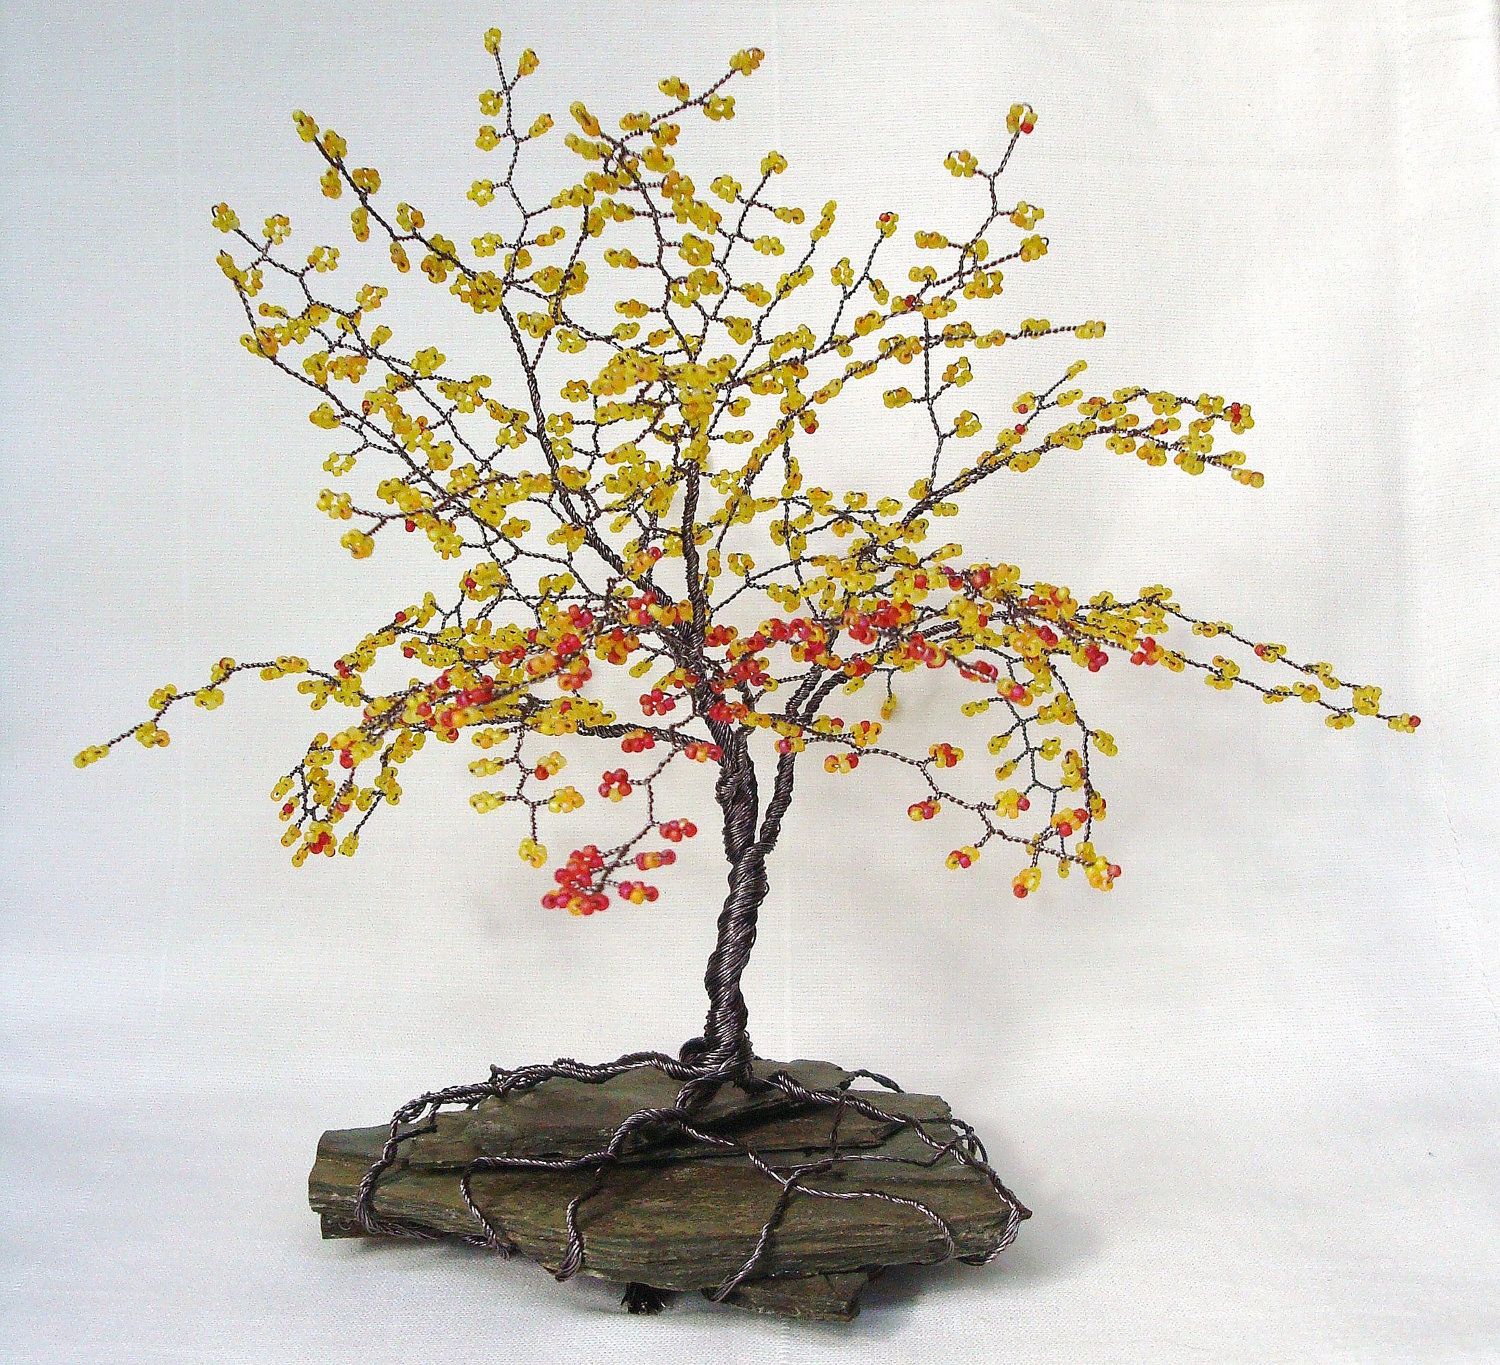
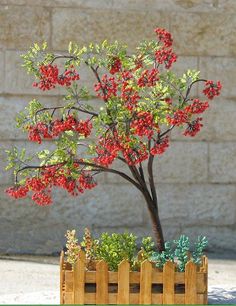
back to index ↑Master class on rowan beading
“The technique is somewhat more complicated than beaded bonsai tree making, so beginners can spend quite a lot of time making the required 187 green pieces.”
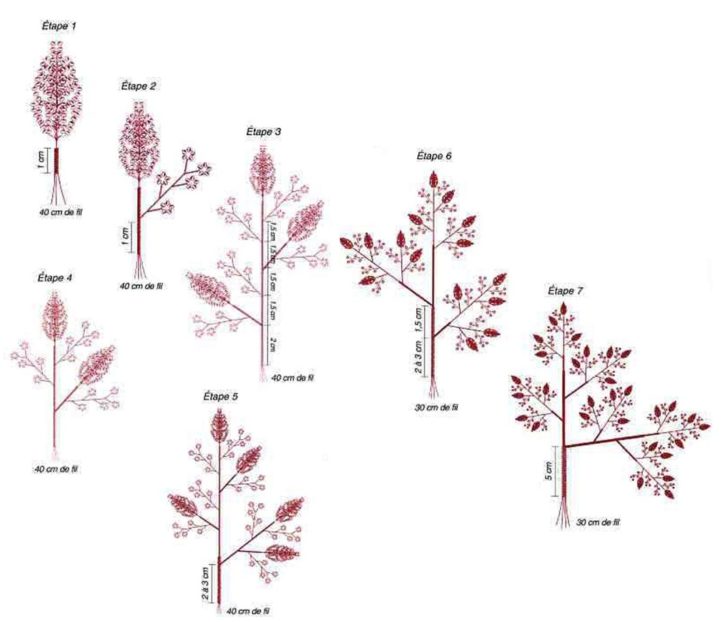
Looking at the finished works, it sometimes seems that weaving a Dionysus tree or a mountain ash from beads is extremely difficult. However, in practice, everything is not so scary. Even beginners can take on such a project. This is truly an exciting and exciting activity. A masterpiece that comes out of your hands can turn out to be more than realistic if you are not too lazy to strictly adhere to the recommendations of the masters. Consider the sequence of the process using the example of creating an impressive rowan tree with beauty.
What to cook
1. Beads in two shades: orange-red and green. You can take the material of Czech production or Chinese. In the first case, the size of the beads is No. 10, in the second - No. 12.
2. Wire with a cross section of 0.3 mm and thick, which will be needed for the barrel.
3. Thread or masking tape for wrapping branches.
4. Brown paint.
5. Alabaster.
6. Varnish.
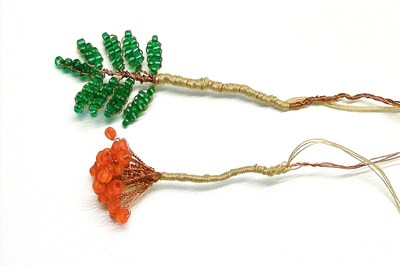
Work on the rowan tree from beads begins with the weaving of its bunch. This is a composite item. To form it, you need to prepare five small bunches of berries.

Weaving rowan berries
This is done in the following way. We cut off 33 cm from a coil of thin wire and collect 3 orange-red glass beads on a segment. We move them away from the edge of the wire by 5 cm and twist the loop. The length of the twist along the wire is 1 cm. Again we collect 3 beads and repeat the manipulation. In total, 10 such elements should appear on the wire segment.
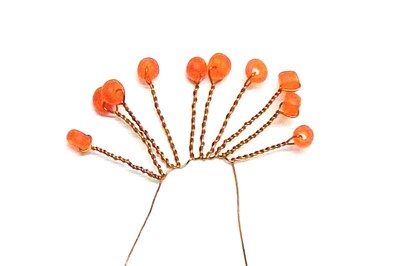
10 berries should appear on the segment
The next step is to gather all the "berries" into a bundle by twisting the wire ends. We make 4 more similar blanks and form a bunch. For a small tree, we need 11 full bunches.
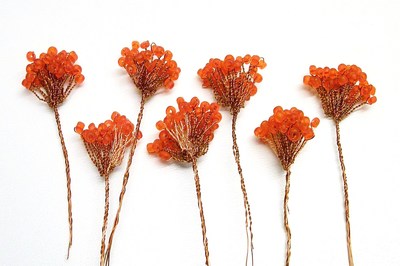
Collect all the "berries" in bunches
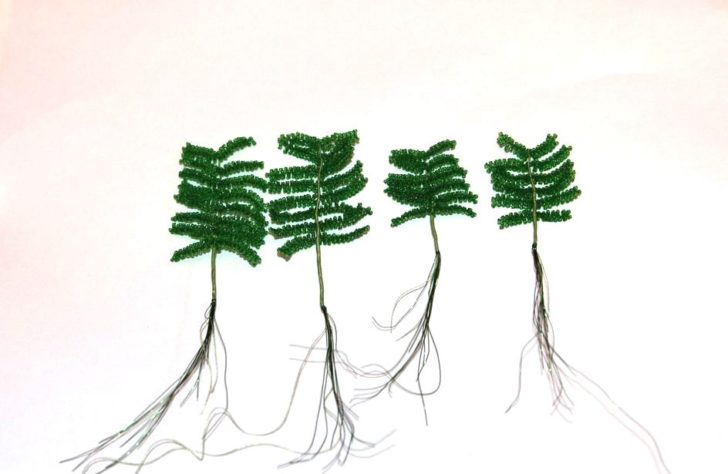
The second stage will be the creation of the deciduous part of the crown. Here we will use the parallel beading technique. To work, you will need a piece of wire of 25 cm. We will string a green bead on it and place it in the center.

Parallel Beading Technique for Leaves
Now let's take the end of the wire (it doesn't matter which one) and thread it through the same bead, but in the opposite direction. Let's tie the knot. Next, put two beads on the wire and repeat the procedure with the return of the wire. We tighten the ends, properly fixing the new row.
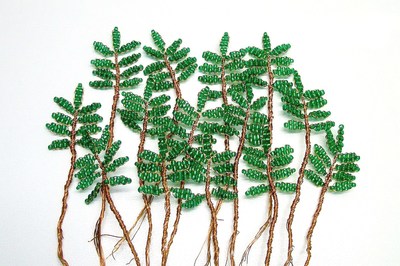
Creation of the deciduous part of the crown
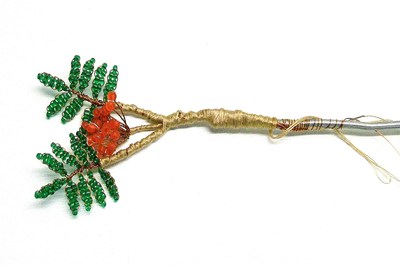
In the third row there will already be three glass beads. We repeat the steps for the return passage of the wire.
In the same spirit we weave the next two rows. But starting from the sixth row, the leaf will decrease, so not three, but only two beads will fall on the wire, in the seventh, respectively, one. The remaining free wire ends are taken into a twist. The technique is somewhat more complicated than beaded bonsai tree making, so beginners can spend quite a lot of time making the required 187 green parts.
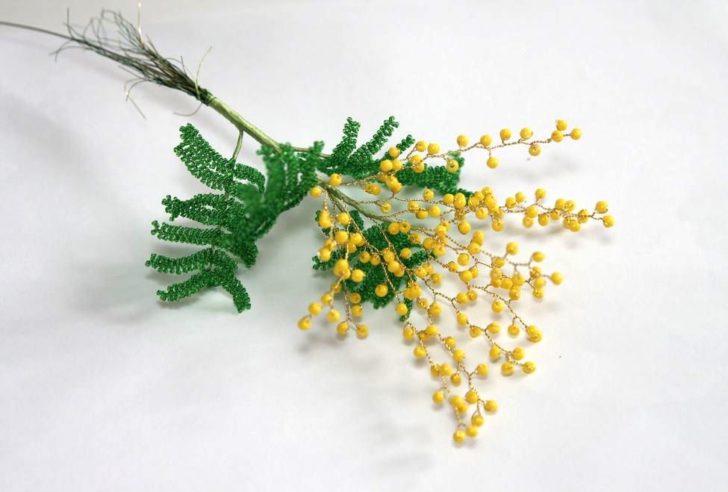
Finished bunch and leaf
When everything is ready, we will form the original rowan leaf from single elements. First, we twist three leaves together, then we will wind up a pair of parallel parts on the resulting rod. The step distance between pairs is 0.5 cm. There will be three such pairs in total.
Tree assembly
The most responsible stage. Here you have to think about how to assemble the branches into a single whole in order to get a beautiful crown. You may have to disassemble the craft more than once and redo it again. There is nothing wrong with that.In beadwork, trees are rarely perfect the first time, even by professionals, so shape the crown for as long as you see fit, that is, until what you see satisfies you.
Gather the branches into a single whole
To collect the crown, you need to prepare branches. To do this, we connect in pairs a bunch and a large leaf. Below along the wire we fasten the next sheet and bunch. We repeat the procedure again. The first branch of the crown is ready.
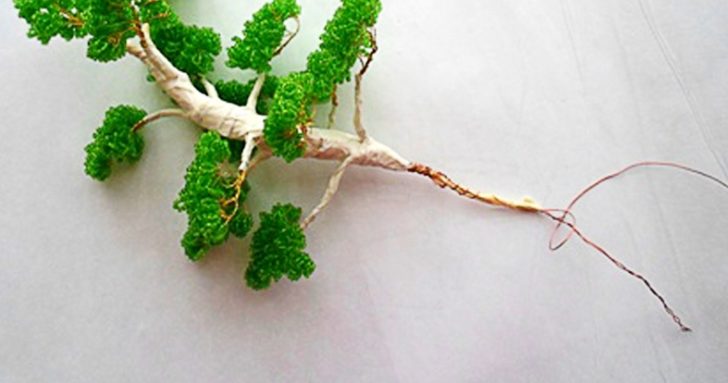
Having collected the rest of the blanks according to this principle, we begin to assemble the composition. Now a thick wire will go into work, to one end of which a branch will be attached. This will be the center around which the crown will form. Fix subsequent branches at a certain distance from each other, bending in a suitable direction. For strength, wrap the elements well with tape or plaster. The latter must be fabric or paper.
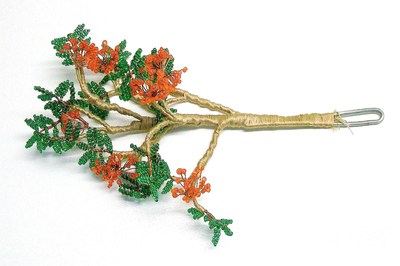
Rowan branch from beads
Now let's make a stand. Dilute gypsum or alabaster to the consistency of sour cream and pour the solution into a suitable container. We lower the wire bottom of the tree into it, and let it harden.
Next - a few tips on how to properly gypsum a bead tree for beginners. It will not be possible to give the trunk volume by pouring the composition, so we will use small, 10 centimeters each, pieces of a wide bandage. It is this that we will impregnate with gypsum, and wrap around the wire in the stem. You will most likely have to do this several times. Here you need to focus on the adequacy of the height of the tree to the width of the trunk.
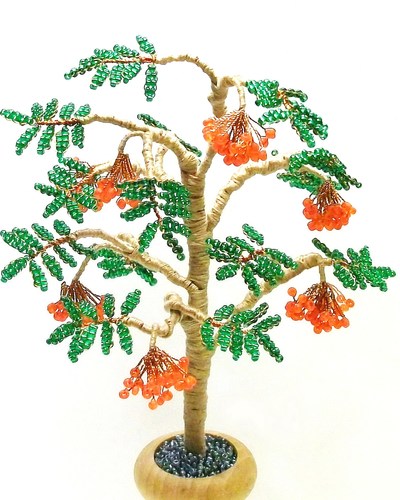
rowan beaded
Next, we coat all the branches with a plaster solution, having previously covered the decorative part with cling film. Let dry thoroughly and paint brown. You can use acrylic, oil or gouache paints. The final touch will be the varnishing of the wood part of the composition and the design of the stand. How this can be done will tell specific master classes.
back to index ↑Conclusion
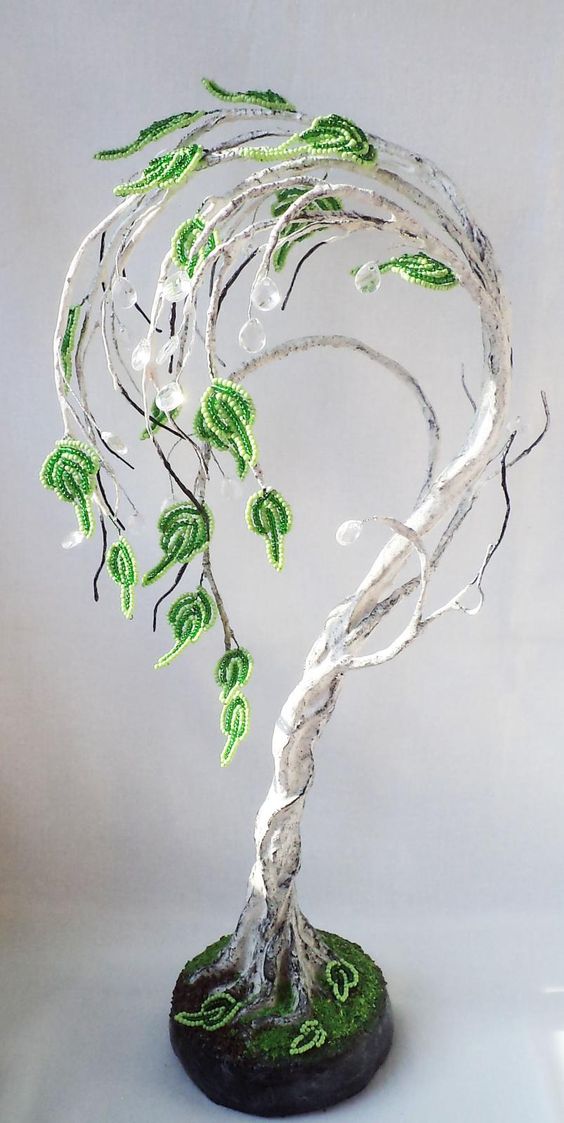
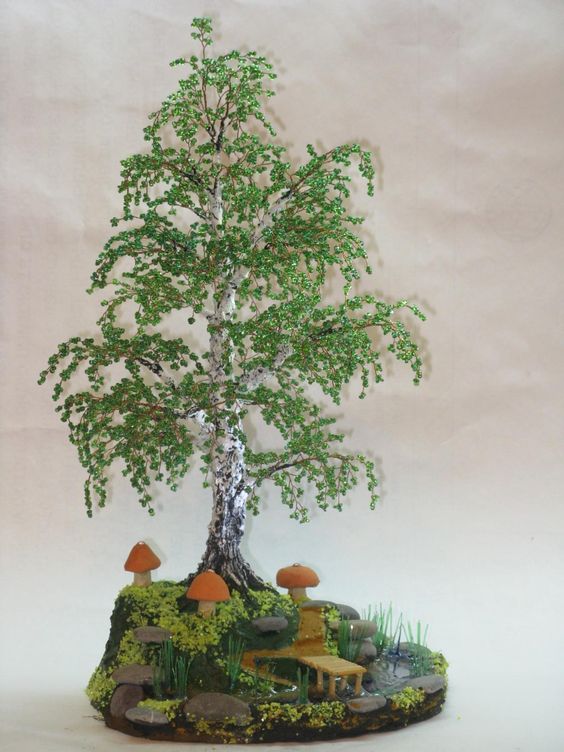
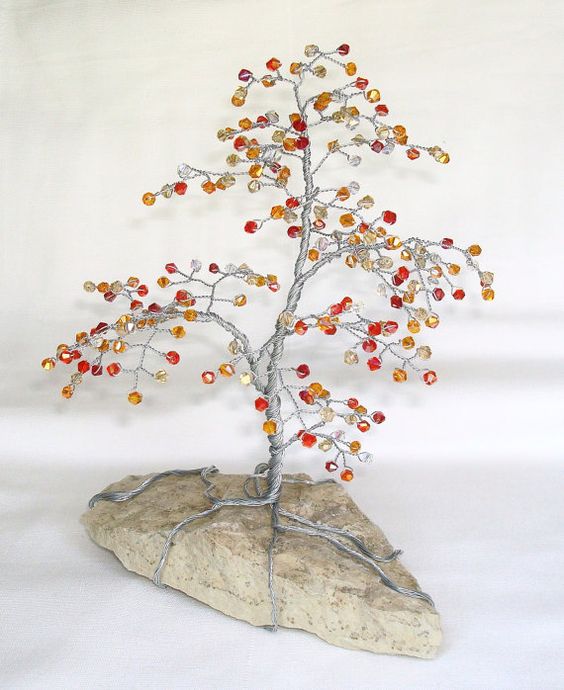
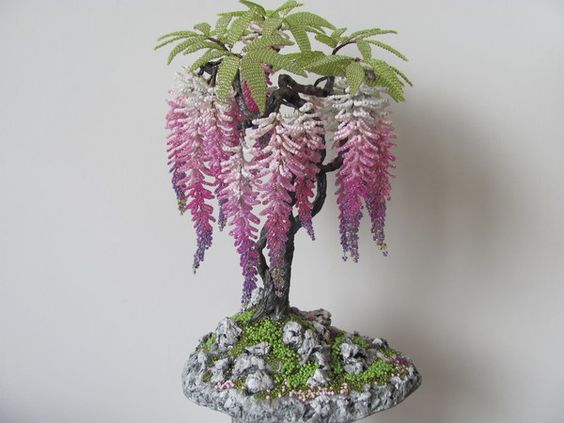
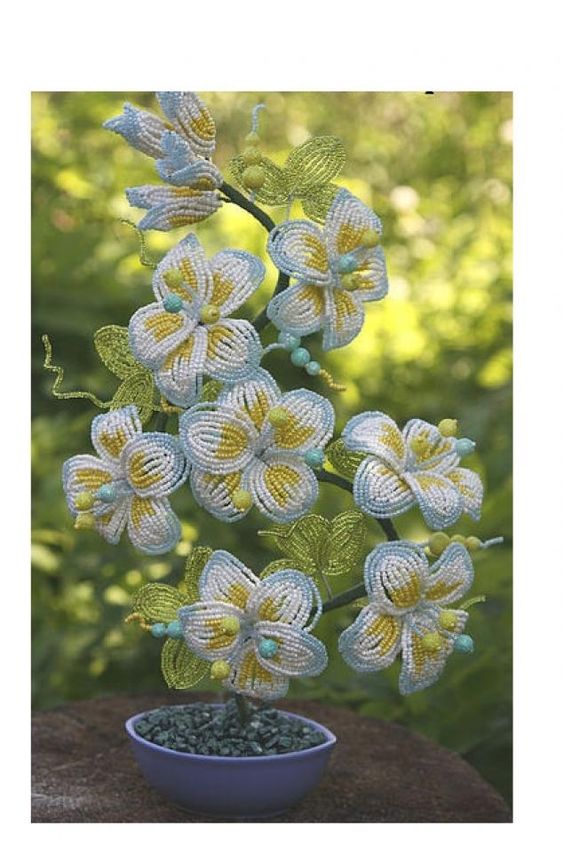
The options we have considered are only a tiny part of what beginners can try to work with. Take a look at the subject directories. What trees from beads do not offer new photos! Your choice - and perhaps in a few days in your house there will already be a dear birch, willow, apple tree or other man-made miracle. Try your hand at beading, it's really addictive!
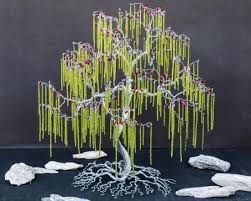
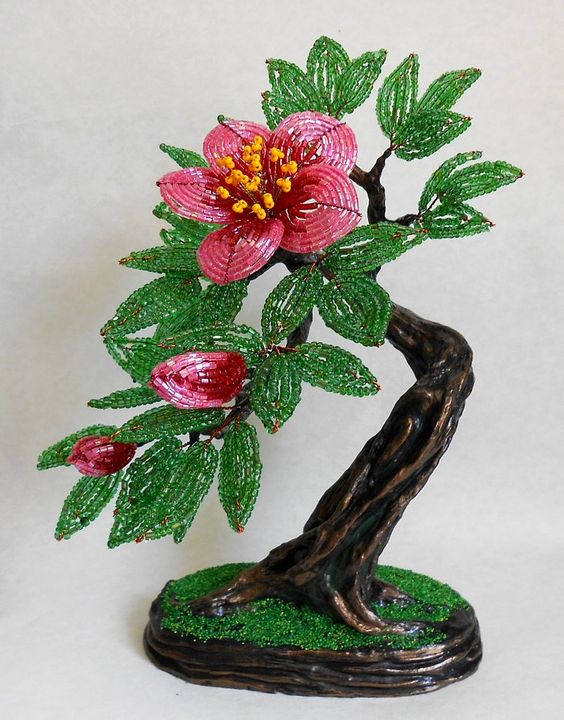
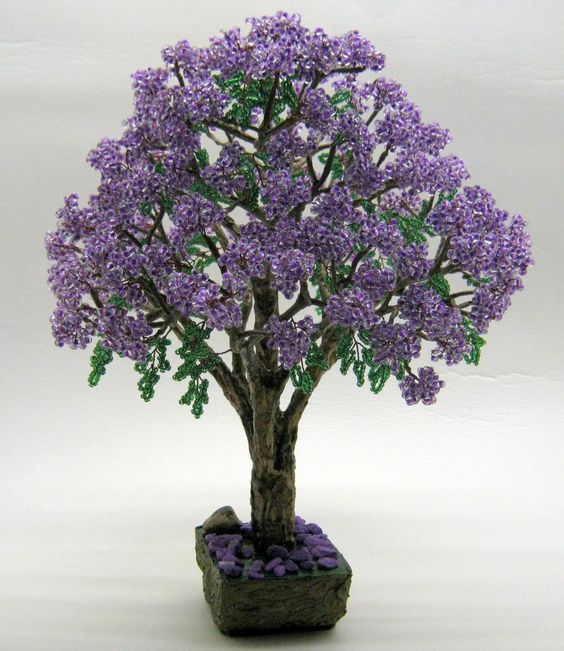
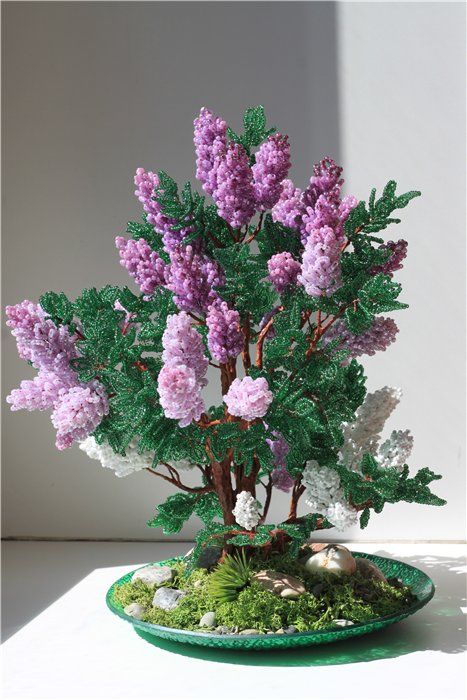
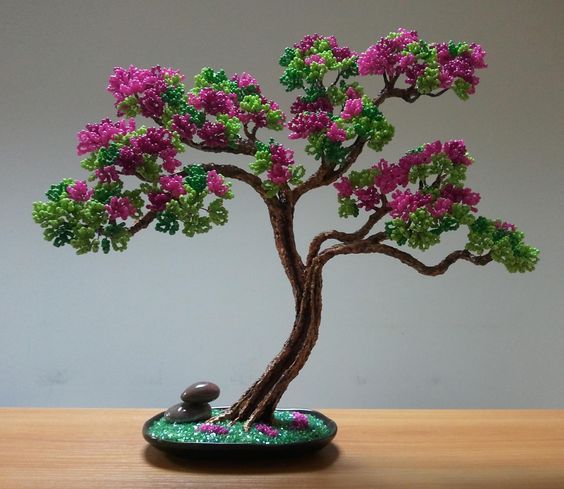
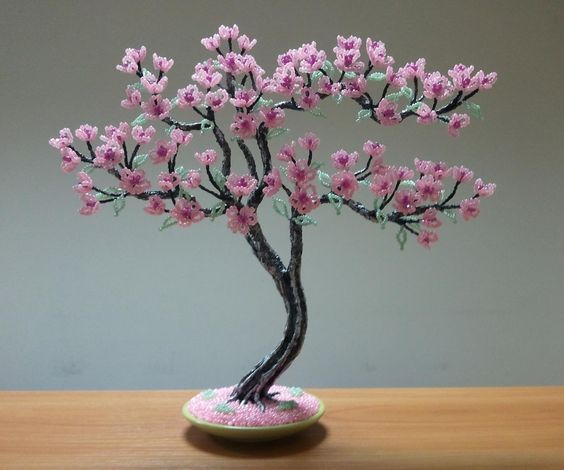
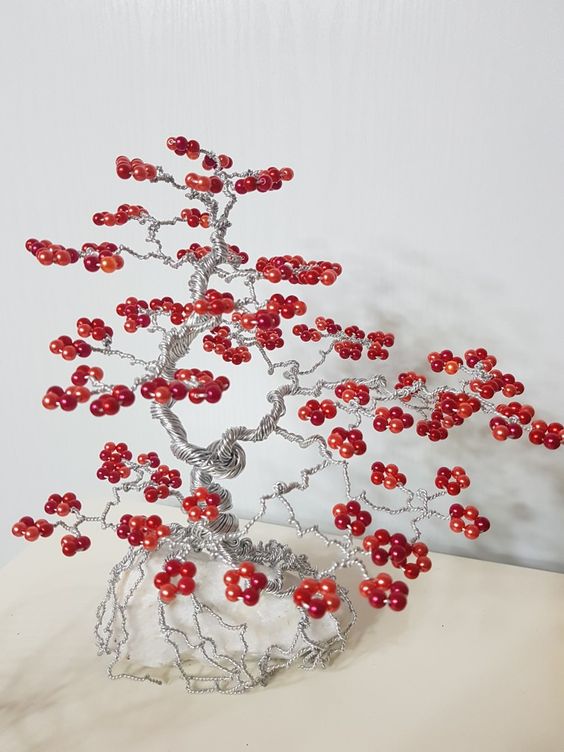
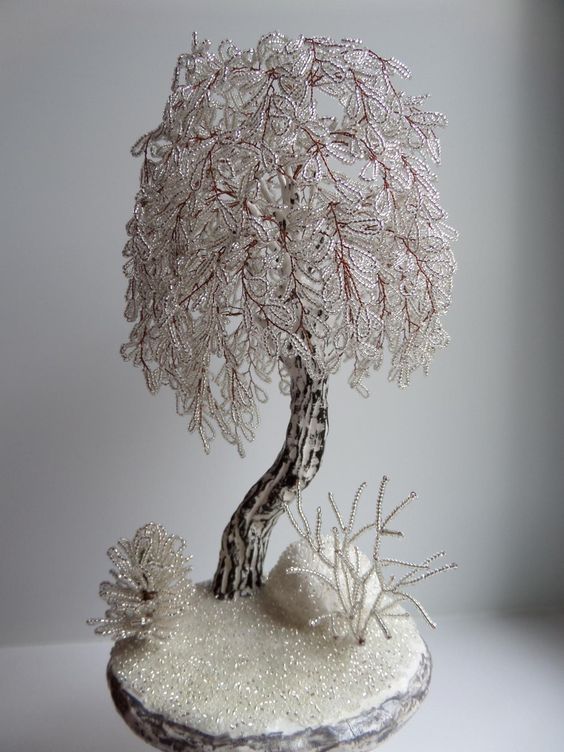
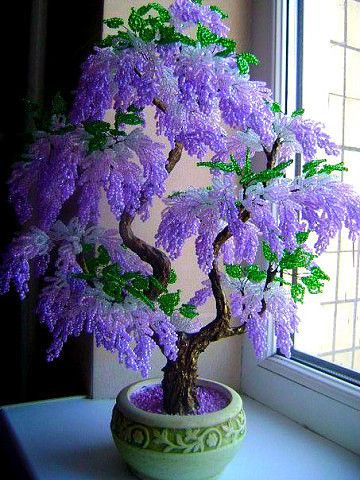
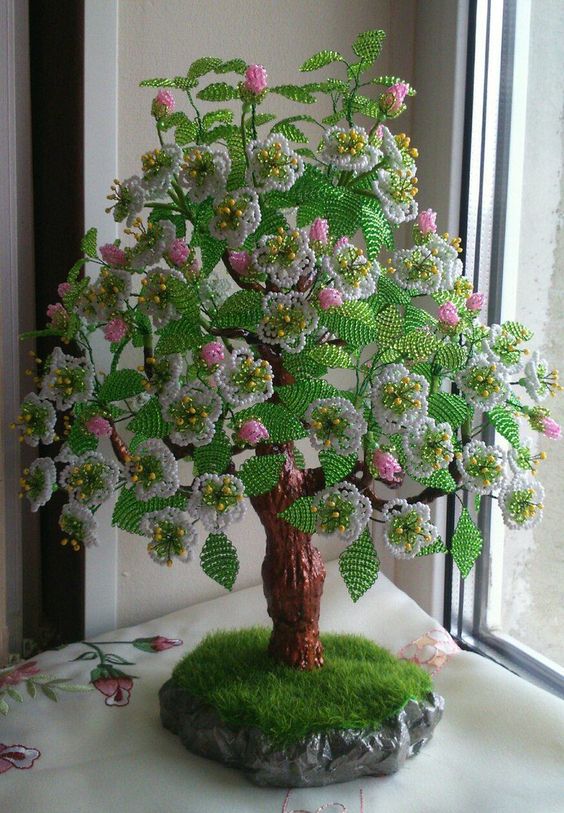
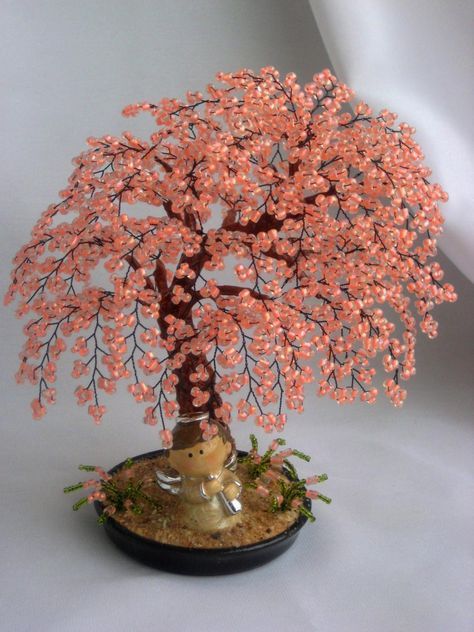
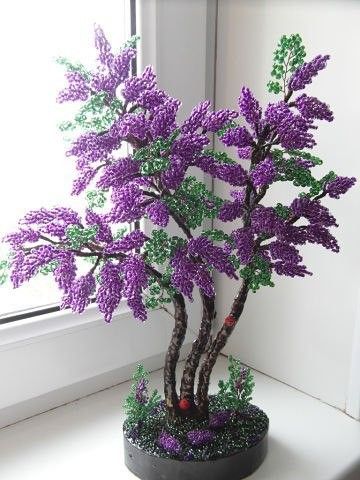
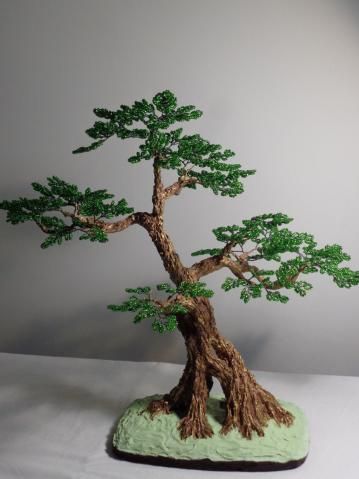
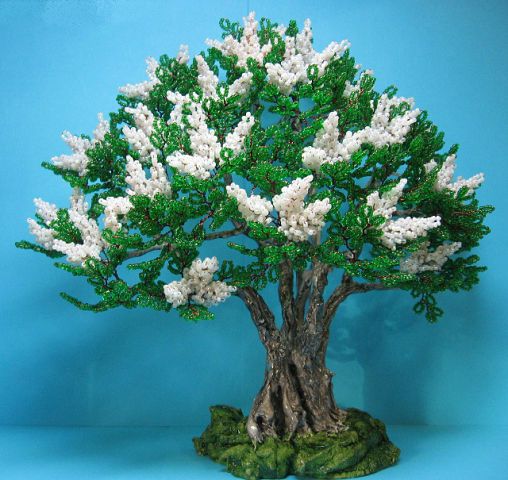
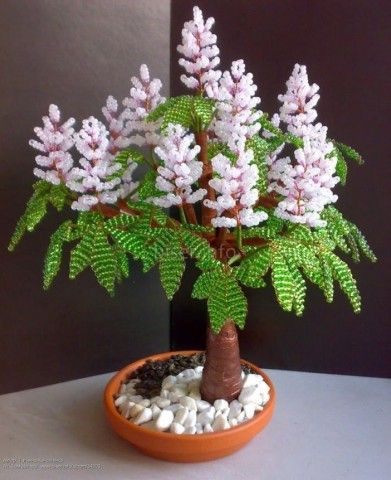
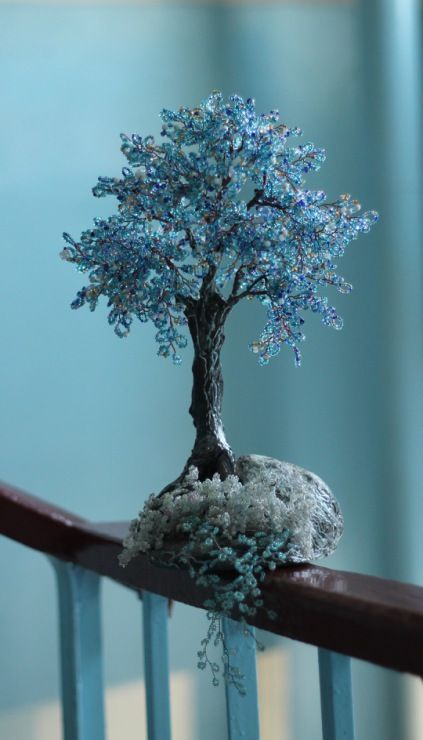
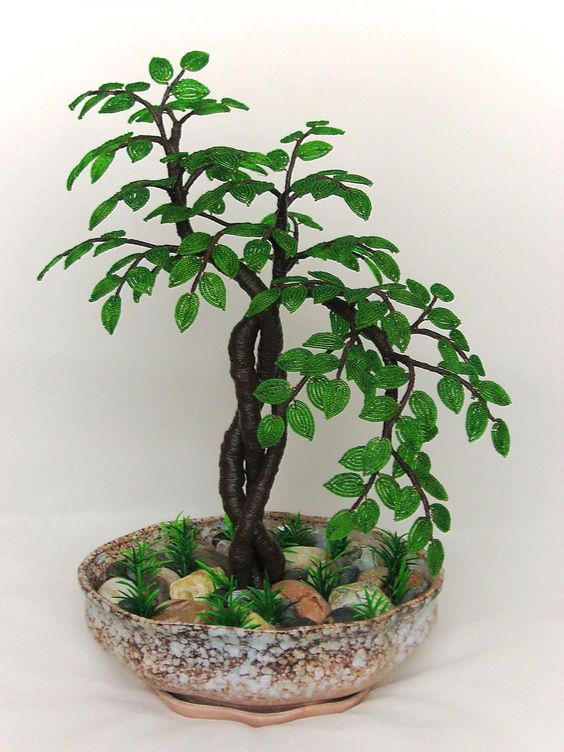
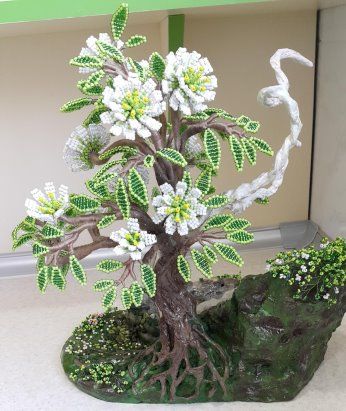
Photo gallery - beaded tree


Video