Do you want to make your loved ones a pleasant and festive surprise on February 23? Make and hand out a hand-made postcard from colored paper - making it does not take much time and does not require excessive financial effort. In addition, making such crafts with your child is a great way to develop his fine motor skills and spatial thinking!
What materials are needed for a do-it-yourself paper postcard
Basic materials for making postcards on your own will require ordinary and common ones. Depending on the intended composition, some additional consumables may be needed, but the main components are always the same:
- good quality craft cardboard;
- colored paper suitable for application;
- colorless PVA-type glue that does not leave stains and streaks;
- scissors and a stationery knife.
If the child does not have the proper skills and experience, you should not start working with complex postcards - the result is unlikely to come out as intended, and the "first battle", according to psychologists, must be won!
In order to make a postcard out of paper with your own hands, it will be enough to color a drawing printed on high-quality (but not the most expensive, of course) cardboard. Then it can be supplemented and decorated with details cut out of colored paper. It is quite possible to use more complex textures - beads, beads and even dried plant leaves.
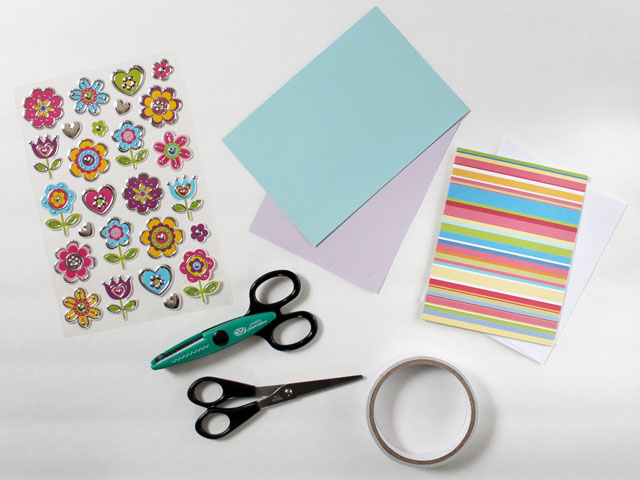
Materials for postcards do-it-yourself paper
No less interesting and guaranteed result will be obtained in the case of using the "semi-finished products" found on sale - blanks for making postcards. All the main and most complex elements of the composition have already been applied to them in advance, which greatly simplifies the task for the child, but at the same time does not interfere with creating unique products.
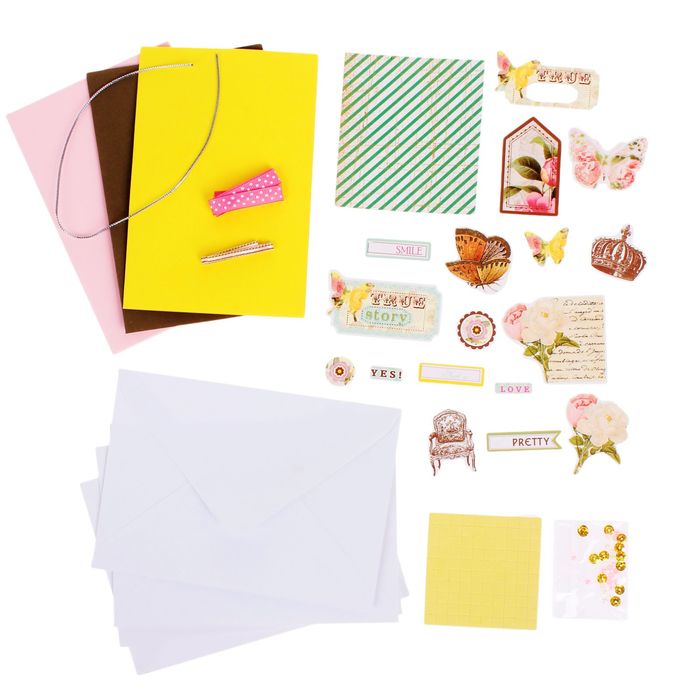
An example of a set for making postcards
Paper
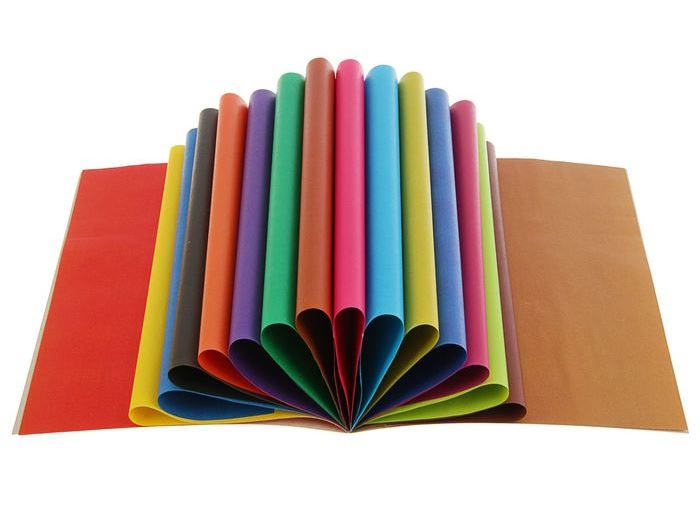
The basis of any greeting card is a piece of paper, and its choice should be taken seriously. Paper comes in different grades, differing from each other not only in the aesthetics of the surface, but also in density. If a child makes a postcard from plain or colored paper with his own hands, it is better to take material with a low density, it is much easier and easier to cut it. It is not recommended to start working immediately with expensive colored or glossy decorative material - the cost of using it as a training material will be too high.
It is very convenient to use the so-called double-sided paper as a postcard base - it has both surfaces of decorative quality. It is not much more expensive than ordinary ornamental material, but in some cases it makes it possible to significantly facilitate and speed up the work on a homemade gift.
Double-sided paper is used as the basis
Paper can be purchased at specialized outlets; The sizes of blanks can be any standard, but the most popular are small ones - A3, A4 and B5.The last size is the “postcard” size - one standard postcard is obtained from one sheet. A4 format is enough for two blanks, four bases will be obtained from an A3 size sheet.
For making paper postcards with your own hands, the A4 format is considered optimal - when it is cut, half of the sheet goes directly to the base, and the second half goes to the manufacture of additional decorative elements.
Design paper for postcards
Also on sale is the so-called designer paper, which has very high decorative qualities. It can have various, including non-standard, sizes. It is often sold rolled up or cut into large sheets.
Glue
“For making DIY postcards from colored or designer paper, silicone formulations are best suited”
The best glue for working with paper and cardboard is PVA. It does not have a strong odor, does not leave spots after drying, and, importantly, after drying, does not change the color of the materials to be glued. Sold in any stationery store and costs a penny. PVA glue is also good because it glues paper, not fingers - in children's creativity this will help to avoid many incidents.
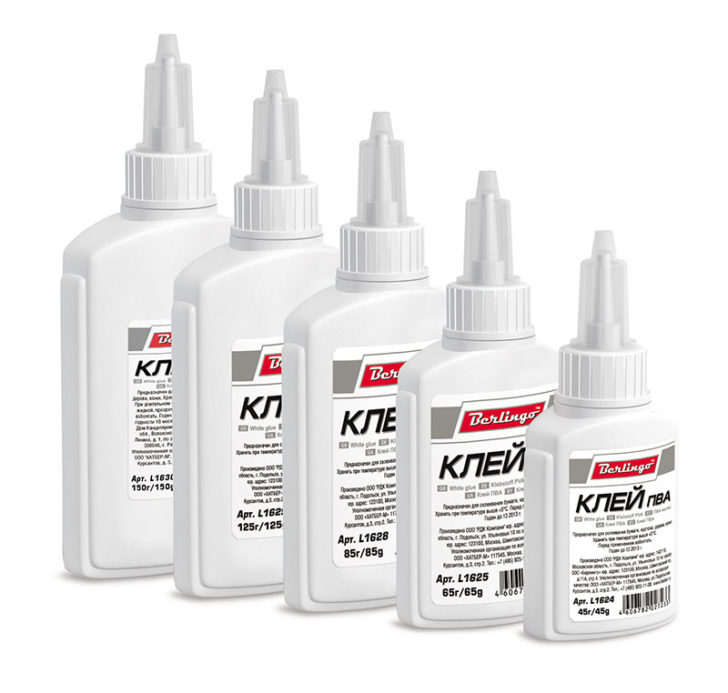
PVA - the best glue for working with paper and cardboard
If it is necessary to glue materials that do not contain cellulose (jewelry, some fabrics, plastic elements), PVA is not very effective, and it is better to use another glue. Silicone compounds are best suited for making do-it-yourself postcards from colored or designer paper, but in extreme cases, you can get by with ordinary silicate glue, better known as stationery or "liquid glass". After drying, the gluing site becomes hard, and over time it turns yellow and becomes brittle - but with minimal areas of the adhesive spot, this is not critical and does not spoil the appearance of the finished product.
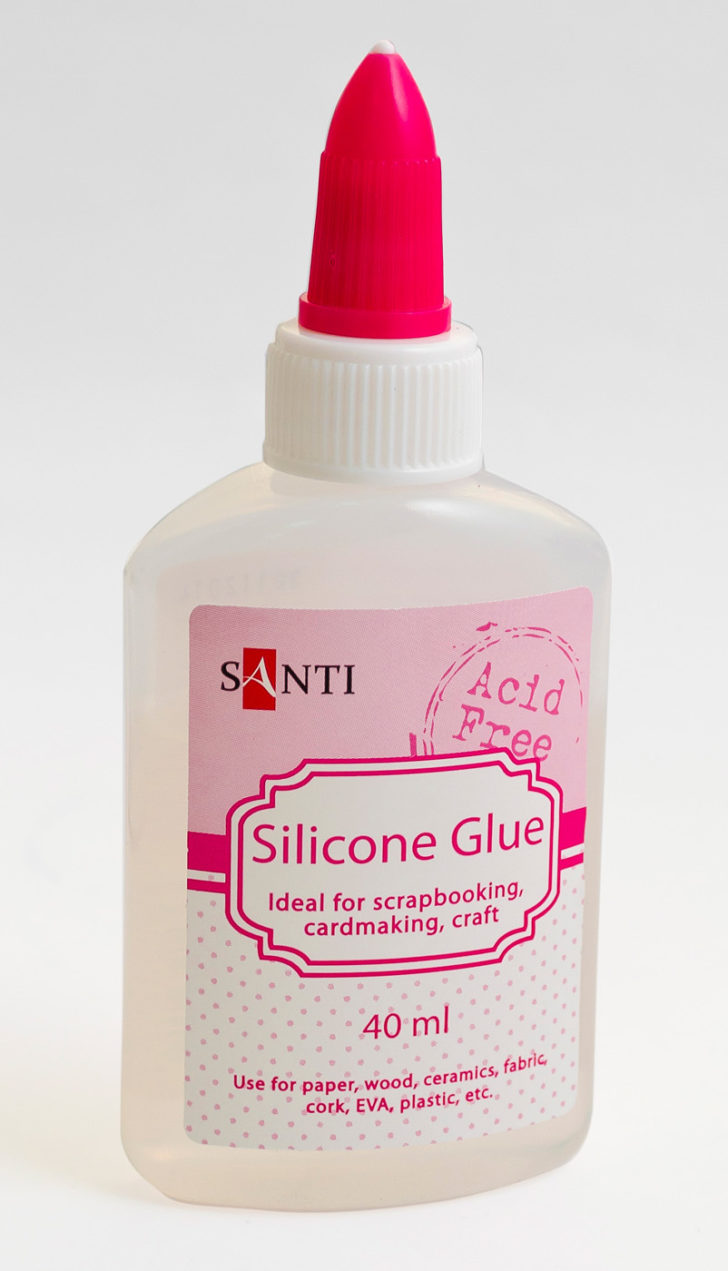
Silicone glue is best for design paper
Tools
The ideal tool for cutting small paper and cardboard elements is scissors. If a child works with them, then it is better to use ordinary scissors with straight blades, however, curly scissors are much more suitable for cutting out some decorative details of the postcard, allowing you to get a patterned cut.
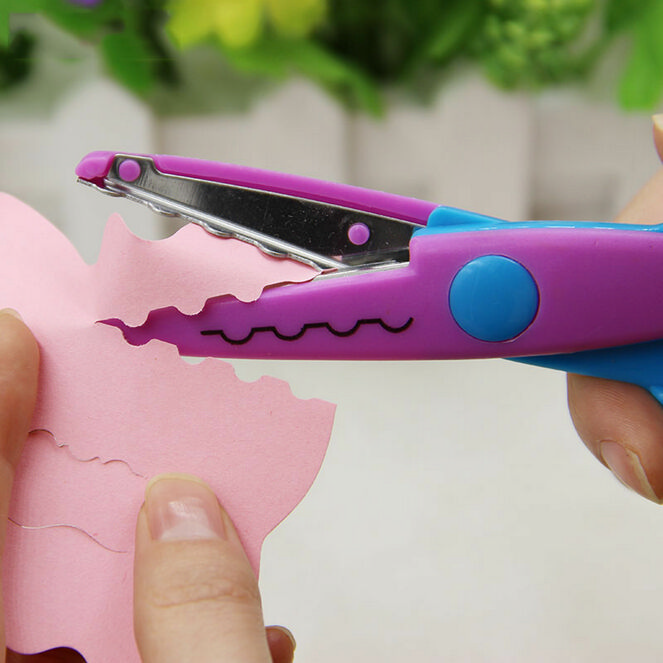
Curly scissors allow you to get a patterned cut
How to make a postcard with large elements from paper with your own hands? They are much more convenient to cut with a clerical or construction knife with replaceable blades. However, it is better not to trust a small child to work with such a tool, so it’s better to let him work with not so convenient, but safe scissors. An adult, after a little practice, can easily use such a knife to make not only straight, but also complex curvilinear cuts.
Ready kits
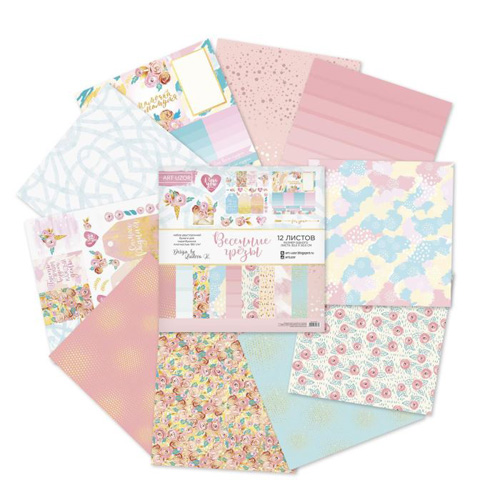
In cases where there is no time and opportunity to engage in the selection of materials for the manufacture of a homemade postcard, as well as the study of its composition, the best way out is to purchase a ready-made blank - a set for creativity.
It usually includes all the necessary materials and decorative elements, quite often the kit also includes all the necessary tools along with glue. In addition, the set traditionally includes detailed step-by-step instructions for making a postcard, so you don’t have to think long about how to make a postcard out of paper.
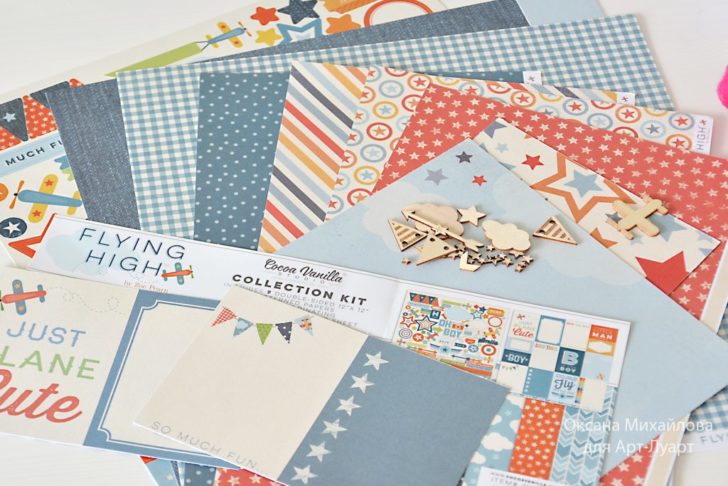
A set of materials for making postcards with your own hands
There are an infinite number of options for such sets - you can find blanks and “assemble” a postcard for congratulations on any existing holiday. Such sets differ in the complexity of making a gift greeting, but in any case they do not require special skill.The only disadvantages of all these kits are their relatively high cost and some limitation on the flight of the needleworker's imagination, caused by the minimality of the set of elements included in the kit.
We determine the technique of work
The variety of variations of cardboard and paper used in needlework on the modern market cannot be described. The range is able to satisfy the most demanding hand-made master, not to mention those for whom needlework is a hobby, not a profession. And in this case, having too much choice makes the choice of what and how to make a paper card with your own hands difficult.
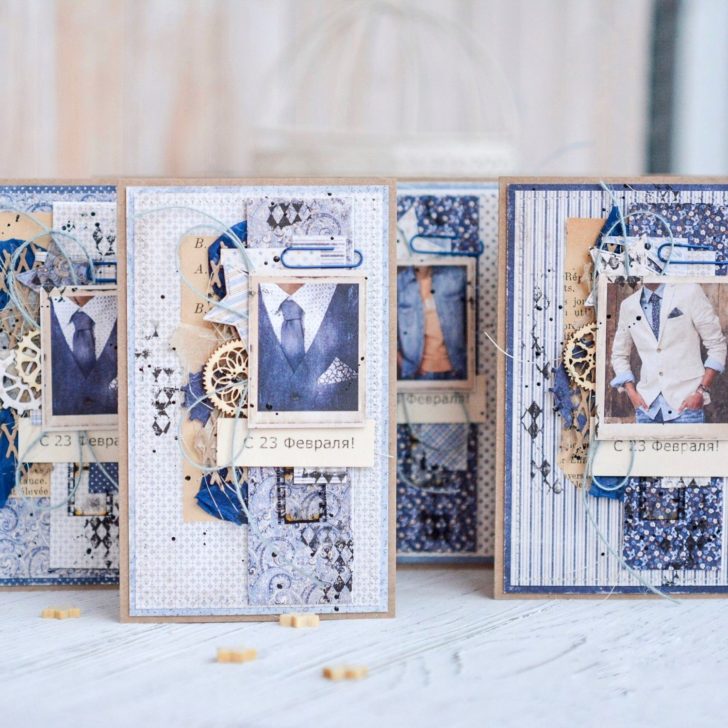
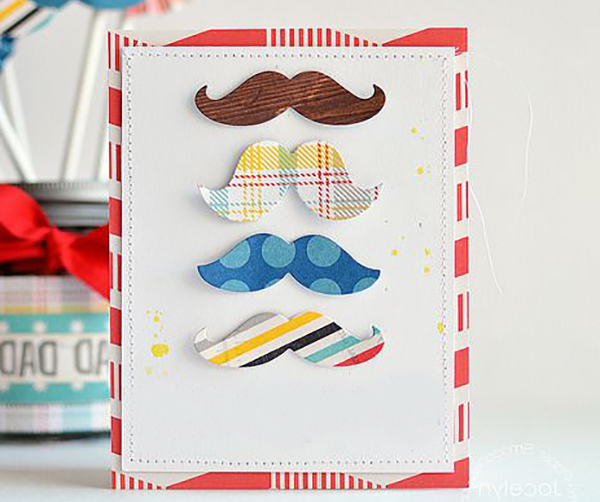
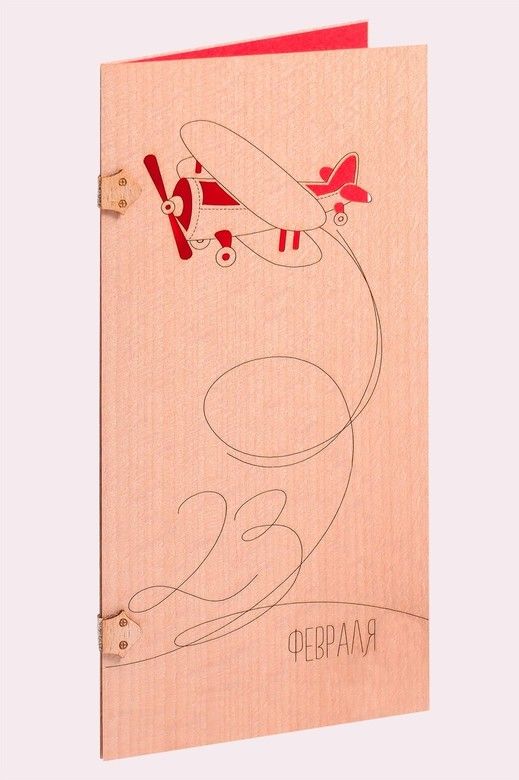
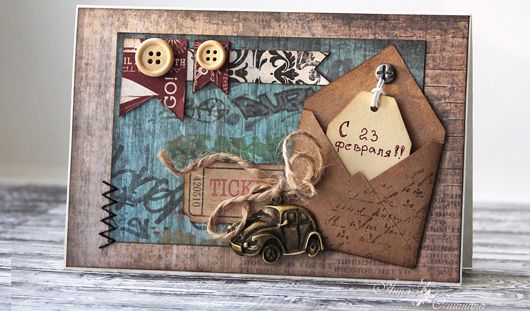
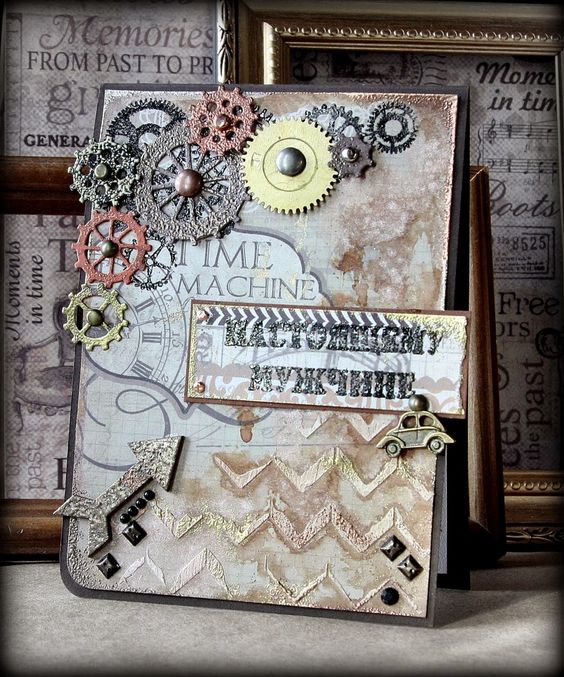
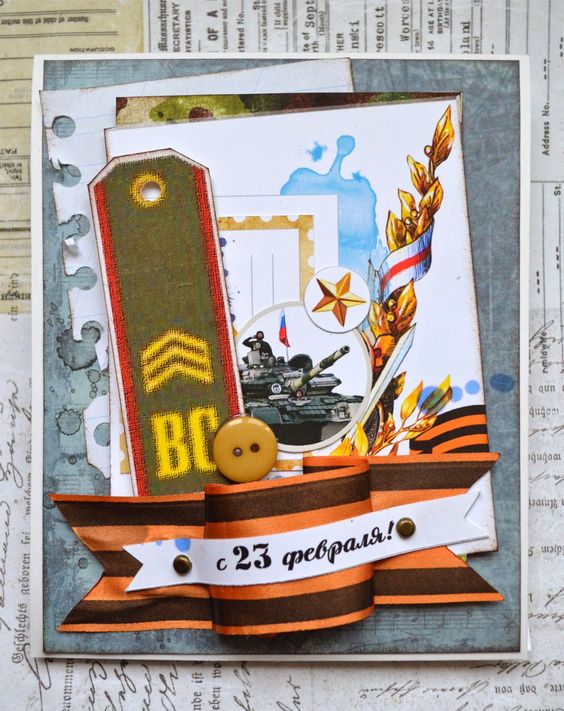
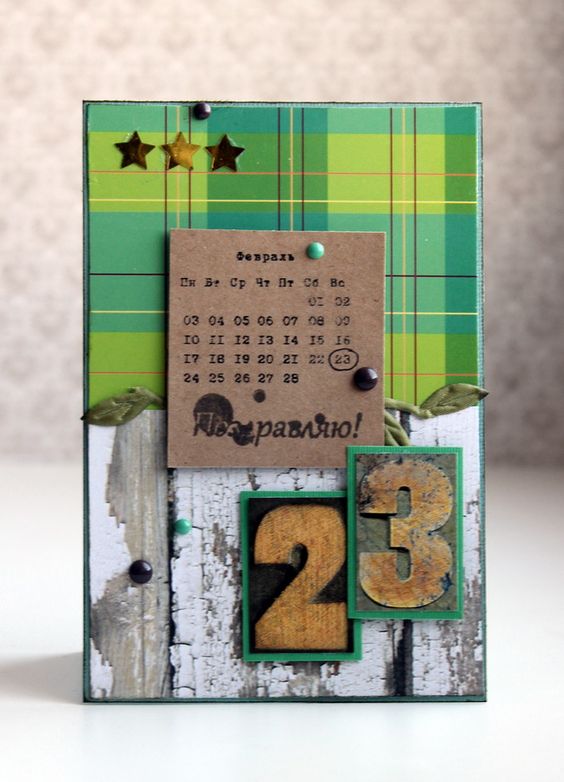
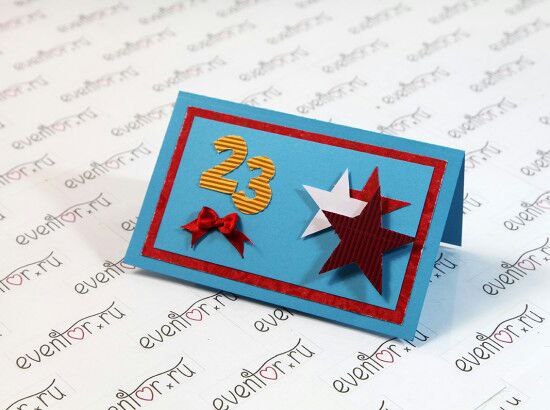
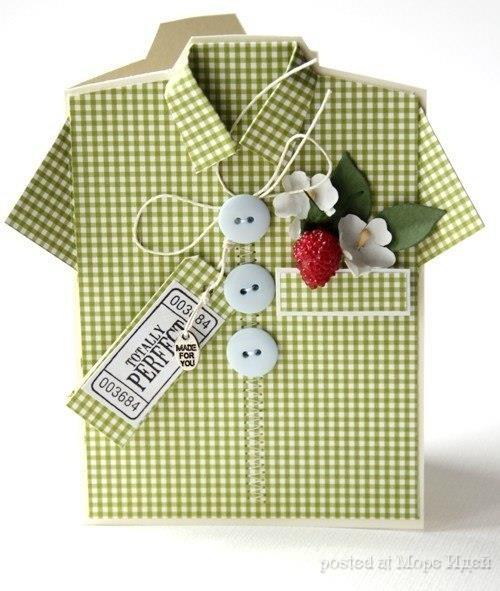
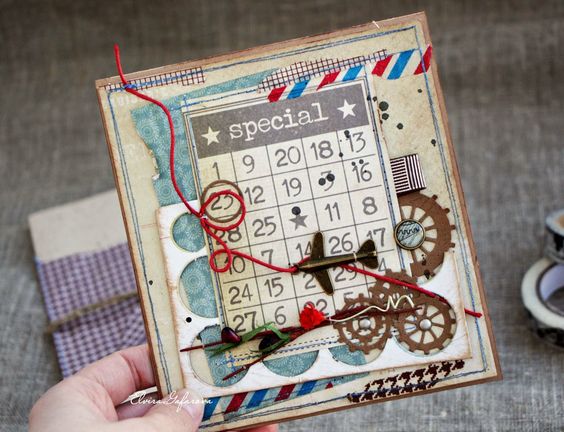
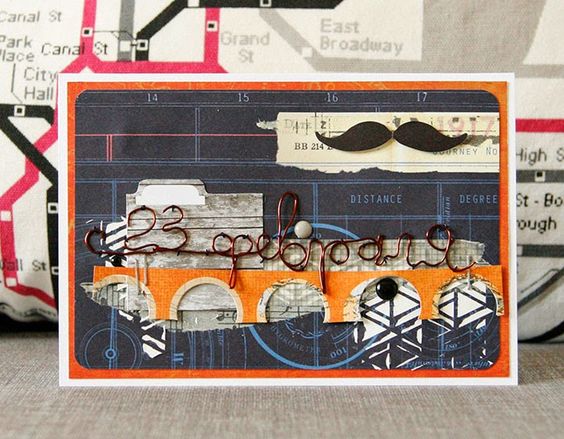
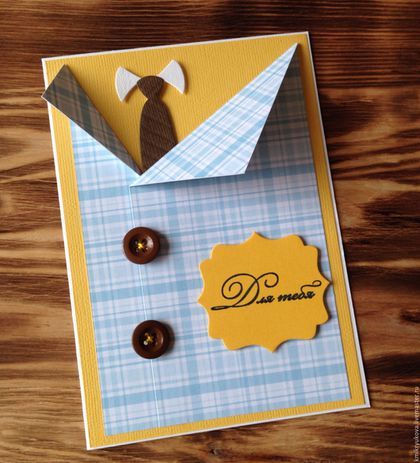
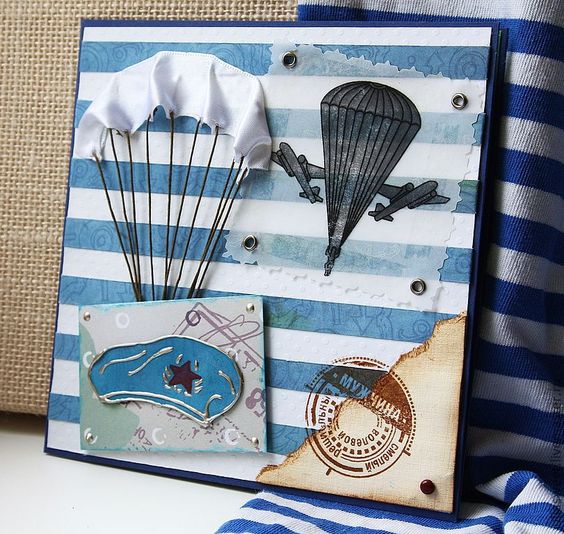
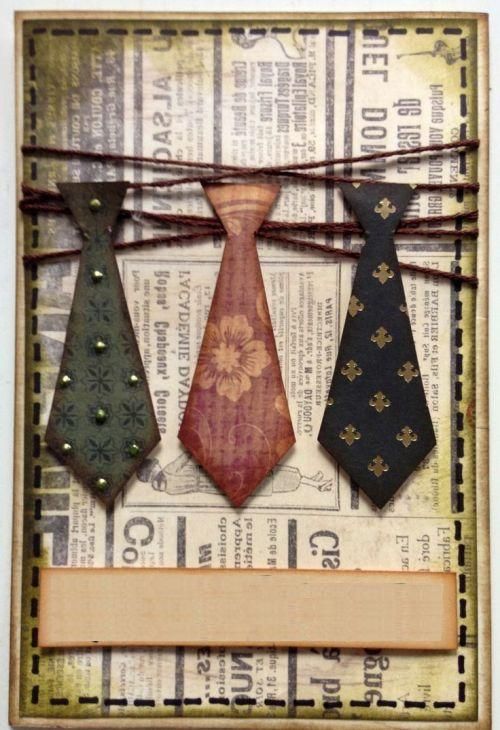
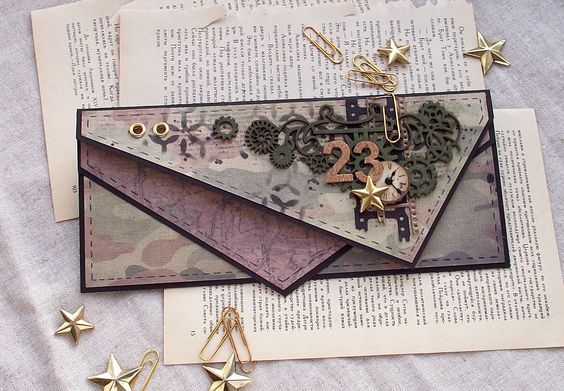
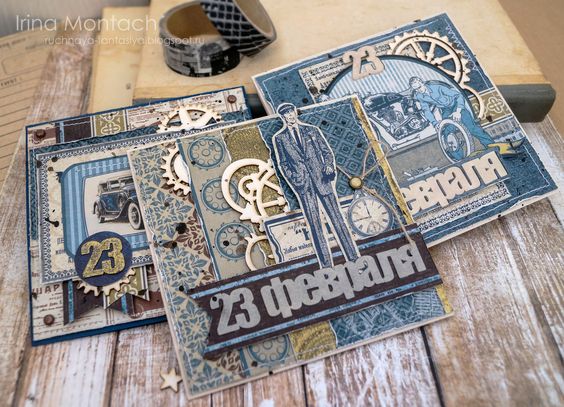
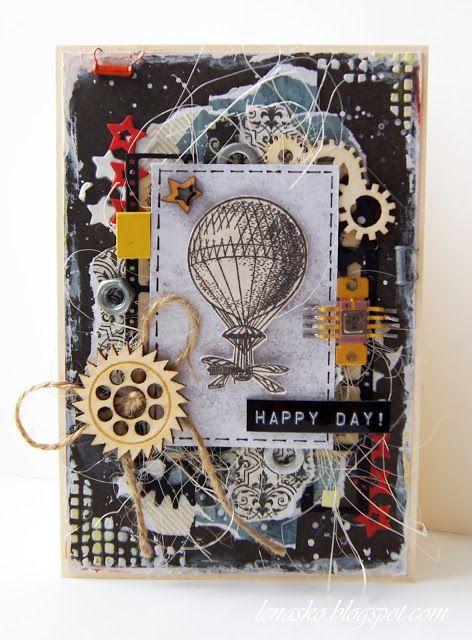
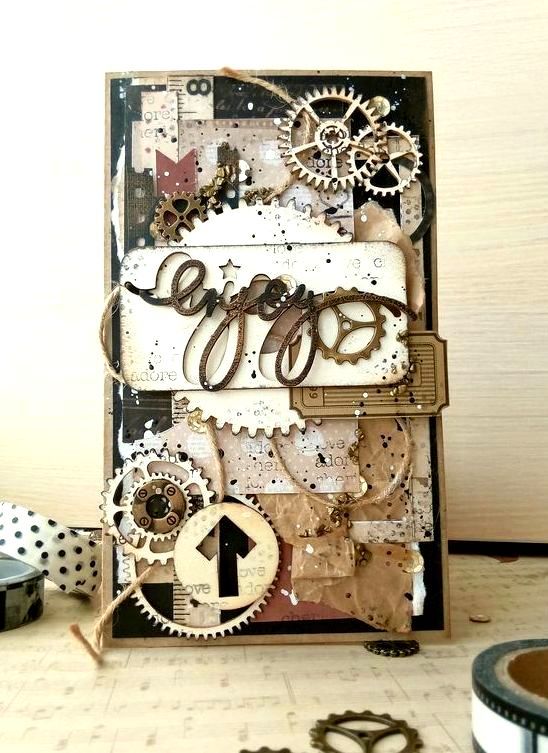
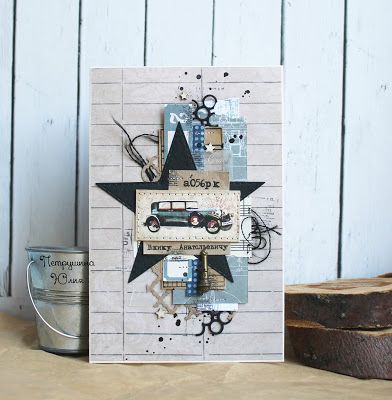
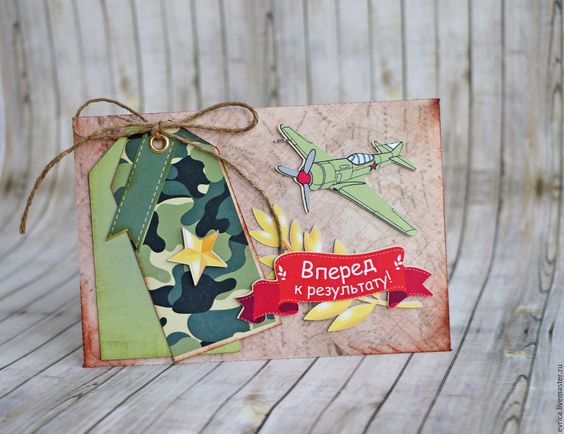
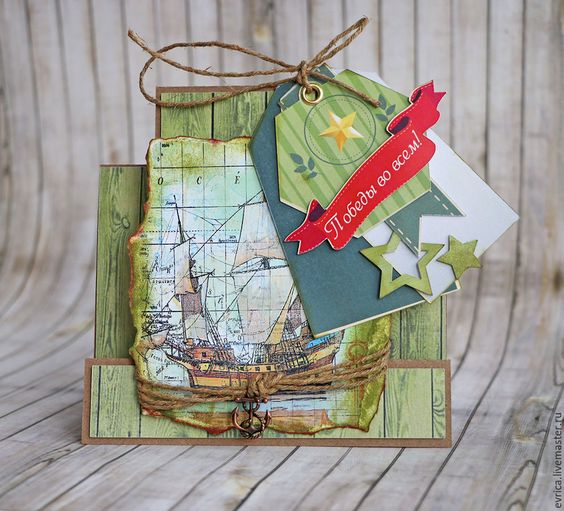
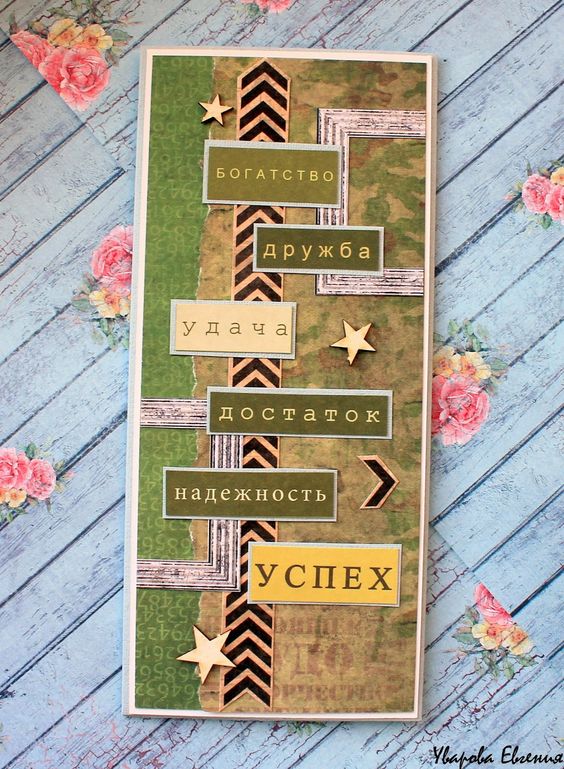
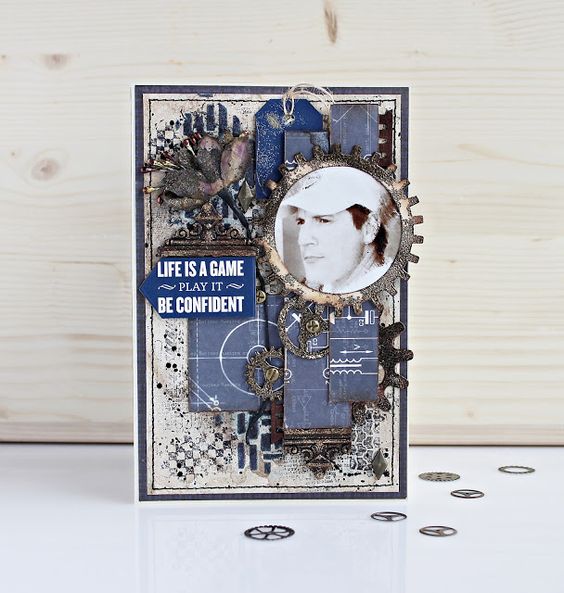
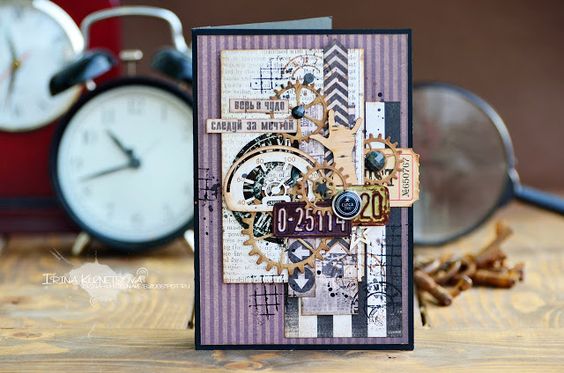
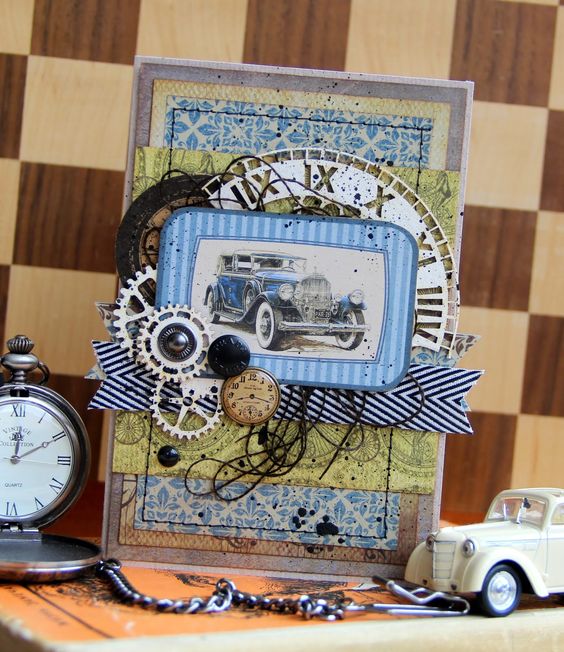
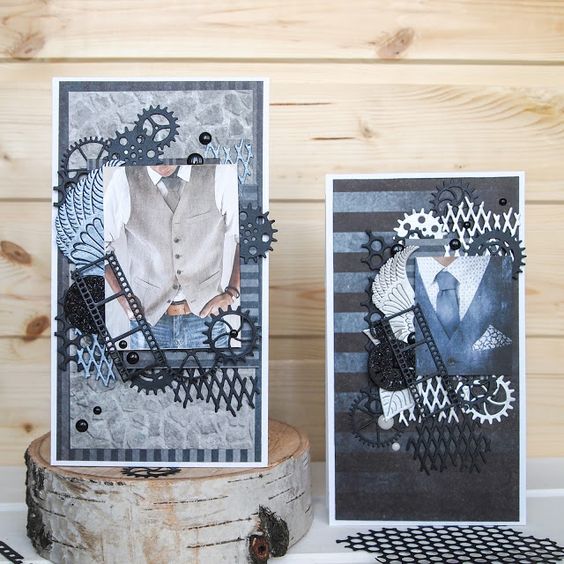
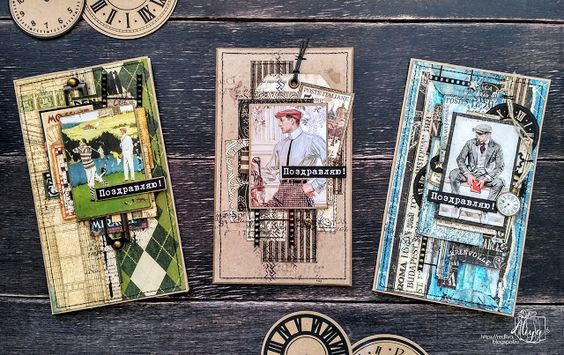
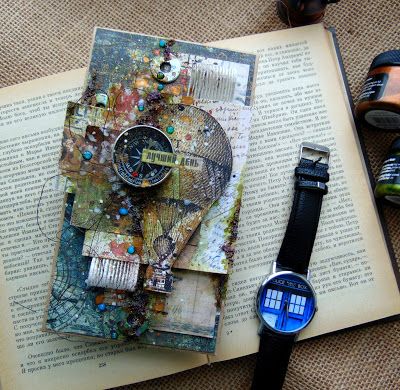
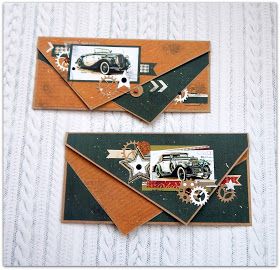
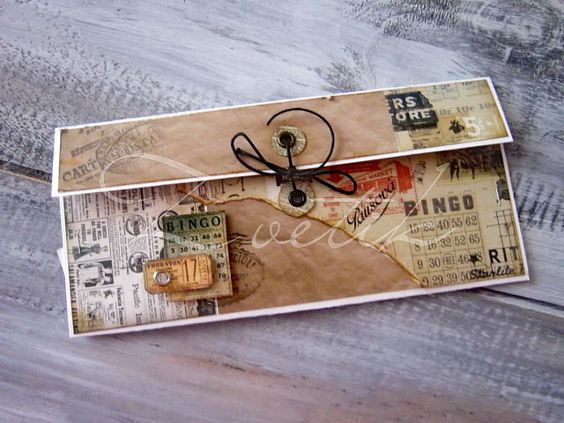
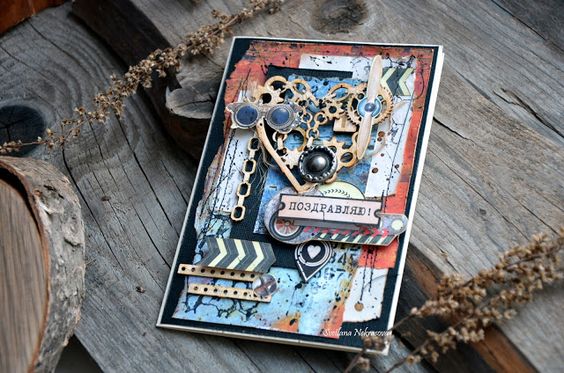
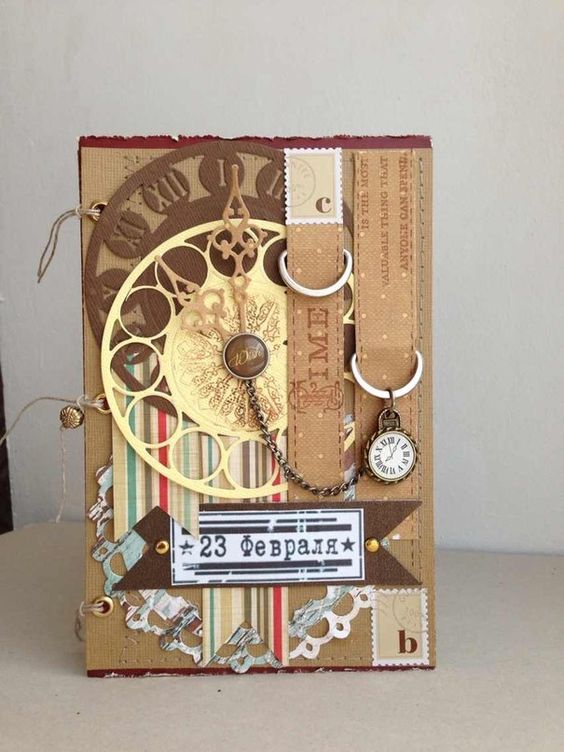
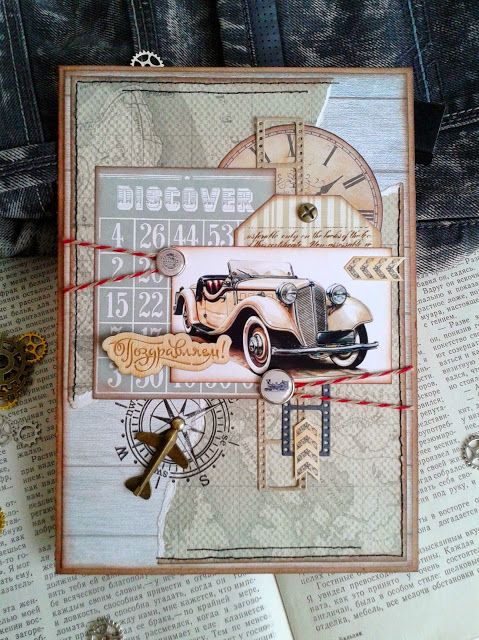
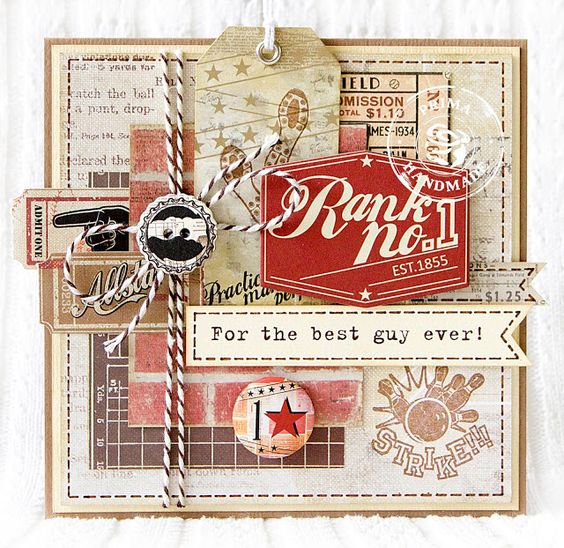
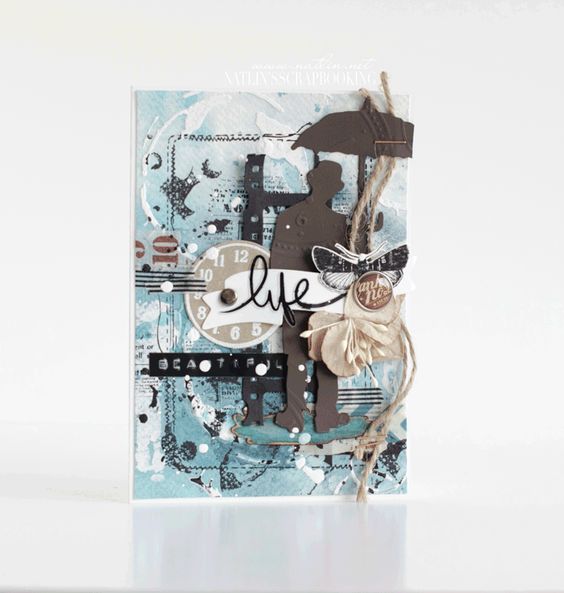
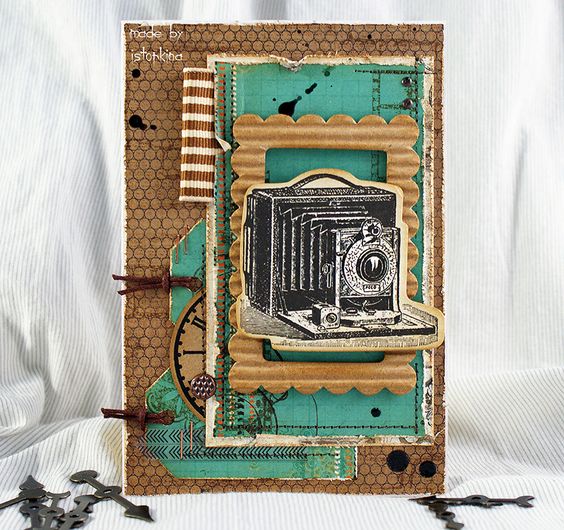
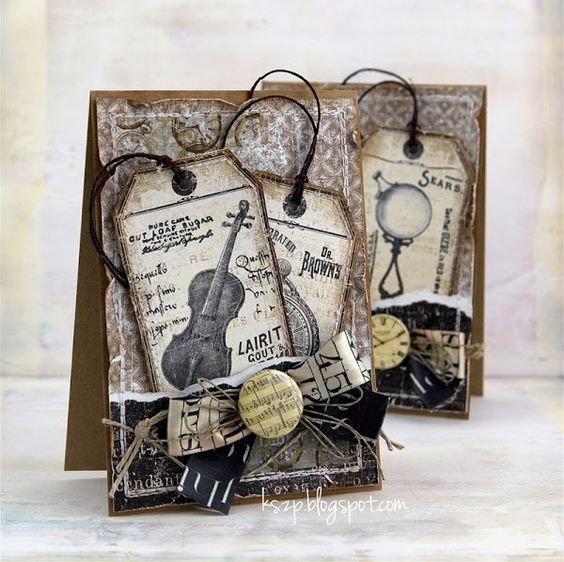
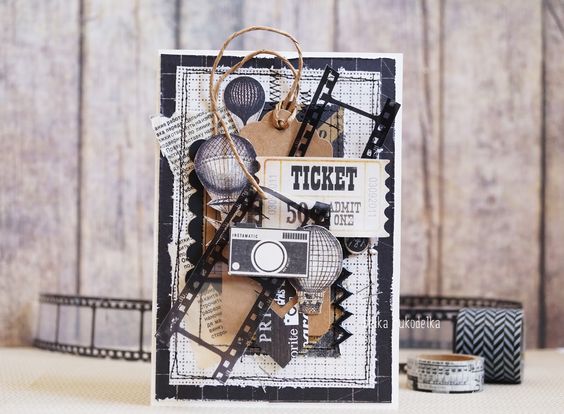
Postcards for February 23 from paper with your own hands
However, it is quite possible to overcome this paradox. The main thing is to clearly understand what kind of postcard you need to make and how it will eventually look. The work of professionals will help you decide on the selection of decorative ornamental material - they can serve as both a model and a source of inspiration for creating your sketches. One way or another, but only after determining the ultimate goal, you can begin the selection of material for making a greeting card. Let's see what kind of paper cards you can make with your own hands on February 23.
back to index ↑Do-it-yourself paper application for a postcard for February 23
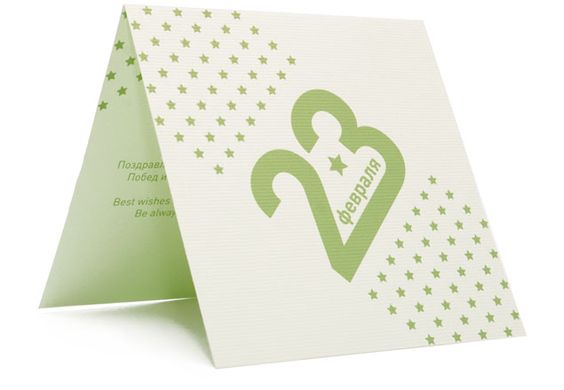
“The image of a do-it-yourself postcard made of paper on February 23 is formed not at all by the number of decorative ornaments on it, but by the general color scheme”
In the absence of brilliant ideas and the inability to spend a lot of time on manufacturing, you can go the simplest way:
- in one way or another, white cardboard of medium density is acquired;
- a suitable background is printed on it in any way possible;
- additional decorative elements are attached;
- a congratulatory inscription is applied if it was not printed along with the background;
- a ready-made exclusive postcard is handed to the honored.
But even with such a simple approach, one should not forget that, in general, the image of a do-it-yourself postcard made of paper on February 23 is formed not at all by the number of decorative ornaments on it, but by the general color scheme. And do not complicate the composition beyond what is necessary, because beauty loves simplicity. Excessive, screaming brightness, as well as primitive rudeness and fading of colors, will not be able to impress anyone.
For postcards on February 23, avoid an abundance of decorative ornaments
An advantageous material for making homemade postcards is double-sided cardboard. Its use allows you to significantly reduce the time of creating a gift, since in this case there is no need to ennoble the wrong side of the card. In addition, the decorative coating of cardboard made in factory conditions in any case looks more professional than homemade. Congratulatory inscriptions when working with such cardboard are made on high quality light paper, pasted inside the finished postcard.
Double-sided cardboard will reduce the time to create a gift
How to make a postcard with a complicated decor out of paper
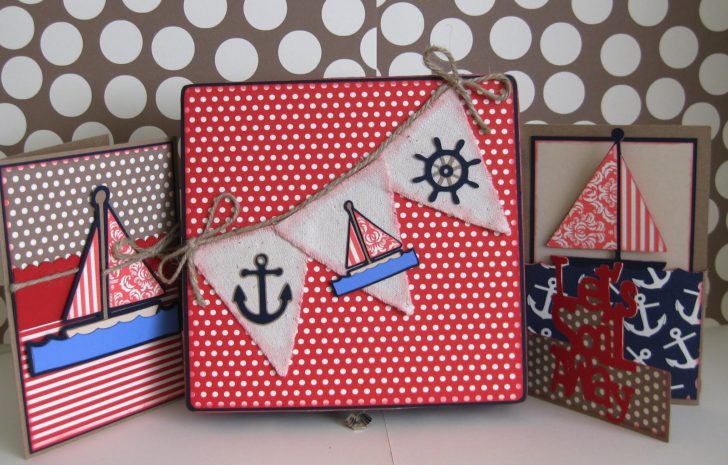
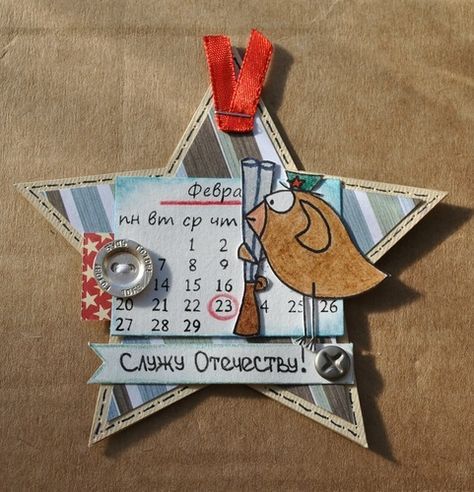
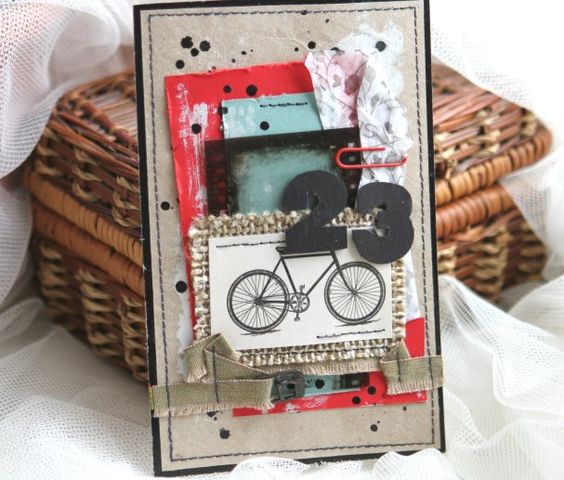
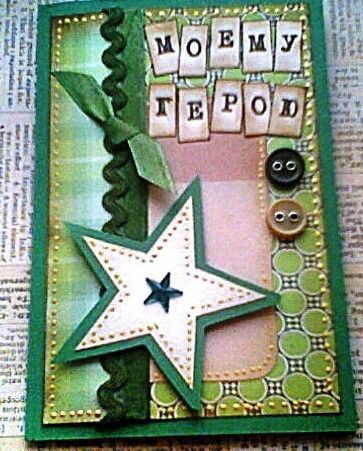
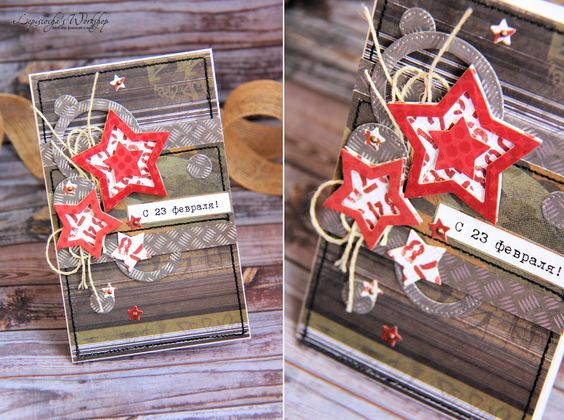
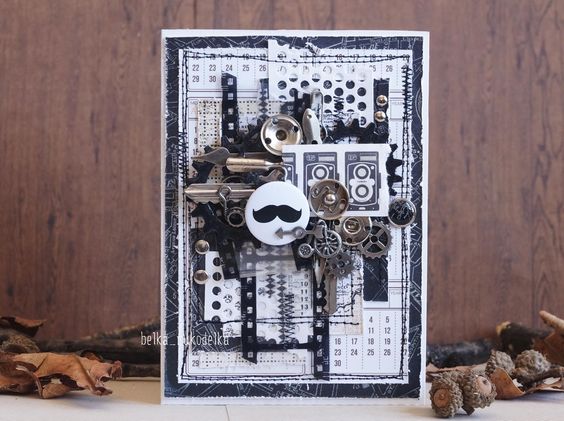
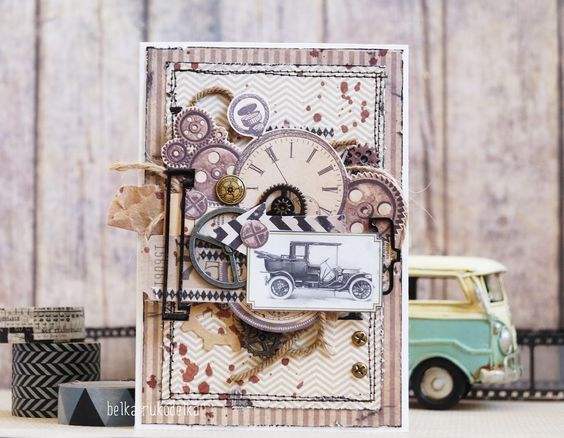
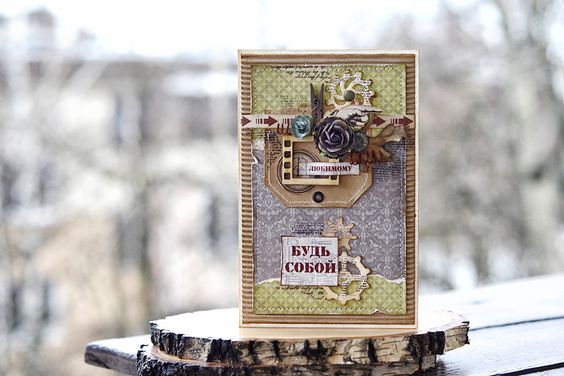
With more complex options for making do-it-yourself postcards from paper, colored decorative cardboard is used as the main ornamental material, and additional decoration elements can be made from any improvised accessories - beads, ribbons, beads, lace, and even such non-standard ones as matches or egg shell. Often such postcards are made three-dimensional using decorative elements made of polymer clay.
Volumetric decorative elements for postcards on February 23
There are no strict restrictions on the materials used - they can be used both natural and artificial; the only limitation is the limits of the author's imagination.But in any case, a postcard for 23, made by hand from paper and cardboard, will have no analogues! It should only be borne in mind that if a child is involved in the manufacture, then it will be very difficult for him to independently manage a large number of small details - in such cases, the composition should be simplified as much as possible.
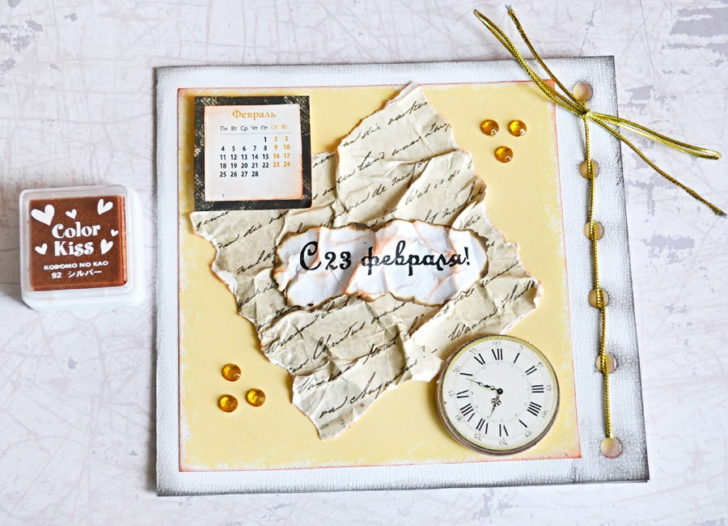
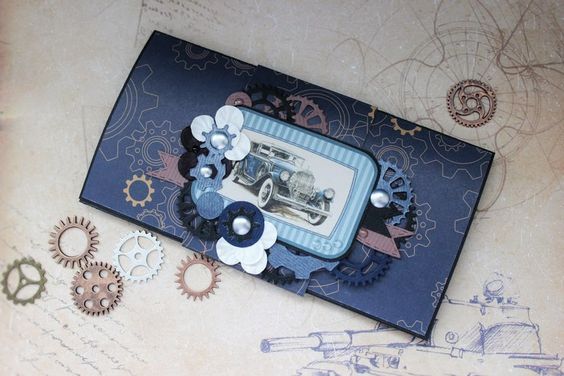
An example of a paper card for February 23
Getting Started
After choosing the plot of the postcard and determining the technique in which the product will be made, you can get to work. Naturally, not forgetting to prepare the necessary materials, decorations and tools before that.
2D postcards
The most acceptable option for making do-it-yourself postcards from colored paper on February 23 when working together with a child is an application. The procedure for this is familiar to almost everyone and is quite simple:
- the plot of the future postcard is drawn on plain paper - this will allow you to evaluate what was planned and work out the individual elements of the composition more carefully;
- a pattern is made for each part and element of the postcard - it will be much easier for the child to circle it than to draw it on his own;
- details are drawn (“from scratch” or by tracing patterns) on paper and cardboard of appropriate colors and textures;
- the base of the postcard is being prepared - the easiest way is to use a rectangular piece of high-quality cardboard folded in half;
- the drawn parts are cut out and glued to the base in the required order;
- a congratulatory inscription is applied to the finished postcard.
Postcard for February 23 with application
After gluing the application, it will not be superfluous to put an already almost finished postcard under any impromptu press for several hours - this will help to avoid the appearance of “waves” on large elements of the application caused by softening the paper with glue.
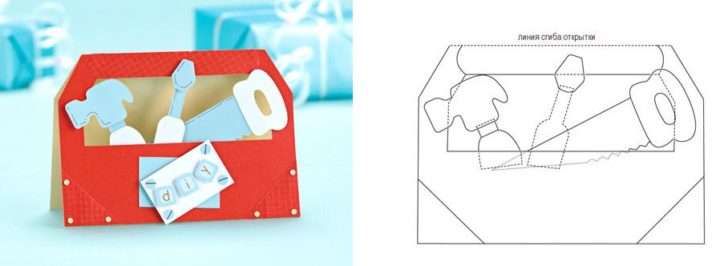
3D postcards
Very beautiful postcards are obtained using three-dimensional manufacturing techniques - quilling or three-dimensional appliqué. Postcards that become voluminous after they are opened are very spectacular. These techniques are simple enough to master them with children. Let's see how to make a paper card with your own hands using them.
Spectacular do-it-yourself 3D paper card
When quilling, the main work item, through which image details are created on a postcard, are paper strips. They are easy to make on your own, but you can also buy ready-made ones - they are not in any way a shortage.
Paper folding makes it possible to create spectacular works of varying degrees of complexity, but always of great appeal. Clamshell postcards may not have the most complex plot, but due to the correct selection of colors and textures of materials, they will definitely attract attention.
Folding cards are sure to attract attention.
No less impressive are works in the technique of three-dimensional applique, in which the details of the composition are not glued directly to the paper, but through special adhesive “pads” in the form of washers of different thicknesses or springs of different heights.
back to index ↑Conclusion
Making a holiday postcard from paper for February 23 with your own hands is the surest and most reliable way to make a congratulation unique and memorable. Of course, you can buy a finished product, beautiful, but soulless, but the joy of independent creativity is priceless. And it is a home-made gift with a piece of your soul invested in it that will be stored for years in a conspicuous place, and not gather dust in a pile of factory “stampings” twins!
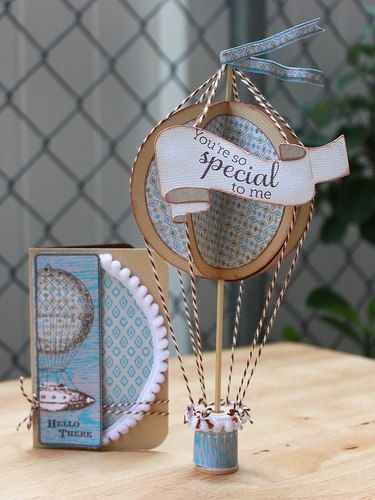
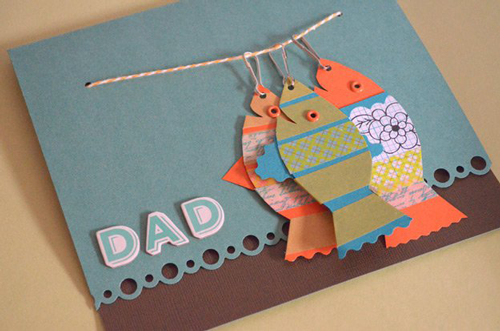
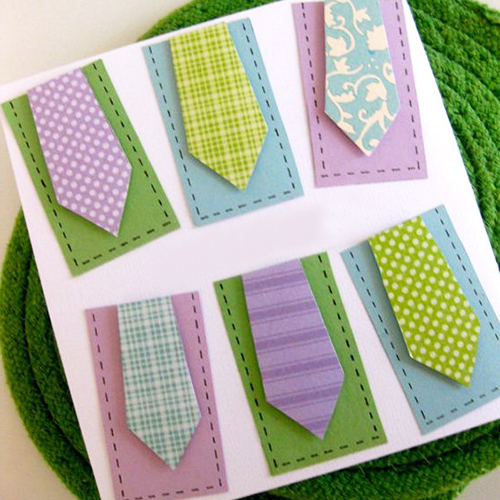
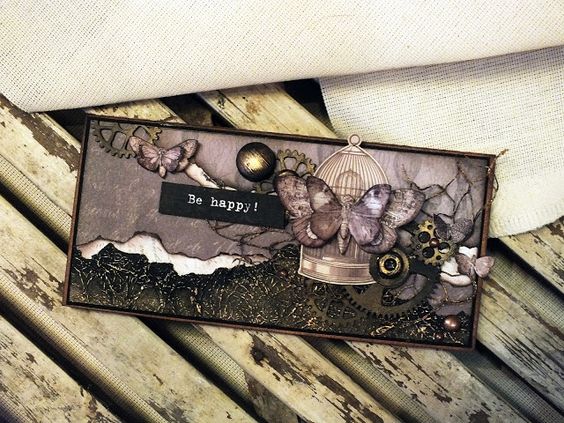
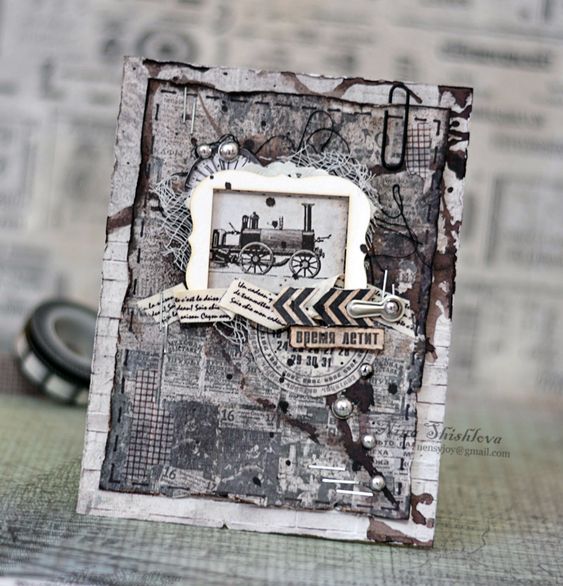
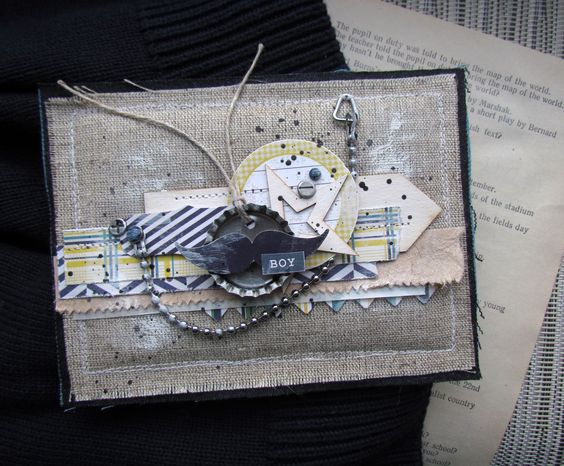
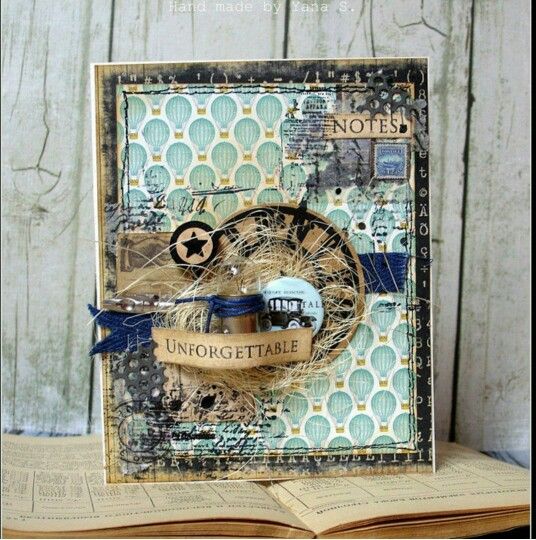
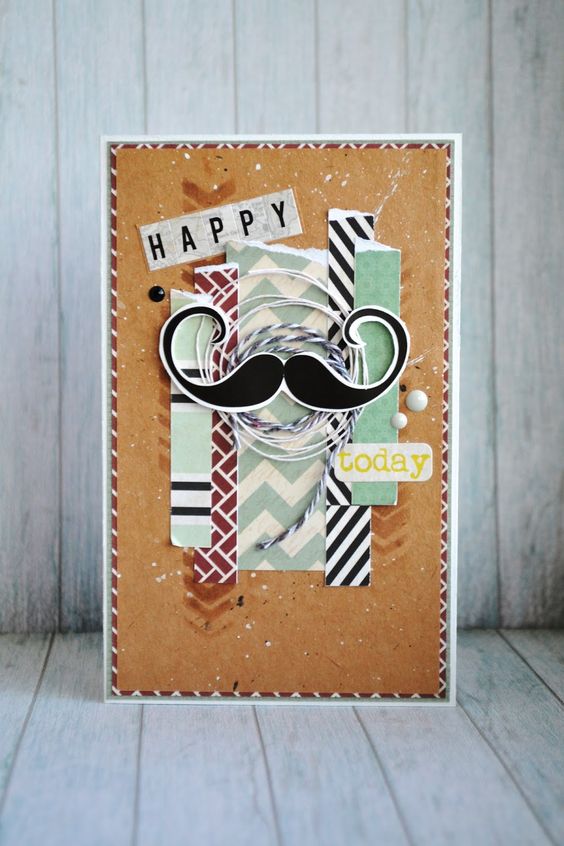
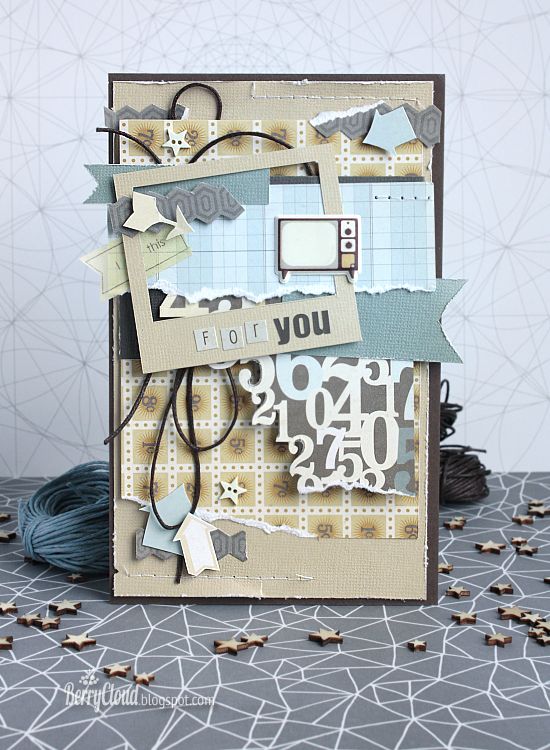
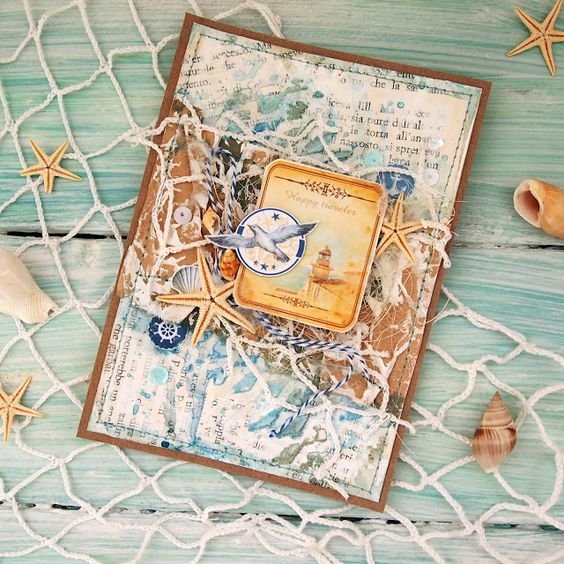
back to index ↑Photo gallery - do-it-yourself paper postcard


Video